Subsections of Operations

Create new Operation

With this wizard, you can execute an operation on devices.

Steps

Target and Type

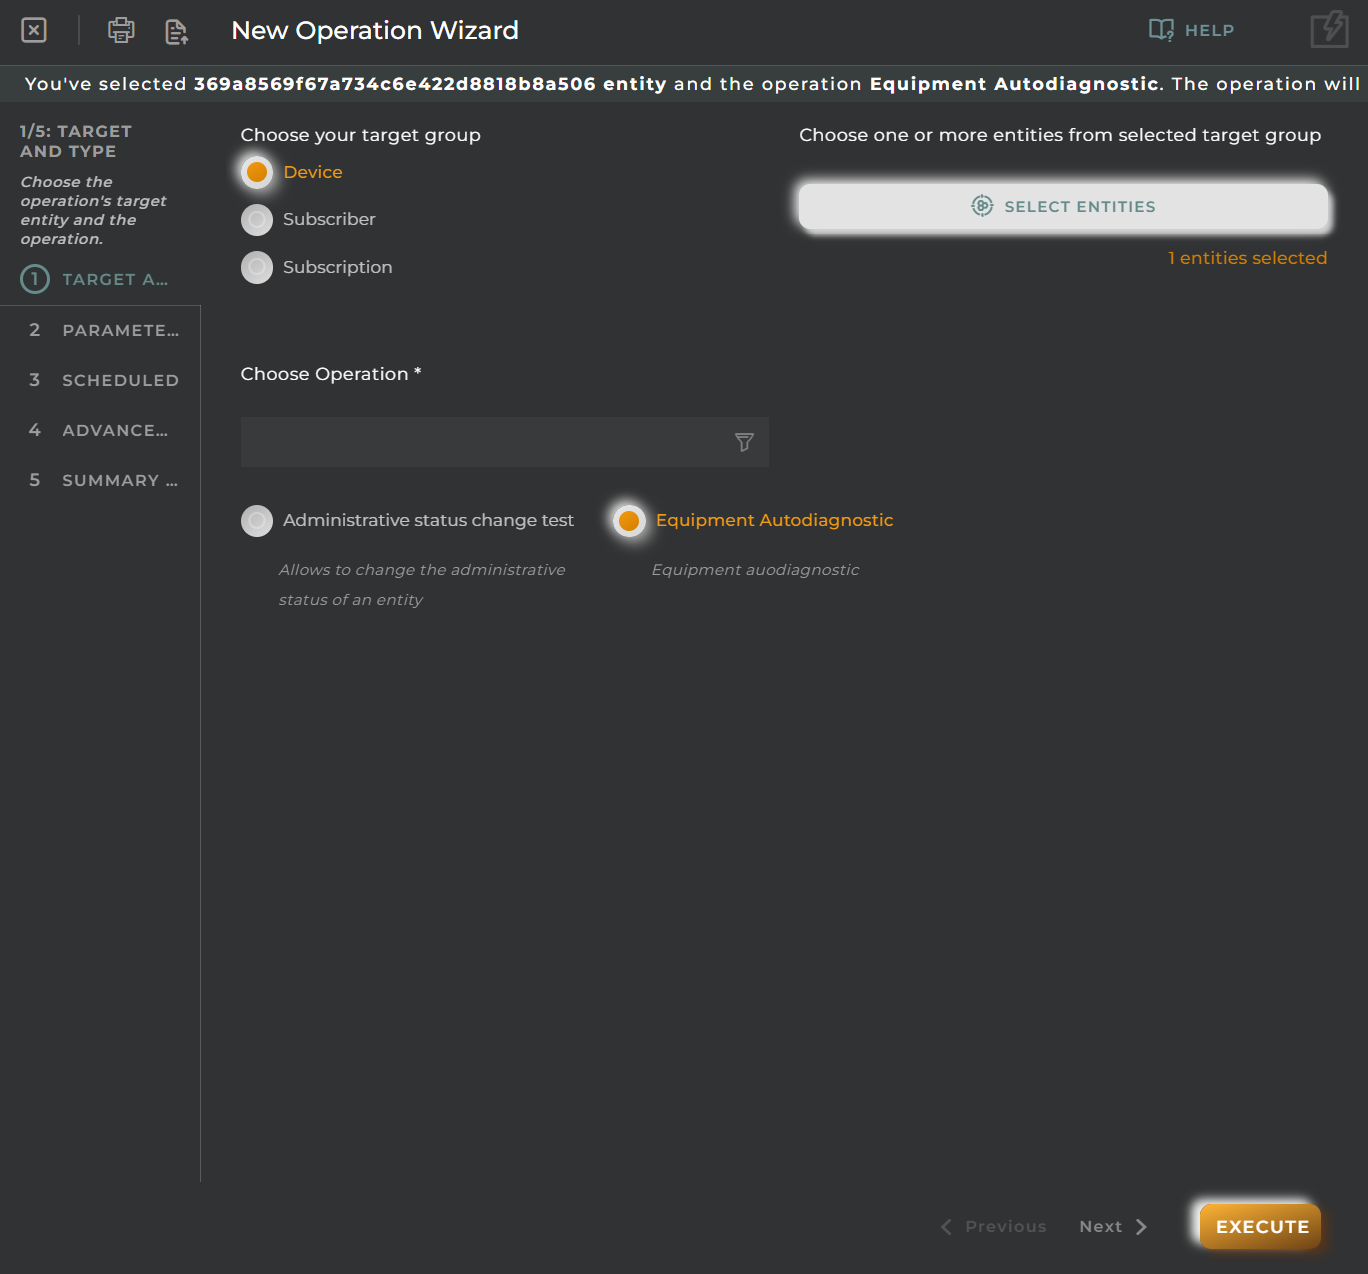
Add the entities over which the operation is performed. You could already finish setting up the operation.
Target

Targets type:

  • Entities: Add identified entities by their entity-key separated by commas.
  • Tag: Add a single label containing entities. See Tags and entity tagging.
  • Filter: The operation will run on entities resulting from applying the current filter of the web (quick/advanced filter). This one requires an extra confirmation by the user before execution.
  • Choose an entity: Select the type of entity to recover by the filter executed. For example: Run the operation on all entities of type gateway result of applying the filter. See Job Request: Target List attributes and Creating a job, sorry, I meant execute a job (Using filters).

Choose Operation

Select the operation to execute. If the operation has specific parameters, they will be shown in the next step.

See Available Operation Types.

Parameters

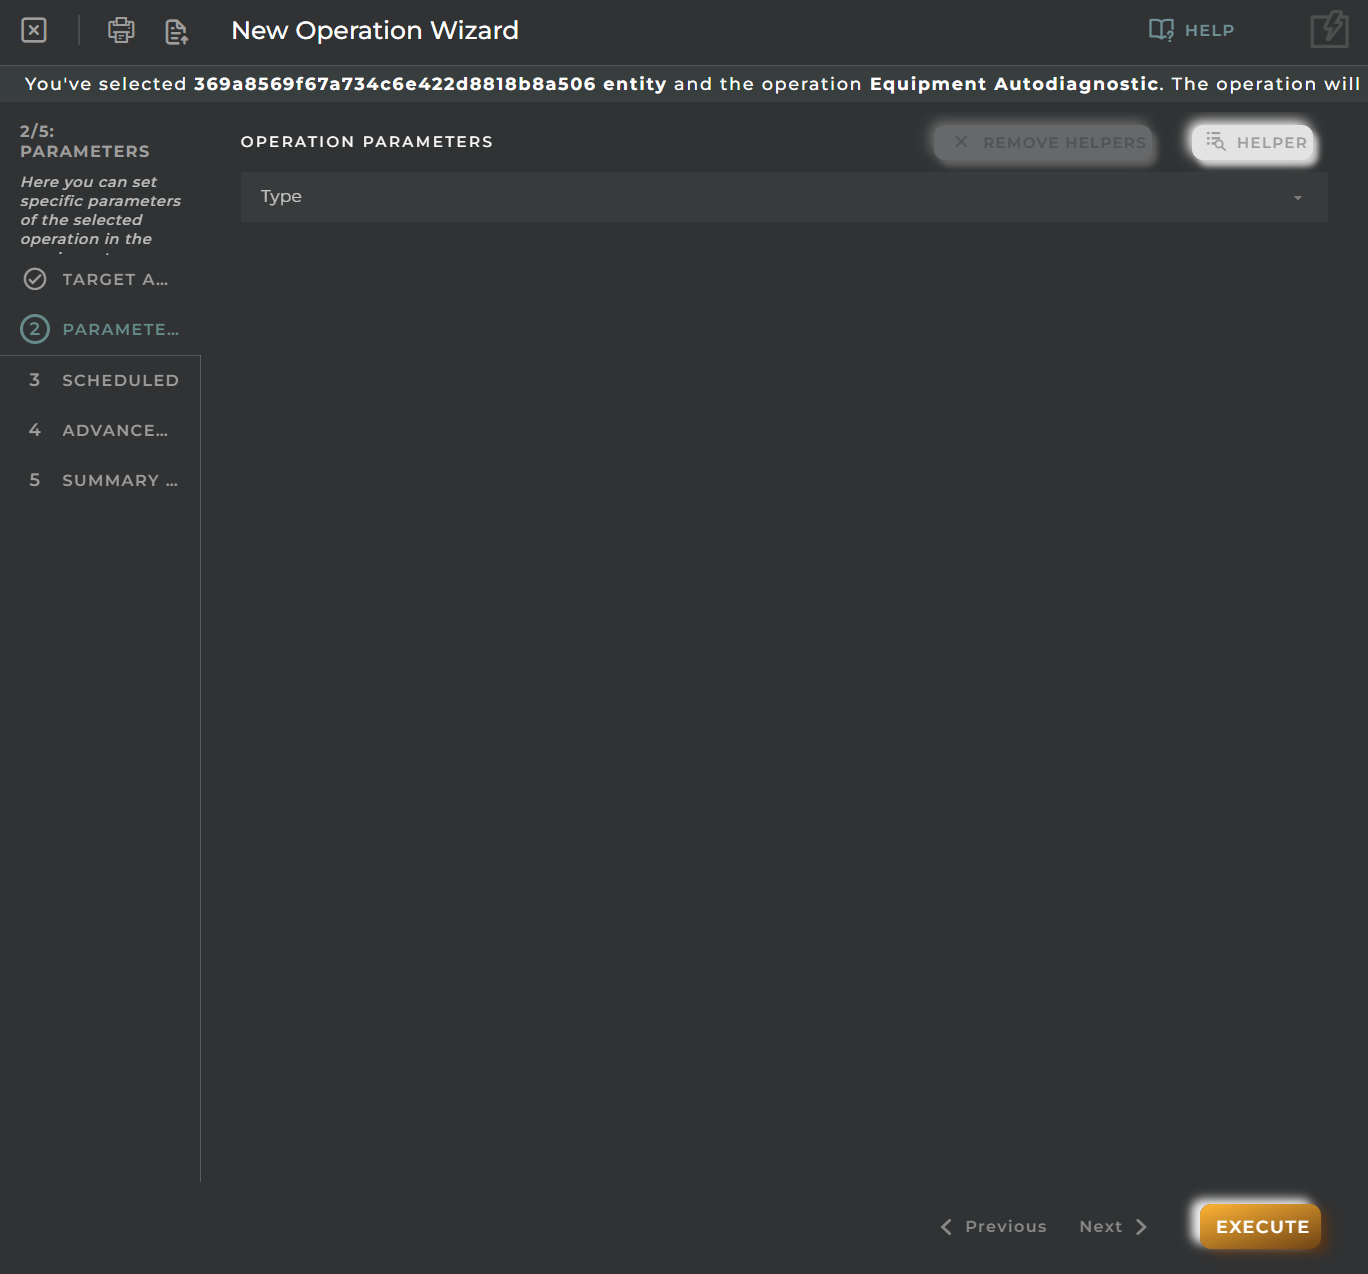
Here you can set specific parameters of the selected operation in the previous step.
Parameters

See Available Operation Types.

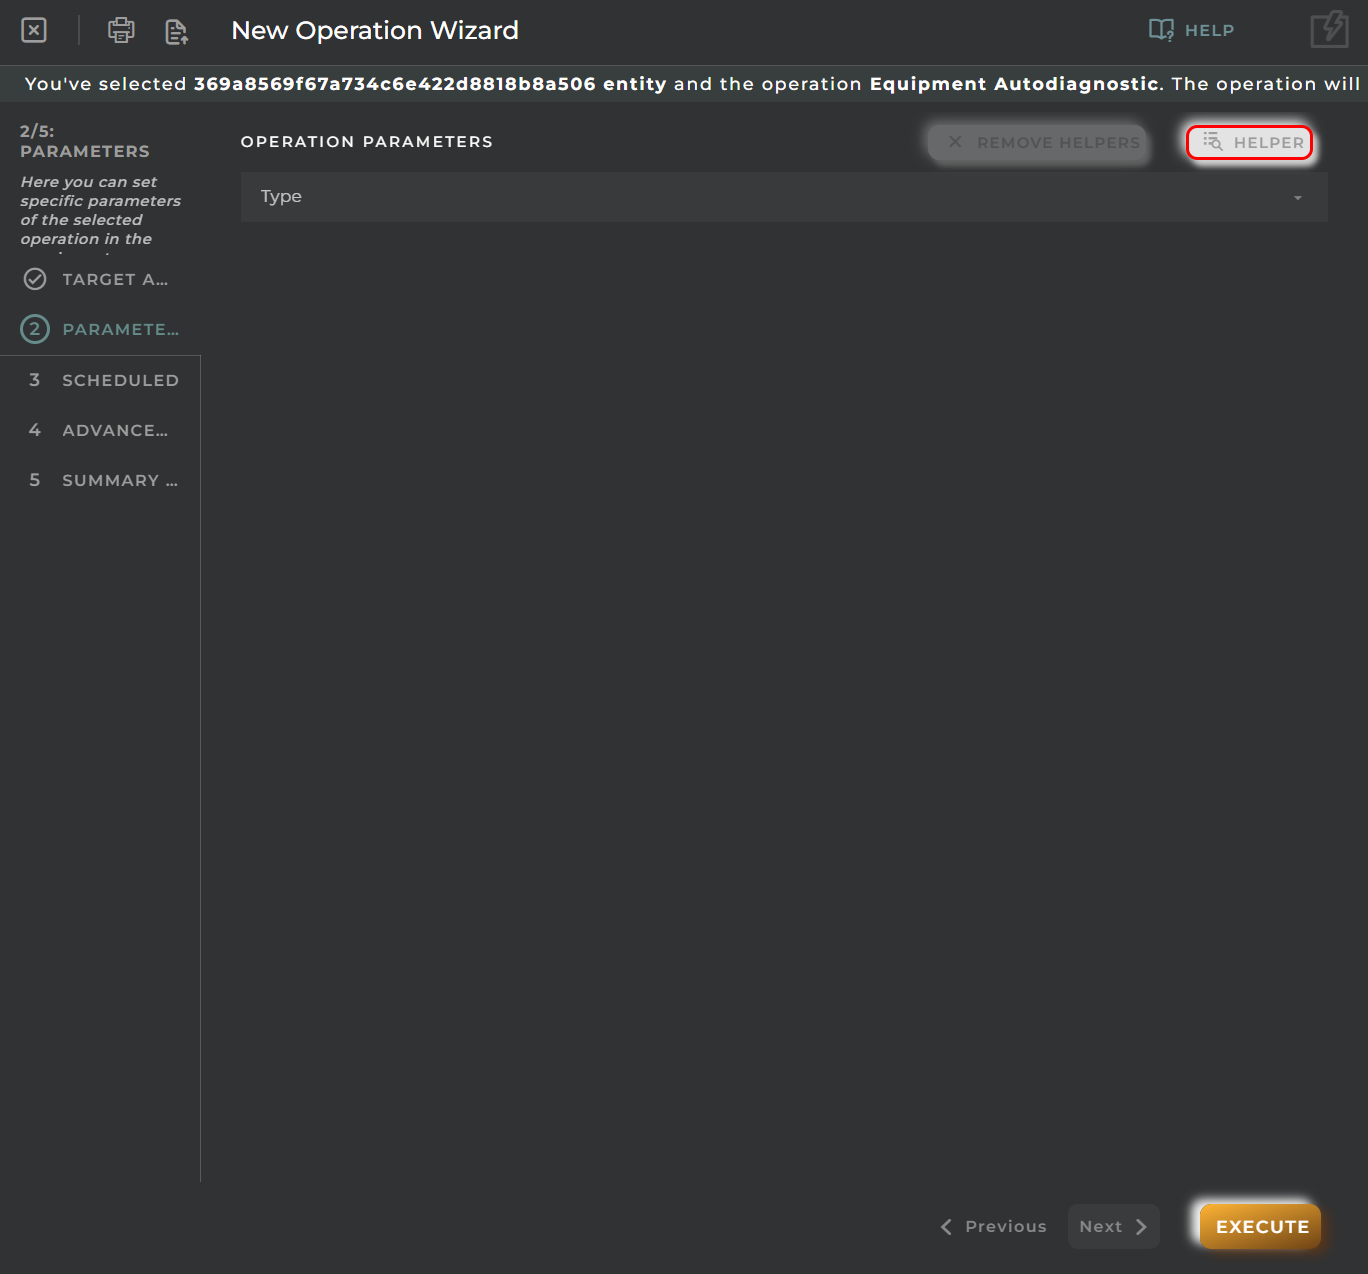
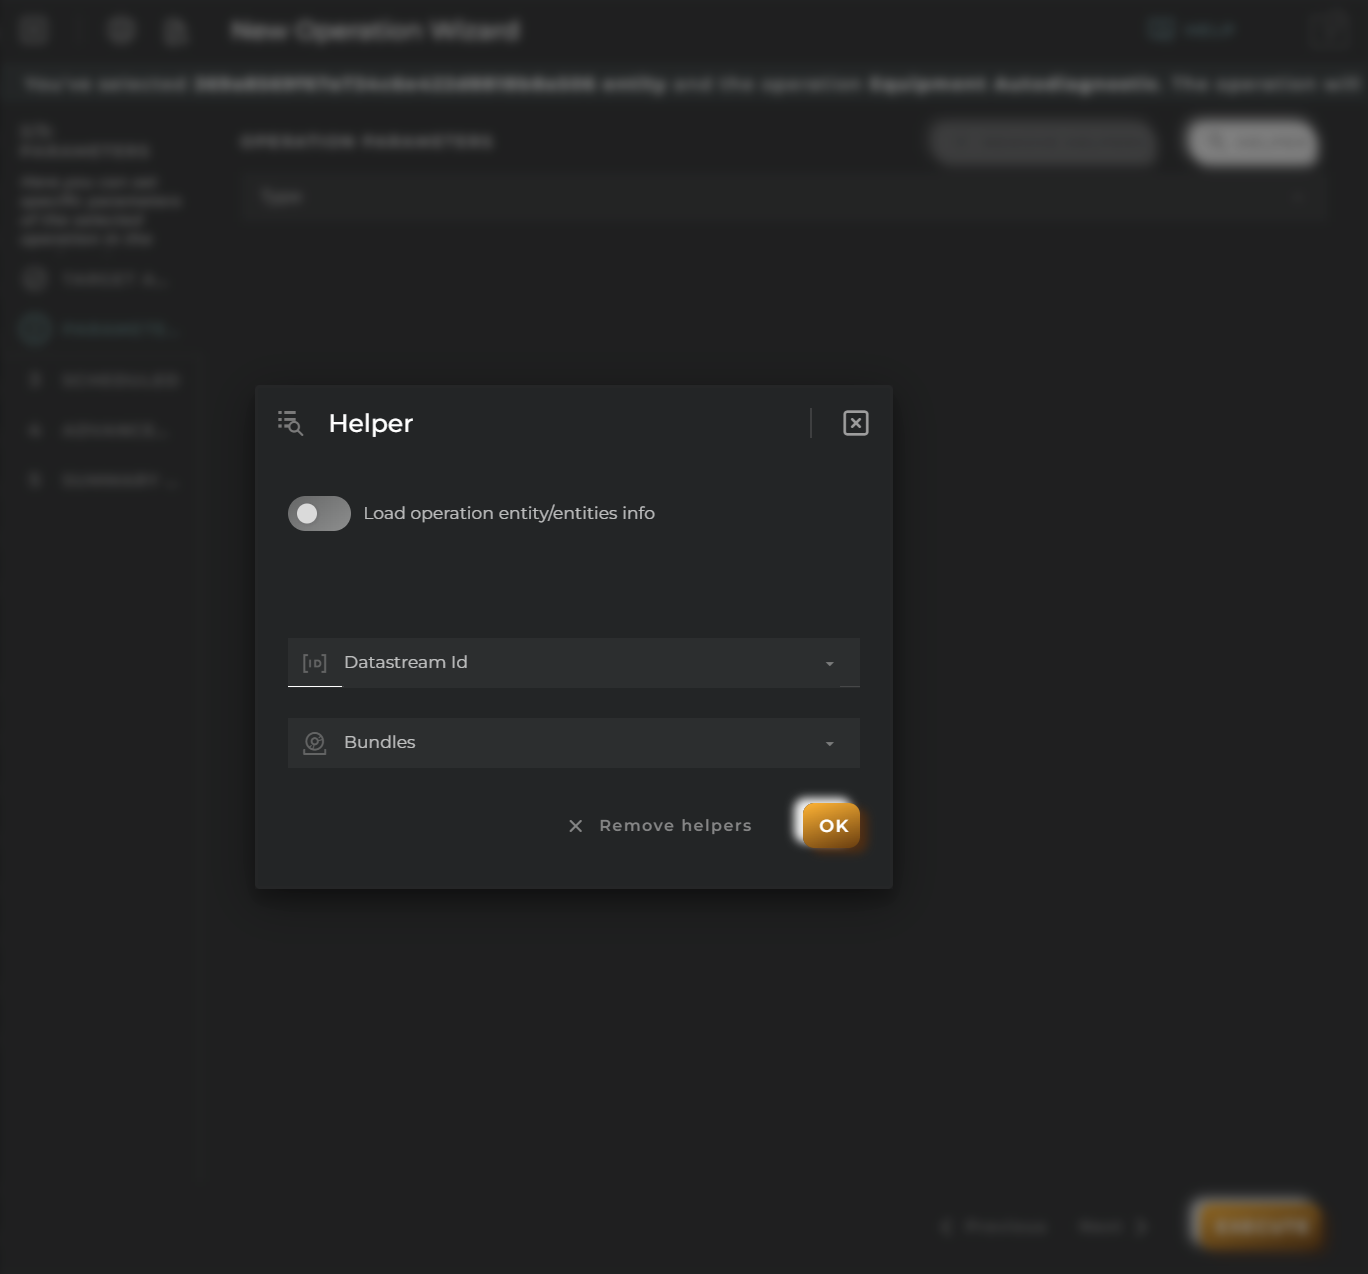
The helper option allows you to add previously created packages and datastreams, in addition to enabling or disabling the Loading entity/operation information.
Helper HelperModal

Scheduled

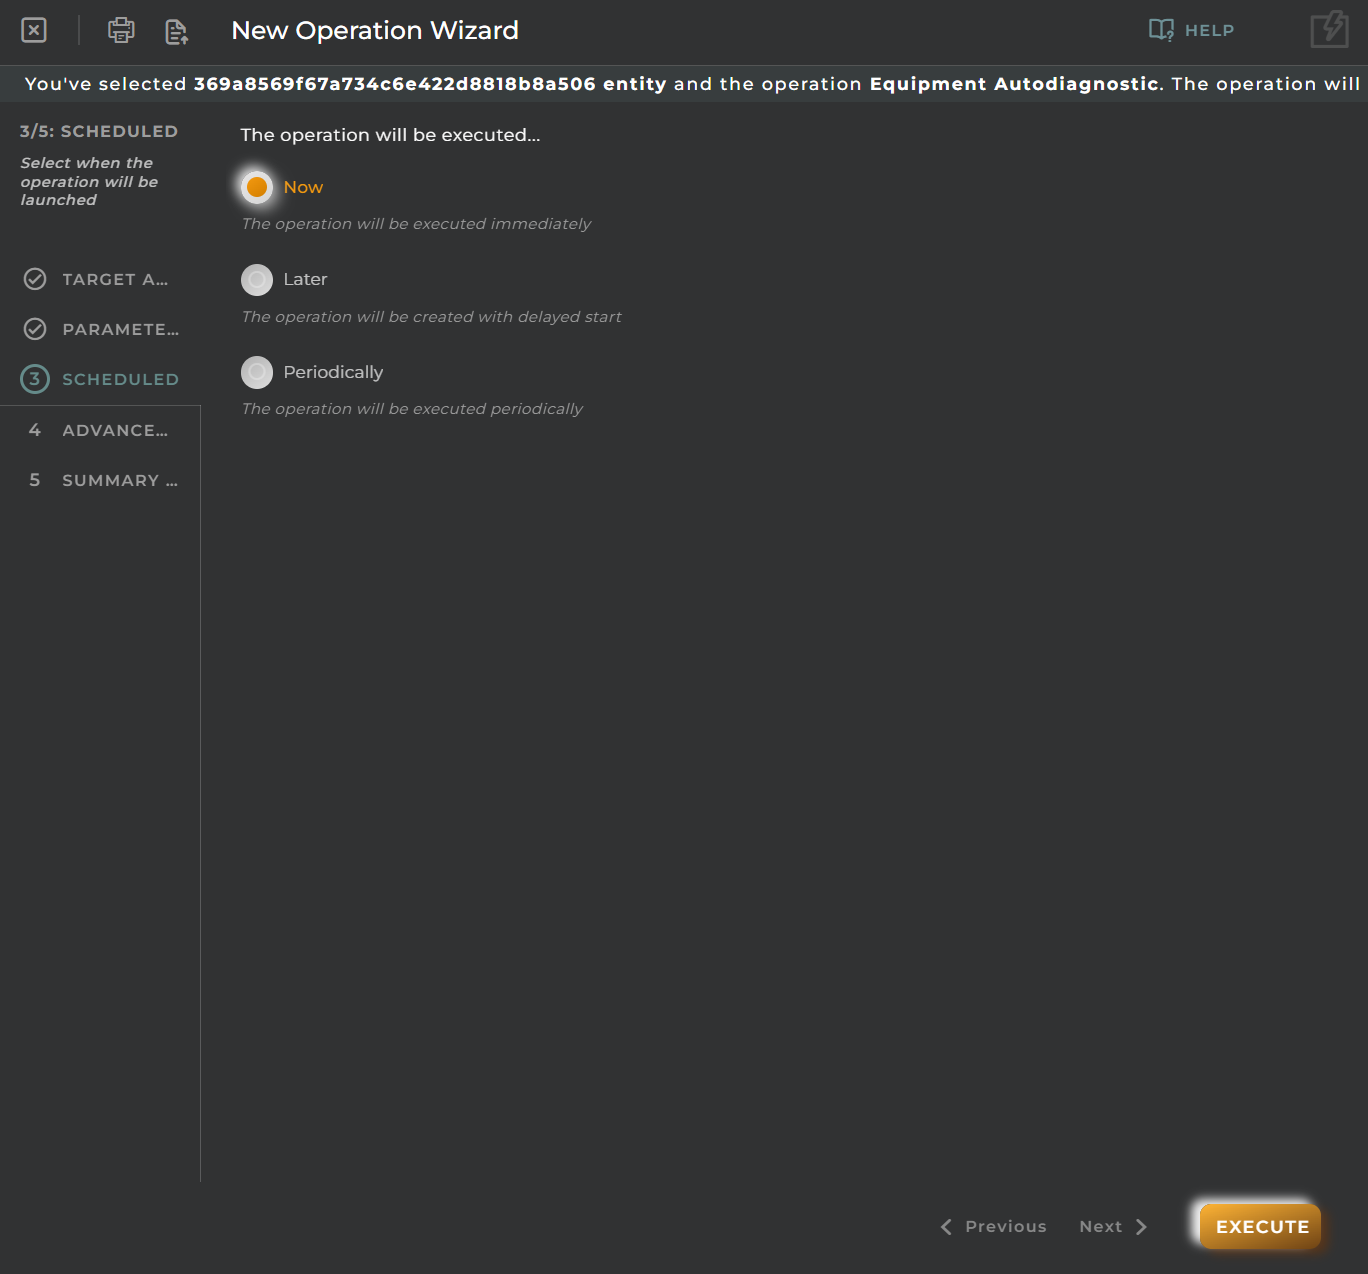
Set when the operation will be executed.
Planning

The following sections show the different options available.

Now

The operation will be executed immediately.

Later

Set the time to pass (in minutes) before executing the operation.

Each option:

Set the frequency with which the operation will be executed.

Fields:

  • Number of minutes: Set the number of minutes to pass until the next execution.

For example: I want to run the operation every 3 minutes.

Periodically

Configure the periodic execution.

Fields:

  • Name of periodicity: Give a name to the execution.
  • Date when the operation will be executed: Set the date on which the execution will start.
  • Date when the operation will be executed:
  • Date: Set the date on which the execution will start.
  • Hour: Set the time at which each execution will start.
  • By repetitions: Set the number of repetitions of execution. If left empty, the execution will be repeated indefinitely.

Advanced Options

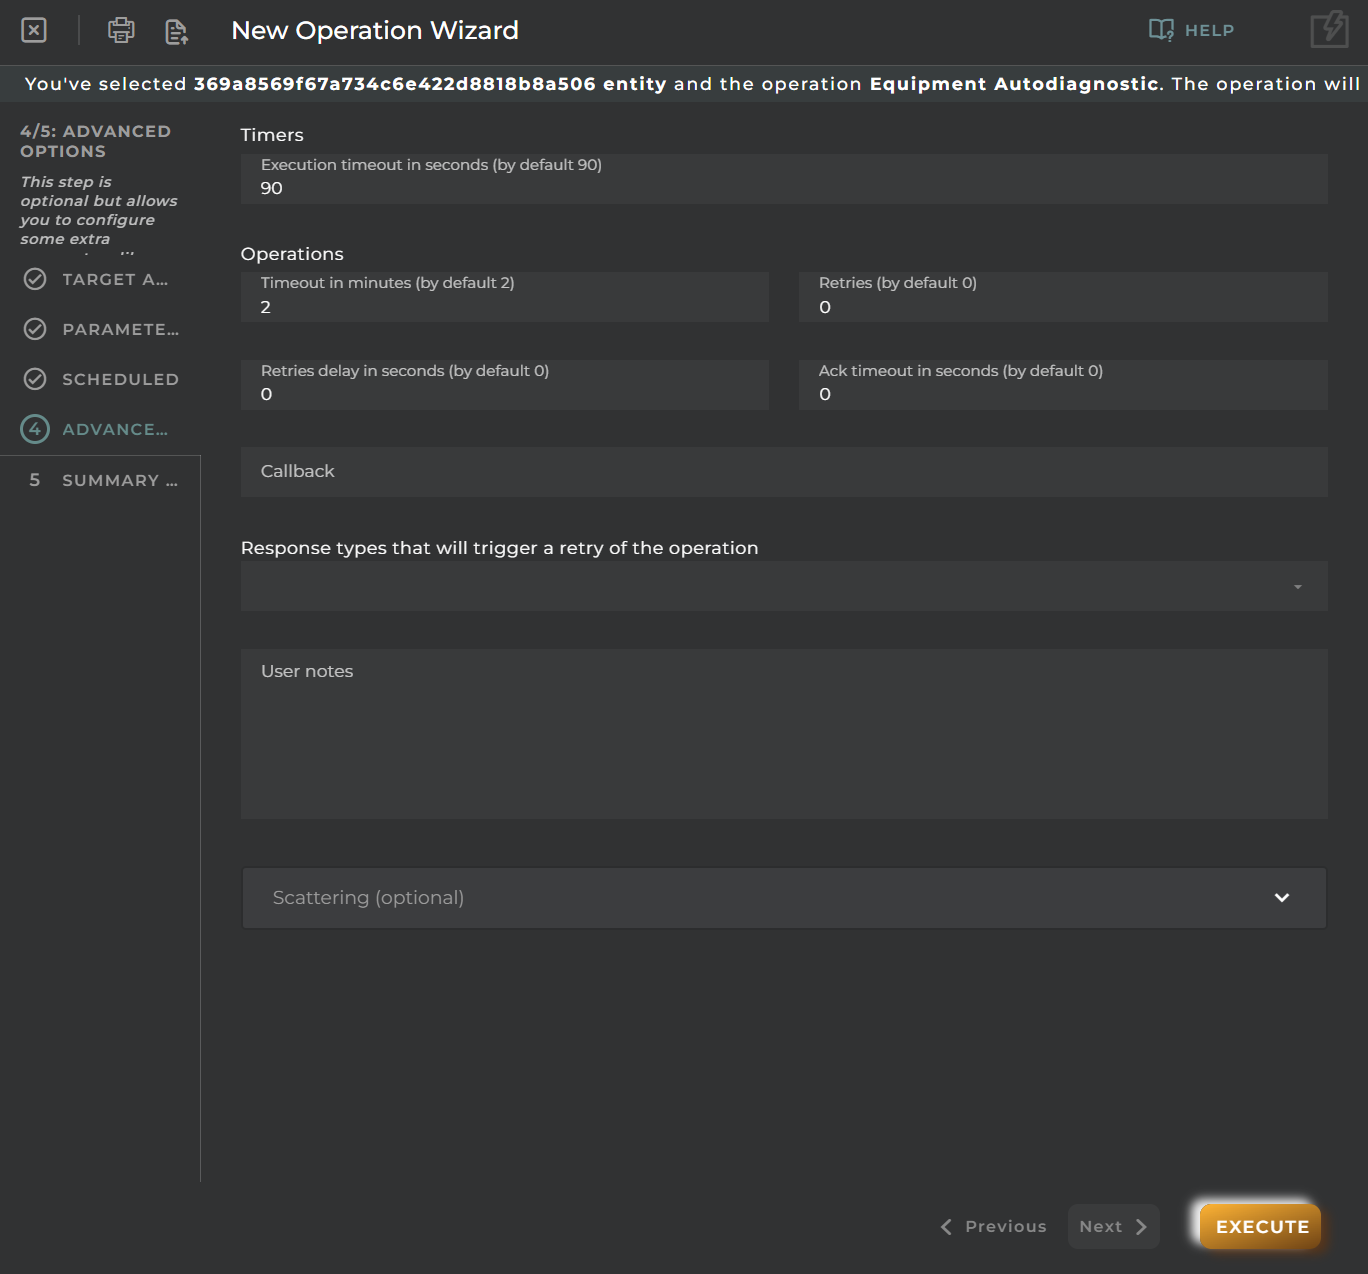
Here you can manage advanced features for execution like timers, scattering, and others.
Advanced

Timers

In this step, you can set different timers for the operation.

You could already finish setting up the operation.

  • Execution timeout: In seconds. Timeout for the execution of the operation on a single entity configured in step “Select target”. If the timeout is exceeded, the operation will be canceled for that entity.
  • Timeout in minutes: Timeout for the execution of the operation on the set of all entities set in step “Select target”. If the timeout is exceeded, the operation will be canceled for the entire group of entities.
  • Retries: Number of retries before canceling the operation of a single entity when it has expired the timeout operation.
  • Retries delay in seconds: Waiting time between retries.
  • Ack timeout in seconds: Timeout for a single entity to accept the execution of the operation. If the operation has not been accepted by the entity at the end of the timeout, it will be canceled.

Other options

In this step, you can set other options of the operation.

  • Response types: Response types that will trigger a retry of the operation.

  • Callback: URI format defined in RFC 3986. Only HTTP transport supported. Allows enabling Notifications to be sent to an application. The platform will add to this URI the name of the specific callback.

  • User notes: Space to write anything about the operation.

  • Max spread: represents a percentage of the timeout job, will be a value between 0 and 90, where 0 is the minimum time, i.e., operations run as fast as possible and 90 is the maximum time i.e., operations will spread throughout the time available to run the job, the job time out, the default value is 0. NOTE: This option is only available when a operation is executed using a filter.

Summary

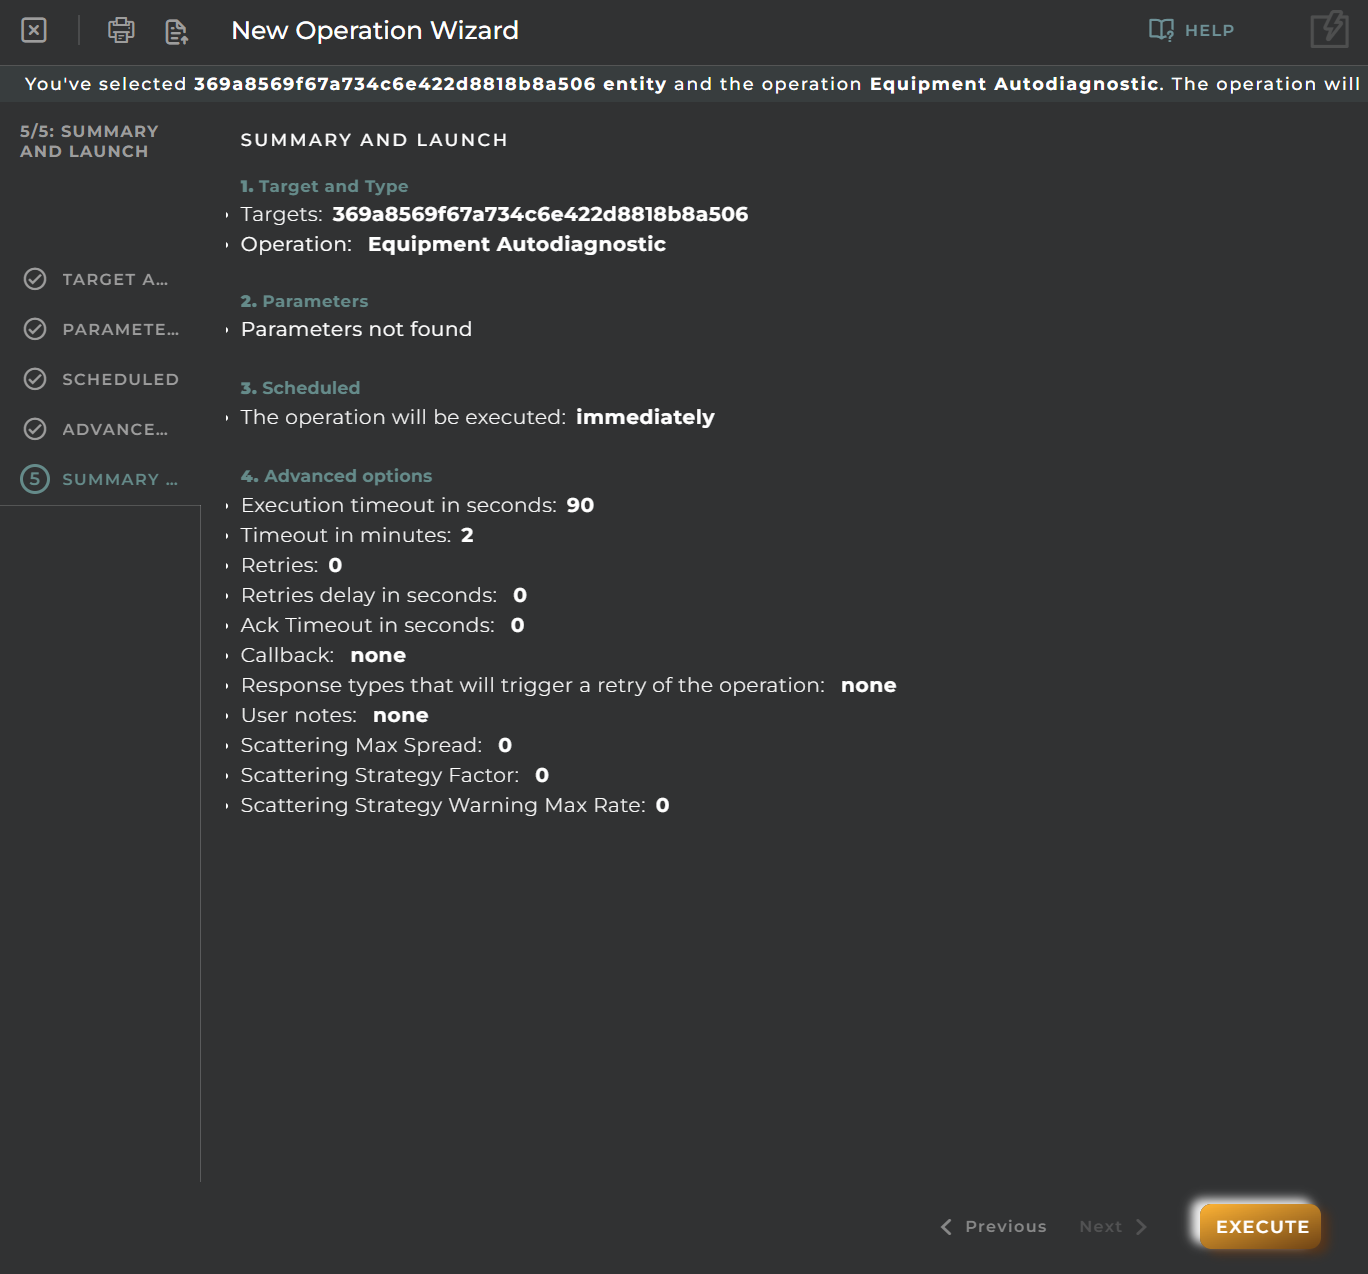
Here you can review the configuration of the execution before the launch.
Advanced

Import/Export Configuration

Allows you to import and export the wizard’s configuration via JSON.
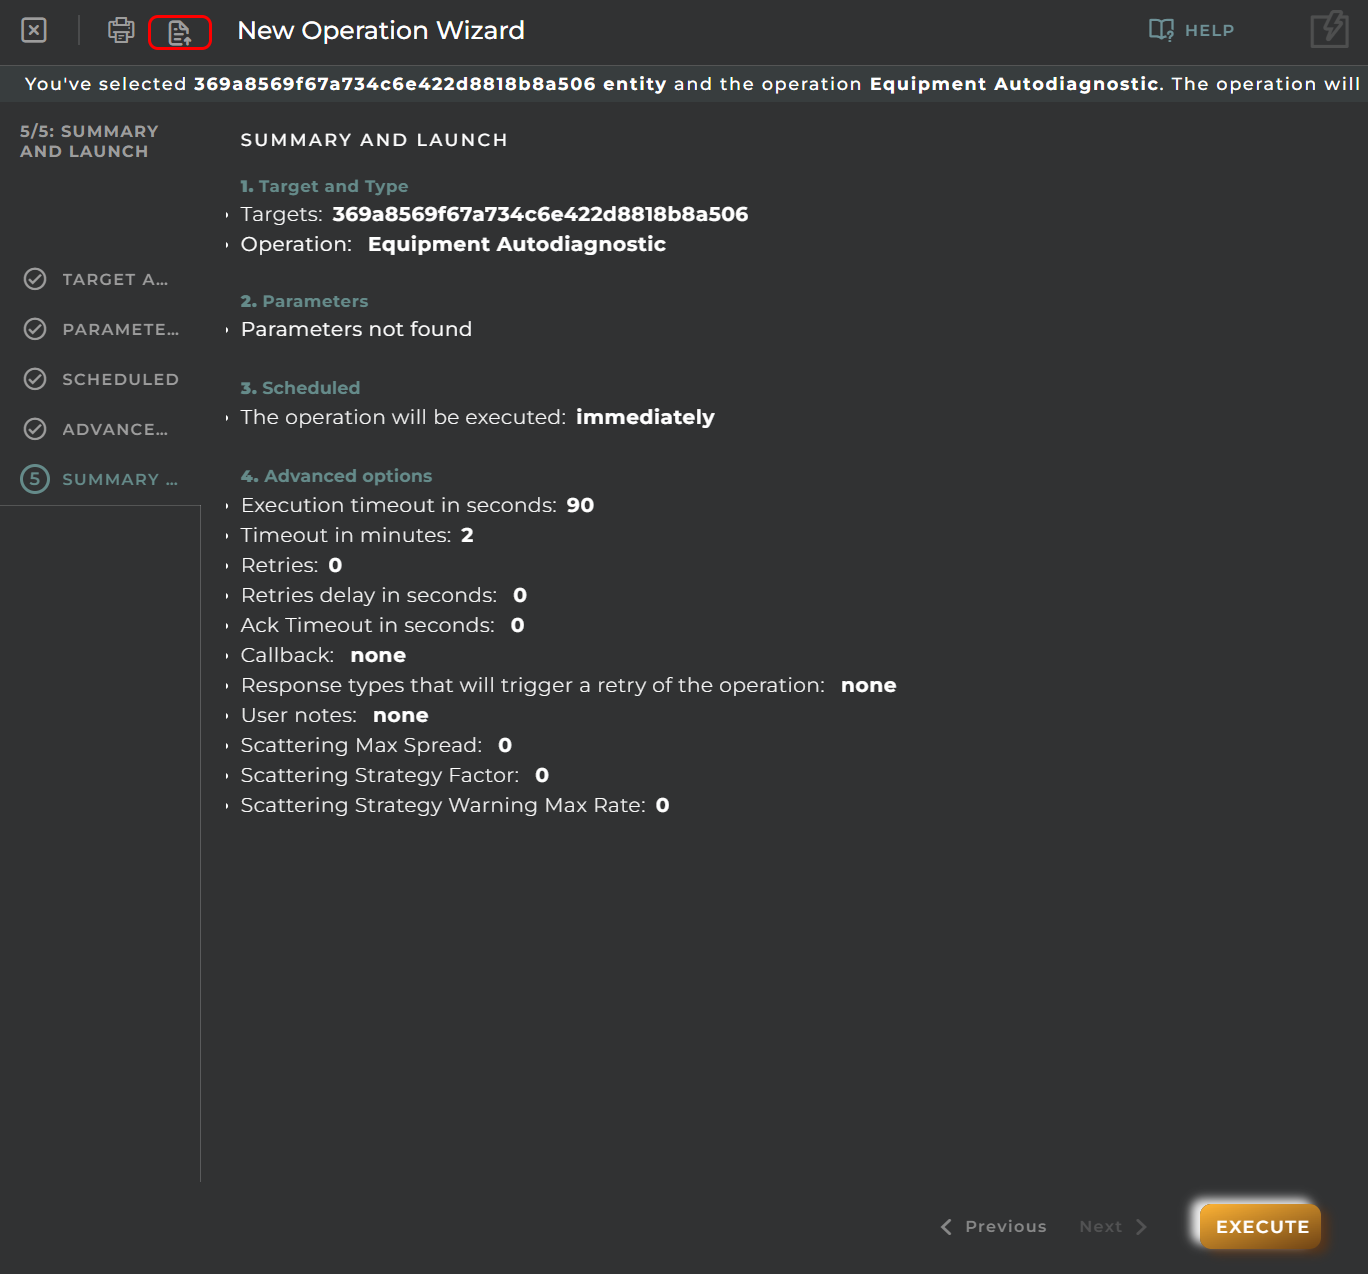
btnJson

When accessing the import and export functionality, it displays a window with various actions. Additionally, it presents the configuration of the wizard in JSON format.

The available actions are as follows:

  • Upload Json: Uploads a JSON file and replaces the previous JSON configuration.
  • Paste from clipboard: Pastes JSON data from the clipboard and replaces the previous JSON configuration.
  • Download Json: Downloads the JSON configuration as a file with the wizard’s name.
  • Copy to clipboard: Copies the JSON configuration to the clipboard.
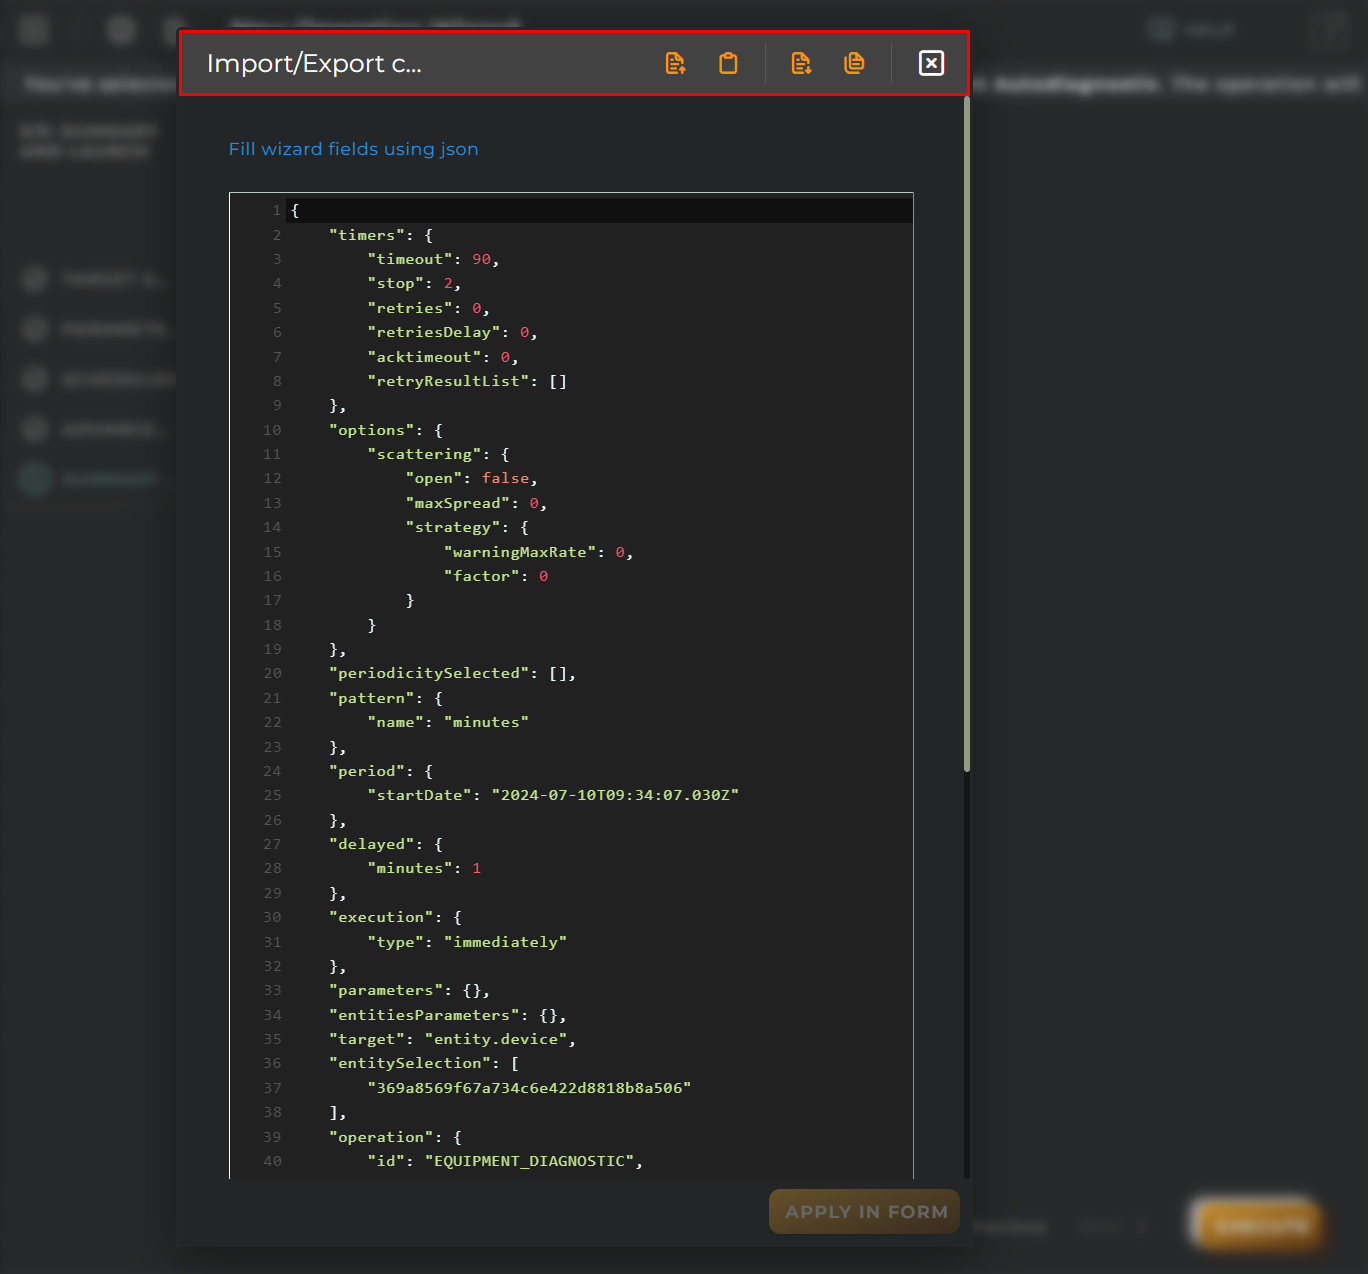
items

Data collection

Allows collecting data from data points.

Steps

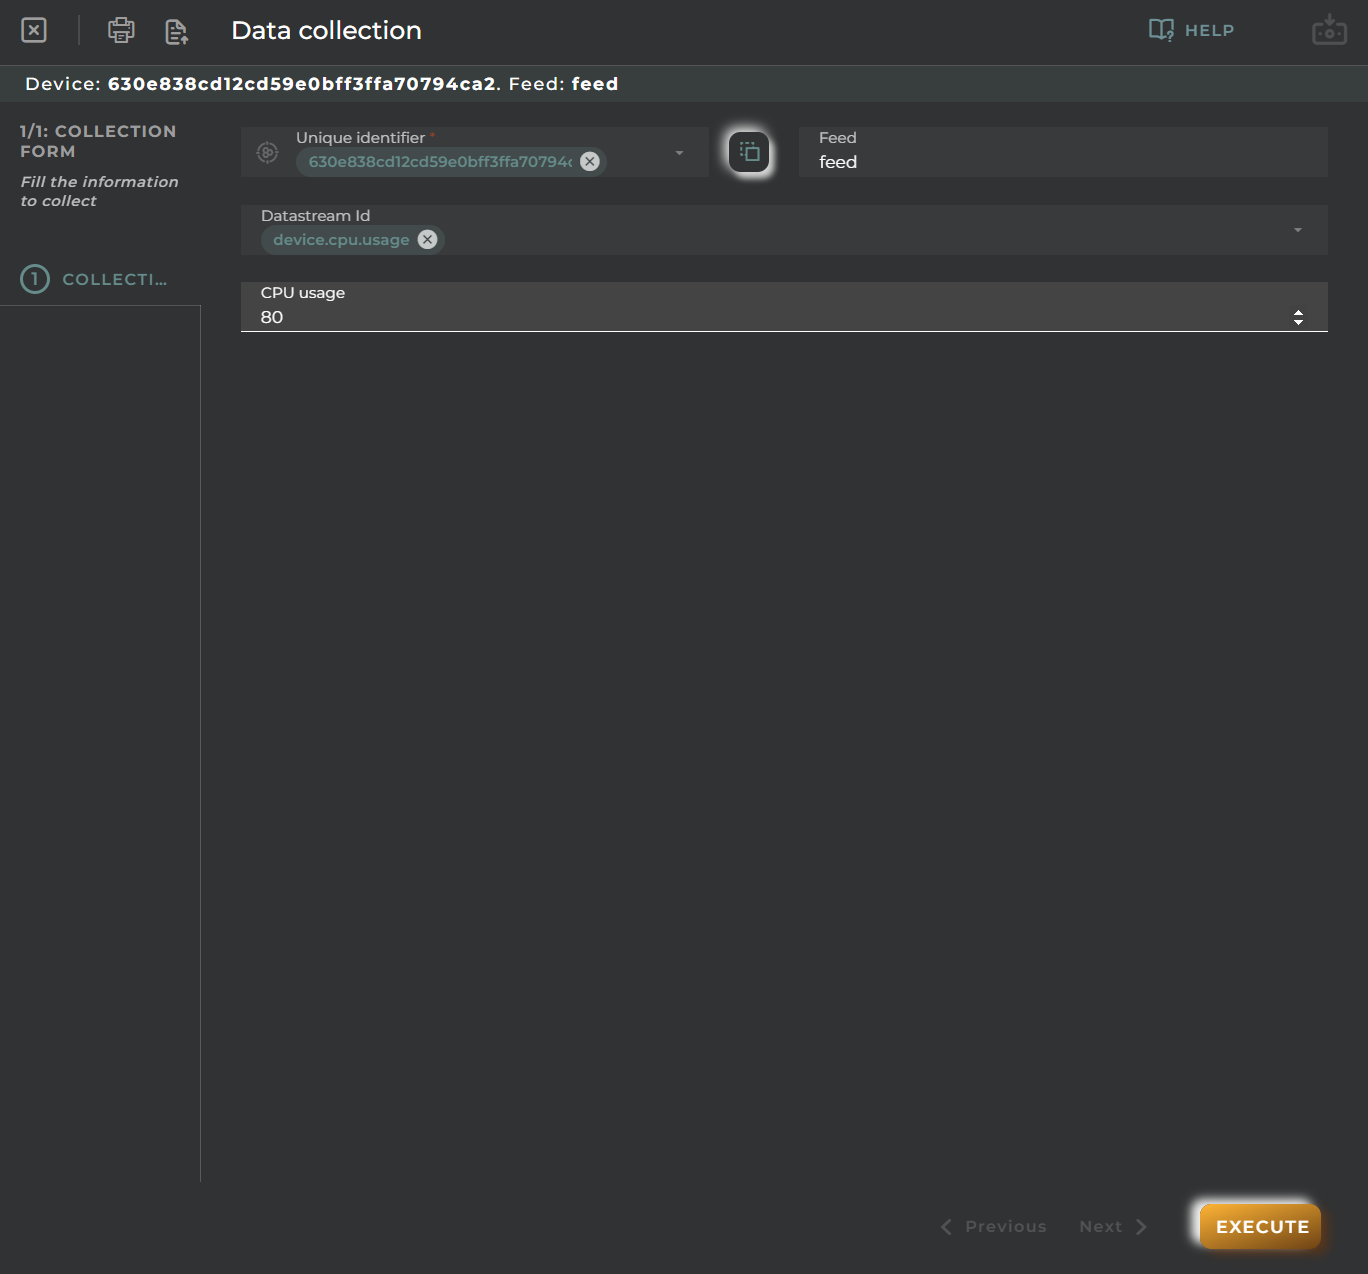
Collection Form

Essential data for registering and identifying data collection in the platform.

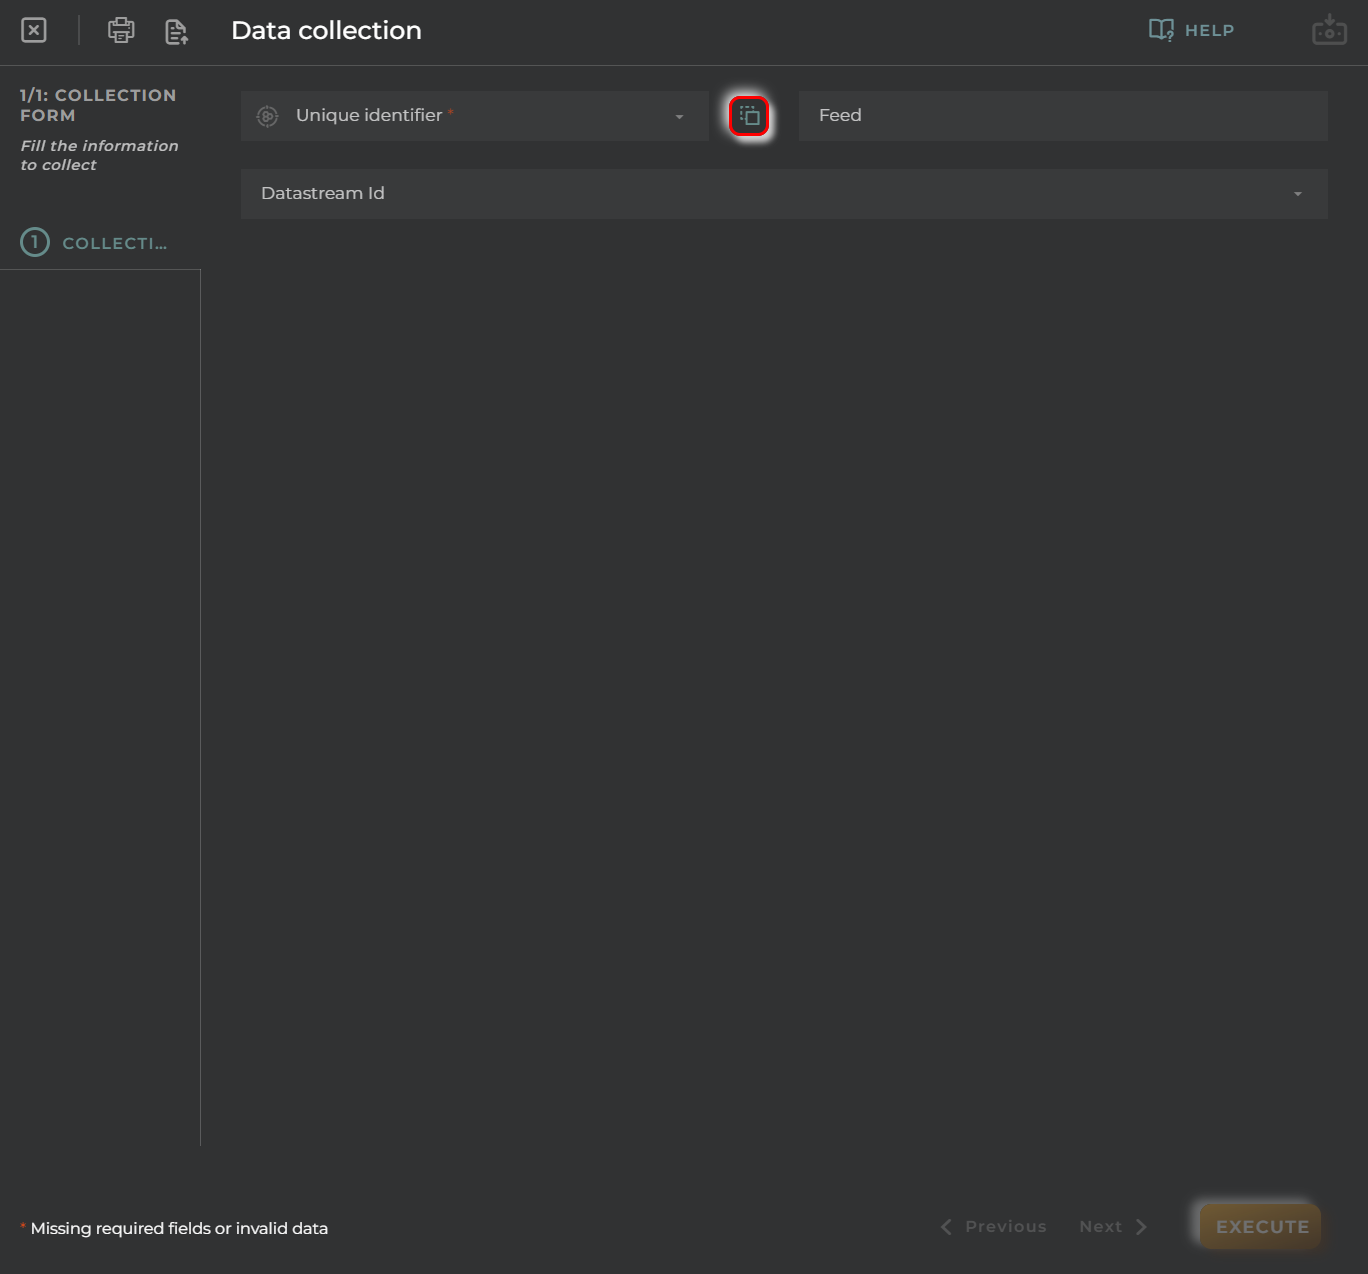
In the Unique identifier field, you can select an entity.device. In addition, it opens a menu when you click on the three dots.

Menu

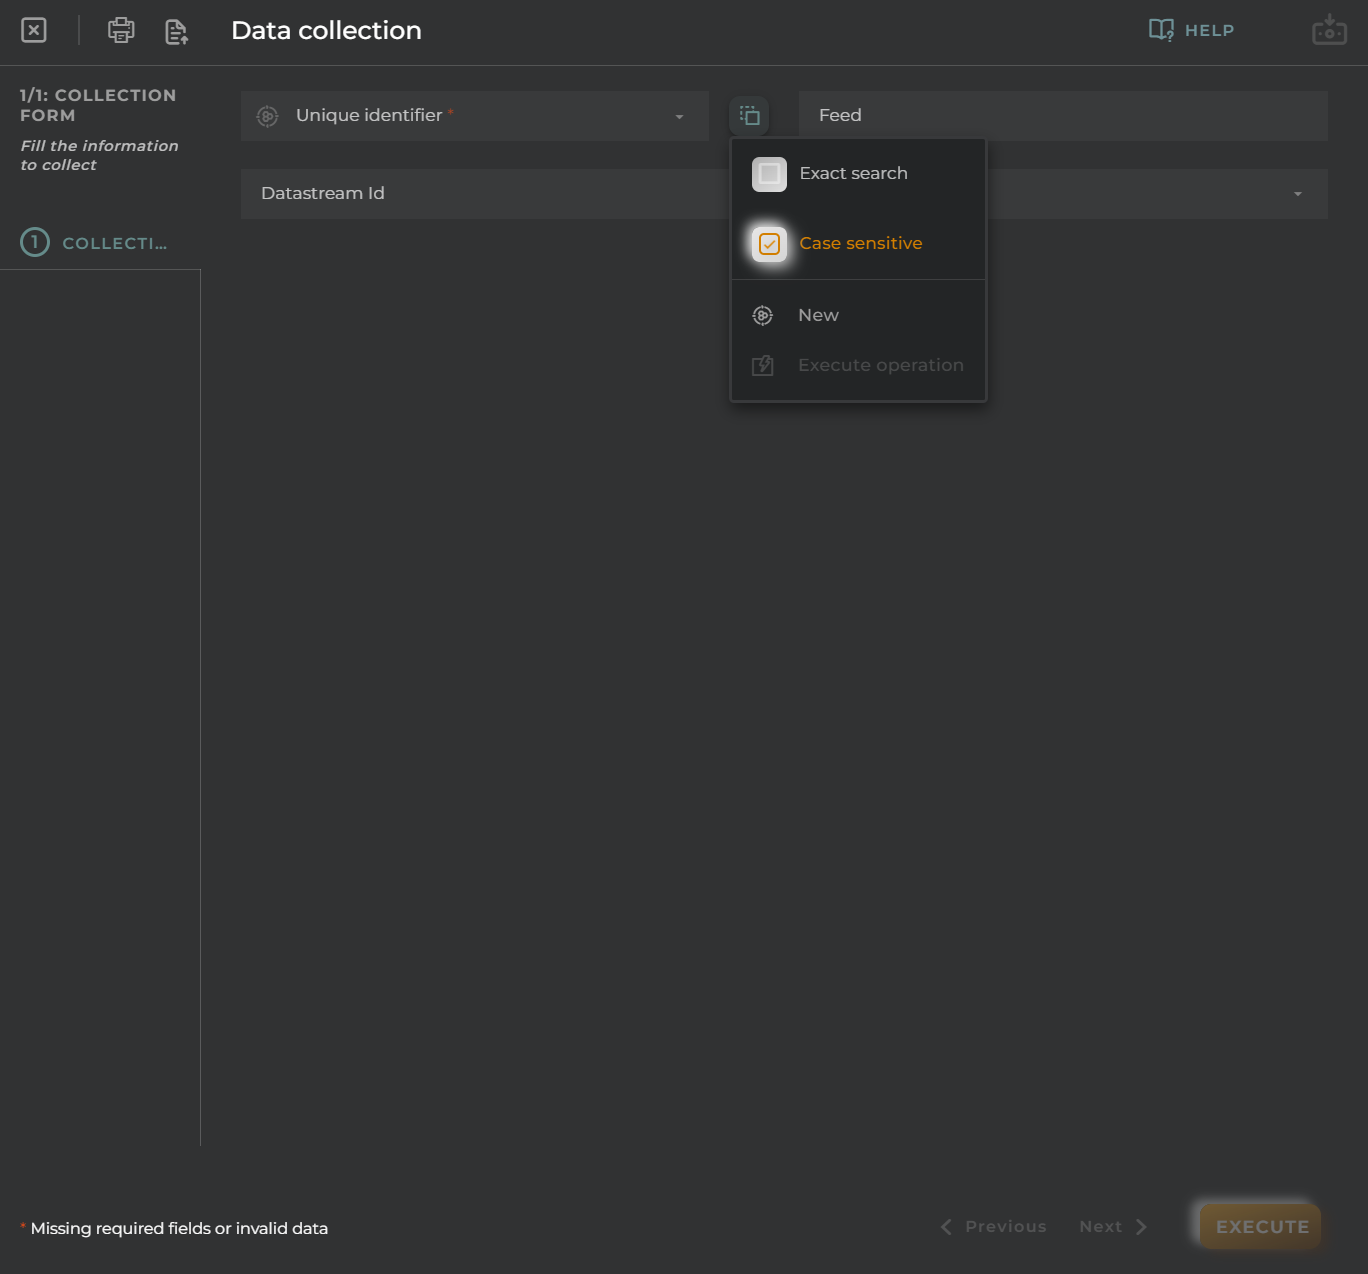
The menu allows you to perform the following actions:

Exact search: Enables an exact search for the identifier. Case sensitive: The search is case-sensitive. New: Opens the device wizard and allows its creation. Execute operation: Opens the wizard for creating a new operation. You need to have selected a unique identifier for this to be available.

Options

You can fill out the wizard with the following fields, which are not mandatory:

  • Feed: Used to label a data point.
  • Data Stream id: Select one or more data streams for data collection. Depending on the selected data stream, different fields will appear for filling out and collecting data.
Creation

Image Execution Scheduler

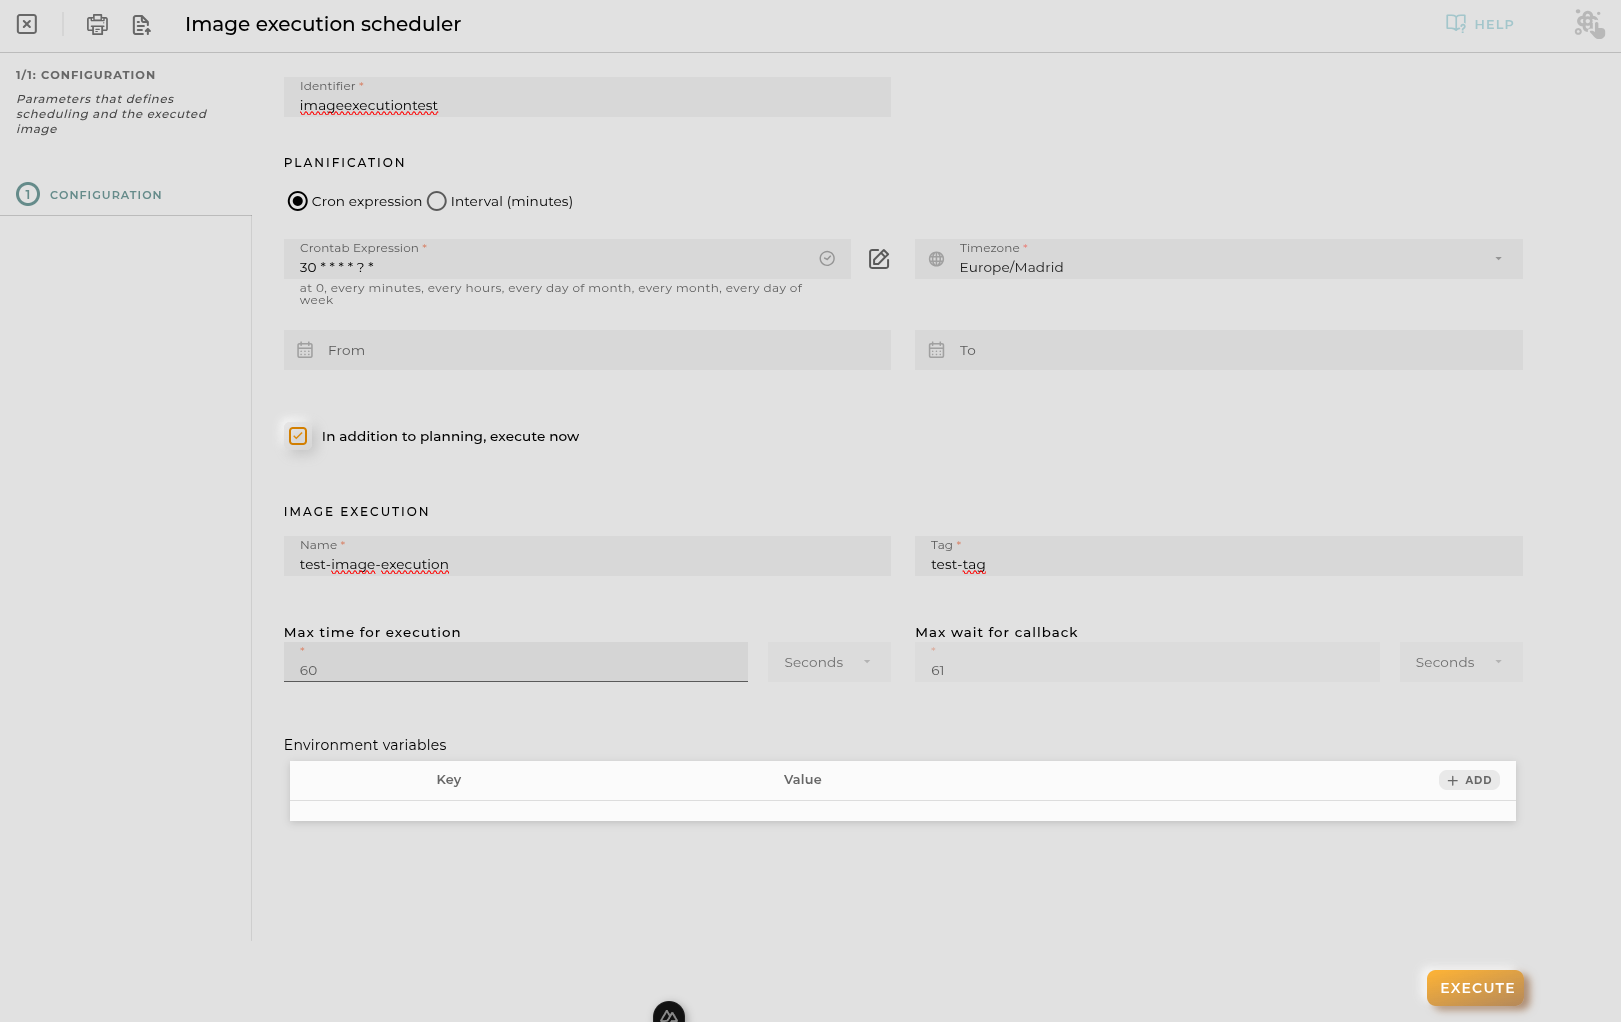
Allows scheduling the execution of an image.

Steps

Image Execution Form

Essential data for registering and identifying an image execution in the platform.

Not all fields are mandatory.

Identifier: The email address must be valid.

Name: The name of the image.

Tag: The tag of the image.

Max time for execution: The maximum time to wait for the execution to complete.

Max wait for callback: The maximum time to wait for the callback to complete. This value must be greater than the max time for execution.

Environment variables: Environment variables to be used for the execution.

Planification

There is two options for planification:

Cron Expression

Cron expression: The cron expression to be followed.

Timezone: The timezone to be used for the cron expression.

Interval

Interval (minutes): The interval in minutes to be followed.

Both options are mutually exclusive. Also you can define a start and end date for the schedule.

From Date: The date when the schedule should start.

To Date: The date when the schedule should end.

Finally you can mark the Execute now checkbox to execute the request immediately after creation apart from the schedule.

Creation

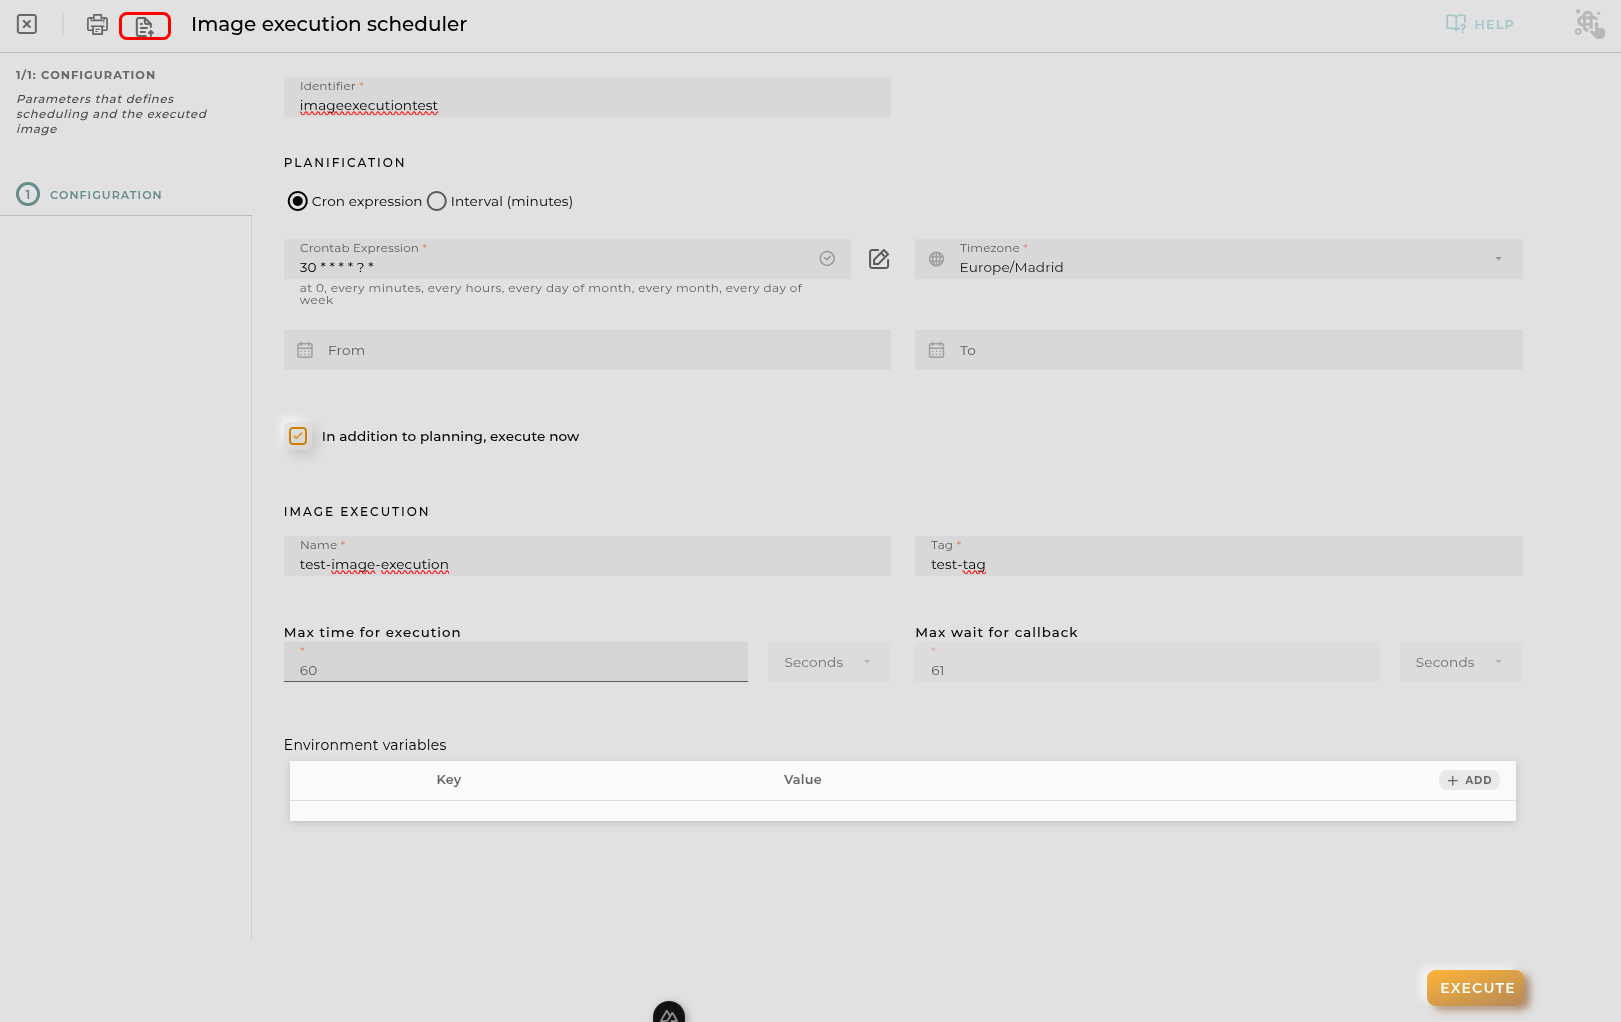
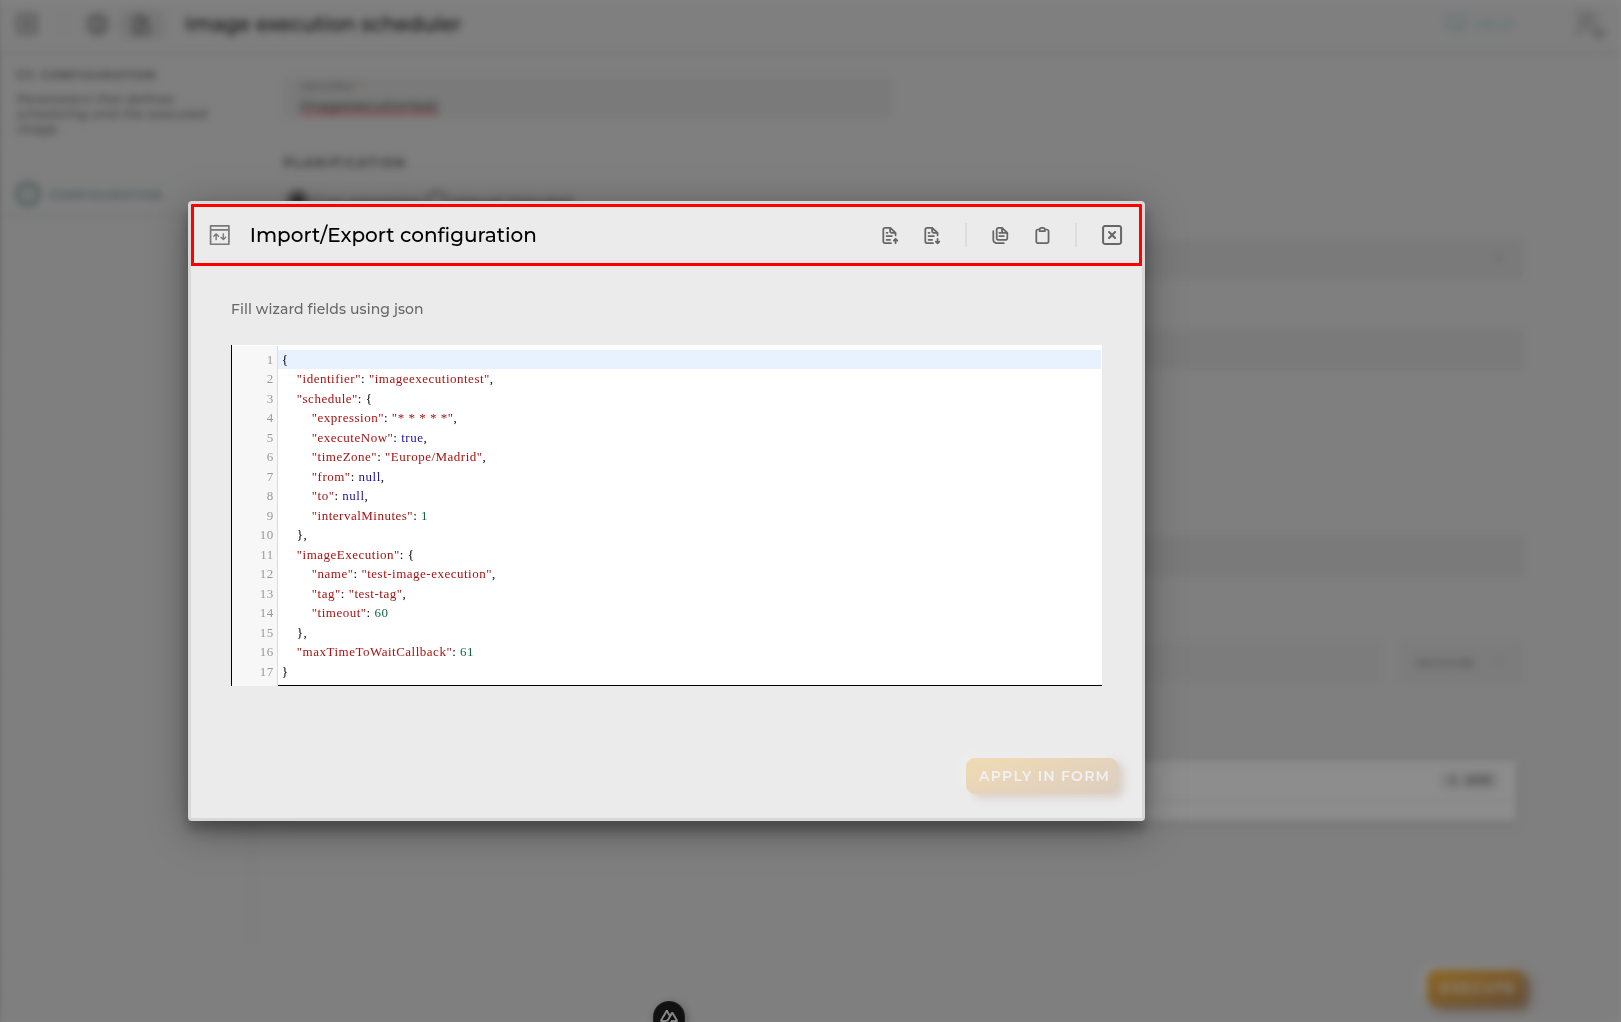
Import/Export Configuration

Allows you to import and export the wizard’s configuration via JSON.

btnJson

When accessing the import and export functionality, it displays a window with various actions. Additionally, it presents the configuration of the wizard in JSON format.

The available actions are as follows:

  • Upload Json: Uploads a JSON file and replaces the previous JSON configuration.
  • Paste from clipboard: Pastes JSON data from the clipboard and replaces the previous JSON configuration.
  • Download Json: Downloads the JSON configuration as a file with the wizard’s name.
  • Copy to clipboard: Copies the JSON configuration to the clipboard.
items

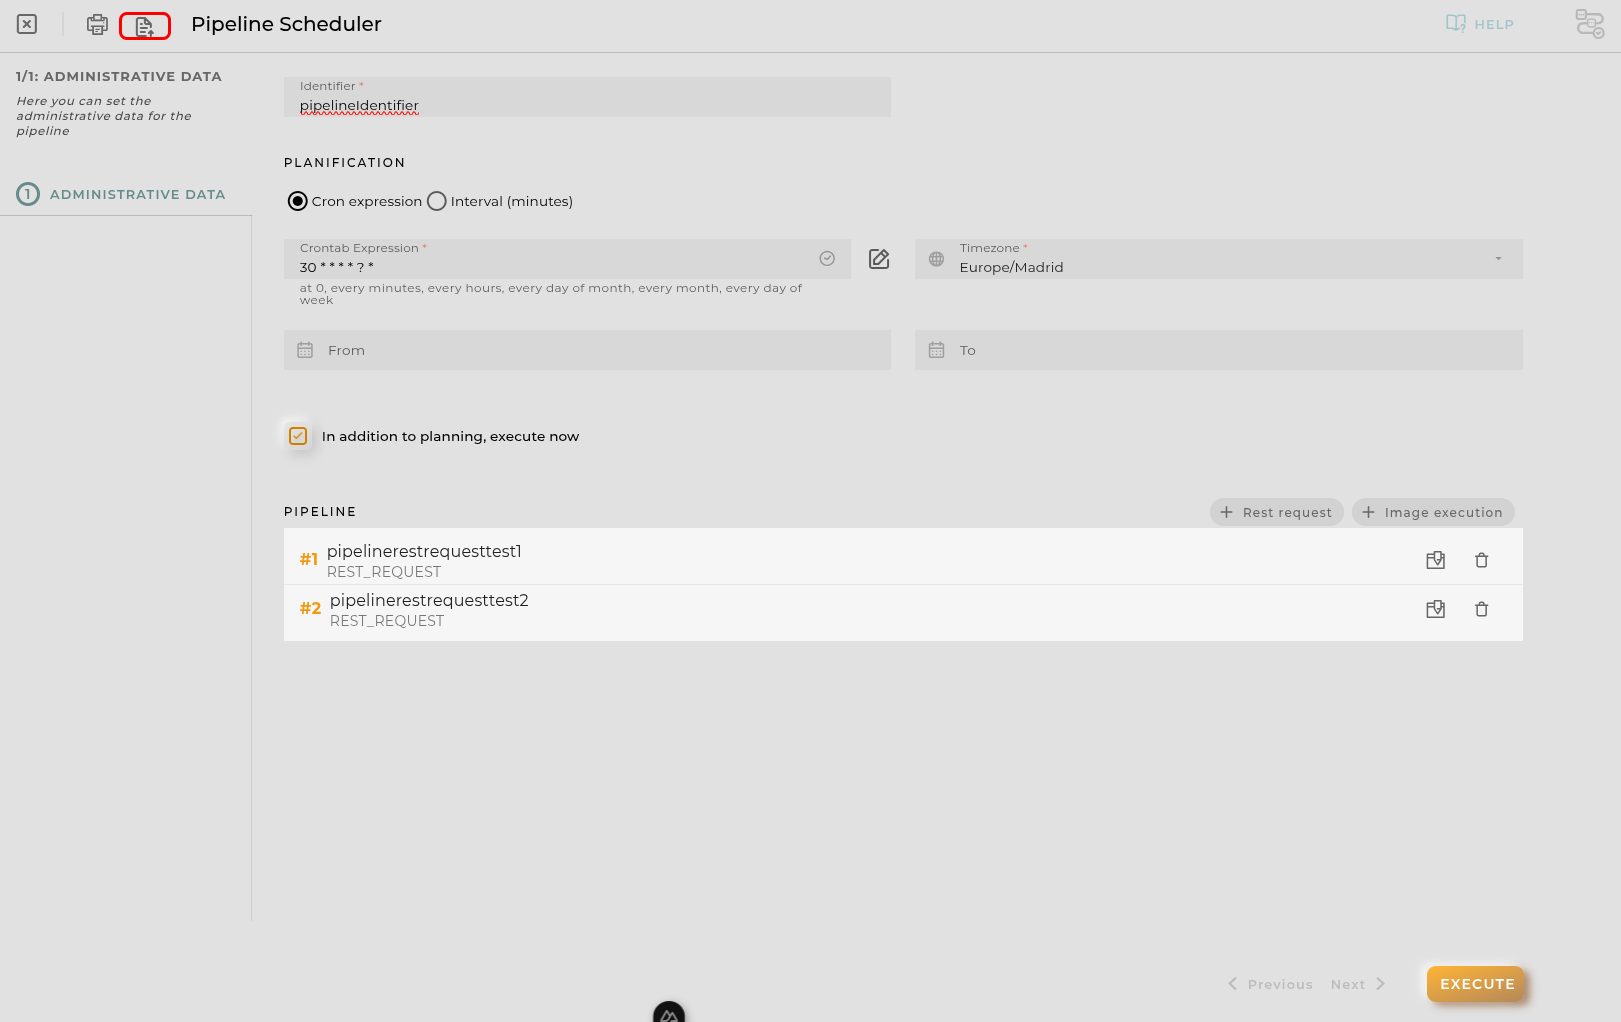
Pipeline Processor Scheduler

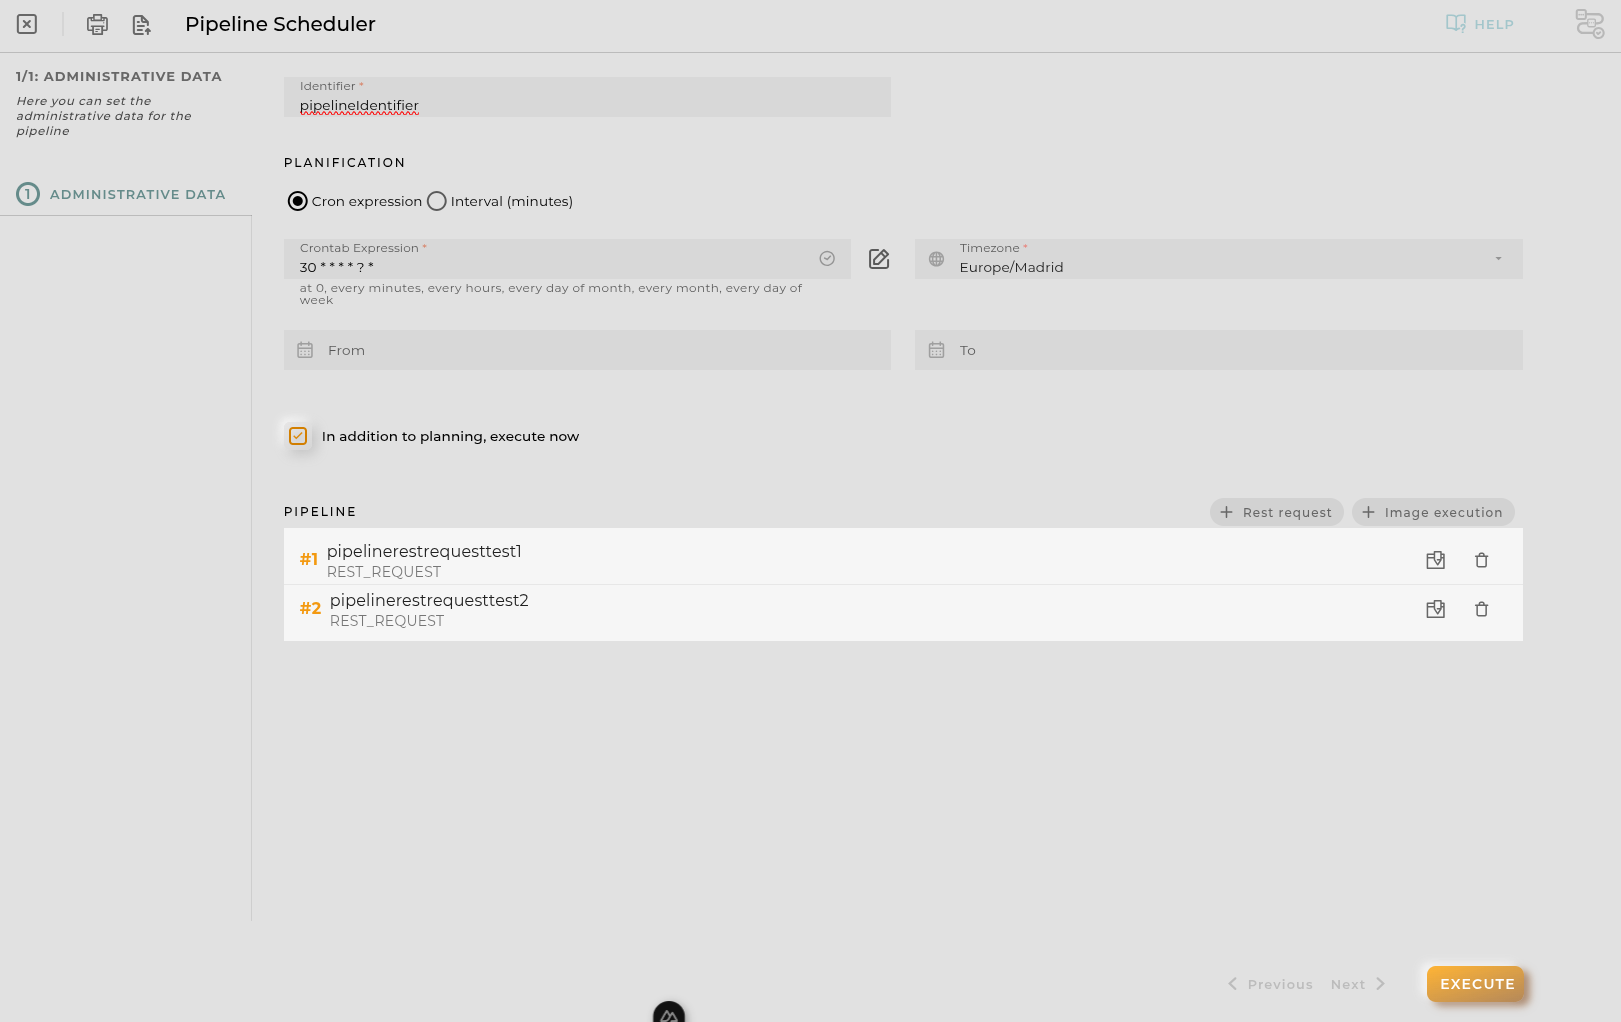
Allows scheduling a Pipeline Processor. With a pipeline processor you can execute multiple pipelines and rest requests in a scheduled way.

Steps

Pipeline Processor Form

Essential data for registering and identifying a pipeline processor in the platform.

Identifier: The identifier of the pipeline processor.

Image Executions: The images to be executed.

Rest Requests: The rest requests to be executed.

Each one will be executed in sequence. You can reorder the sequence by dragging and dropping the items. It requires at least 2 items in pipeline.

Planification

There is two options for planification:

Cron Expression

Cron expression: The cron expression to be followed.

Timezone: The timezone to be used for the cron expression.

Interval

Interval (minutes): The interval in minutes to be followed.

Both options are mutually exclusive. Also you can define a start and end date for the schedule.

From Date: The date when the schedule should start.

To Date: The date when the schedule should end.

Finally you can mark the Execute now checkbox to execute the request immediately after creation apart from the schedule.

Creation

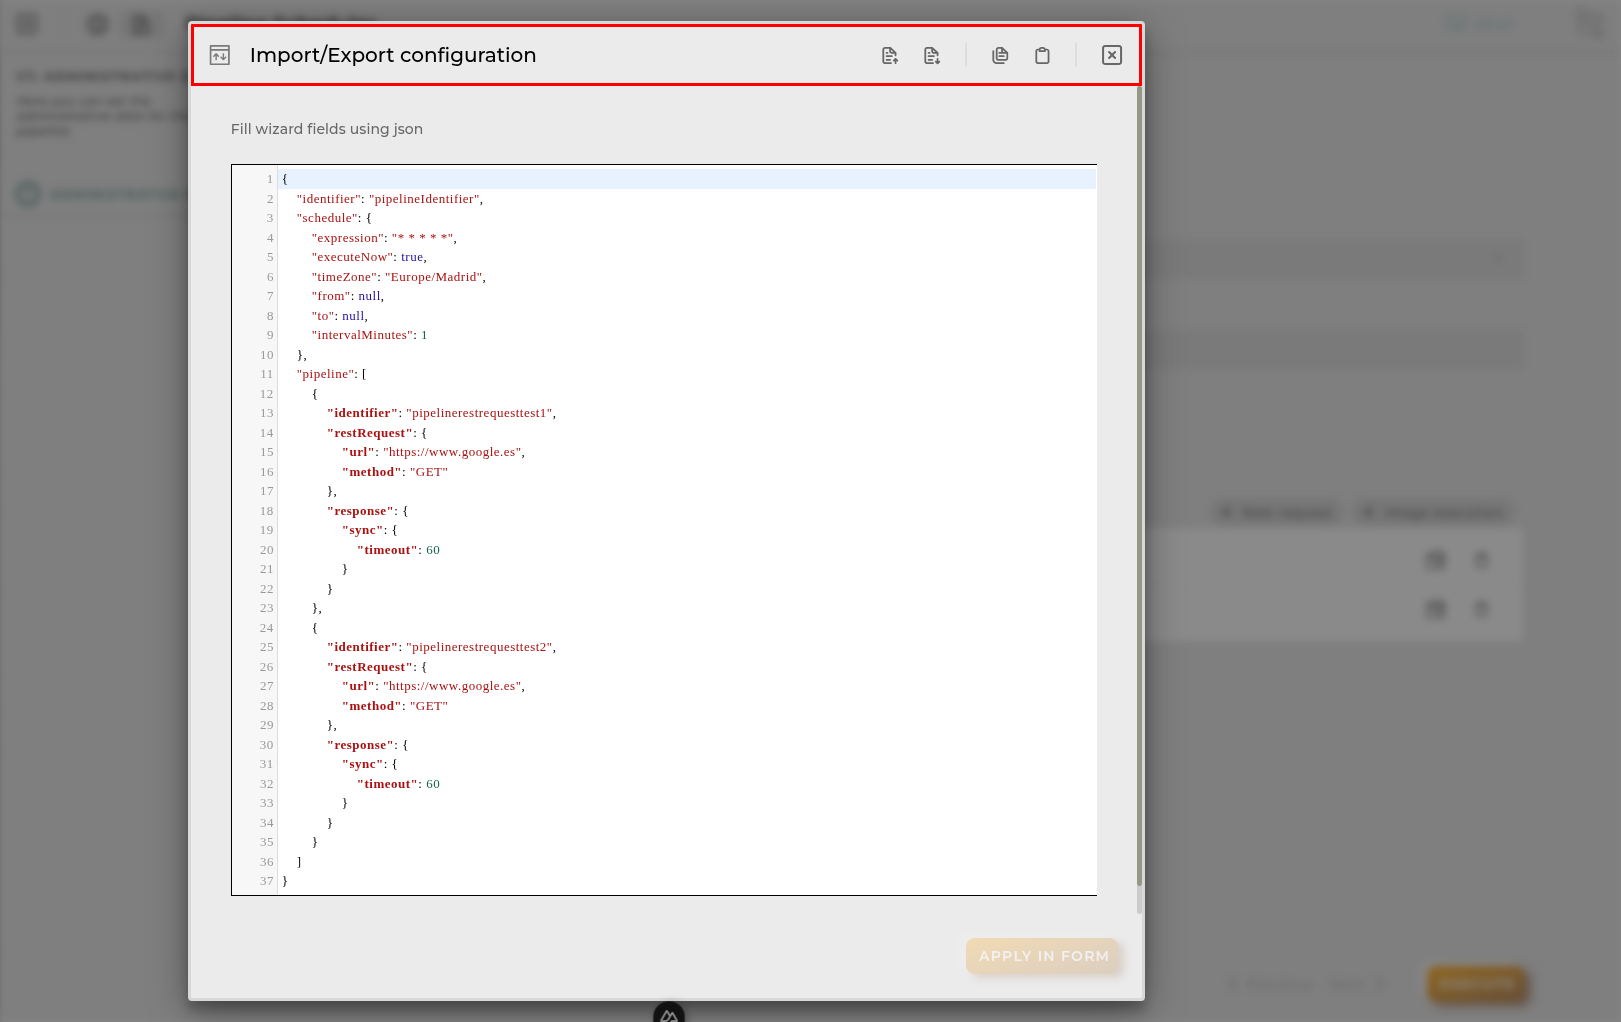
Import/Export Configuration

Allows you to import and export the wizard’s configuration via JSON.

btnJson

When accessing the import and export functionality, it displays a window with various actions. Additionally, it presents the configuration of the wizard in JSON format.

The available actions are as follows:

  • Upload Json: Uploads a JSON file and replaces the previous JSON configuration.
  • Paste from clipboard: Pastes JSON data from the clipboard and replaces the previous JSON configuration.
  • Download Json: Downloads the JSON configuration as a file with the wizard’s name.
  • Copy to clipboard: Copies the JSON configuration to the clipboard.
items

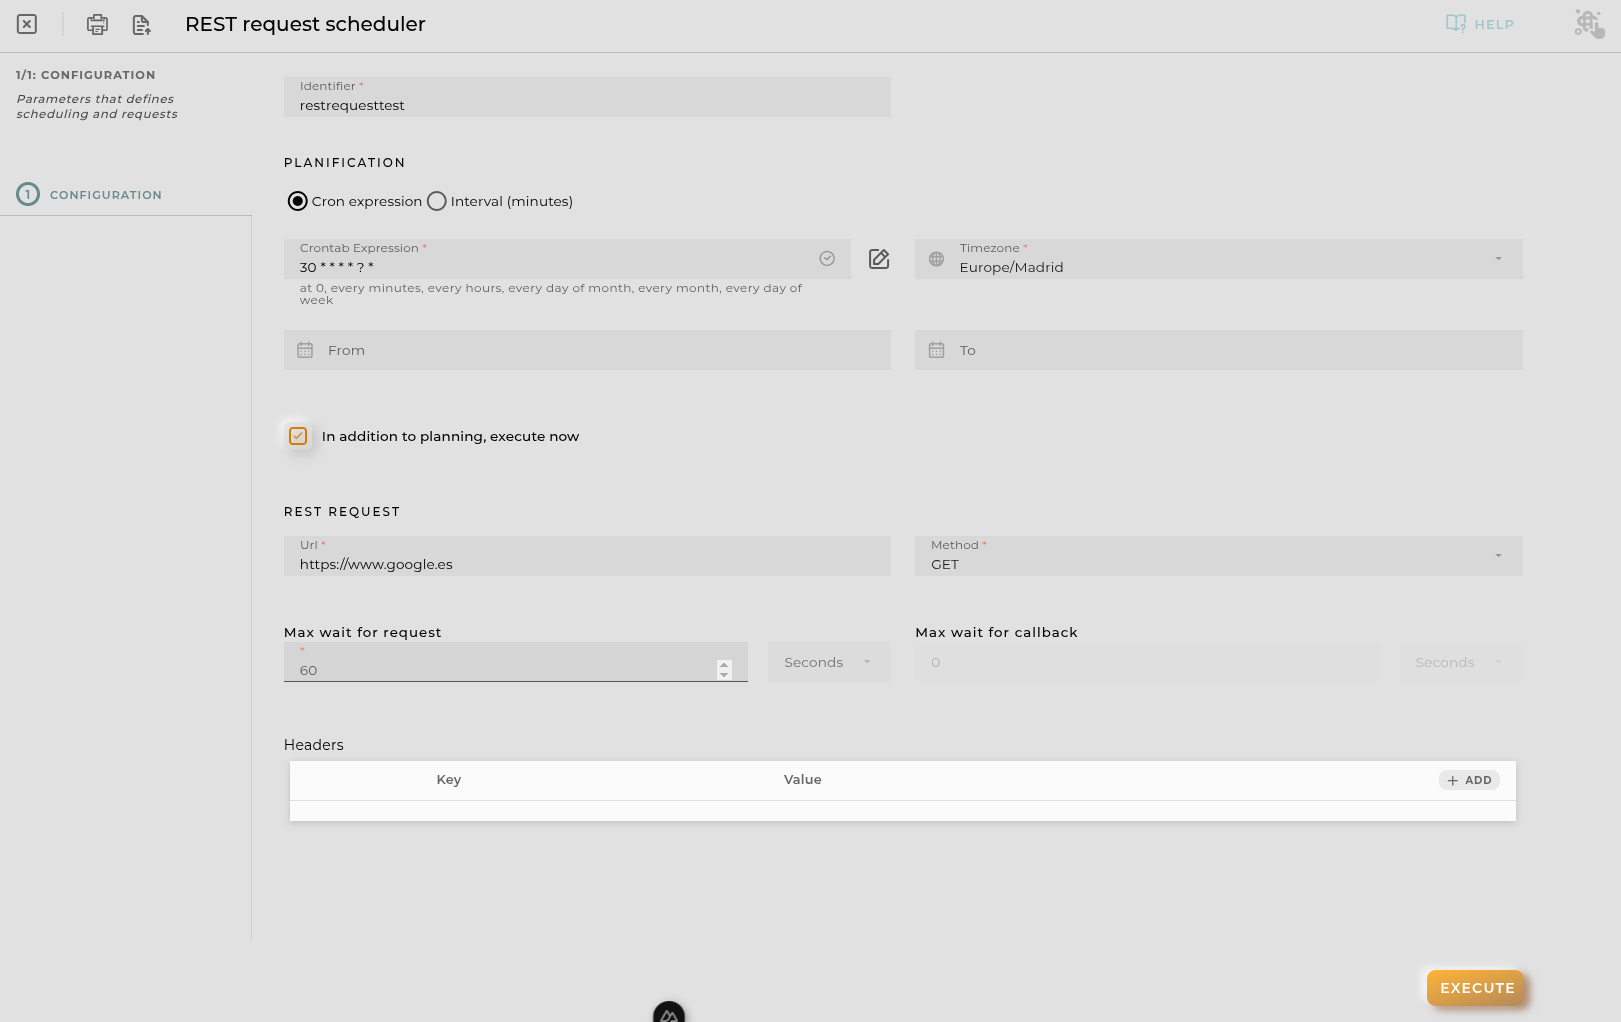
Rest Request Scheduler

Allows scheduling a Rest Request.

Steps

Rest Request Form

Essential data for registering and identifying a rest request in the platform.

Not all fields are mandatory.

Identifier: The email address must be valid.

Url: The url to be called.

Method: The method to be called.

Max wait for request: The maximum time to wait for the request to complete (excludes the time to wait for the callback).

Max wait for callback: The maximum time to wait for the callback to complete (excludes the time to wait for the request).

Headers: Headers to be sent with the request.

Body: Body to be sent with the request.

Planification

There is two options for planification:

Cron Expression

Cron expression: The cron expression to be followed.

Timezone: The timezone to be used for the cron expression.

Interval

Interval (minutes): The interval in minutes to be followed.

Both options are mutually exclusive. Also you can define a start and end date for the schedule.

From Date: The date when the schedule should start.

To Date: The date when the schedule should end.

Finally you can mark the Execute now checkbox to execute the request immediately after creation apart from the schedule.

Creation

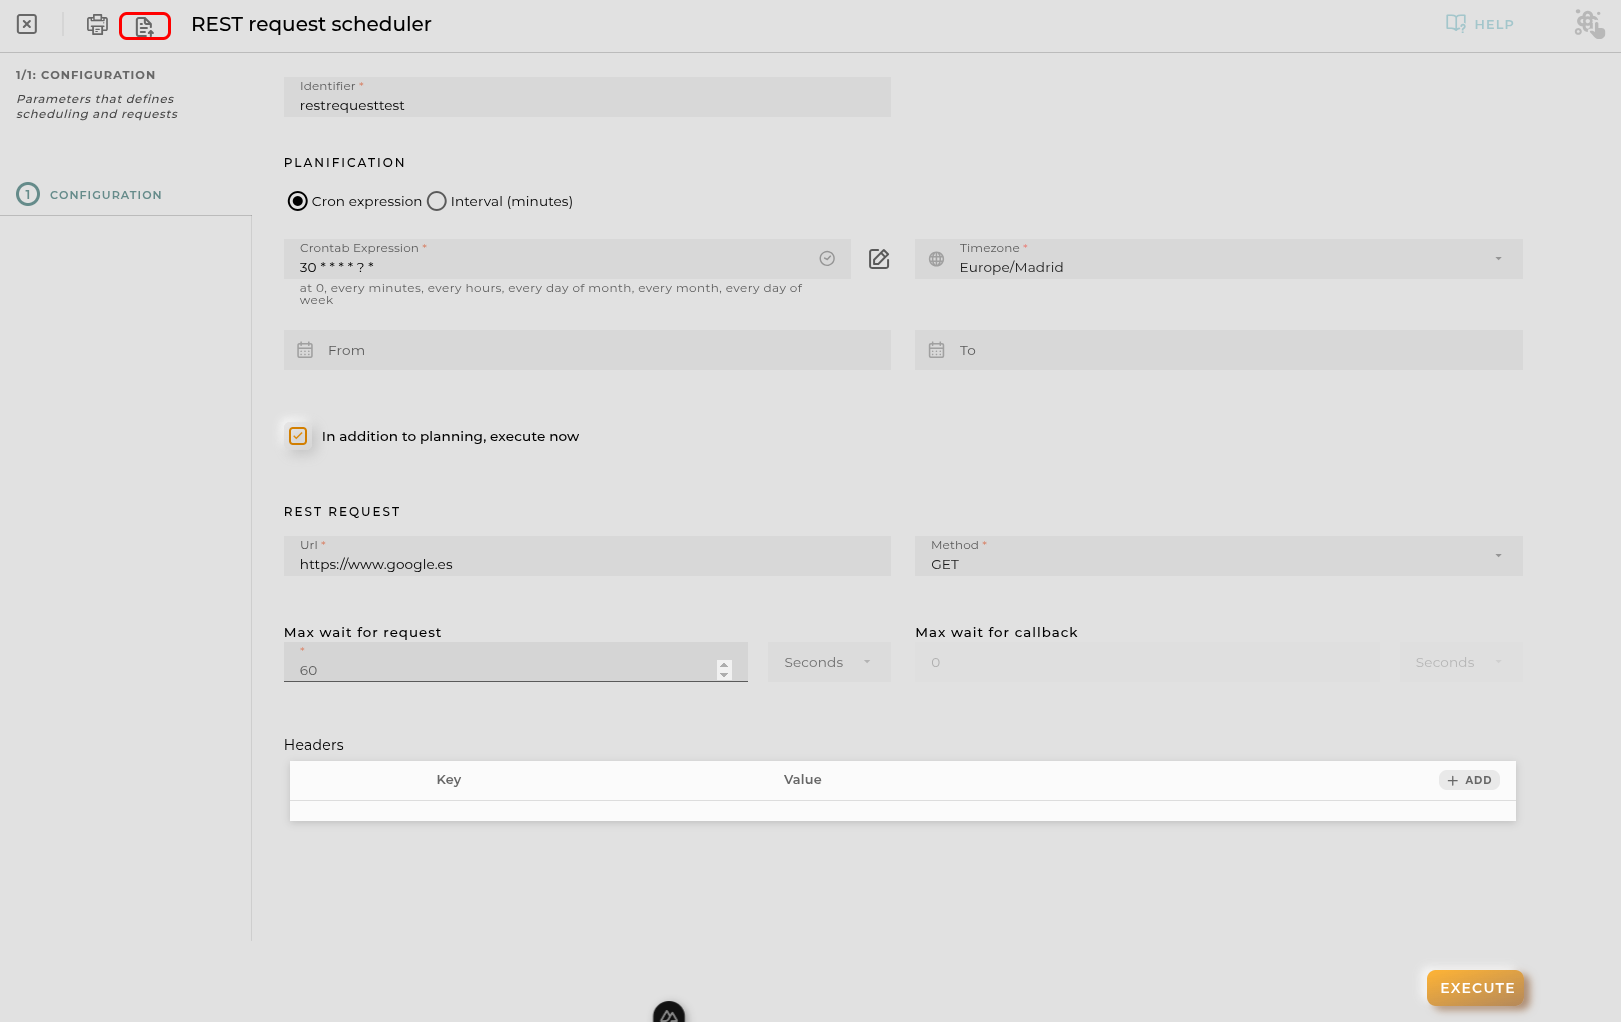
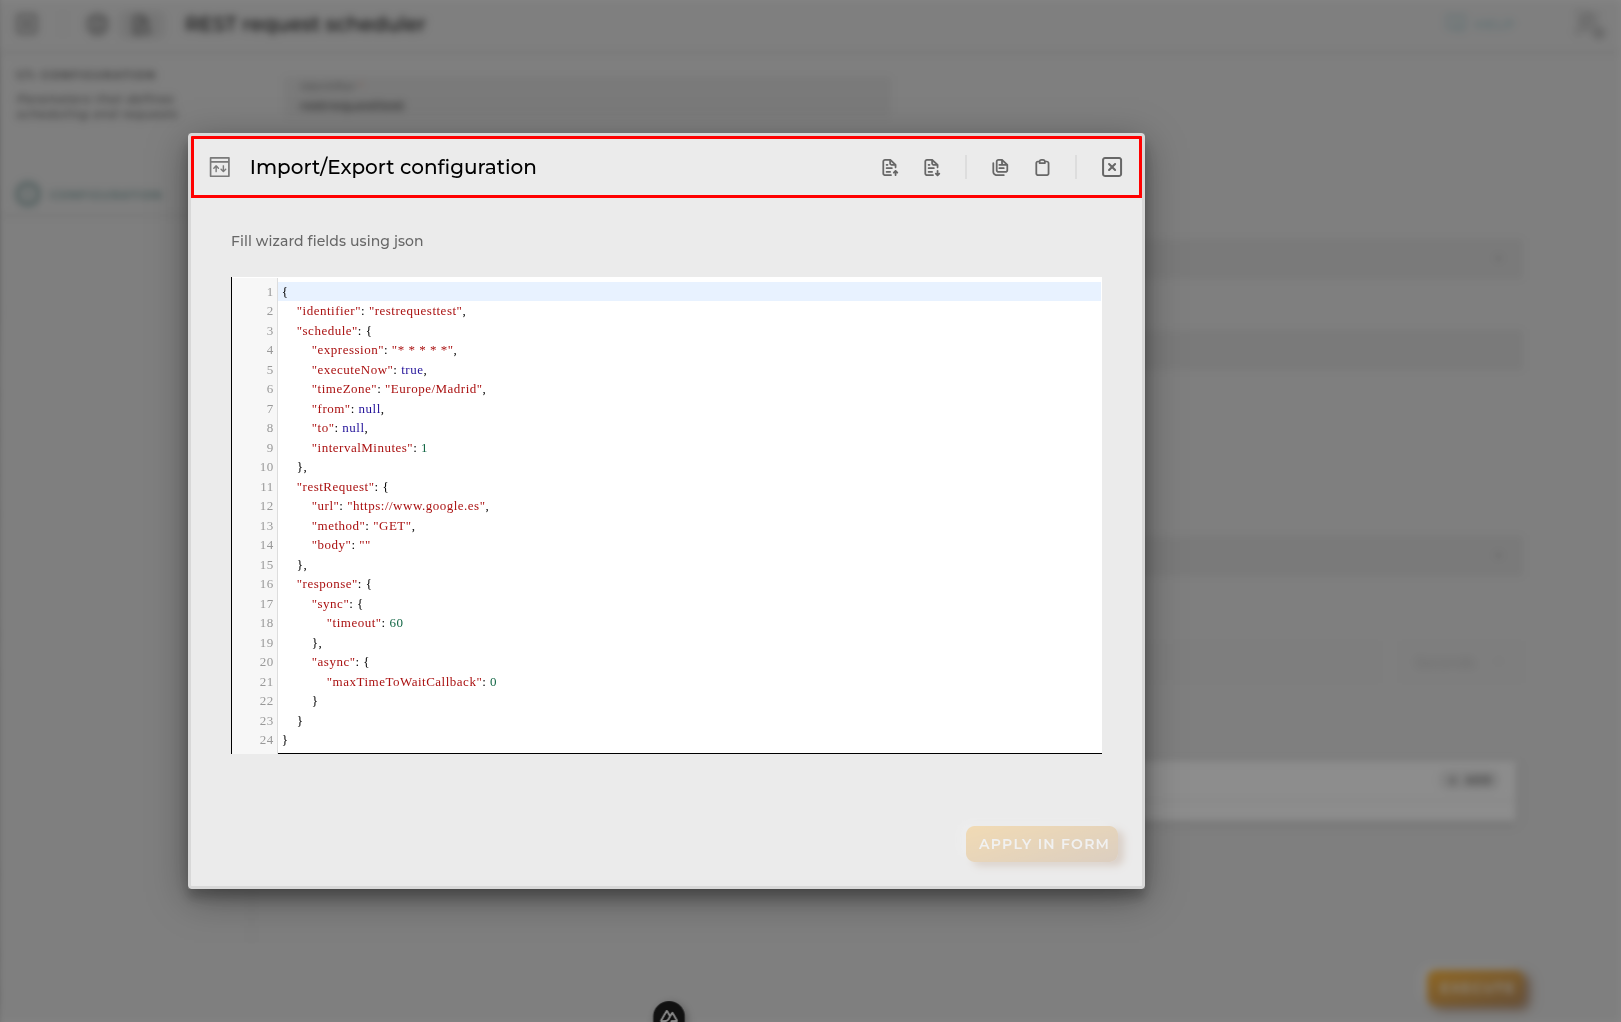
Import/Export Configuration

Allows you to import and export the wizard’s configuration via JSON.

btnJson

When accessing the import and export functionality, it displays a window with various actions. Additionally, it presents the configuration of the wizard in JSON format.

The available actions are as follows:

  • Upload Json: Uploads a JSON file and replaces the previous JSON configuration.
  • Paste from clipboard: Pastes JSON data from the clipboard and replaces the previous JSON configuration.
  • Download Json: Downloads the JSON configuration as a file with the wizard’s name.
  • Copy to clipboard: Copies the JSON configuration to the clipboard.
items