Workspaces
The first thing we encounter when entering the web platform is the workspaces landing page. A workspace is used to group our dashboards.
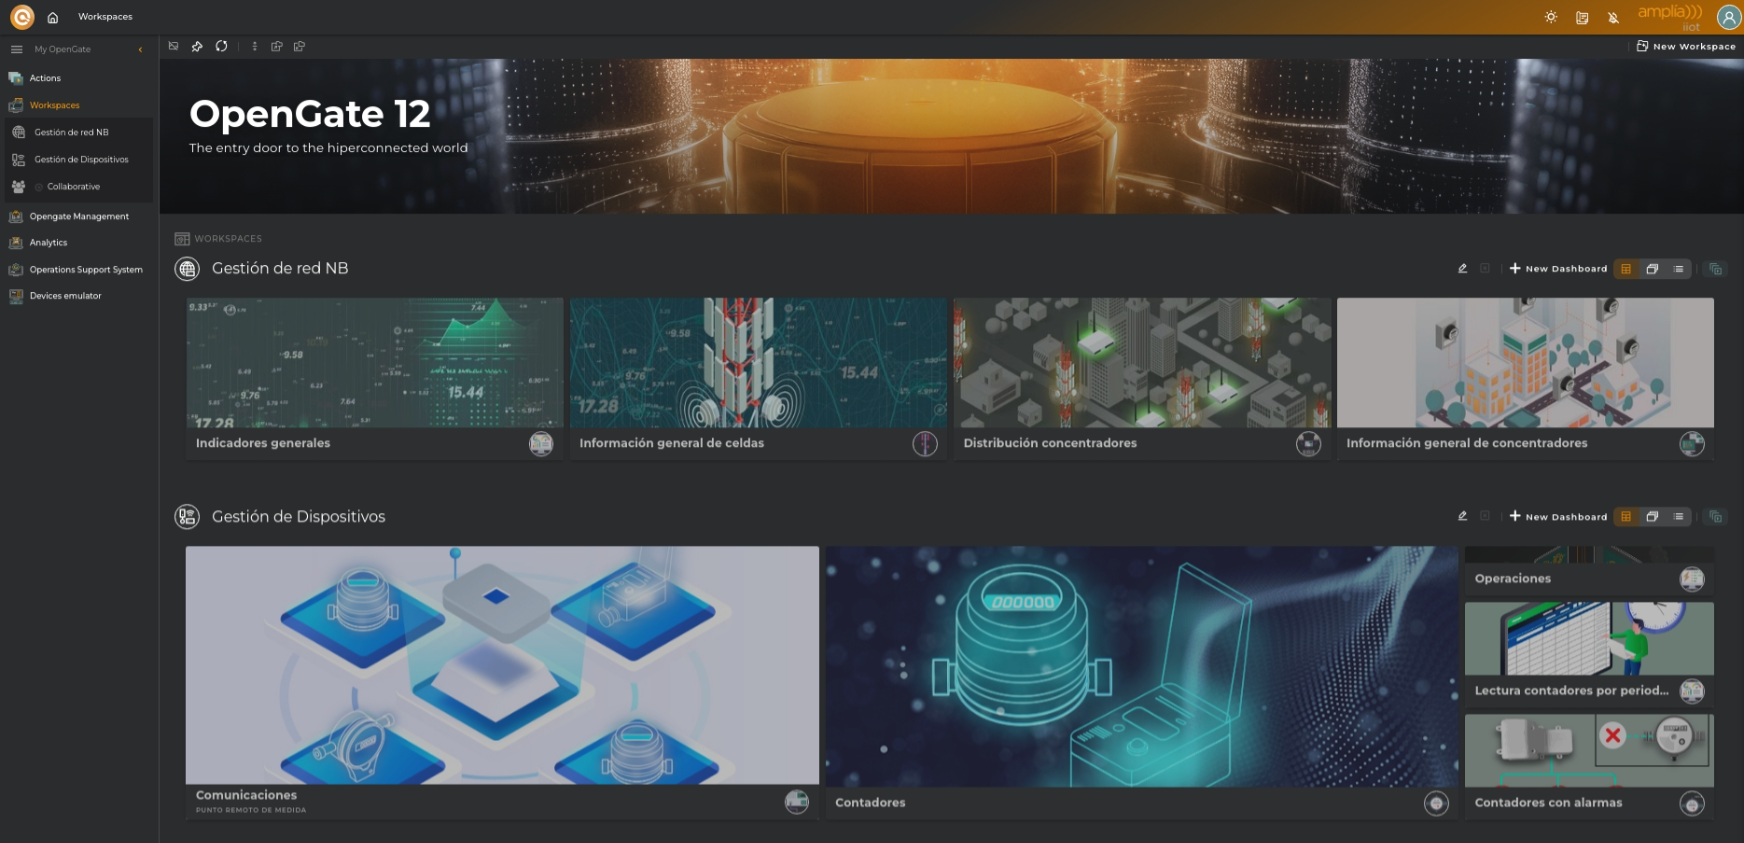
In the workspaces landing page you will see the sections bellow:
-
favourite dashboards groups all dashboards marked as favourite. Only will be displayed if favourites found.

-
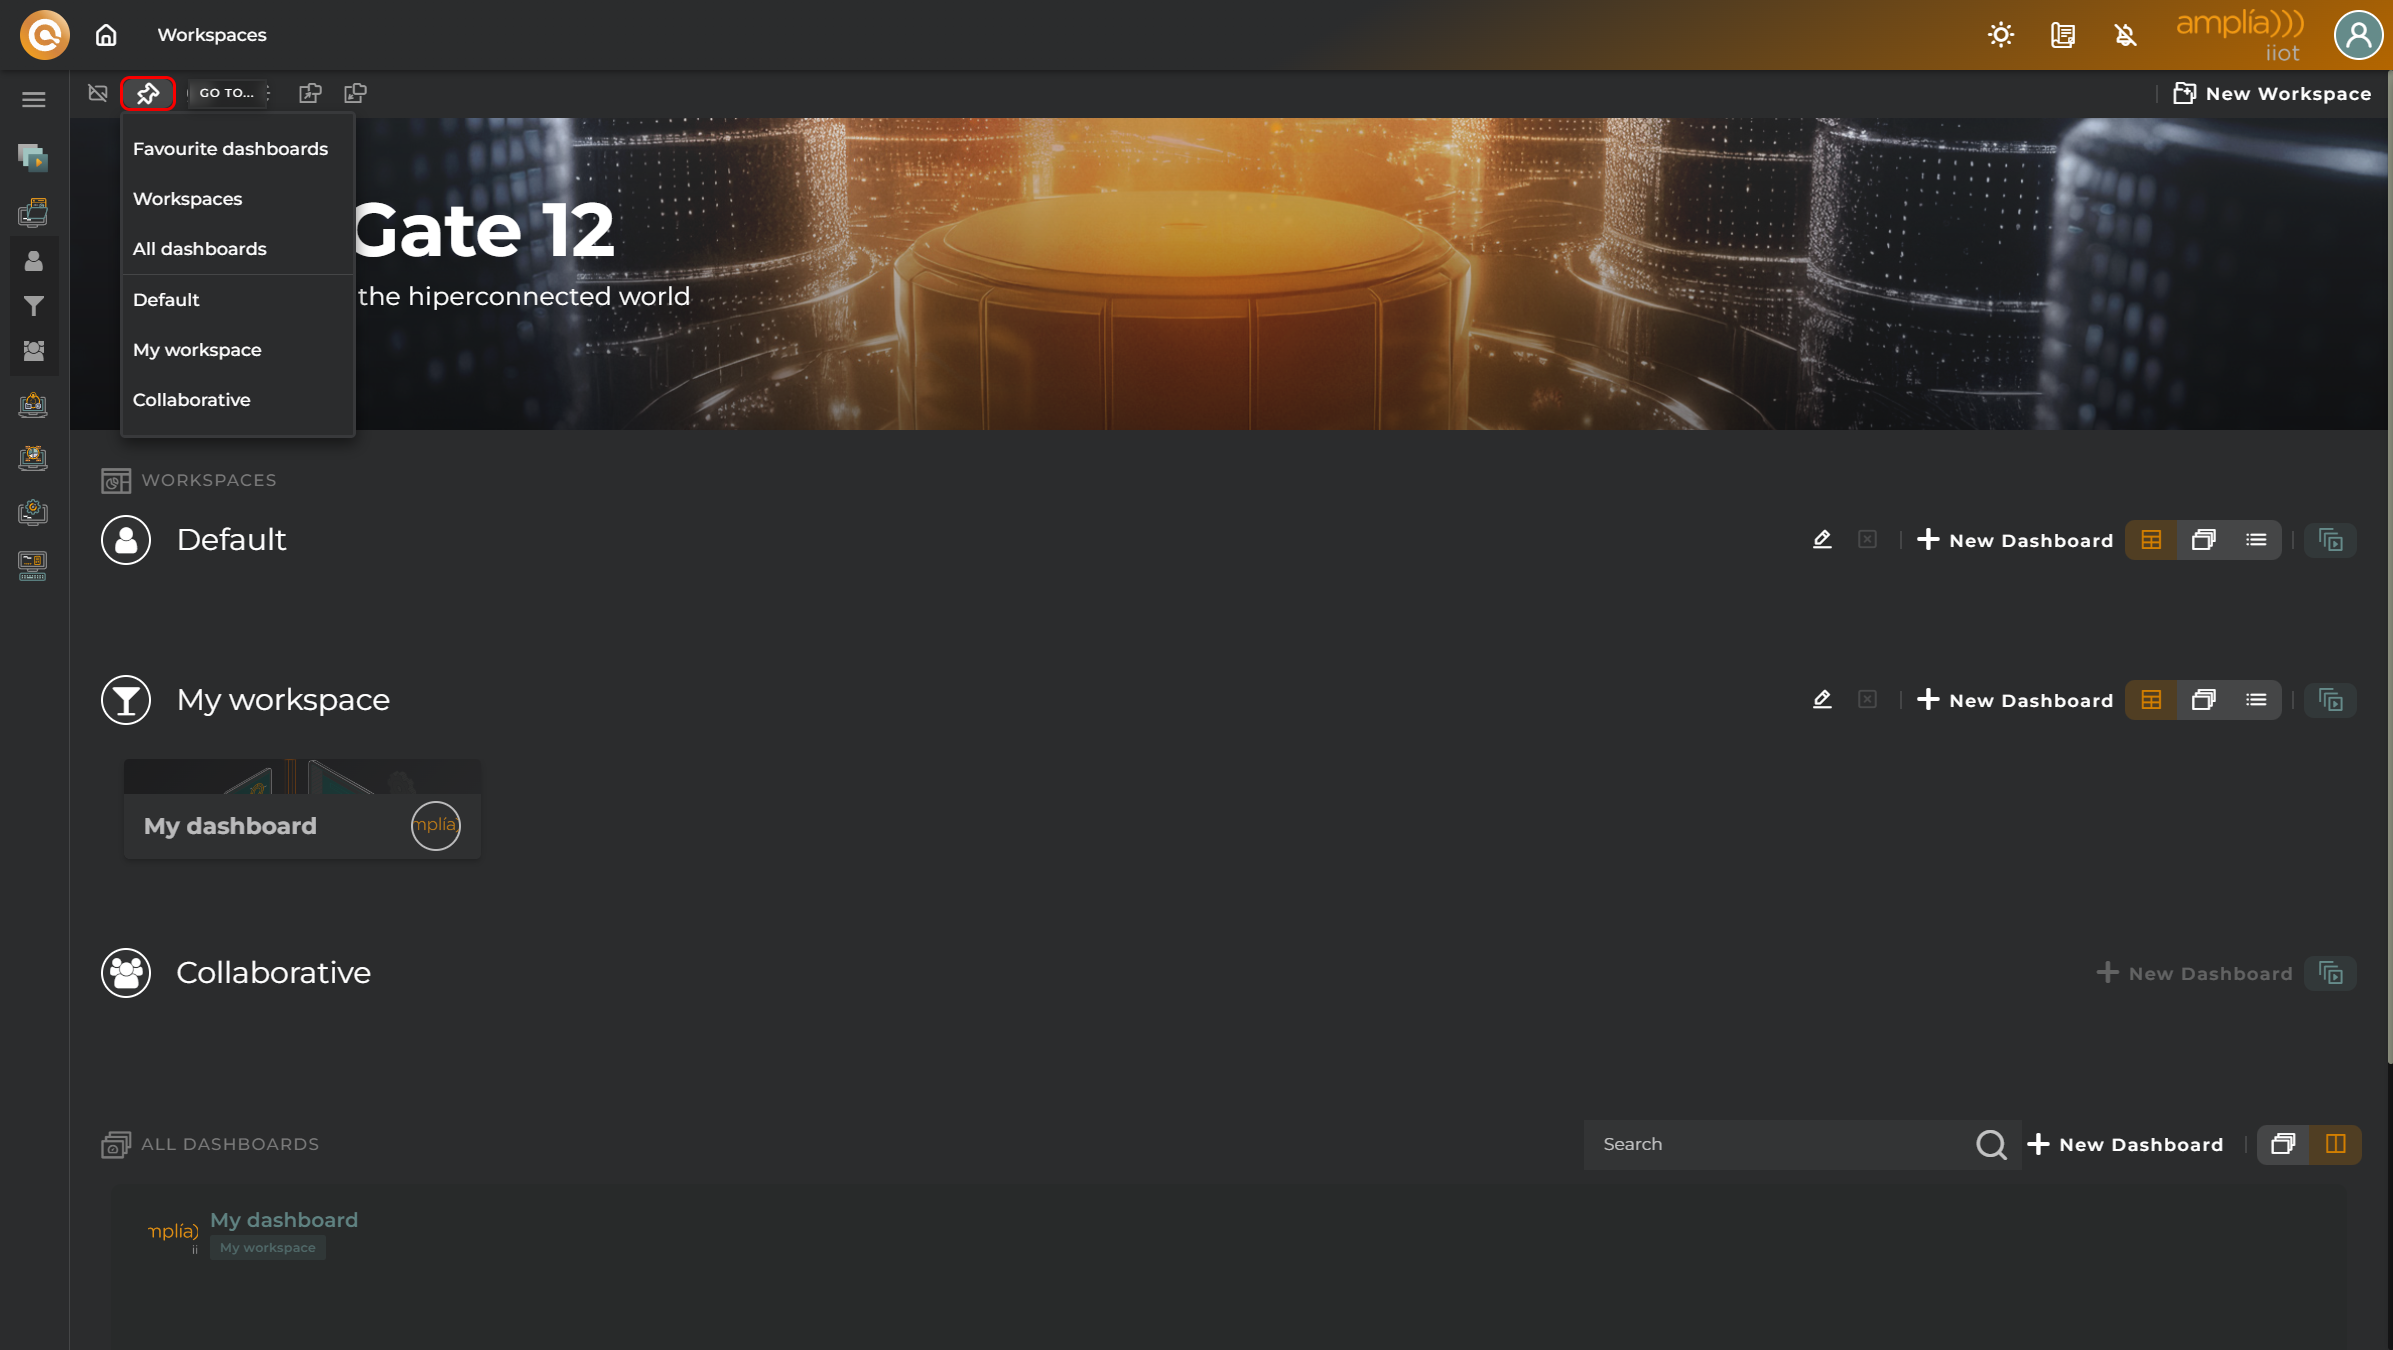
workspaces displays workspaces marked to show in home and others shared with user/organization. Collaborative workspace shows dashboards shared with user/organization.

- all dashboards were you can search any dashboard and access to it directly

Workspaces can be displayed in 3 different modes:
-
grid where the user can organize the dashboards

-
carousel dashboards will be displayed in a carousel (no user configuration required)

-
list dashboards will appears in a list showing its metadata on mouse over (no user configuration required)

Creating a Workspace
There are two ways to create a workspace:
- Click on the ‘NEW WORKSPACE’ button.
- Access the workspaces and dashboards menu, and click on the ‘+ New workspace’ button.

Configuration
You can:
- Give it a name and description and choose an identifying icon. Also you can assign a banner image and select if you want to hide workspace in home.

- Enable/disable different actions that can be performed within the context of the workspace. This will determine which wizards are accessible from the various workspace menus and their dashboards.

- Redirect actions to a specific wizard, as long as more than one wizard can perform that action.

- Manage the templates that will be used within the workspace’s context.

Once you have created your workspace, you can start creating your panels with their various widgets.
Actions
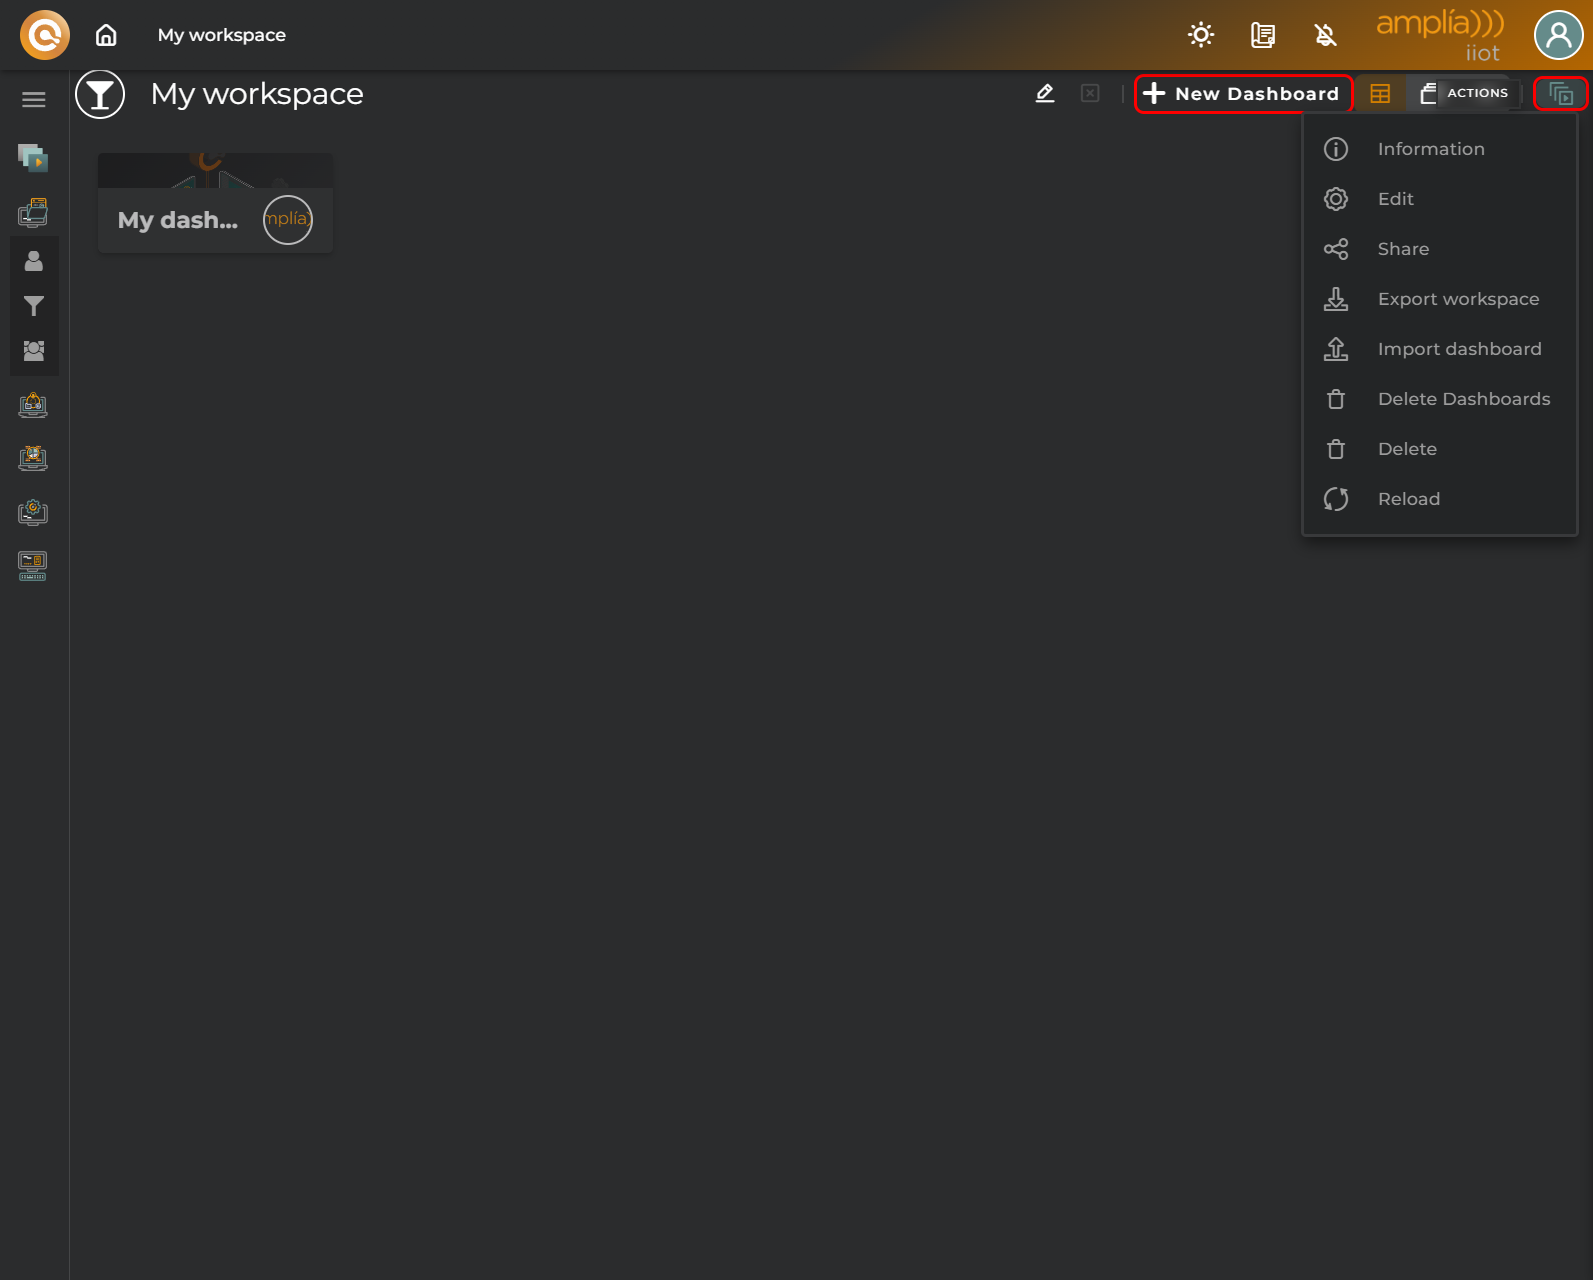
- + New Dashboard: Create a new dashboard
- Menú actions:
- Share: Share the workspace with another user or with the entire organization. From here, you can also stop sharing the workspace if it is already shared with another person or organization

- Export workspace: Export the workspace in zip format. It will contain a JSON file with the workspace configurations that you can later import. You can also configure which elements to export from the workspace.

- Import dashboard: Import a dashboard into the workspace

- Delete dashboards: Delete the selected dashboards

- Delete: Delete the workspace.
- Information: Information about the workspace

- Share: Share the workspace with another user or with the entire organization. From here, you can also stop sharing the workspace if it is already shared with another person or organization
- Reload: Reload the workspace
- Reorganize: Reorganize the view of dashboards

- Edit: Open the workspace editing wizard
From the home view, you can also perform various actions such as exporting and importing workspaces, configuring certain data related to your user and organization, viewing notifications, and accessing various sections of the web: Opengate Web Management, Operations Support System, Devices emulator, and Analytics.
The following details these actions.
Export/Import Workspaces
The web has the capability to export and import workspaces.
Export
- From the actions menu of the home, select the Export workspaces option.
- A panel will appear that allows you to export the workspaces in zip format. It will contain a JSON file with the workspace configurations that you can later import. You can also configure which elements to export from the workspace.

Import
- From the actions menu of the home, select the Import workspaces option.
- A panel will appear that allows you to import workspaces. You can also configure which elements to import from the workspaces to import.

Web Preferences
User Data
From the actions menu, clicking on the user’s icon will allow you to access a panel that allows you to modify your user’s data:
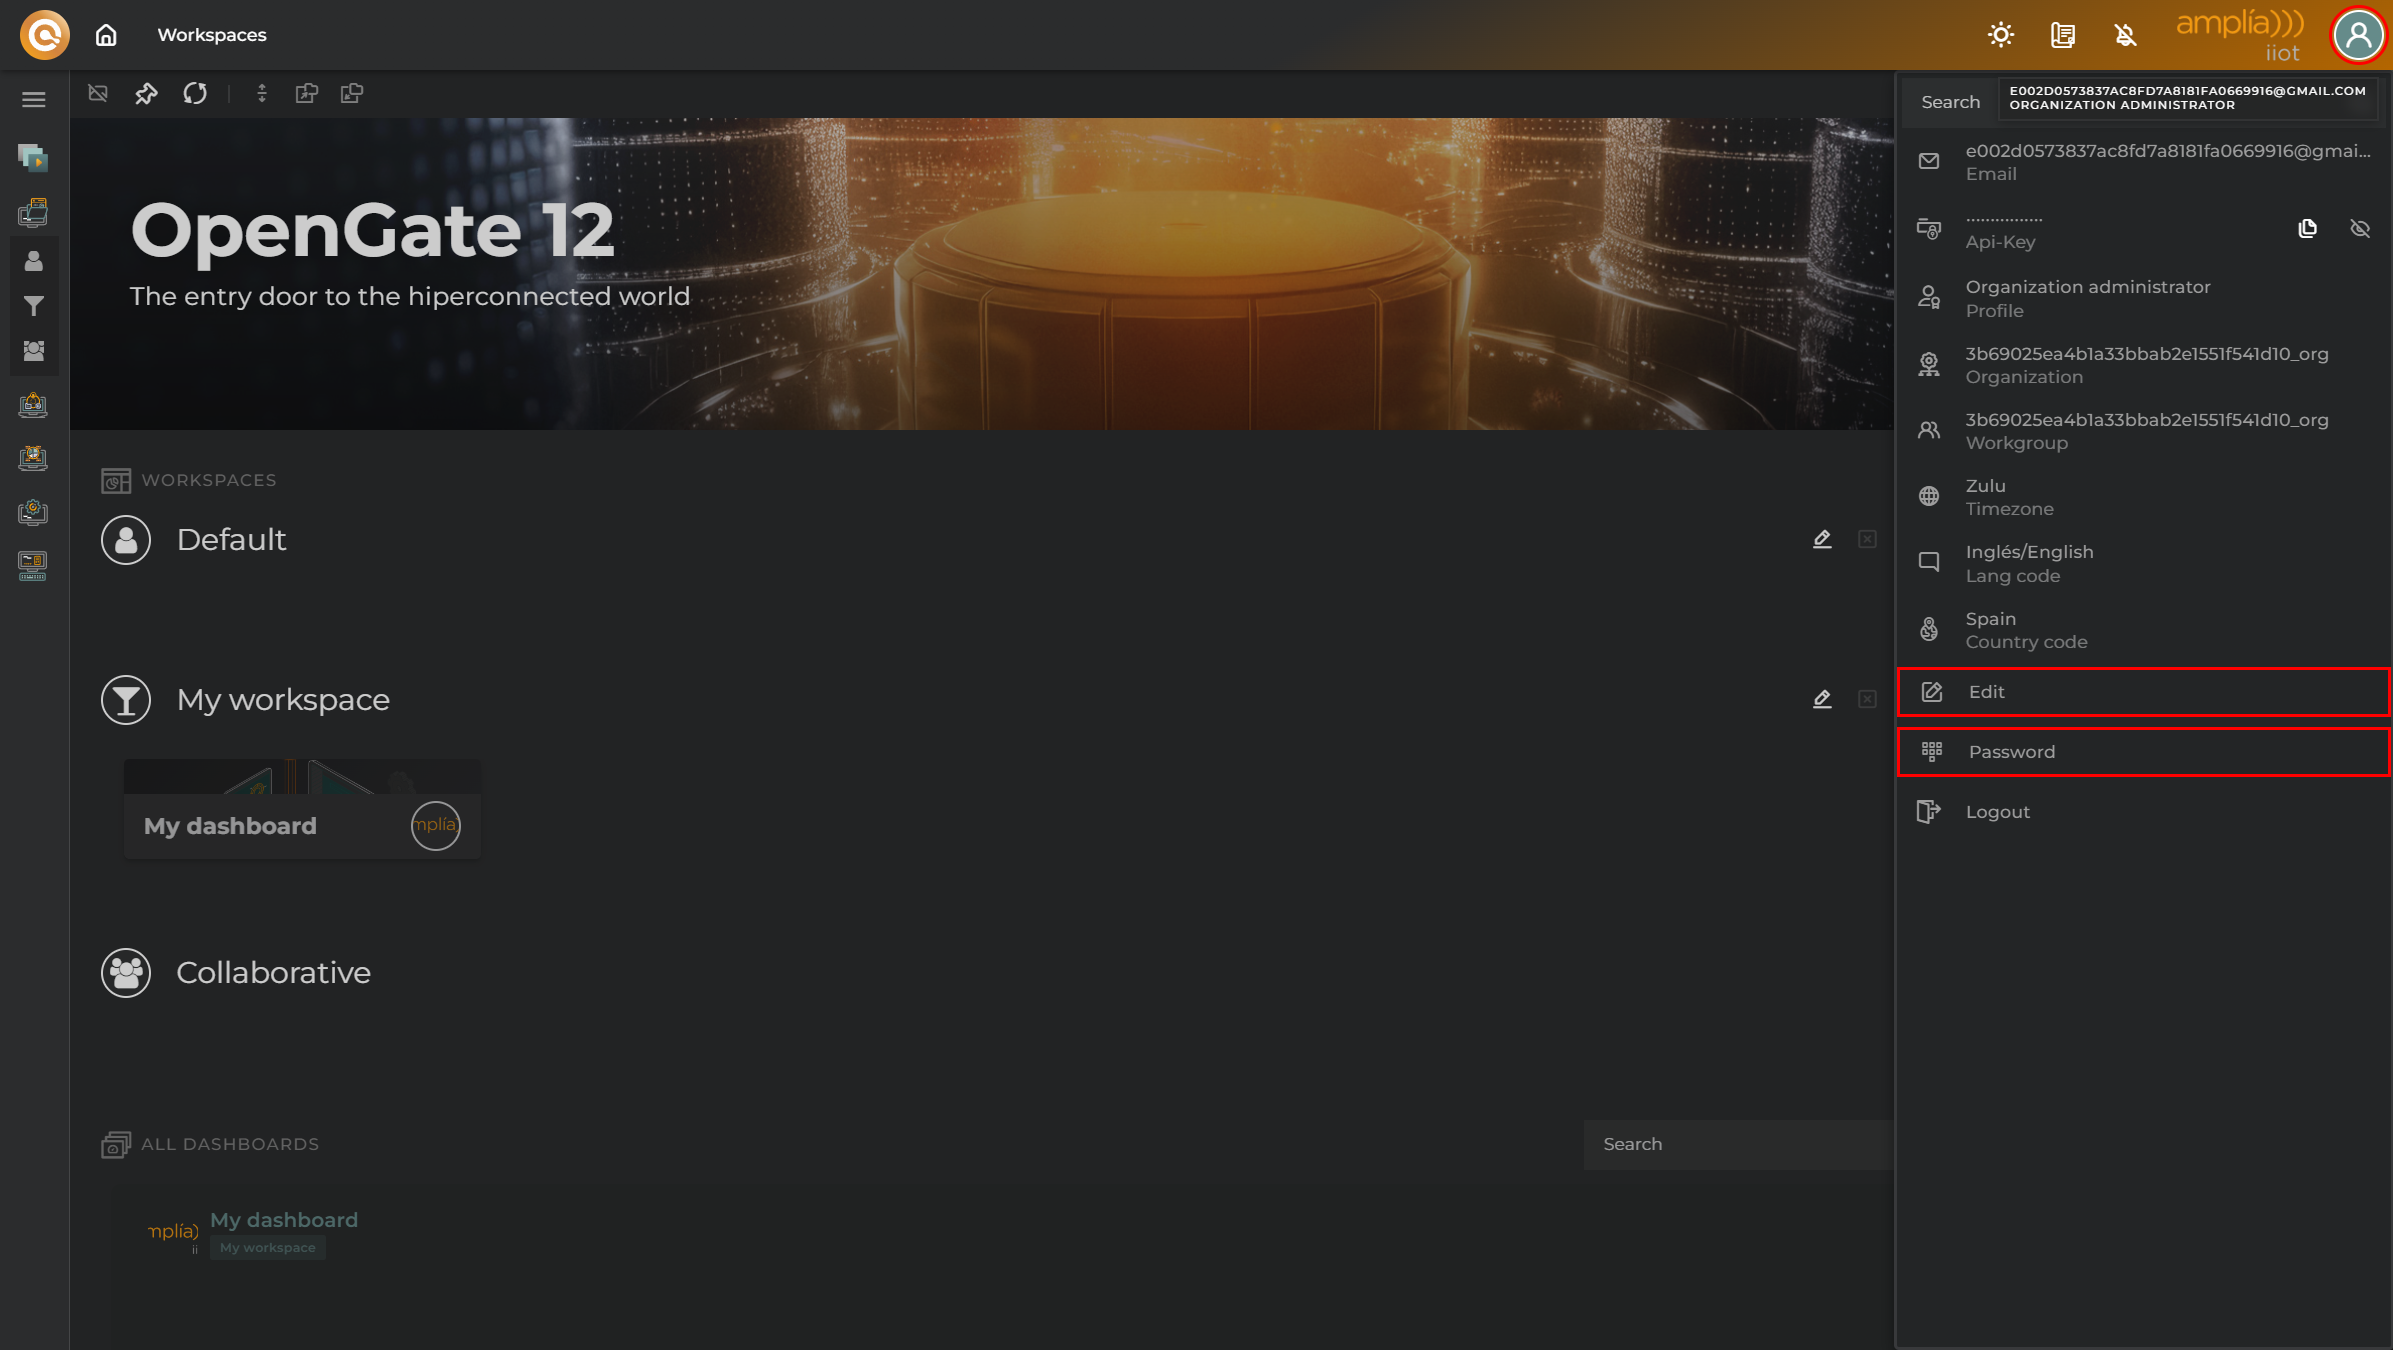
- Edit: Displays information related to our user

- Password: from here, you can modify your password

Actions to Perform on Workspaces in the Home
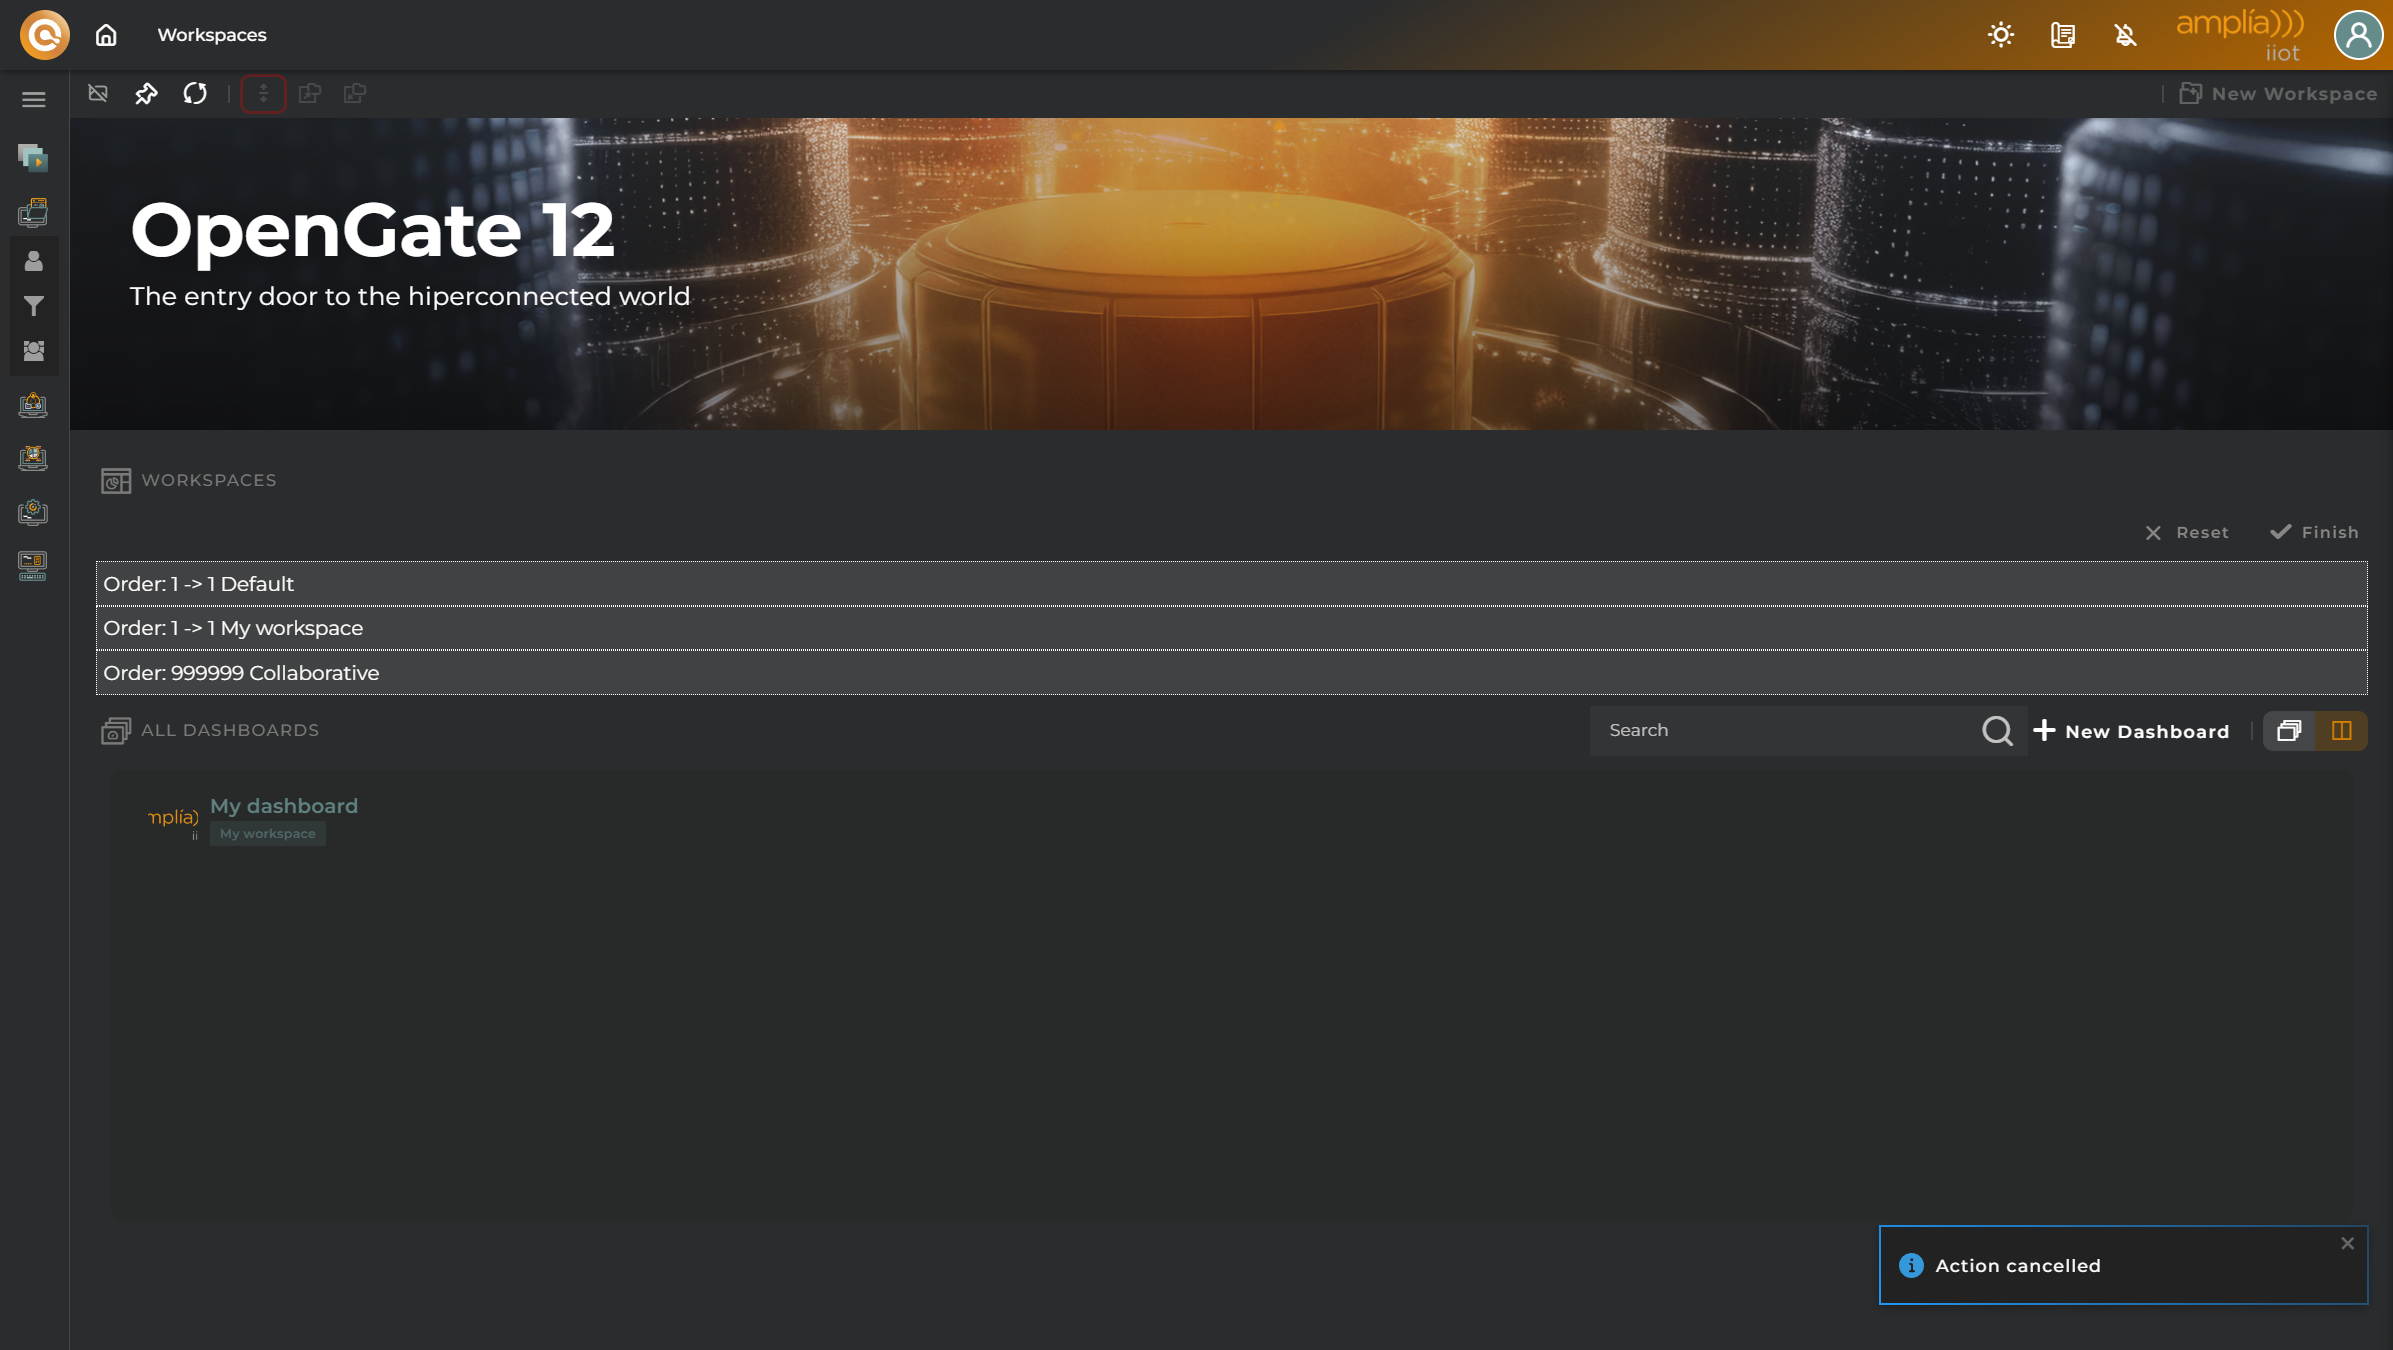
Organize View
You can organize the order of workspaces:
Quick Access to Workspaces
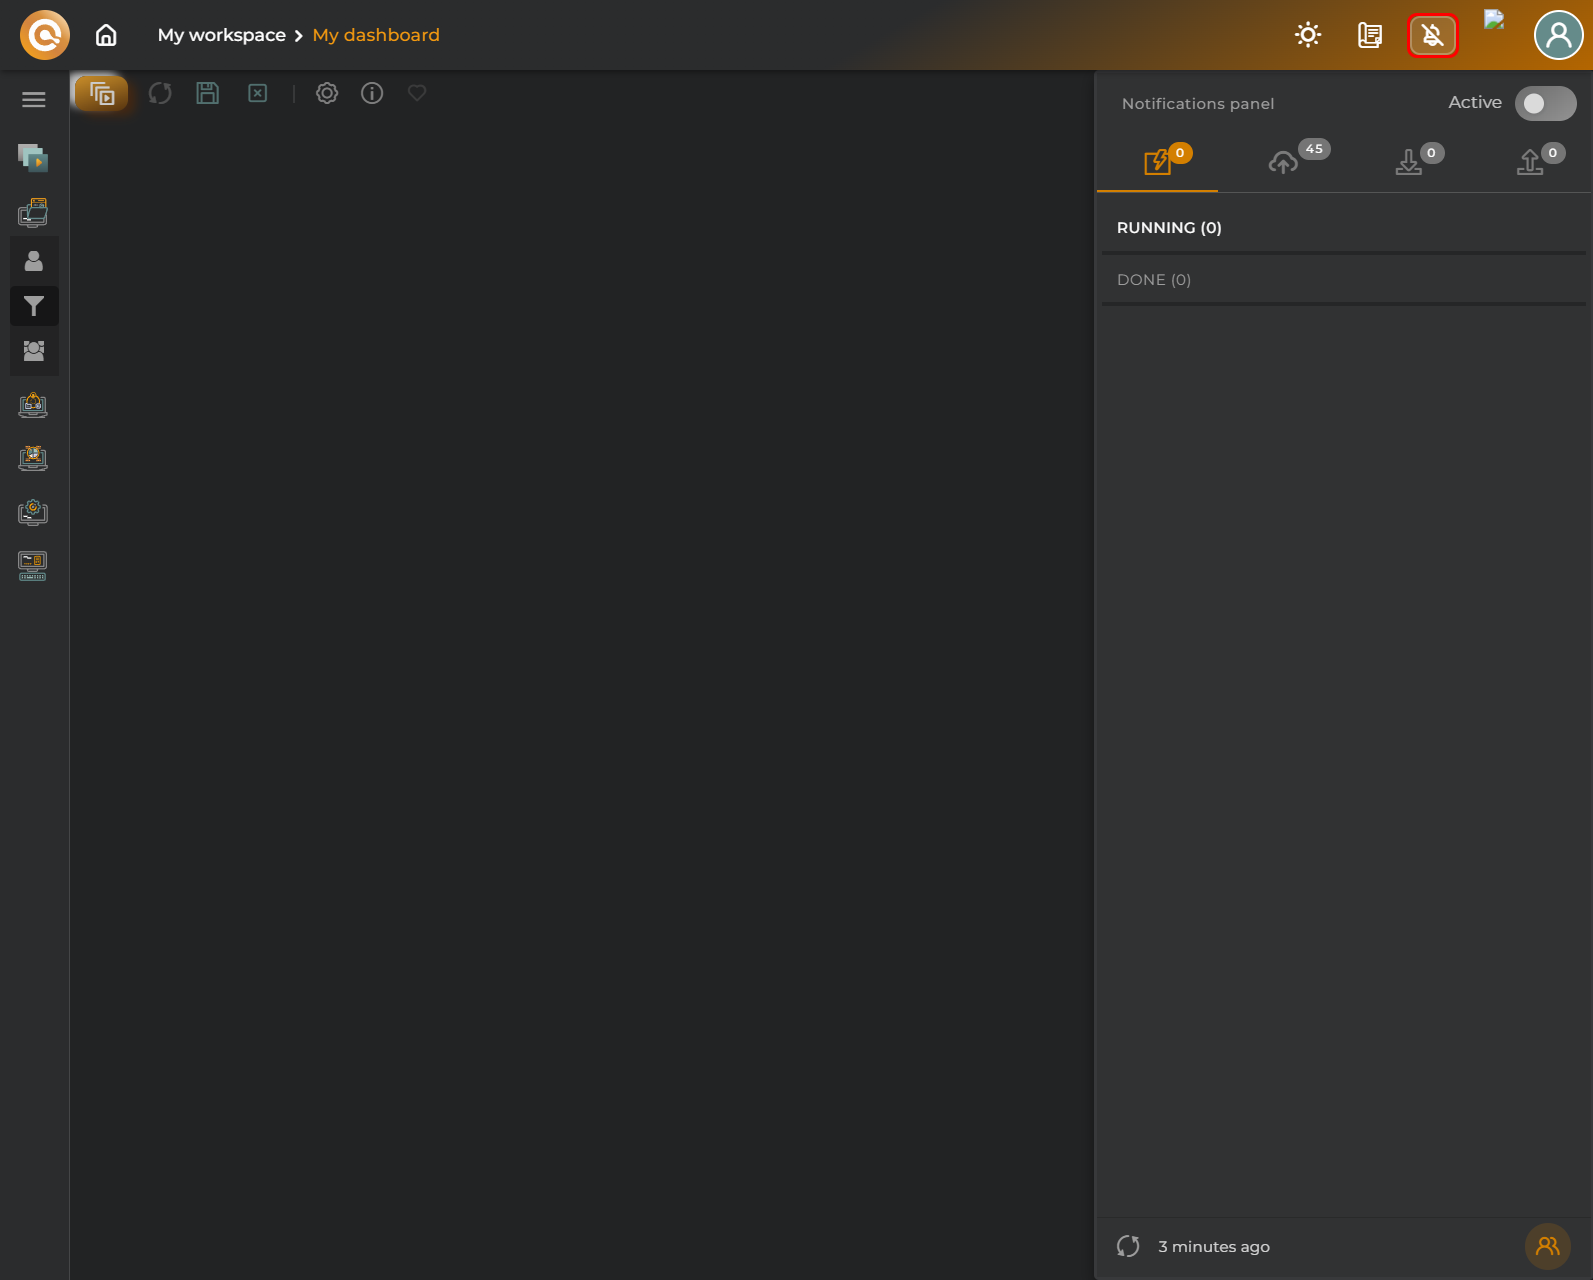
Notifications
You can view notifications related to operations executed in your organization, as well as the progress of bulk operations and their CSV downloads. You can also view (and copy) requests made against the platform. These notifications can be activated to notify you as soon as any changes occur in any of the sections.
Operations
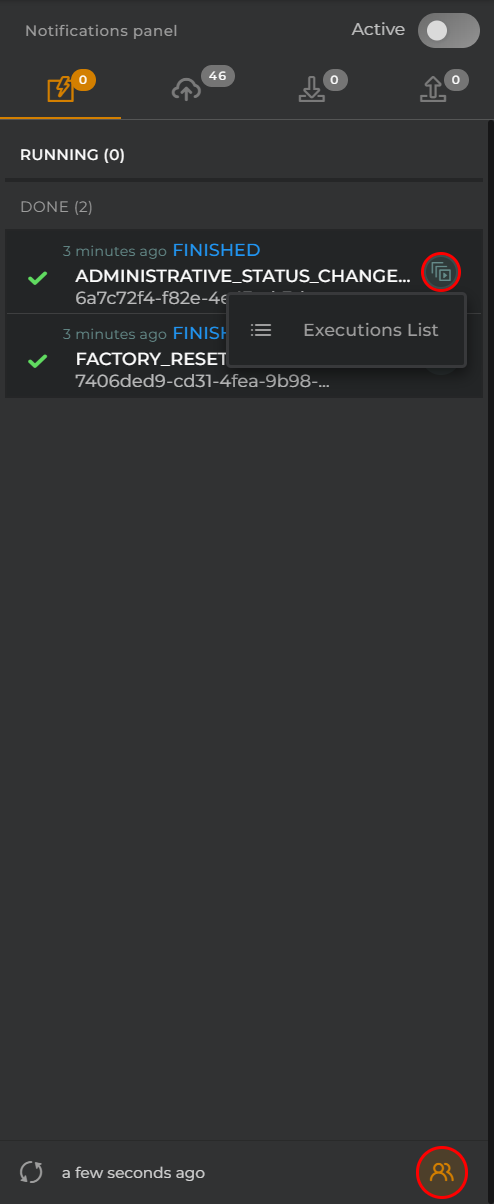
You can view operations executed in your organization or only those performed by you. You can also view information about the executions performed in each of the operations.
Bulk
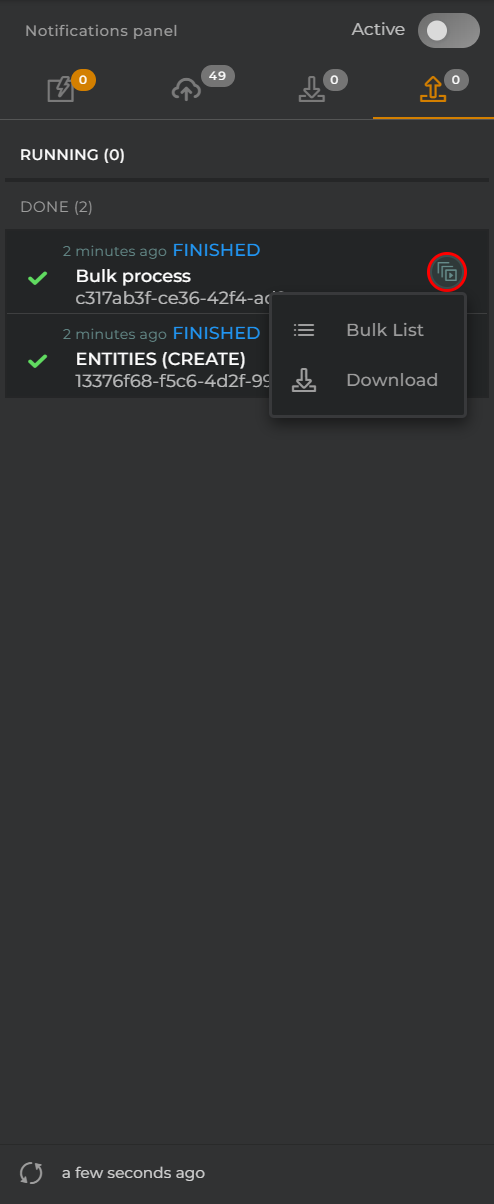
You can view the progress of the bulk operations executed in your organization. You can also access the list of bulk operations and download the response of the bulk operation.
CSV
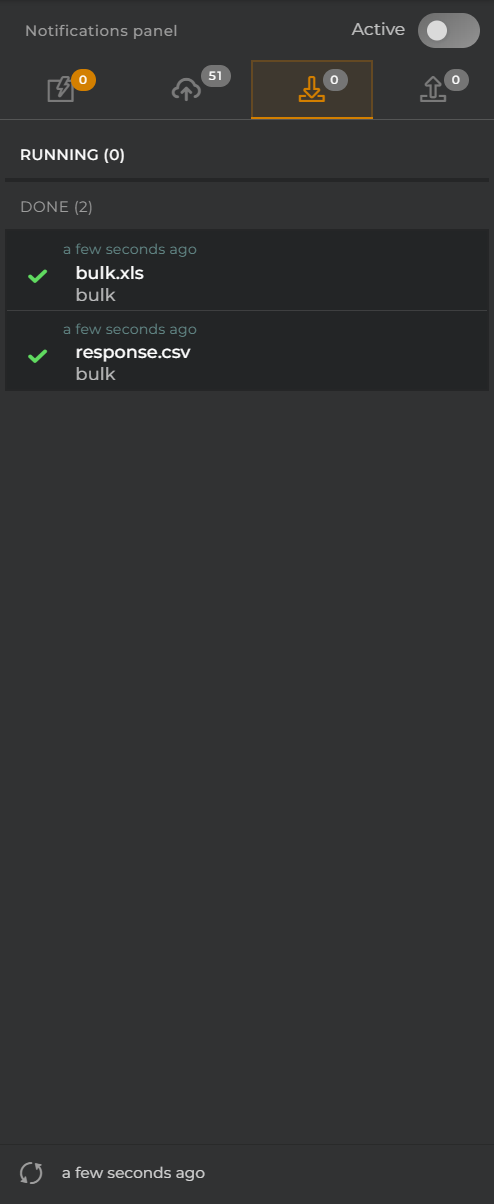
You can view the progress of CSV downloads performed on the web.
Requests
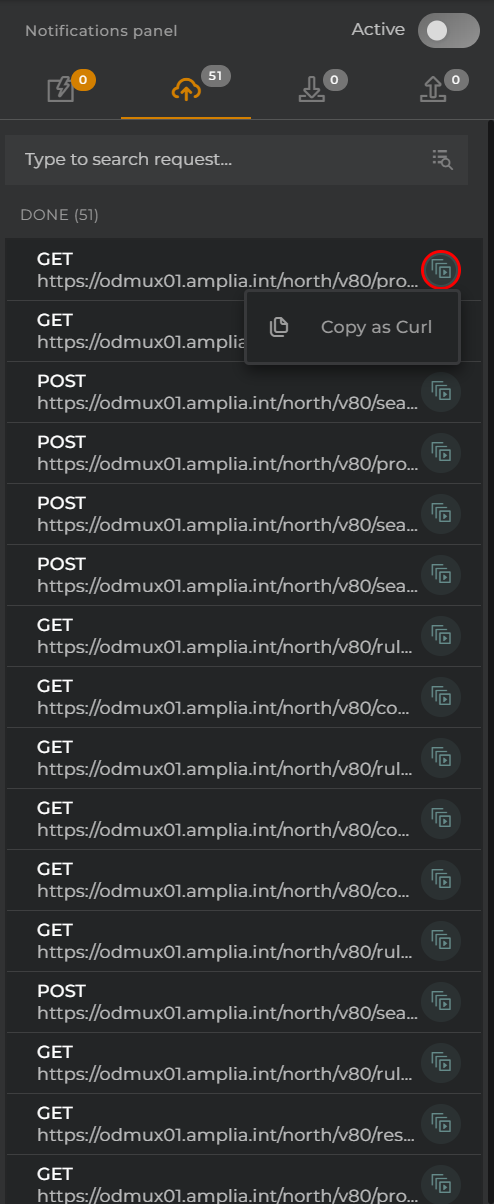
You can view the different requests made to the Opengate platform. You can also copy these requests in CURL format.
- Dashboards
- Widgets
- Advanced
- Browsers
- Certificates Browser
- Configured Operations Navigator
- Connector functions browser
- Data models Browser
- Data sets Browser
- Entities Software Browser
- Manufacturers and Models Browser
- Notebooks scheduler
- Organizations Browser
- Periodic Operations Browser
- Periodic operations calendar
- Provisioning Functions Navigator
- Rules Configuration Browser
- Specific types Browser
- Time Series Browser
- Time series function Browser
- Certificates Browser
- Charts
- Entity Details
- Listings
- Maps
- Miscellaneous
- Wizards
- Administration
- Create Manufacturer
- Create manufacturer model
- Create new Area
- Create new Channel
- Create new Data Model
- Create new notebook scheduler
- Create new Organization
- Create new pipeline processor
- Create new Provision Function
- Create new WorkGroup
- Dataset creation wizard
- Entities software wizard
- Operations Management
- Provision Wizards
- Rules
- Time Series
- Time series functions wizard
- Upload new data transformer
- Upload new predictive model
- User
- Create Manufacturer
- Operations
- Resources
- Administration
- Templates
- Widgets