Dashboards
Dashboards are spaces where we group and organize the widgets we need for our work.
Creating a Dashboard
Similar to workspaces, there are two ways to create a dashboard:
- In the menu of our workspace, click on the ‘+ New Dashboard’ button.
- Access the workspace and dashboard menu, select your workspace, and click on the ‘New Dashboard’ button.

Dashboard Configuration
You can:
- Give it a name and description and configure the card that will be displayed in the workspace.
- Choose an identifying icon, either from our icon catalog or by uploading one from your computer.
- Add an image for better identification in workspaces and/or banner image.

- Configure the behavior of your widgets within the dashboard:
- Set the refresh interval that will be applied to all widgets. By default, the value is “MANUAL,” and it will only refresh through user interaction with the dashboard.
- Set the minimum dimensions for widgets contained in the dashboard.

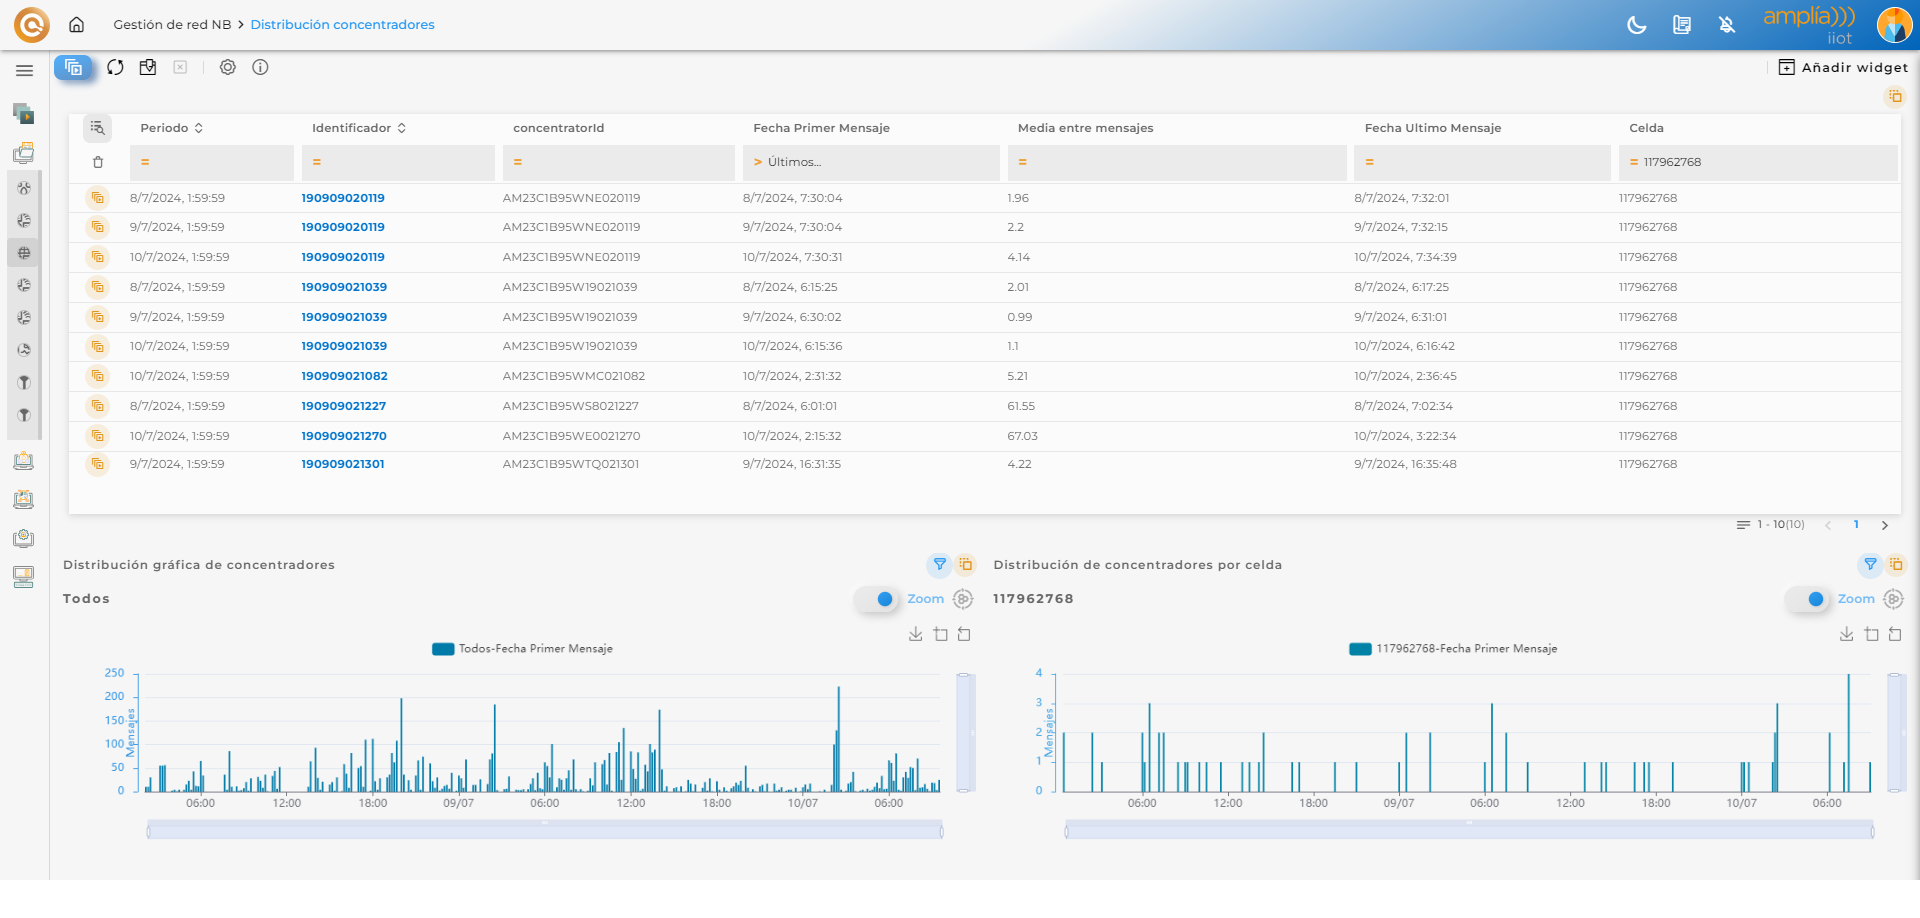
Once the website is created, it will display a blank dashboard where you can add all the widgets you need.
It also contains a side menu from which you can access the various wizards you added when creating the workspace (under the “ACTIONS” tab) as well as the dashboard’s own actions:
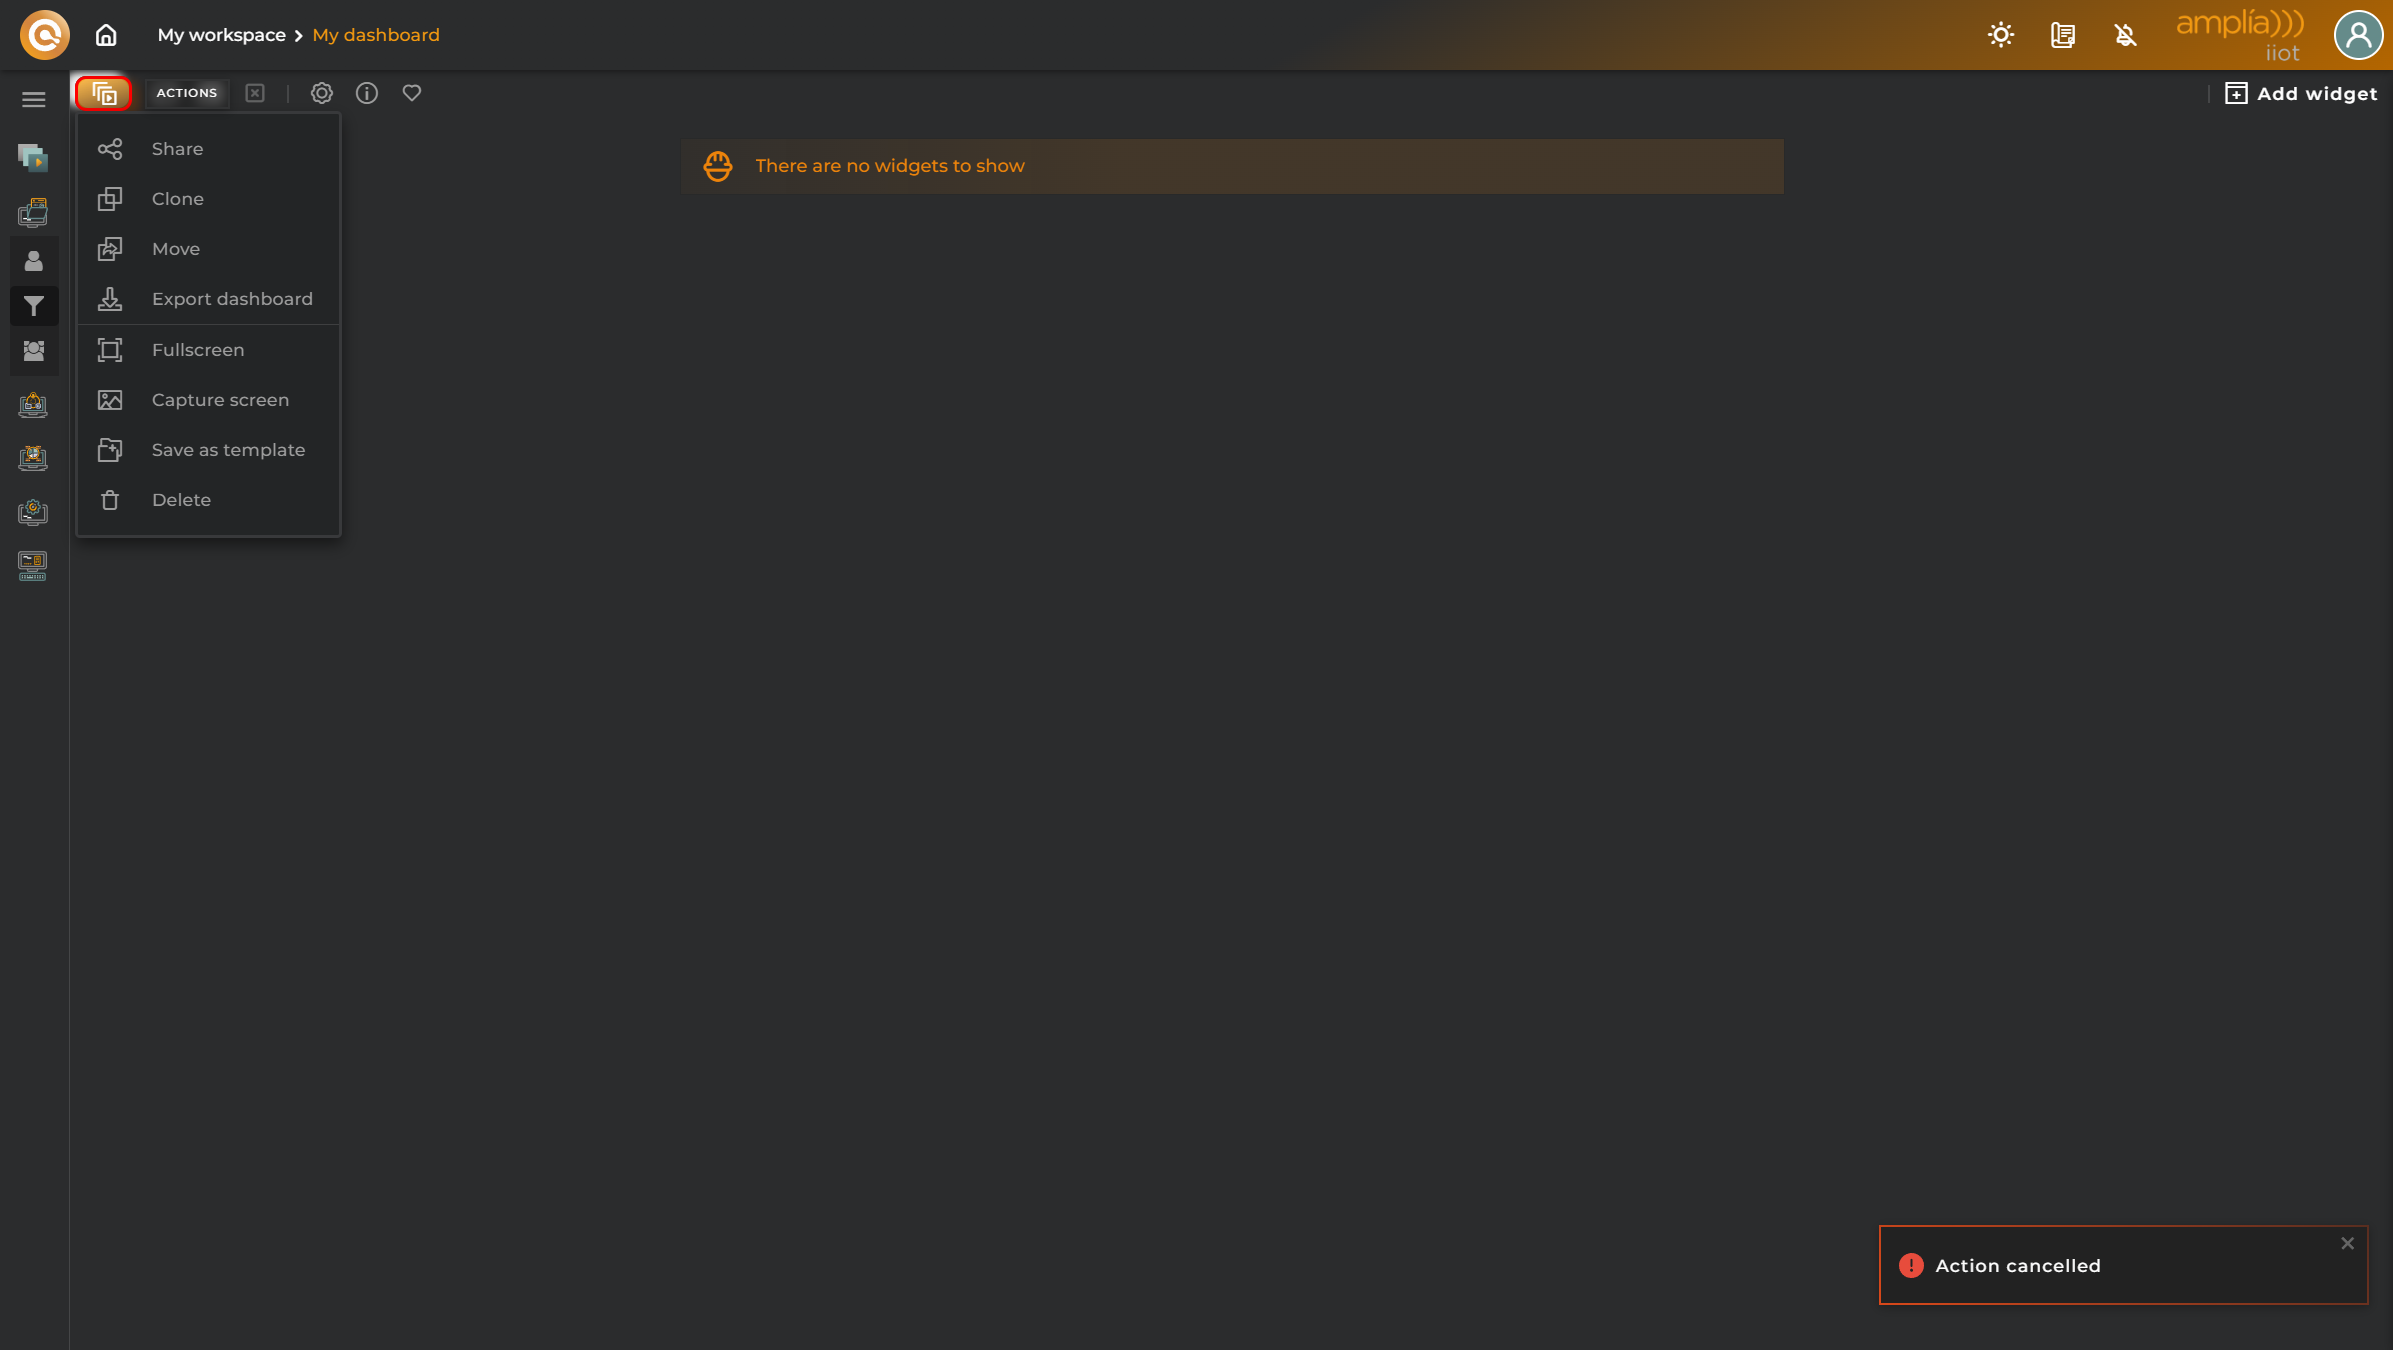
Some of the actions you can perform include:
- Add widget: Puts the dashboard in editing mode and opens the widget selection panel.
- Actions:
- Fullscreen: Displays the dashboard in full-screen mode.
- Capture screen: Takes a screenshot of the dashboard.
- Delete: Deletes the dashboard.
- Reload: Refreshes all widgets contained in the dashboard.
- Edit: Edit the dashboard to add widgets.
- Configuration: Opens the dashboard editing wizard.
- Favourite: Sets de favourite flag in dashboard in order to show in the favourite dashboards section.
The rest of the actions, such as Share, Clone, Move, Information, are explained below.
The “Save as template” action is explained in the “Templates” section.
Export/Import a Dashboard
The website has the capability to export and import dashboards.
Export
- In the dashboard’s actions menu, select the “Export dashboard” option.
- A panel will appear that allows you to export a dashboard in zip format. It will contain a JSON file with the dashboard’s configuration that you can later import into a workspace.

Import
- In the options menu of the workspace where you want to load the dashboard, select the “Import dashboard” option.
- A panel will appear that allows you to import a dashboard.

Share a Dashboard
You can share your dashboards with other users within your own organization.
- In the dashboard’s actions menu, select the “Share” option.
- Choose whom you want to share the dashboard with: a single person within your organization or with your entire organization. From here, you can also stop sharing the dashboard if it is already shared with another person or organization.

Move Dashboard
You can move dashboards between different workspaces.
- In the dashboard’s actions menu, select the “Move” option.
- Select the workspace to which you want to move the dashboard.

Clone Dashboard
You can clone a dashboard into another workspace.
- In the dashboard’s actions menu, select the “Clone” option.
- Select the workspace to which you want to move the dashboard.

Information
For quick access to dashboard information.
- In the dashboard’s actions menu, select the “Information” option.

- Widgets
- Advanced
- Browsers
- Certificates Browser
- Configured Operations Navigator
- Connector functions browser
- Data models Browser
- Data sets Browser
- Entities Software Browser
- Manufacturers and Models Browser
- Notebooks scheduler
- Organizations Browser
- Periodic Operations Browser
- Periodic operations calendar
- Provisioning Functions Navigator
- Rules Configuration Browser
- Specific types Browser
- Time Series Browser
- Time series function Browser
- Certificates Browser
- Charts
- Entity Details
- Listings
- Maps
- Miscellaneous
- Wizards
- Administration
- Create Manufacturer
- Create manufacturer model
- Create new Area
- Create new Channel
- Create new Data Model
- Create new notebook scheduler
- Create new Organization
- Create new pipeline processor
- Create new Provision Function
- Create new WorkGroup
- Dataset creation wizard
- Entities software wizard
- Operations Management
- Provision Wizards
- Rules
- Time Series
- Time series functions wizard
- Upload new data transformer
- Upload new predictive model
- User
- Create Manufacturer
- Operations
- Resources
- Administration
- Templates