This wizard allows us to create connector functions.
Steps
Administration
Essential data for registration and identification of a connector function in the platform.
Criteria
Criteria selector
Definition
Allows you to write the connector function code using JavaScript to be evaluated.
In Payload type, there are the following options:
TEXT
JSON
BINARY
The action menu provides different options:
Maximize: Full screen for better viewing of the step.
Basic functions: Default basic functions.
Validate Code: Validates the function code.
Summary
Summary of the complete connector function information.
It allows the options of Disabled, Test, and Production.
Import/Export configuration
Allows you to import and export the wizard’s configuration using JSON.
When you access import and export, it displays a window with different actions. It also displays the wizard’s configuration in JSON format.
The available actions are as follows:
Upload JSON: Uploads a JSON file and replaces the previous JSON.
Paste from clipboard: Pastes JSON from the clipboard and replaces the previous JSON.
Download JSON: Downloads the JSON in a file with the wizard’s name.
Copy to clipboard: Copies the JSON to the clipboard.
Create new Asset
This wizard allows us to create entities of type entity.asset. All the data entered will be provisioning data.
Steps
Administration
Essential data for the registration and identification of the asset in the platform.
Location
Initial location of the device.
Customization
Custom data based on the data models created for the user’s organization. Data from the default platform data models are not included.
Import/Export Configuration
Allows you to import and export the wizard’s configuration via JSON.
When accessing the import and export functionality, it displays a window with various actions. Additionally, it presents the configuration of the wizard in JSON format.
The available actions are as follows:
Upload Json: Uploads a JSON file and replaces the previous JSON configuration.
Paste from clipboard: Pastes JSON data from the clipboard and replaces the previous JSON configuration.
Download Json: Downloads the JSON configuration as a file with the wizard’s name.
Copy to clipboard: Copies the JSON configuration to the clipboard.
Create new Bundle
This wizard allows us to create bundles, which can update software, firmware, or configuration files on your remote devices.
Steps
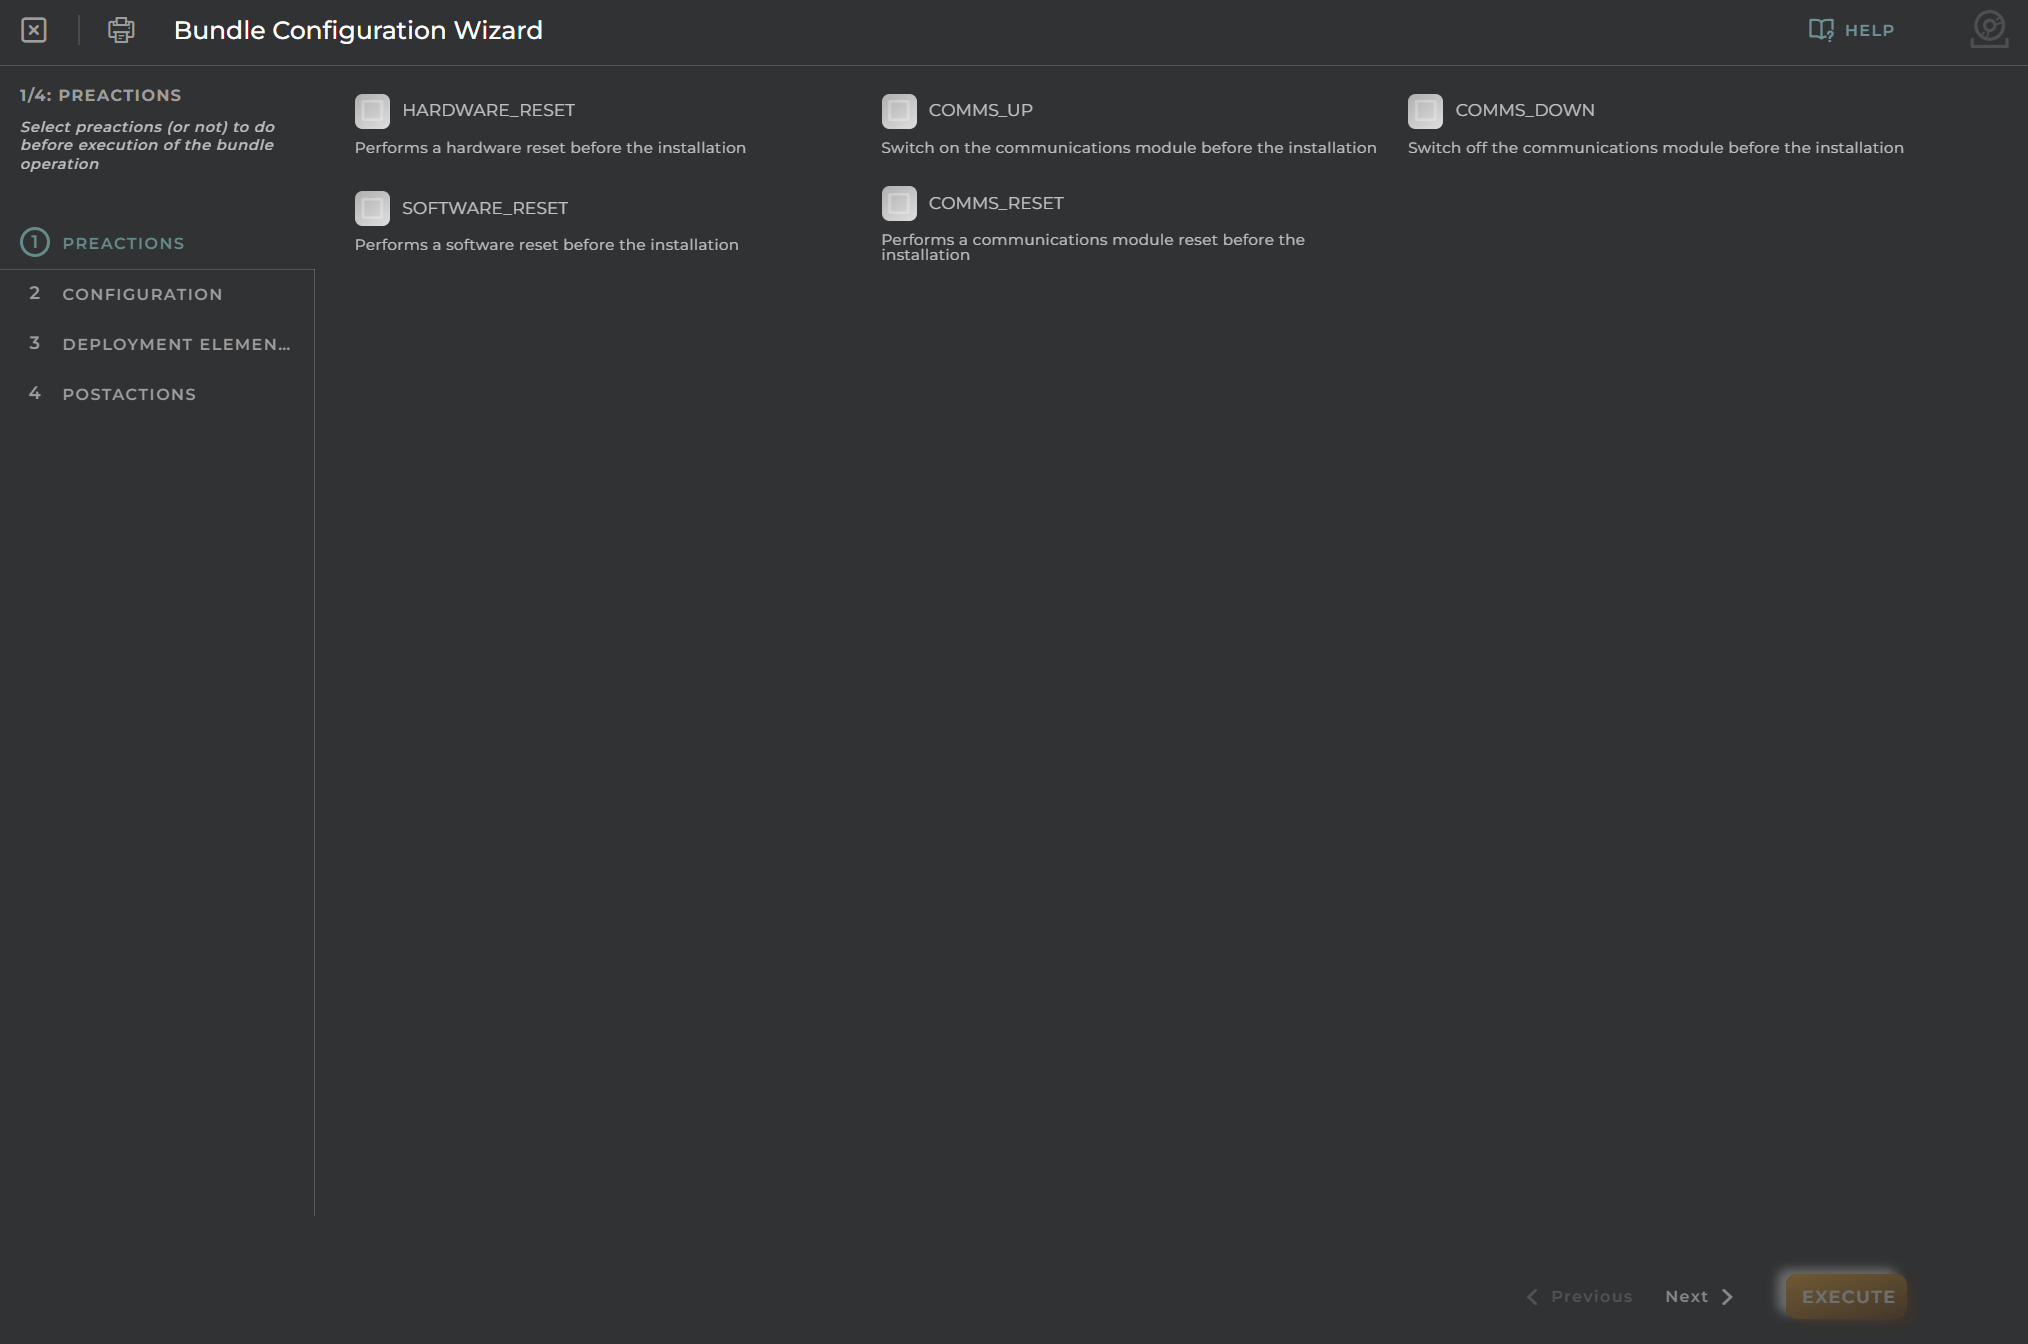
Pre-actions
You can choose to include pre-actions or not to perform before executing the bundle operation.
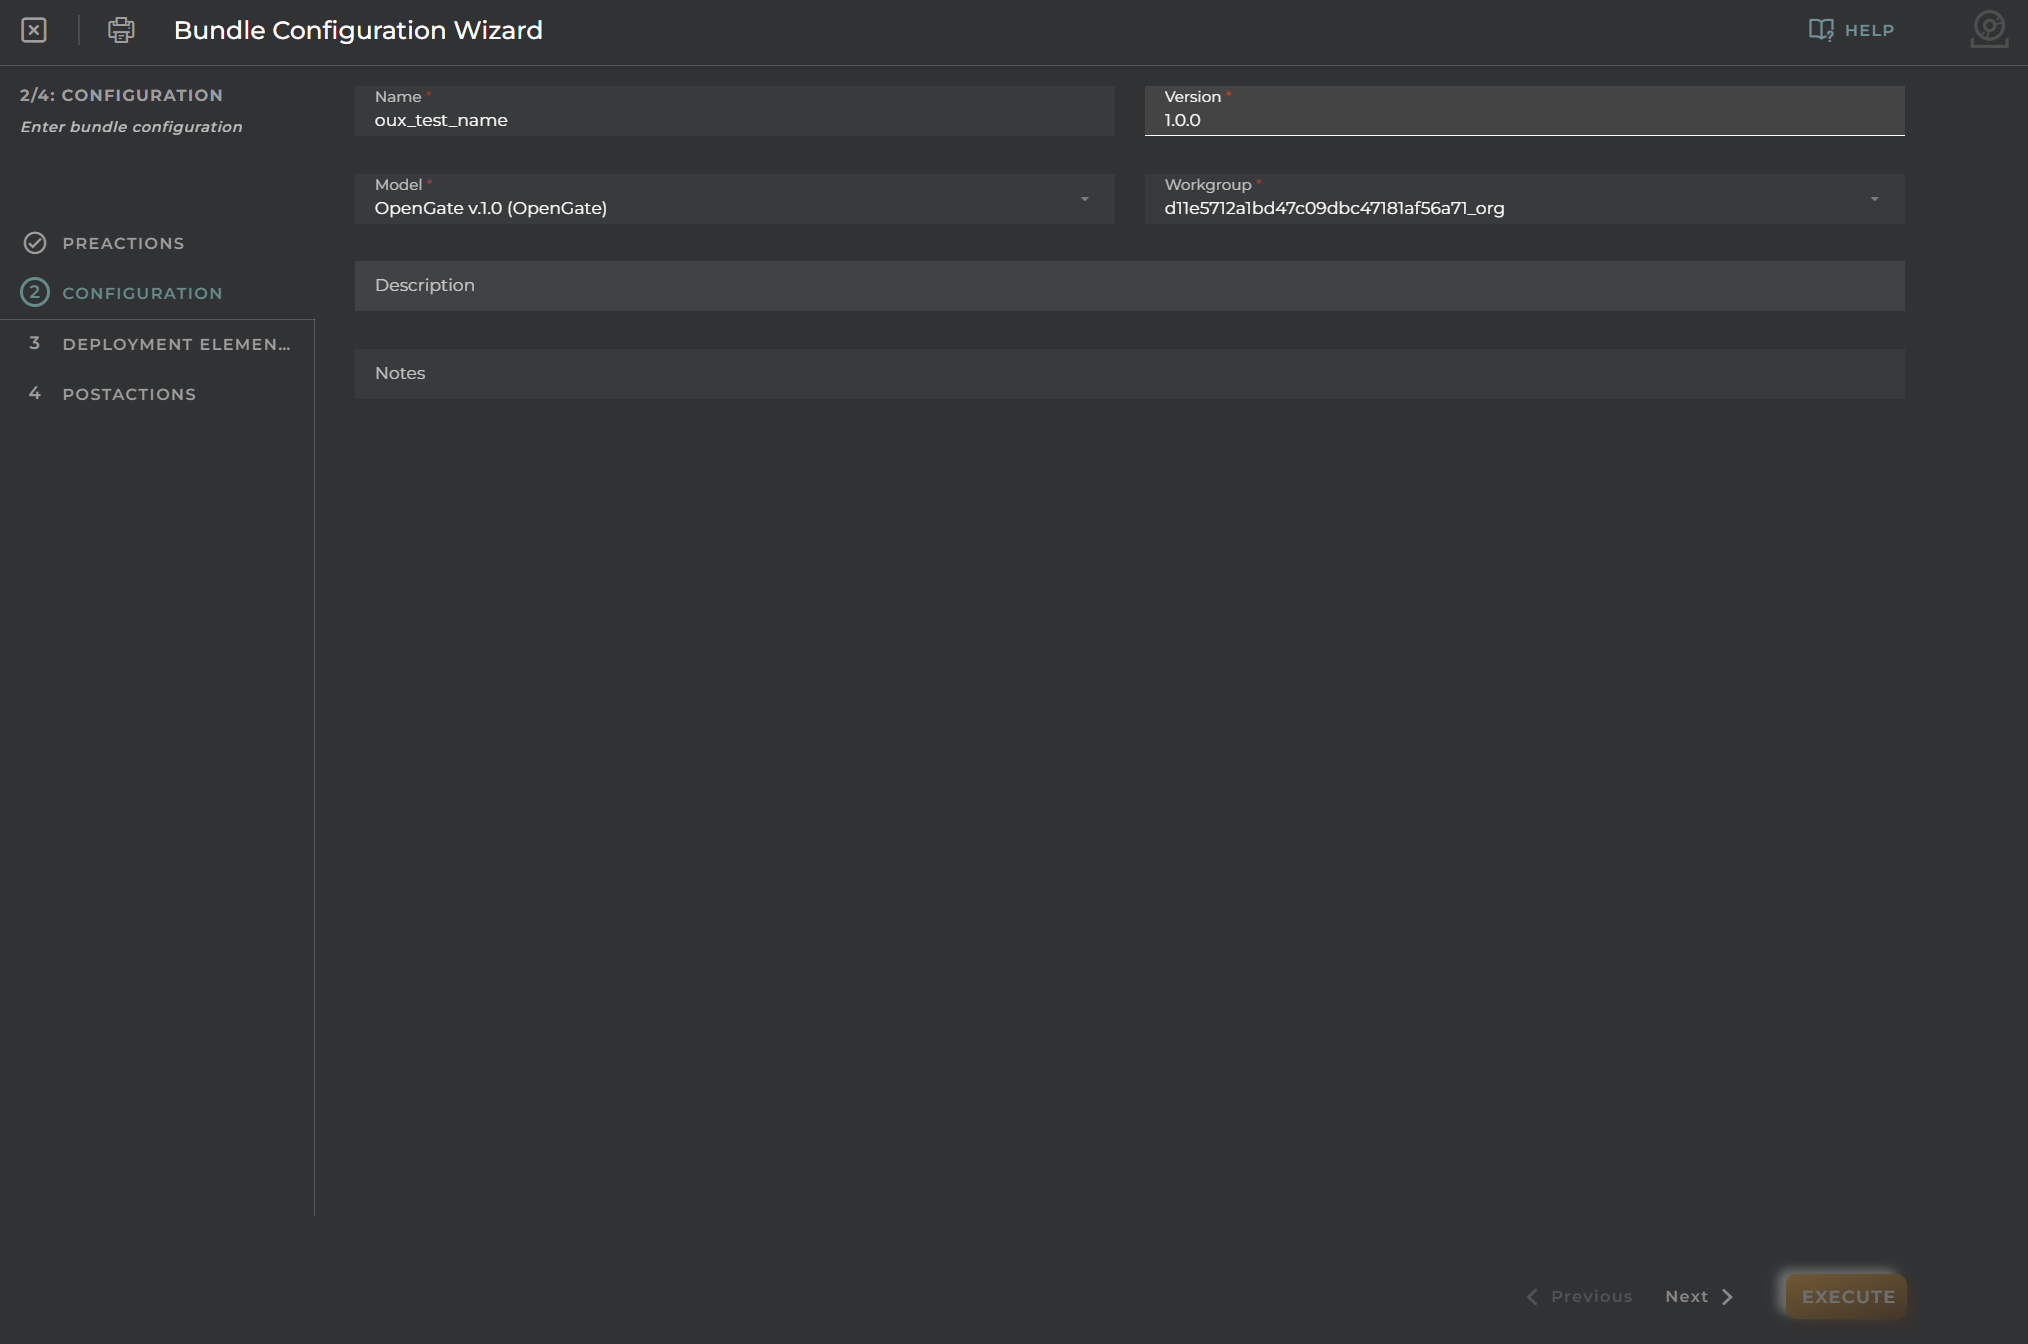
Configuration
Data for bundle configuration.
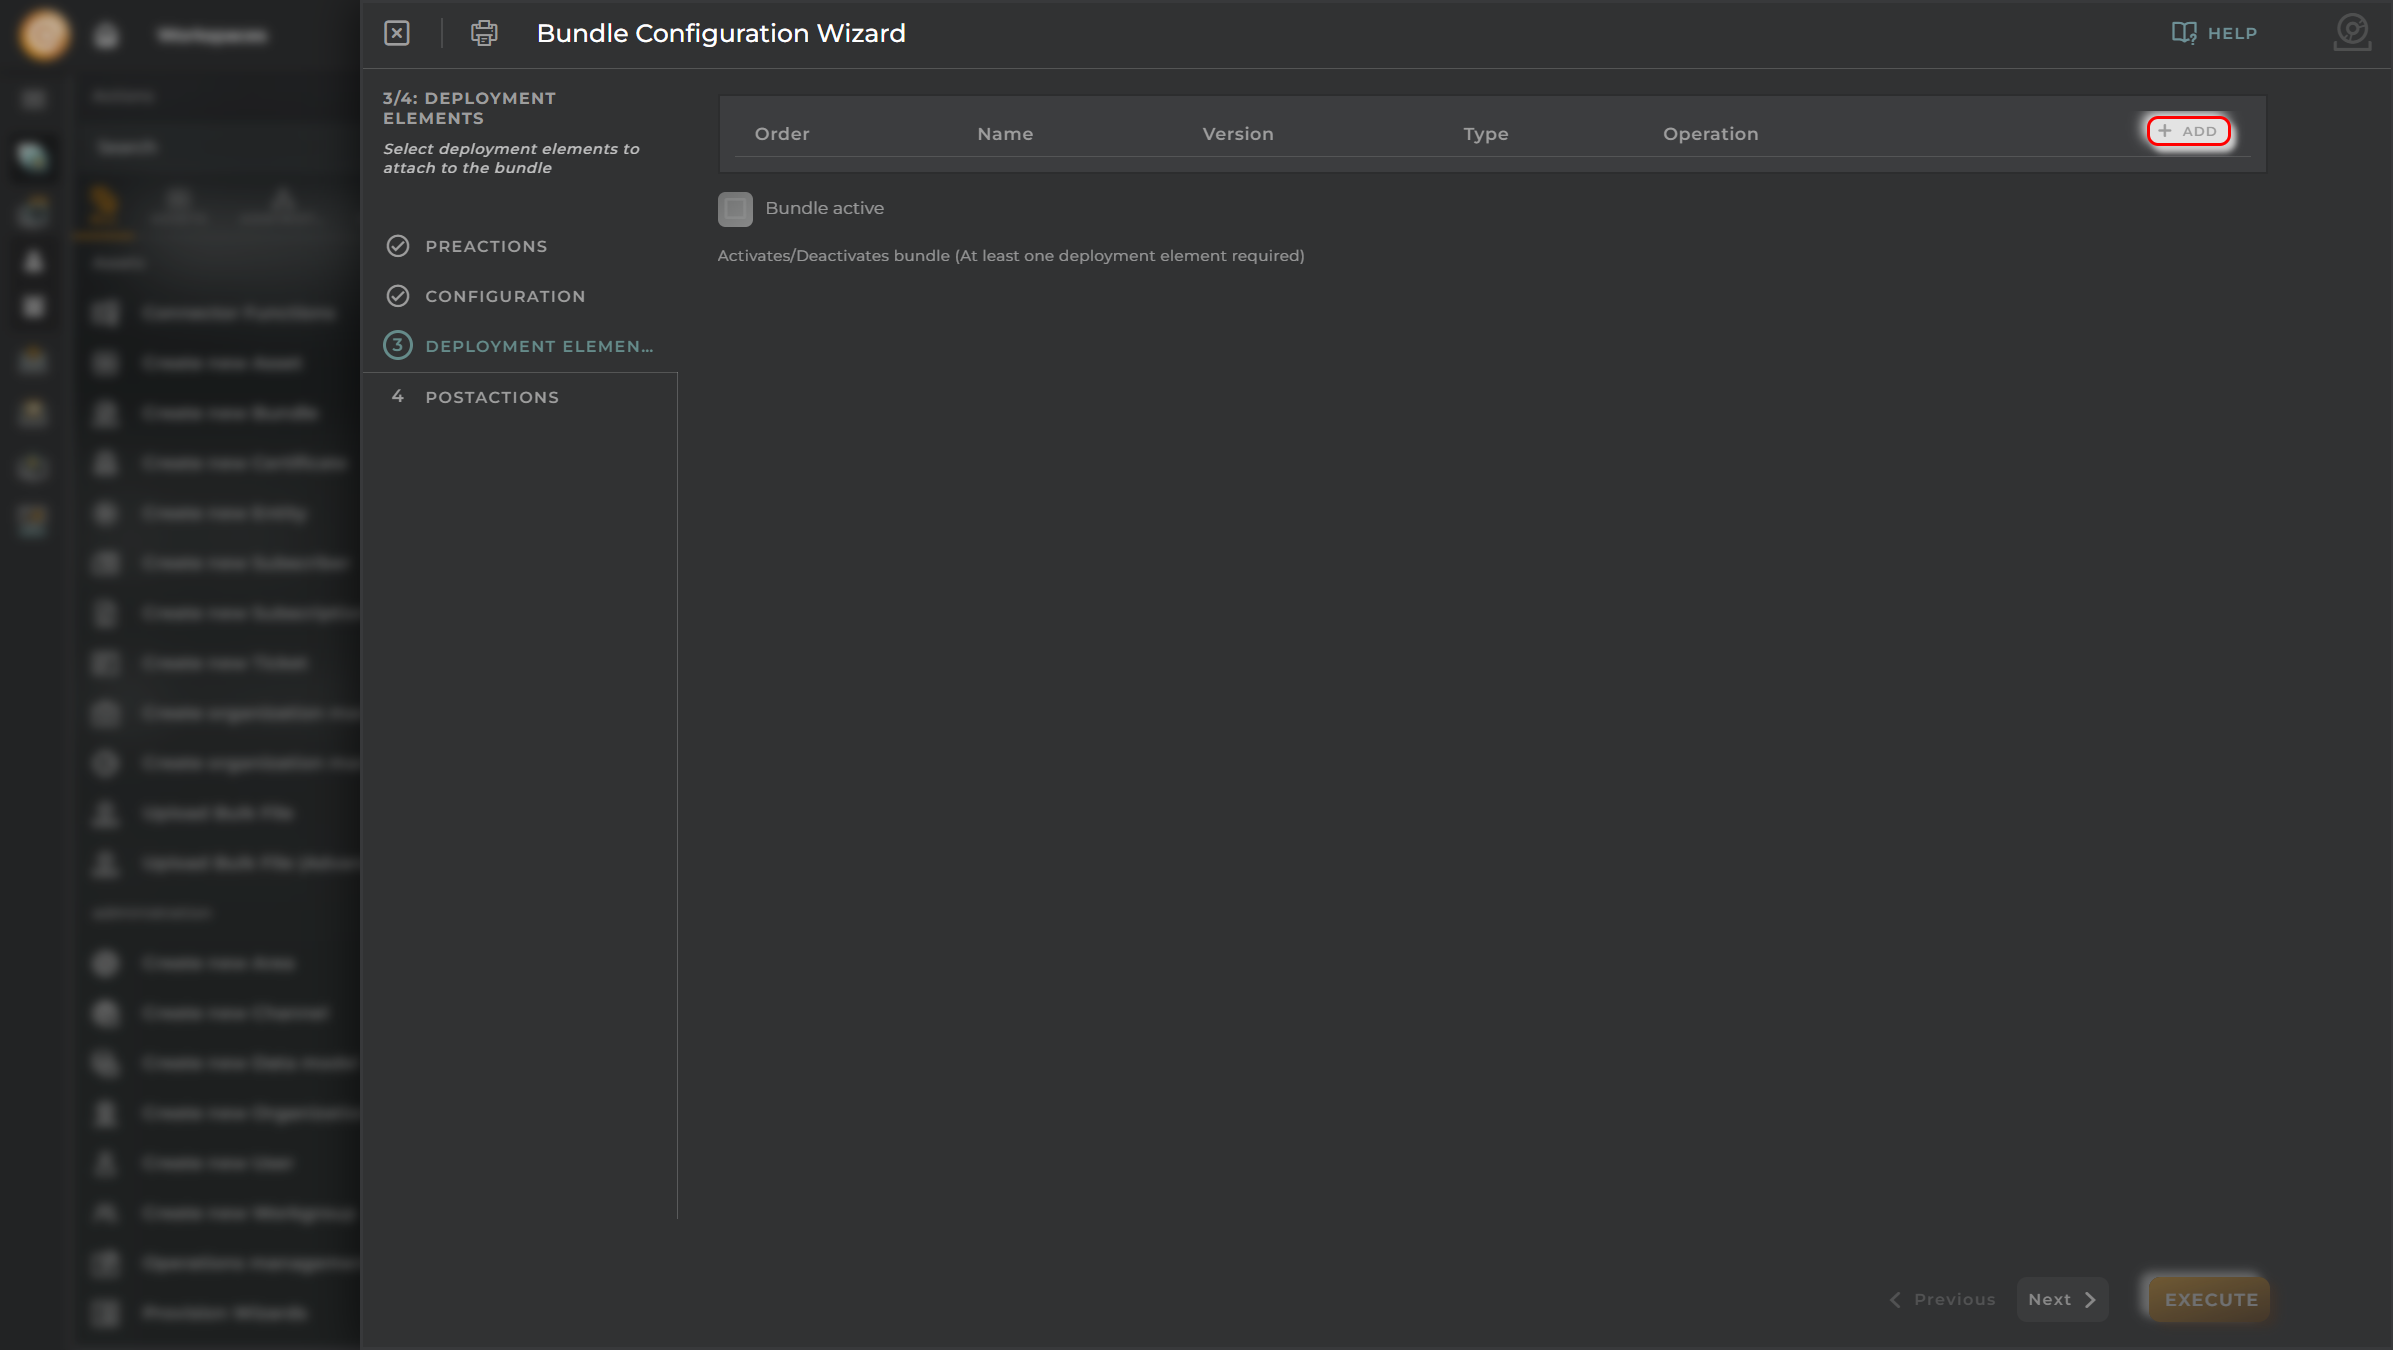
Deployment Elements
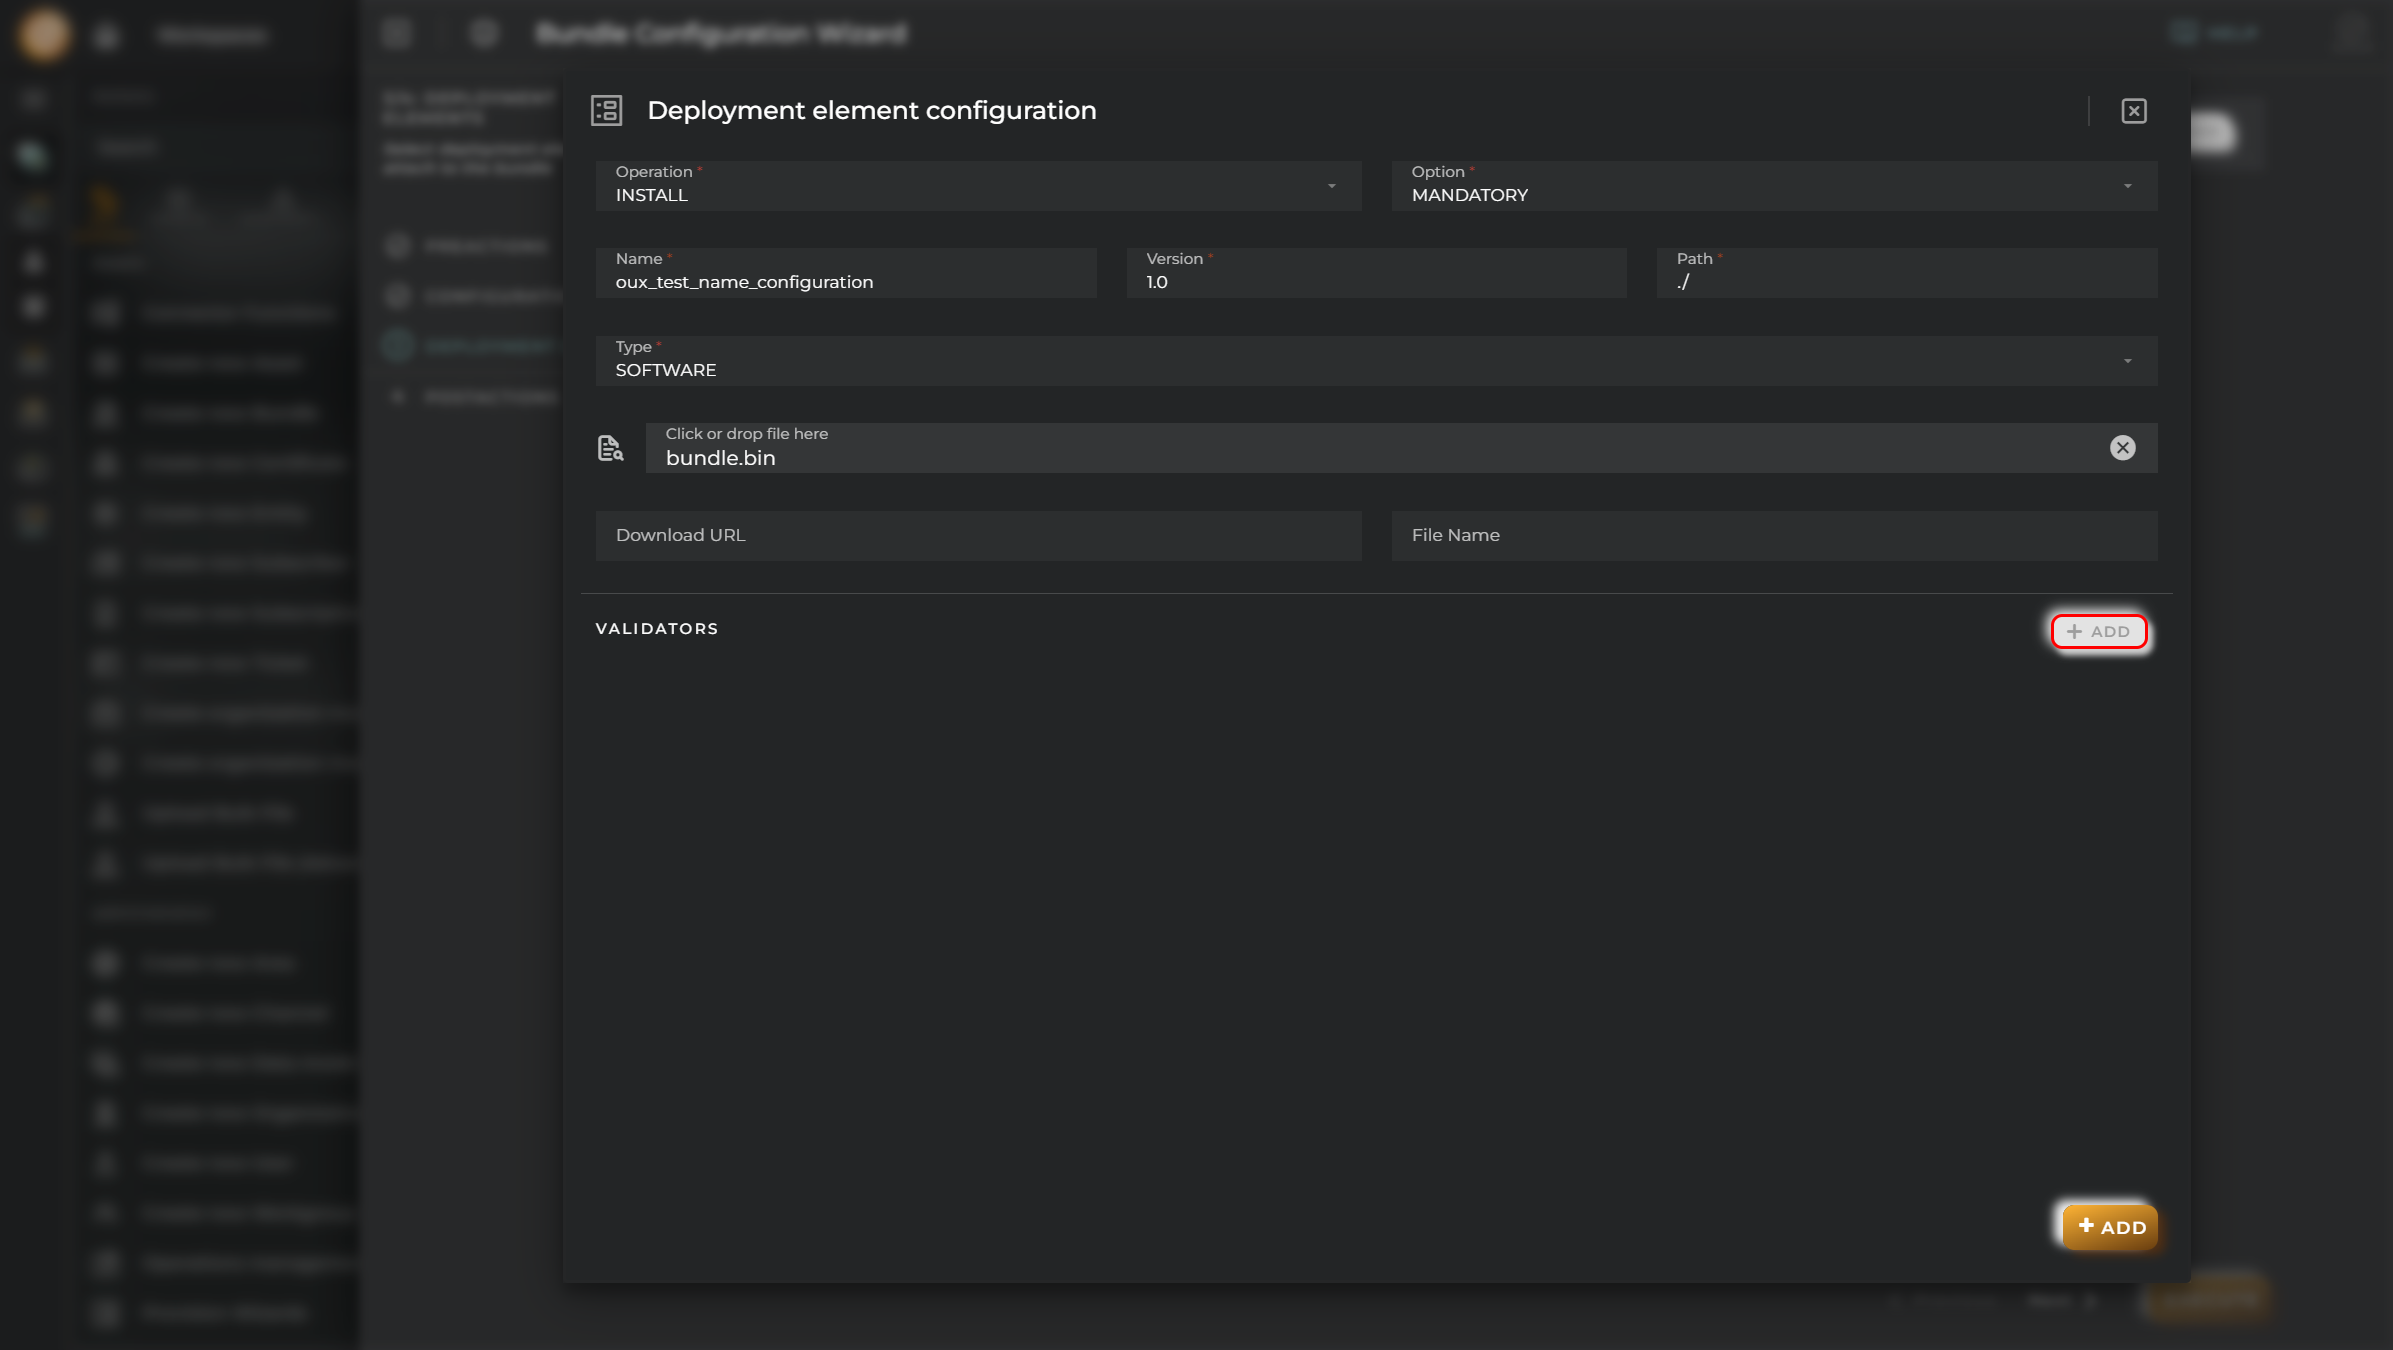
If needed, you can add a deployment element to attach to the bundle.
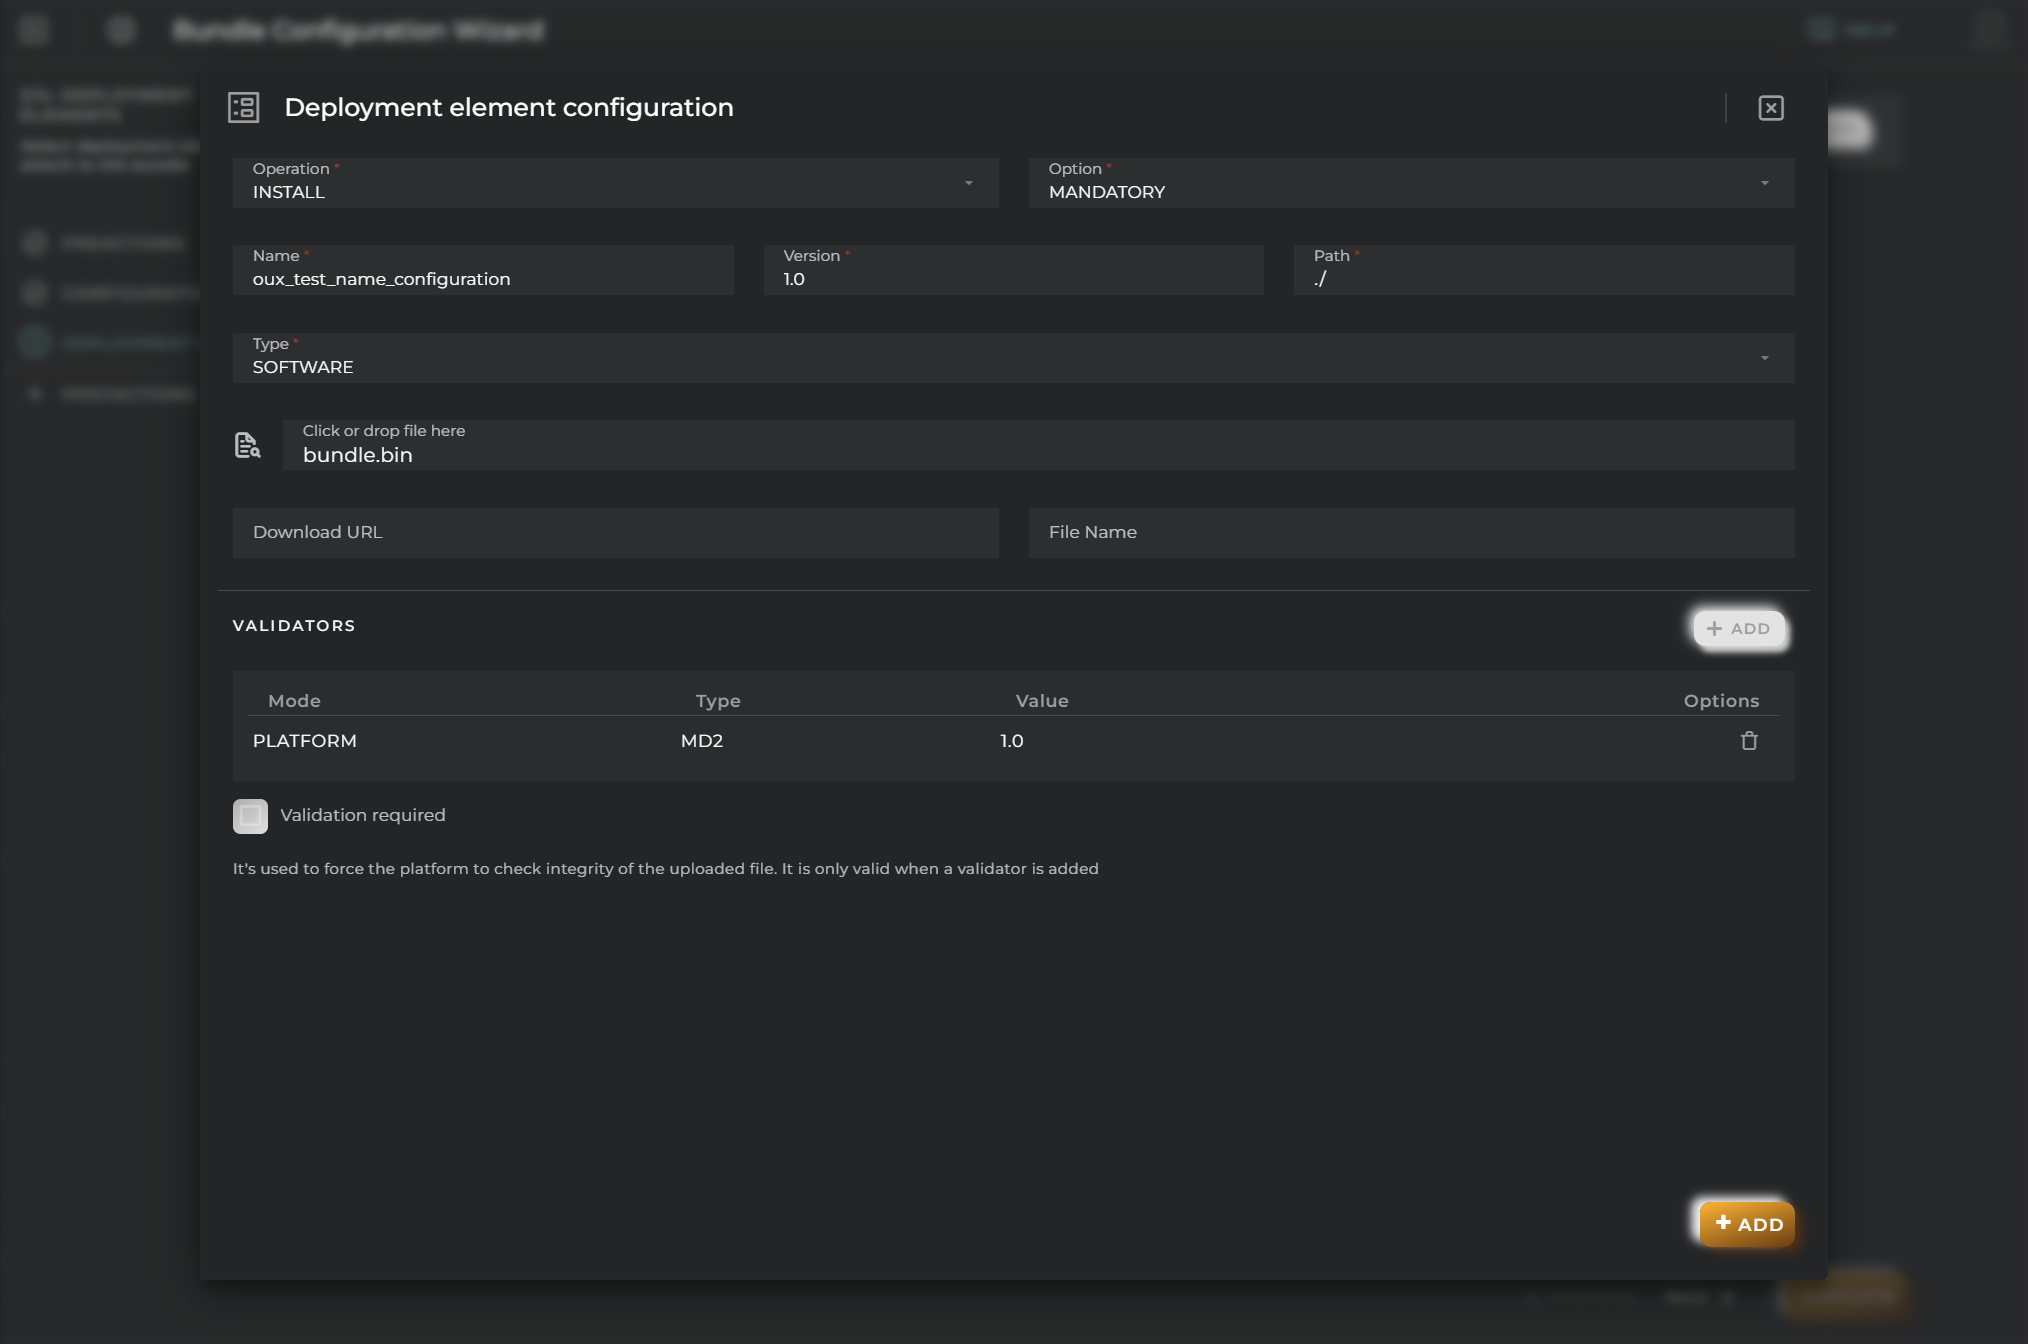
If you add the deployment element, a modal window will appear with different types of operations:
INSTALL
UNINSTALL
UPGRADE
This allows you to install, uninstall, or upgrade an implementation on a device.
There are two options:
MANDATORY
OPTIONAL
A bundle can contain four types of files, as seen in the type selector:
SOFTWARE
CONFIGURATION
PARAMETERS
FIRMWARE
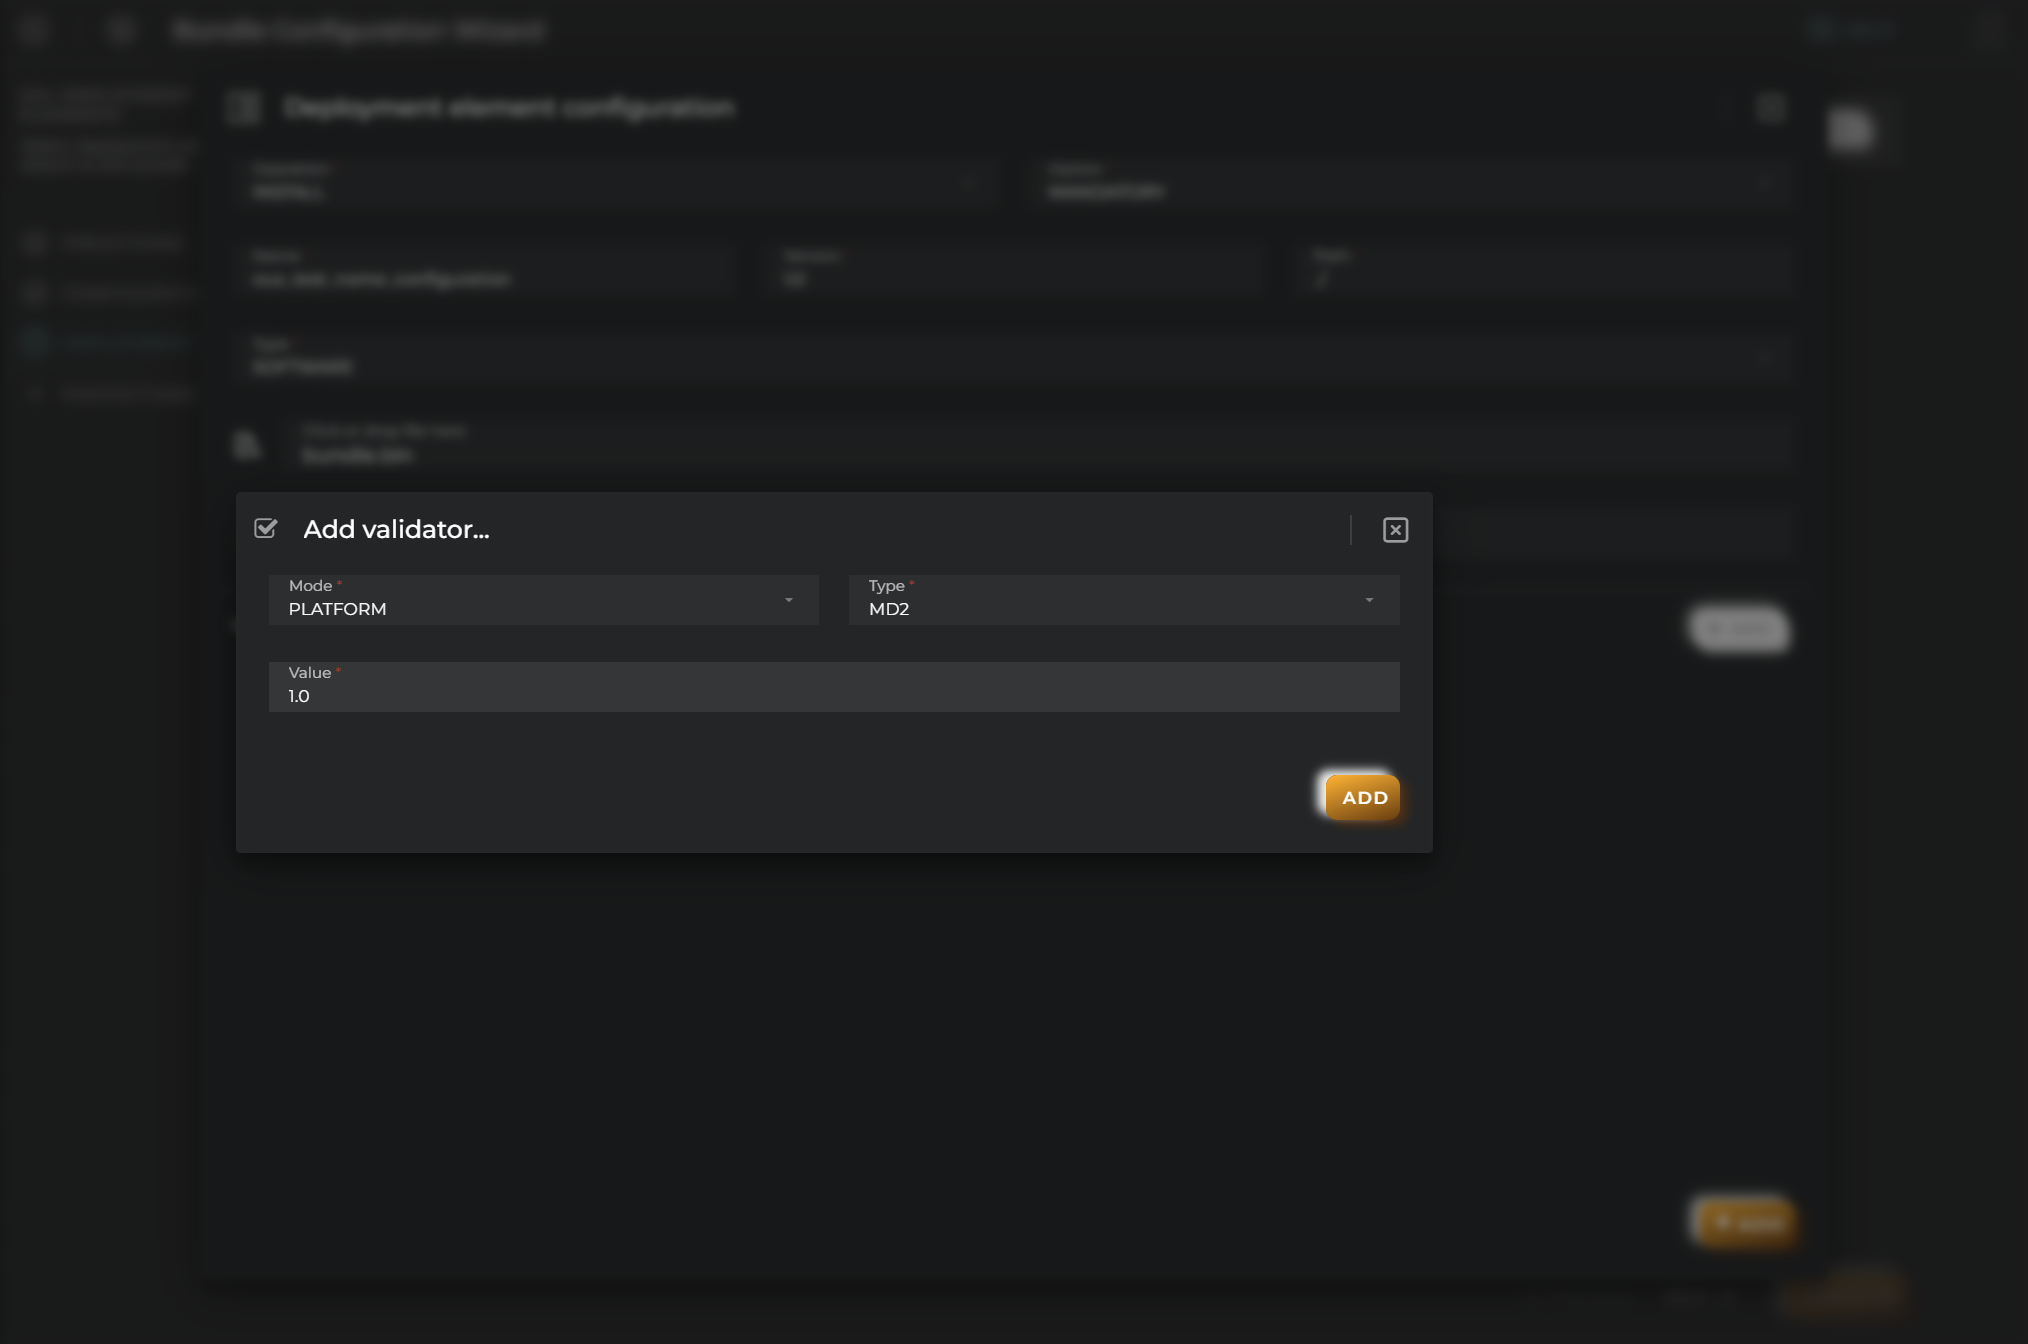
Additionally, you can add validators if desired:
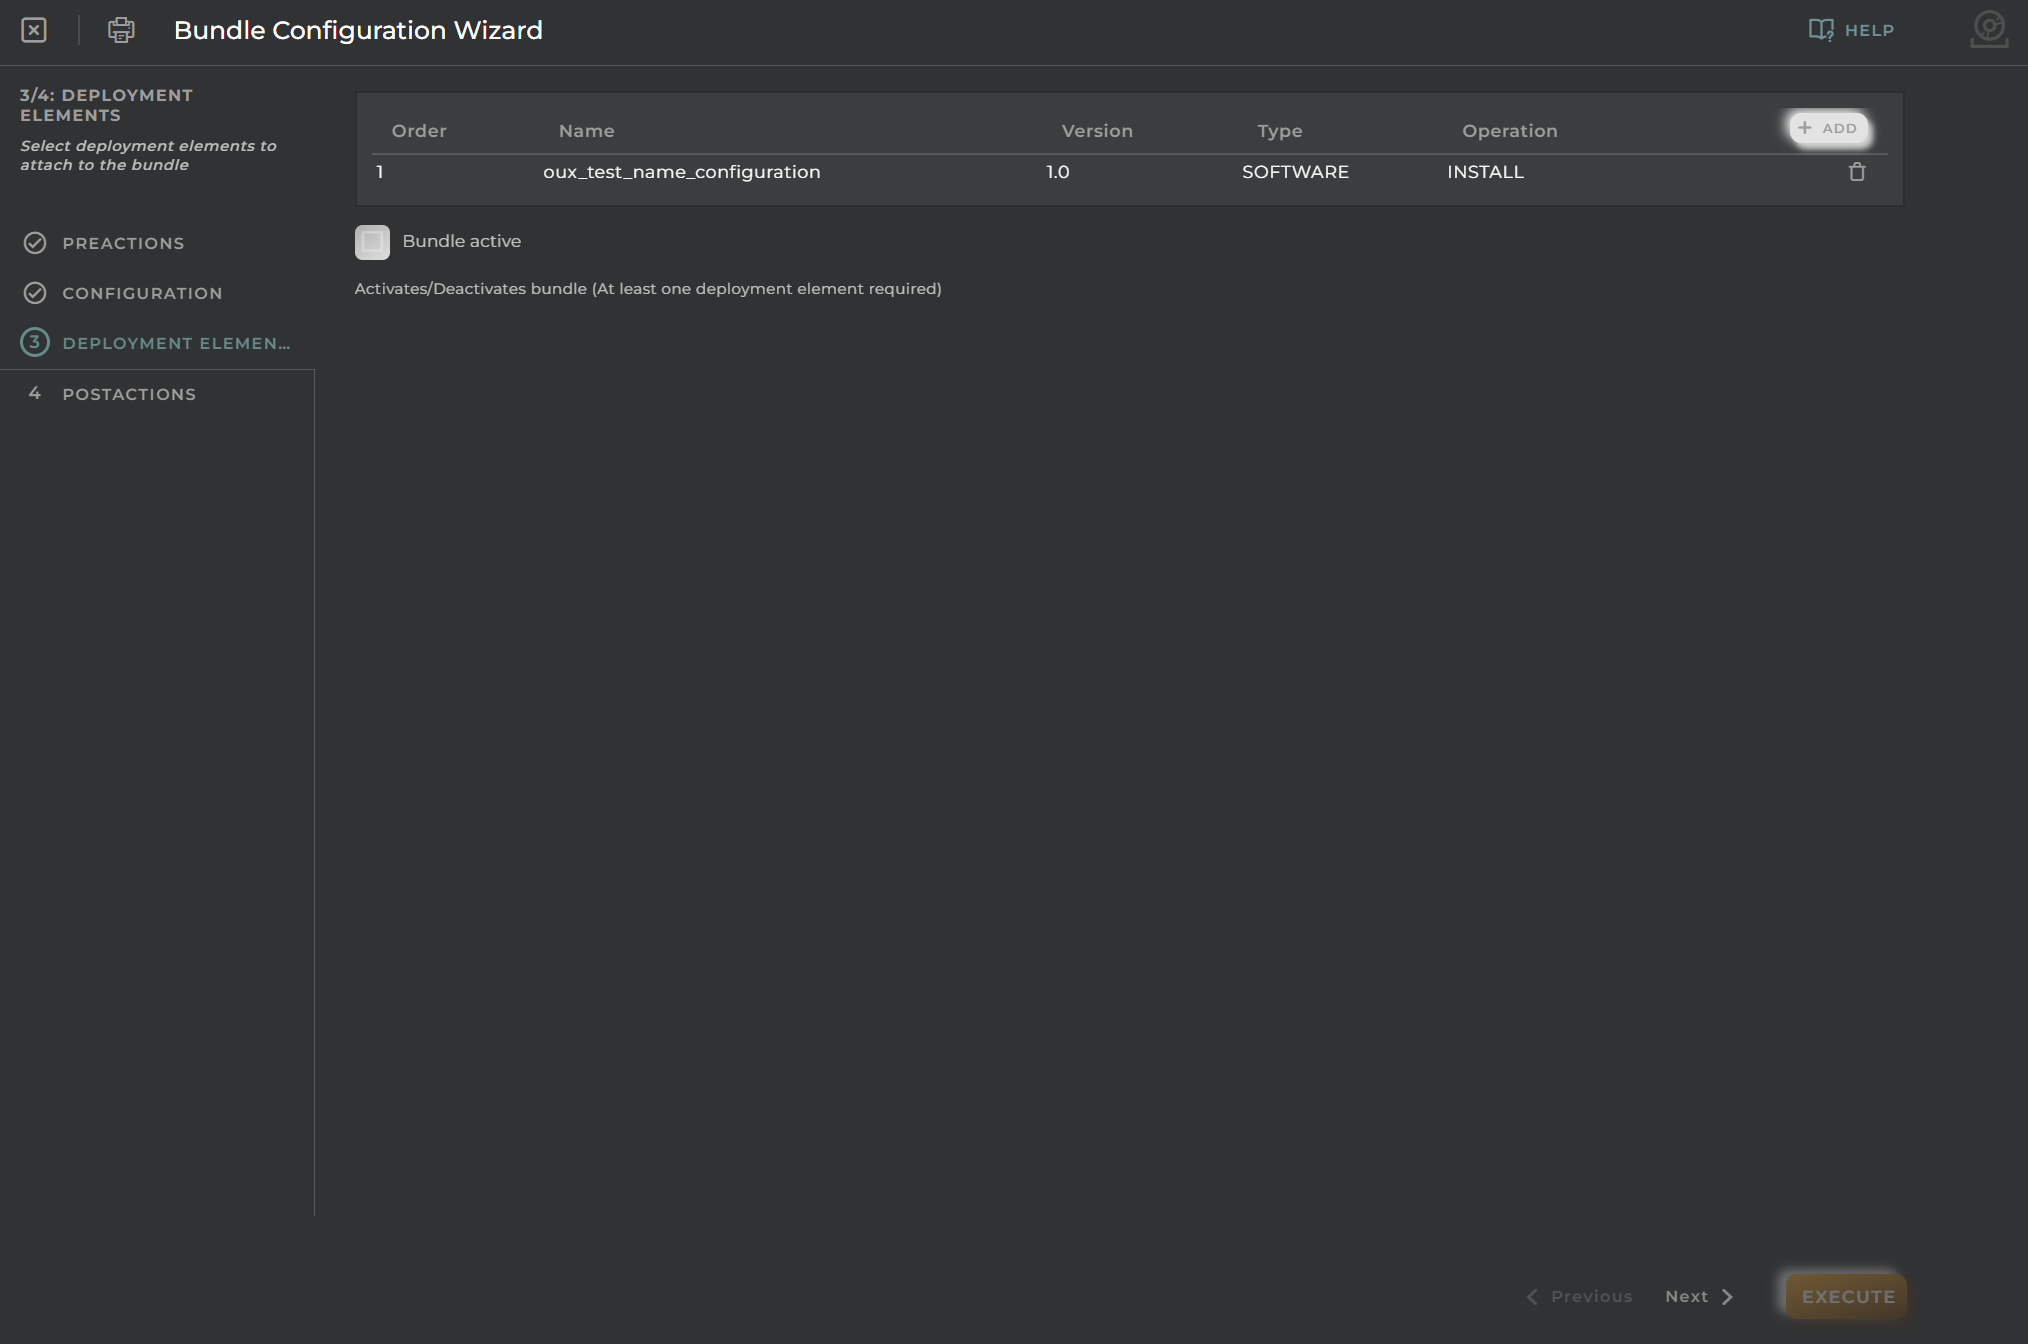
After adding deployment elements, you will return to the previous “Deployment Elements” step, where you can see the deployment element you just added. You will also notice that the “Active Bundle” checkbox is now enabled, allowing you to activate or deactivate the bundle.
Post-actions
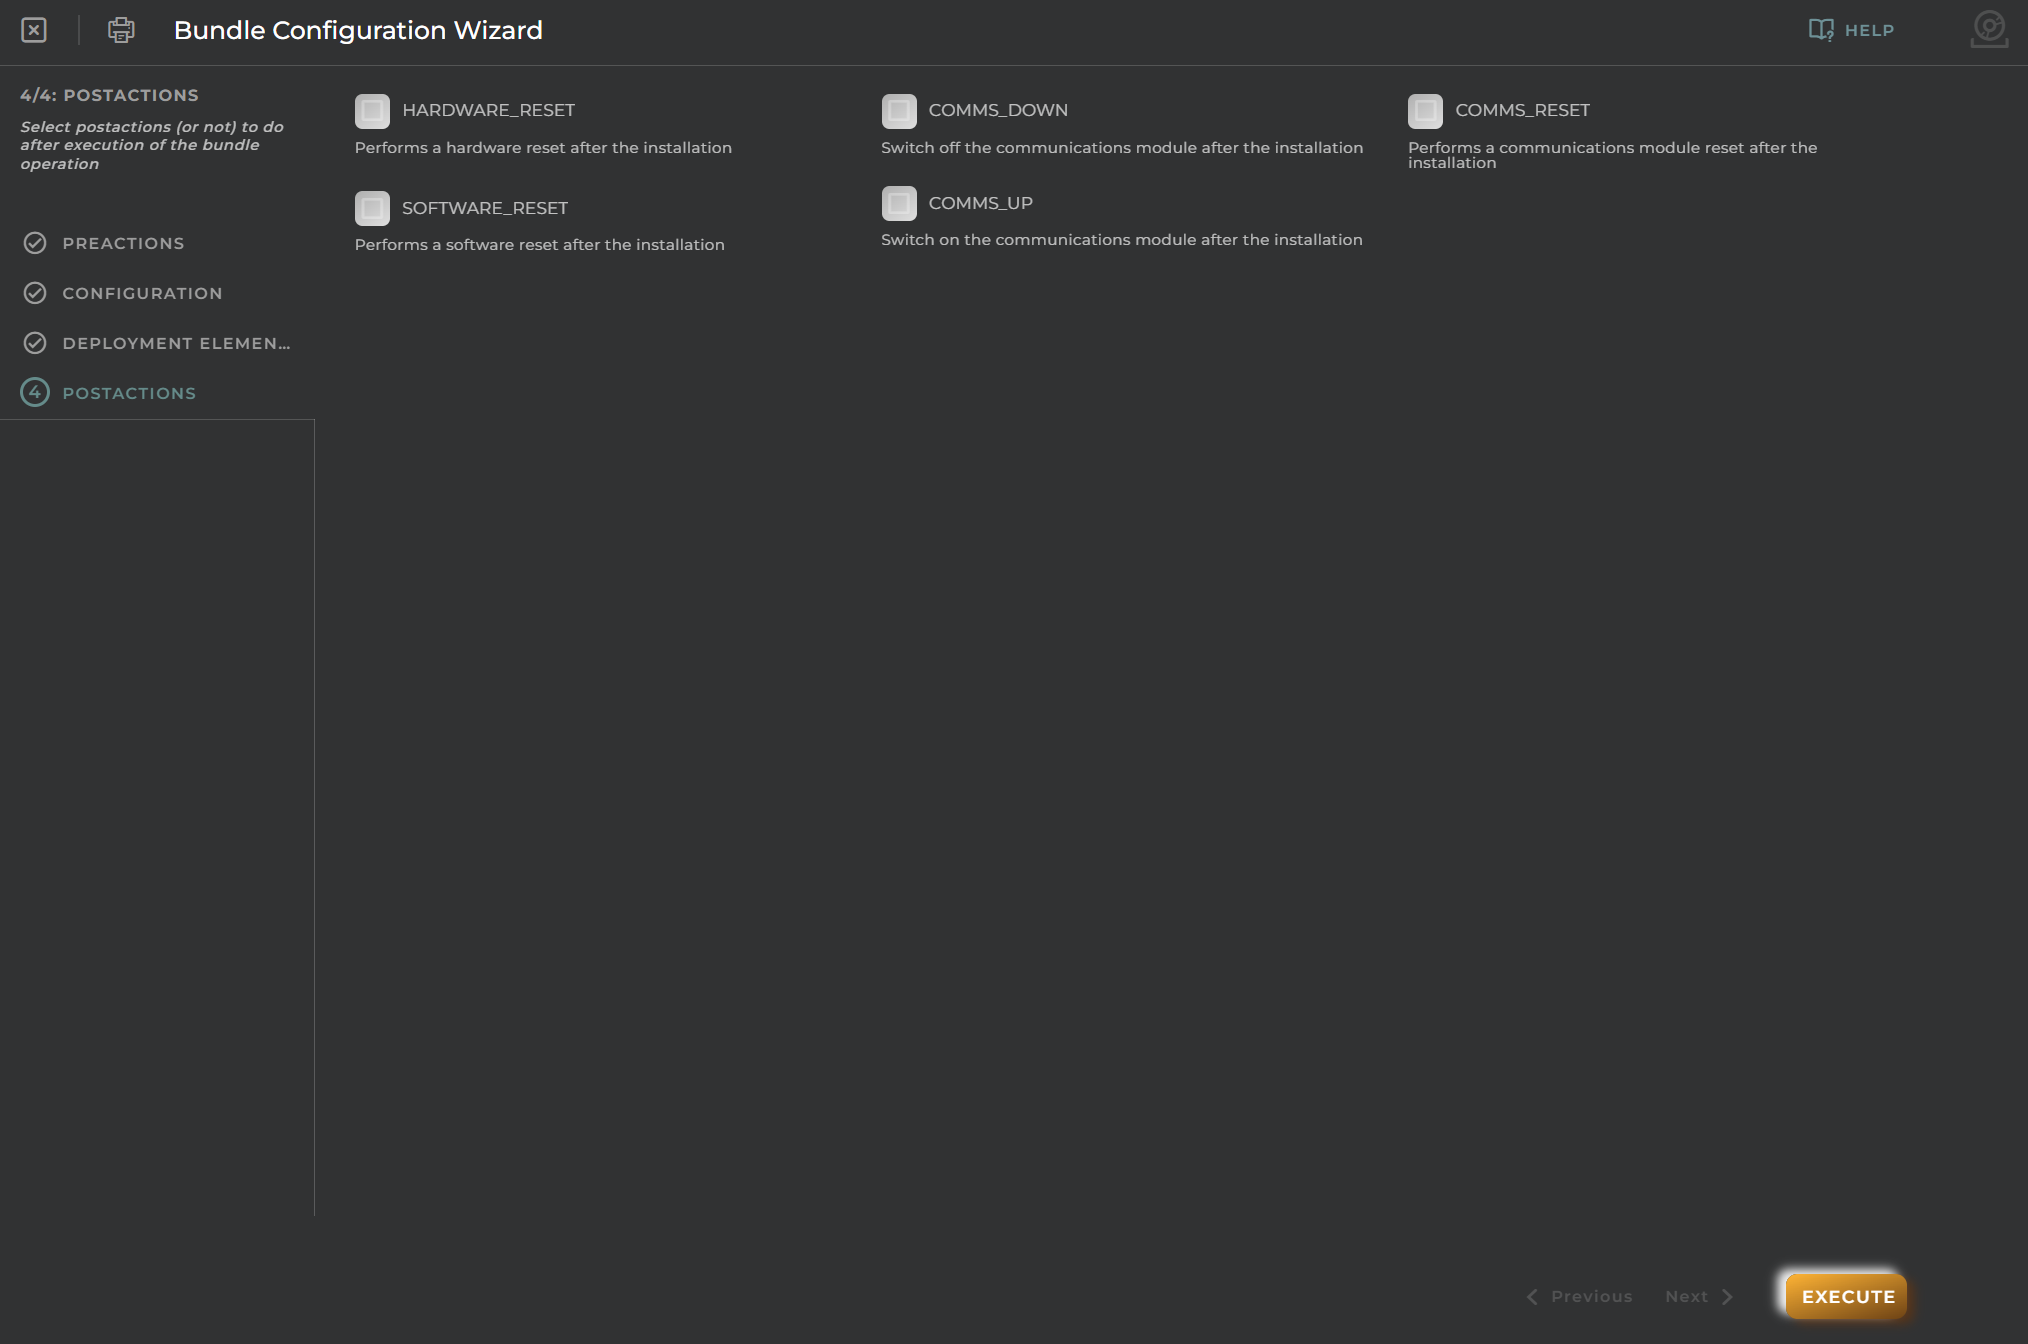
In the final step, you can choose to include post-actions or not to perform after the bundle operation has executed.
Create new Certificate
This wizard allows you to create certificates for your organization.
Steps
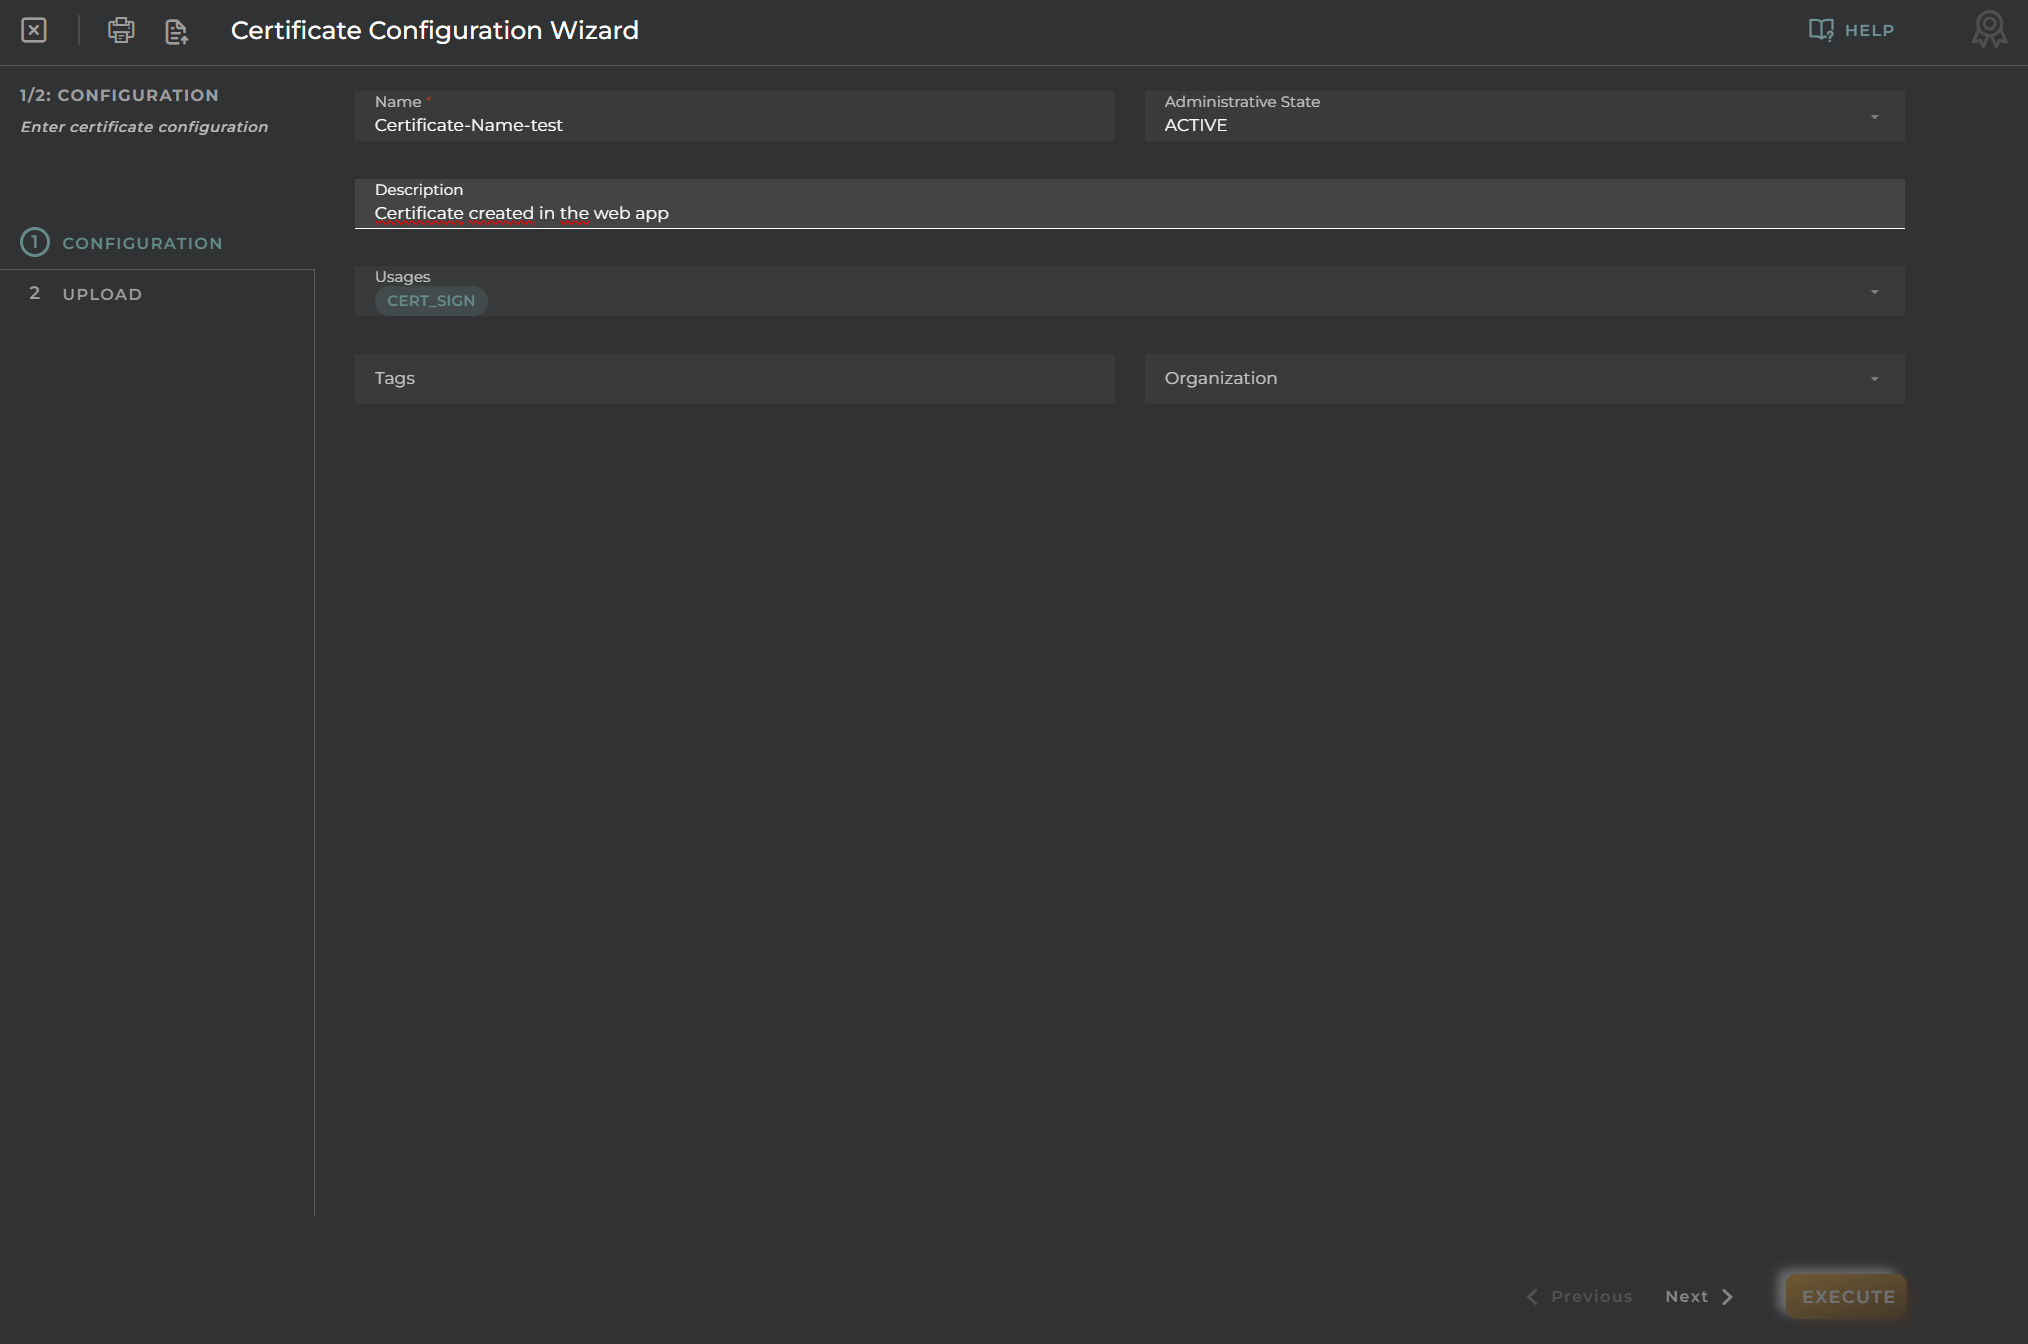
Configuration
Essential data for registration and identification.
Previously to create new certificates it is neccesary to know the next tips:
An user can upload in the platform a certificate in her organization and in the organizations with low hierarchy managed by the user
A certificate can only be signed by a certificate uploaded in the platform with usage CERT_SIGN and this certificate must be in the same organization or in a organization with visible upper hierarchy
You can upload the same certificate to the platform a lot of times but always with different identificator
If you change the organization of a certificate, the trust chain will be updated keeping in this, only those certificates belonging to visible organizations for the new organization.
Fields
Name : Certificate Name.
Description : This field contain the certificate description
Administrative State : This field will contain the Name Administrative State, valid values are [ NOT_ACTIVE, ACTIVE, REVOKED, EXPIRED].
Usages : This field will contain the usages, valid values are [FILE_VALIDATION, DEVICE_COMMUNICATIONS, DEVICE_ACCESS, CERT_SIGN].
Tags : This field will contain the tags.
Organizations : This field will contain the organizations, Organizations inside list must exist.
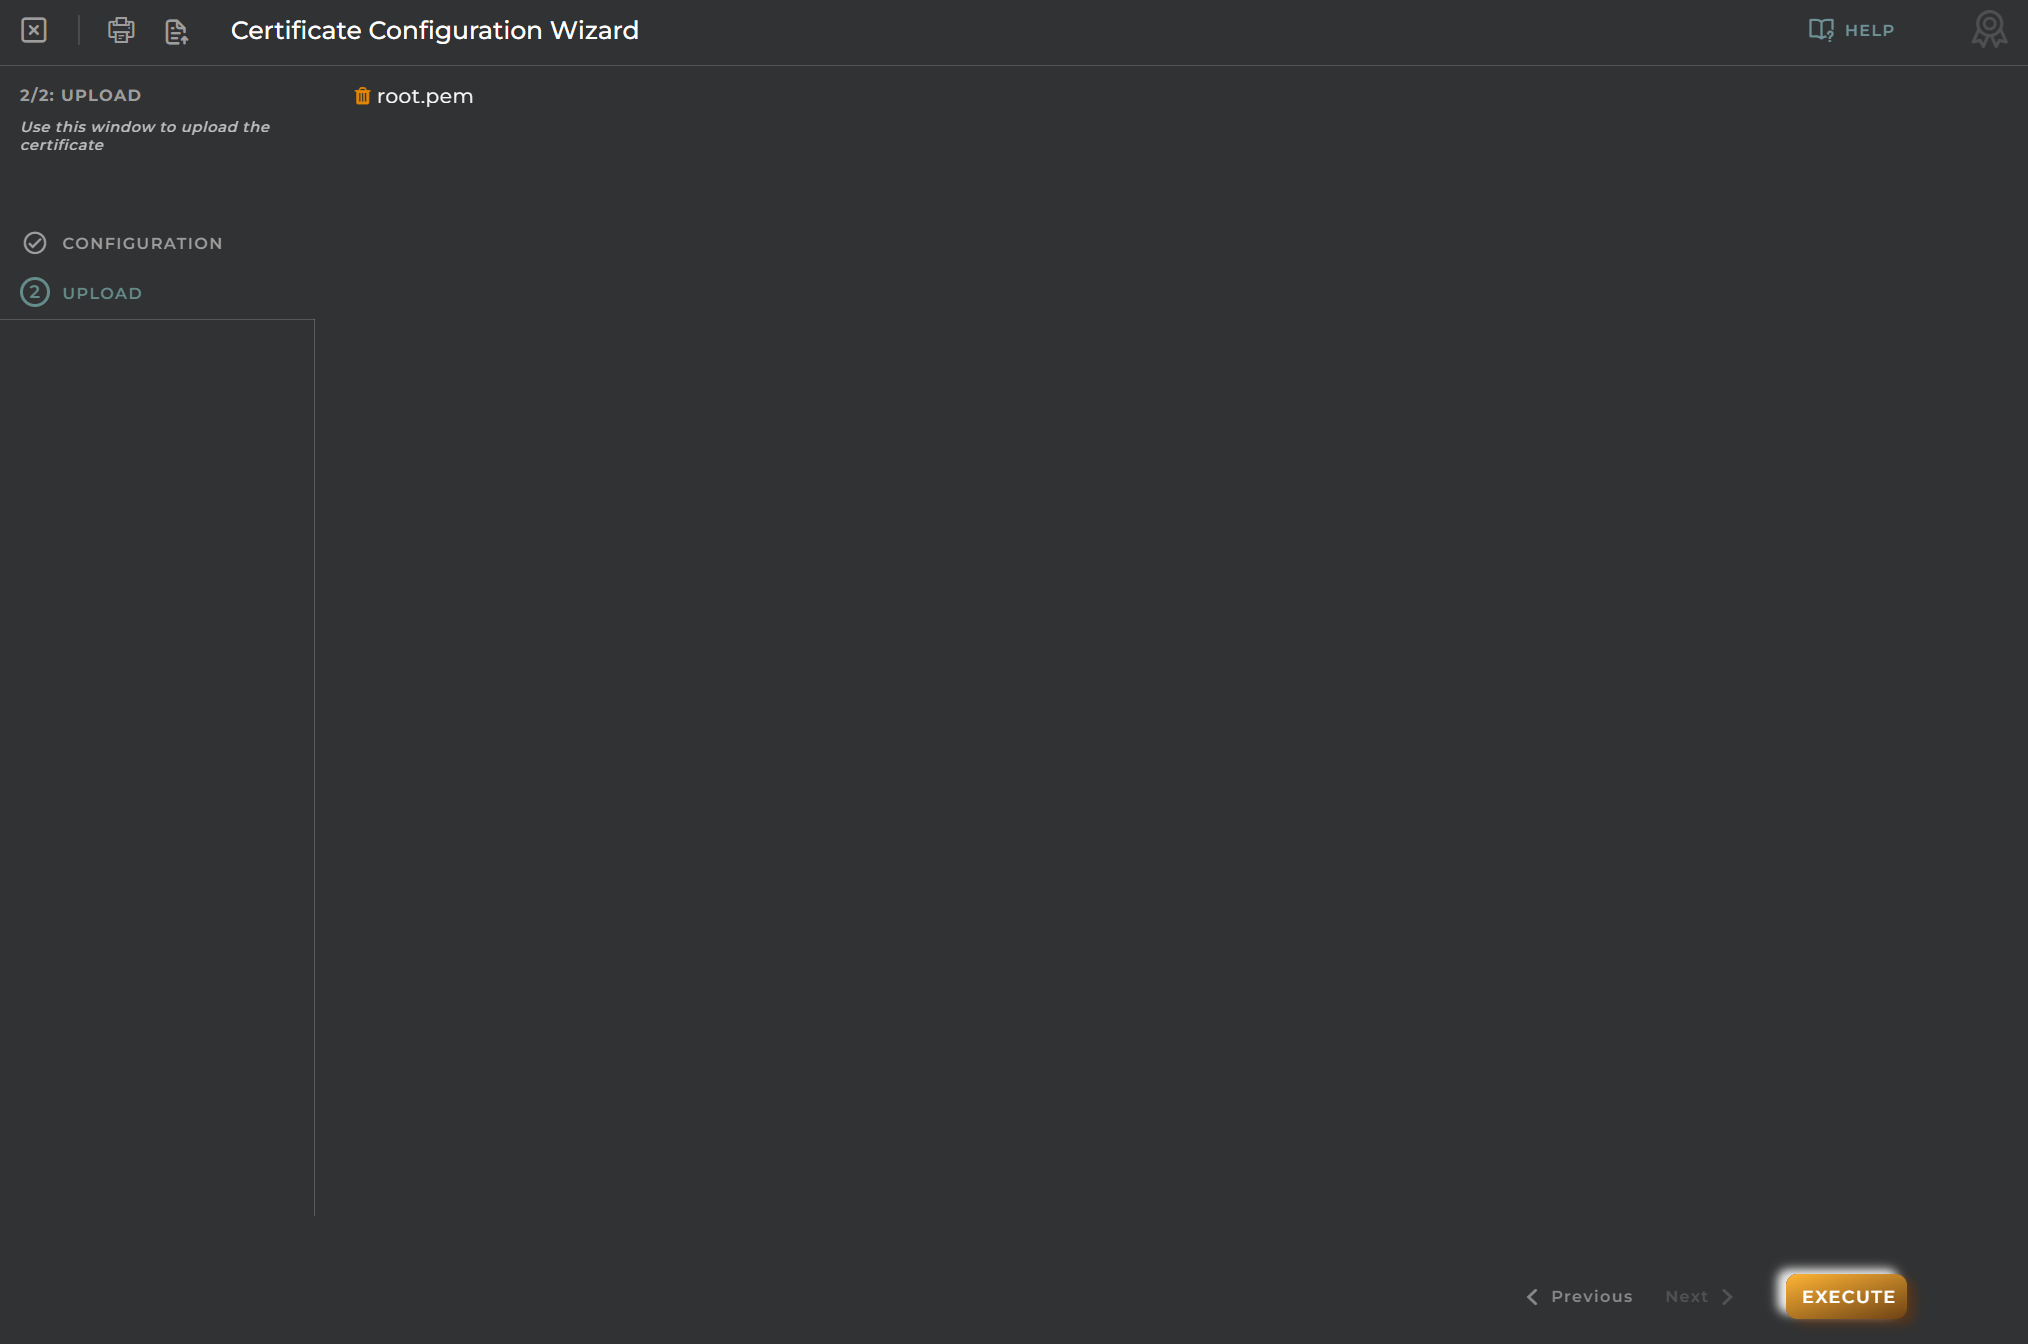
Upload
Upload the certification file.
Only administrative information can be updated. If you need to change the certificate file, you have to delete the existing and add a new one.
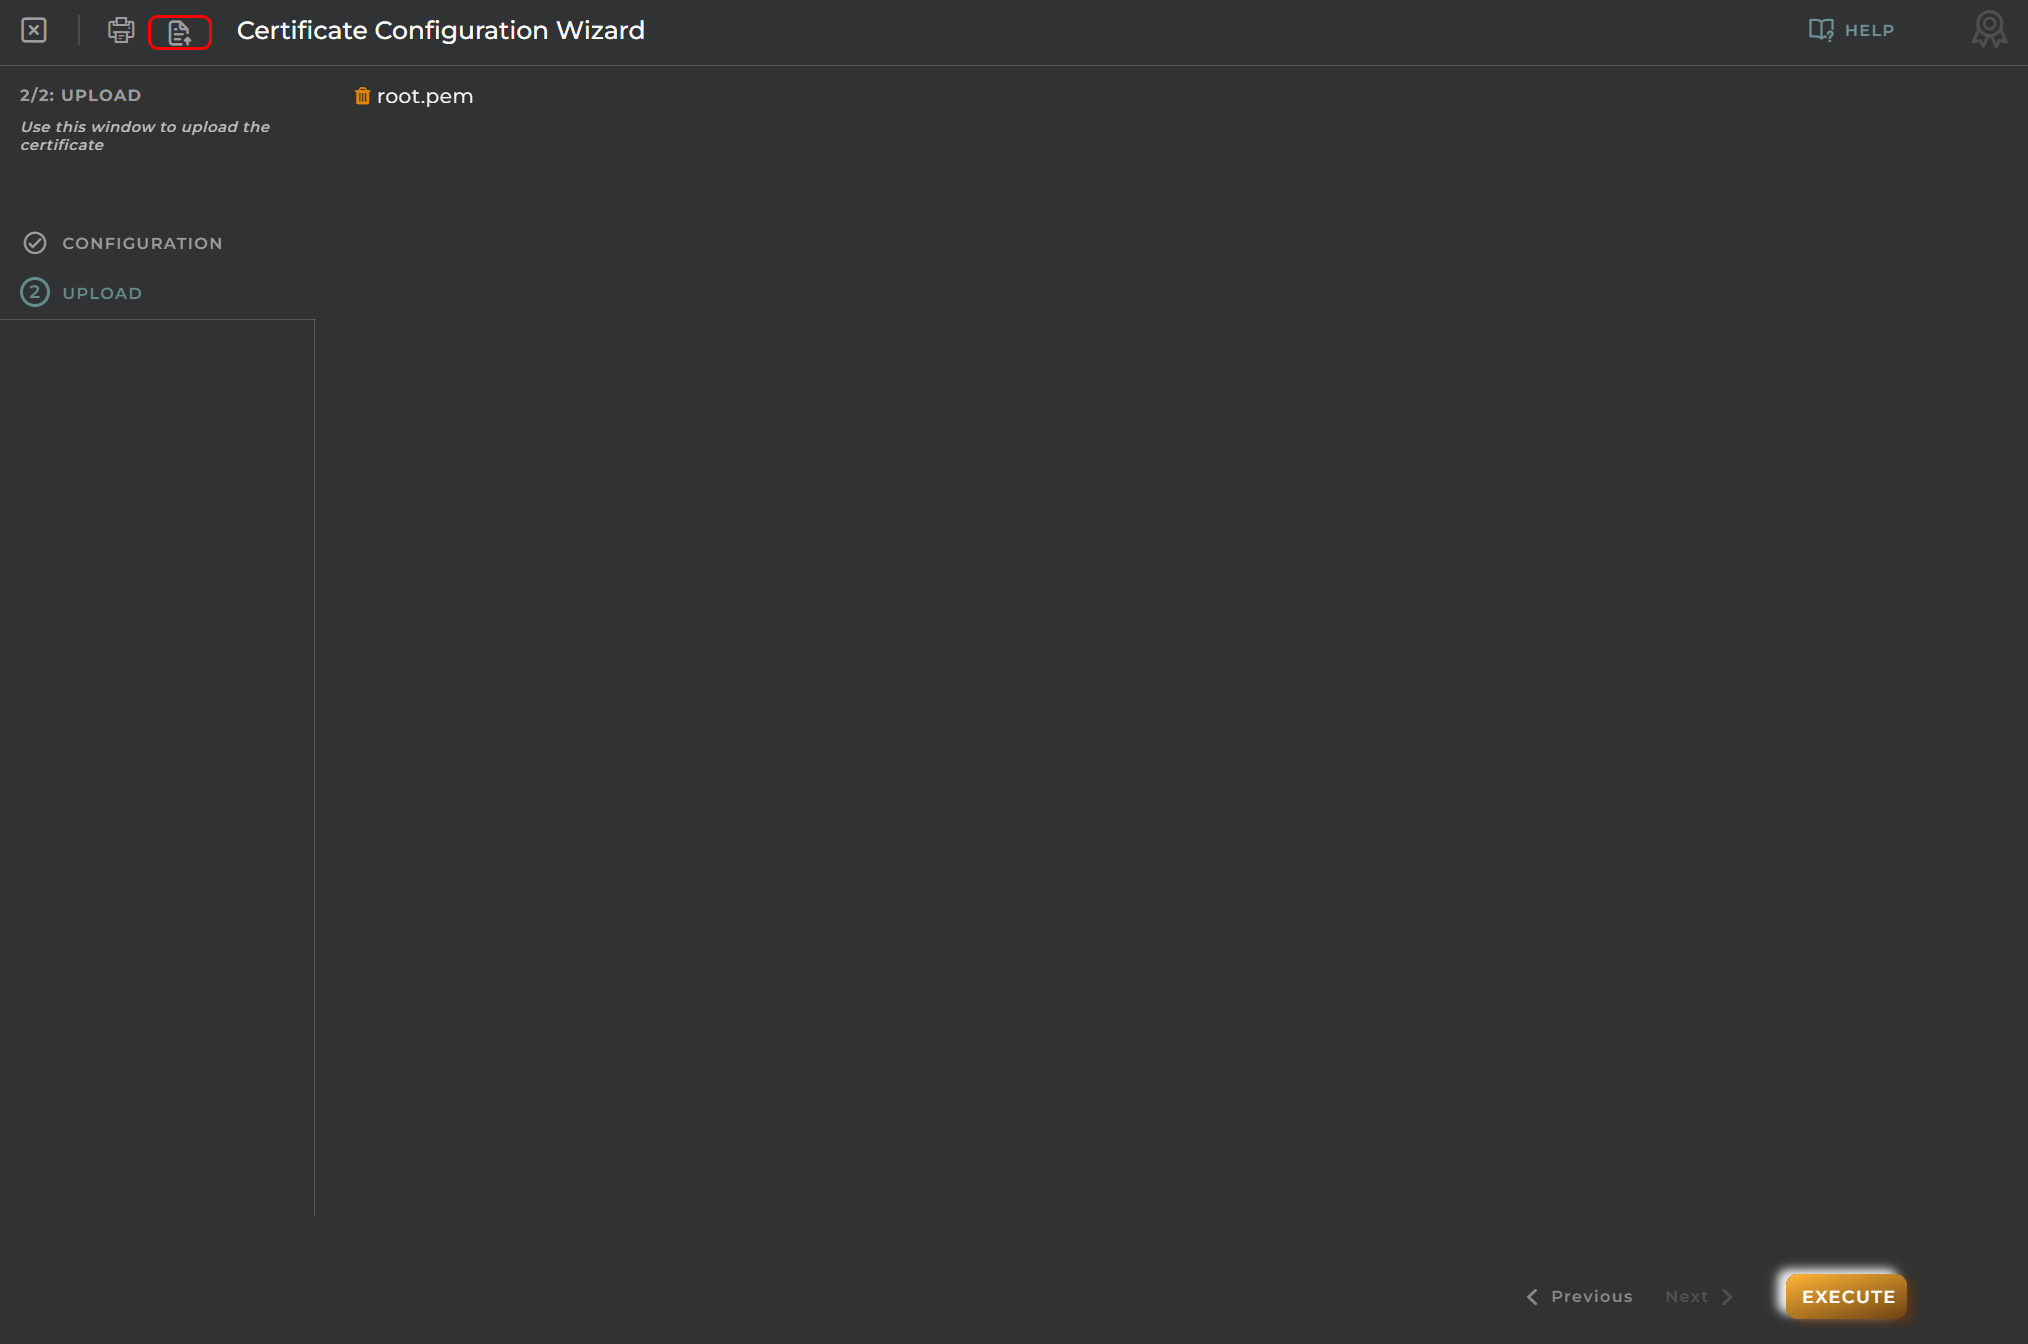
Import/Export Configuration
Allows you to import and export the wizard’s configuration via JSON.
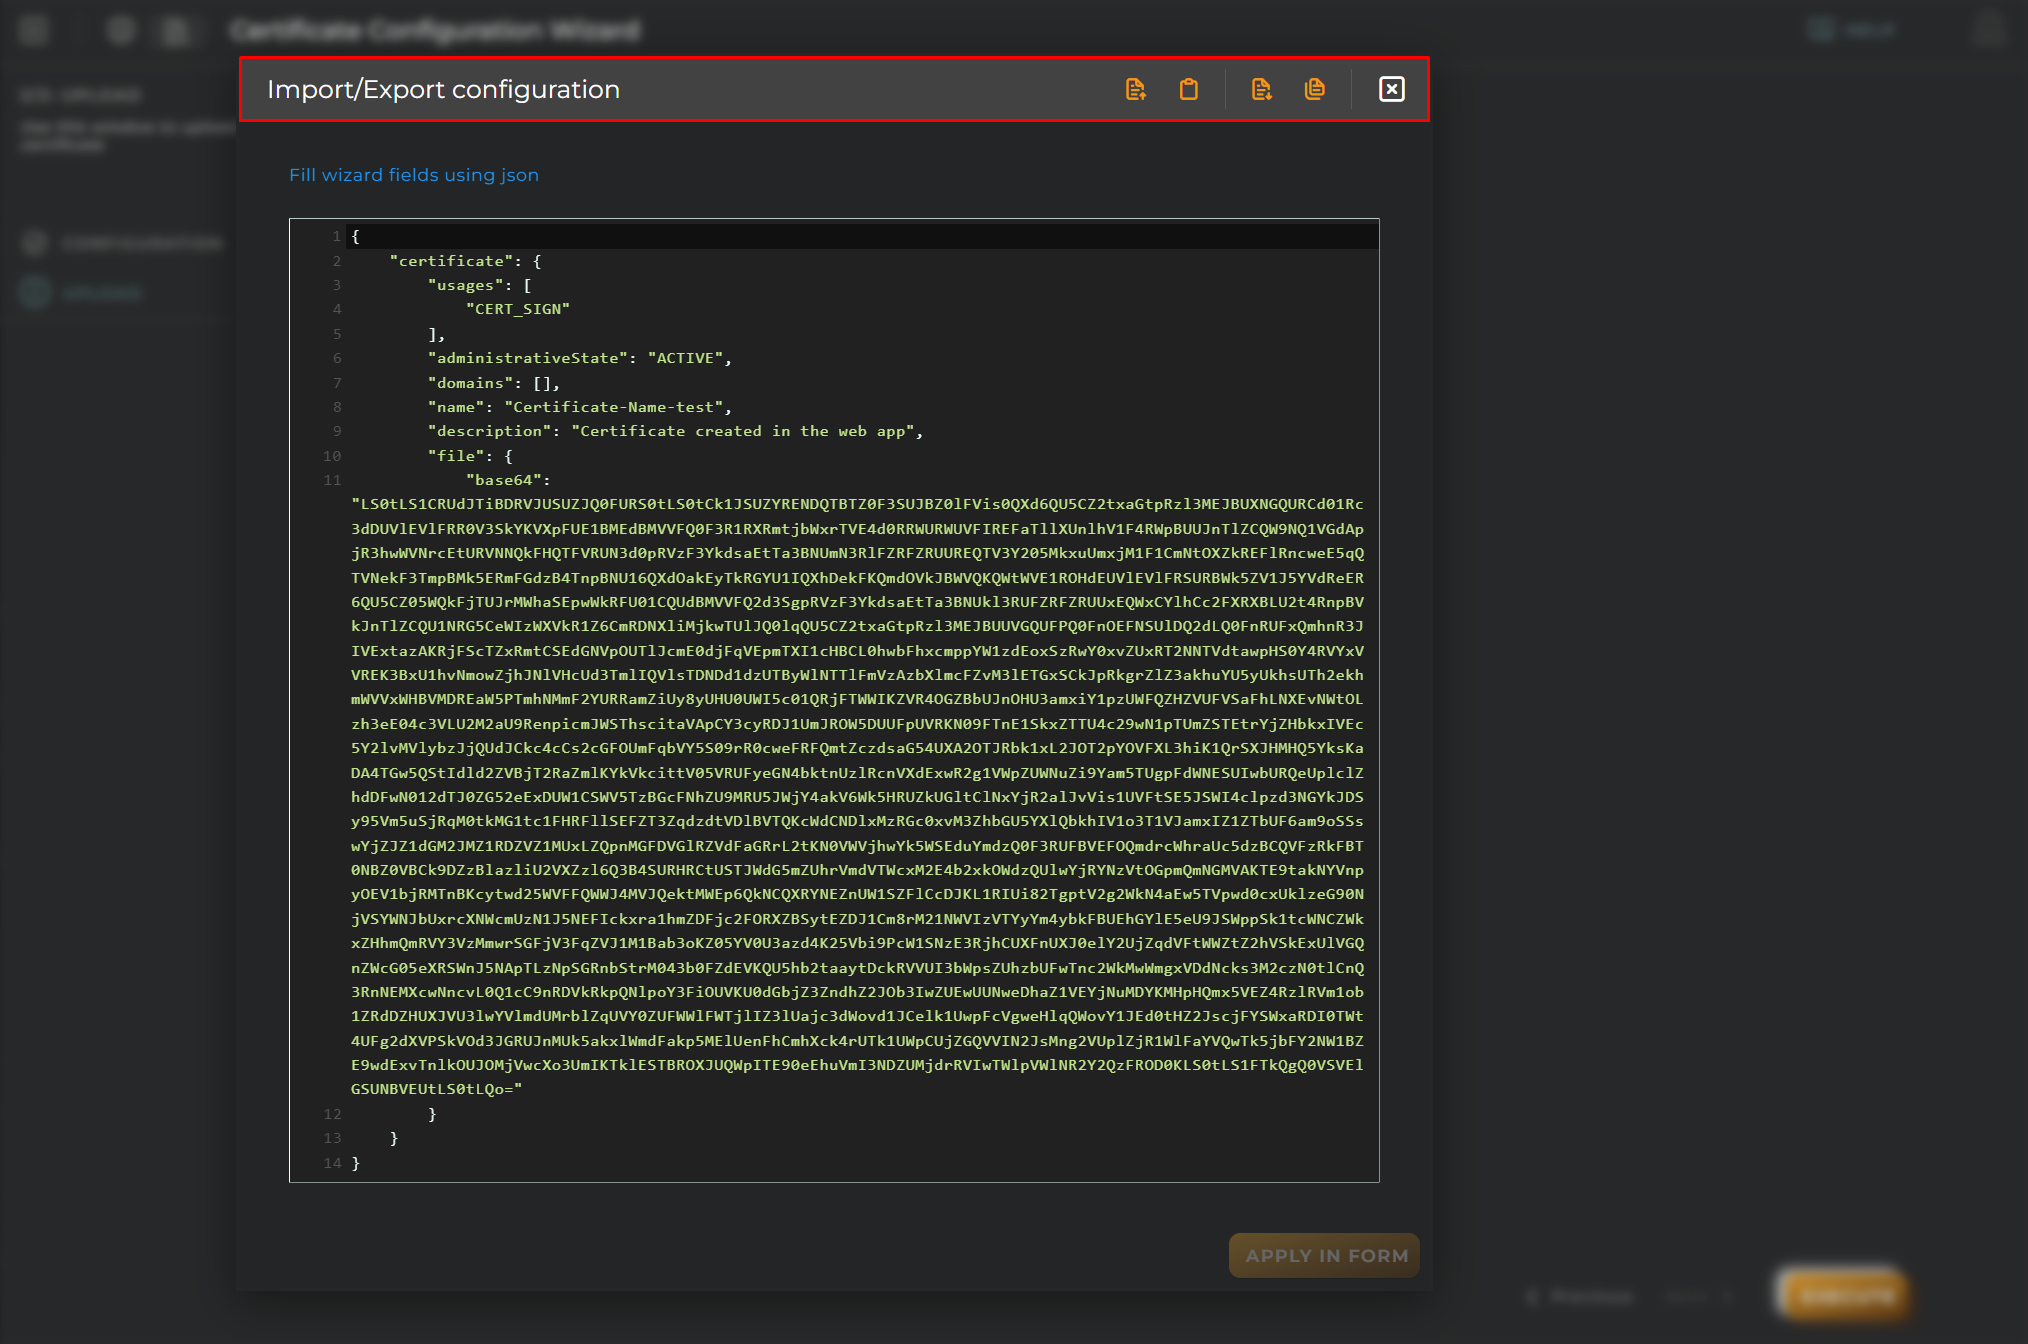
When accessing the import and export functionality, it displays a window with various actions. Additionally, it presents the configuration of the wizard in JSON format.
The available actions are as follows:
Upload Json: Uploads a JSON file and replaces the previous JSON configuration.
Paste from clipboard: Pastes JSON data from the clipboard and replaces the previous JSON configuration.
Download Json: Downloads the JSON configuration as a file with the wizard’s name.
Copy to clipboard: Copies the JSON configuration to the clipboard.
Create new Entity
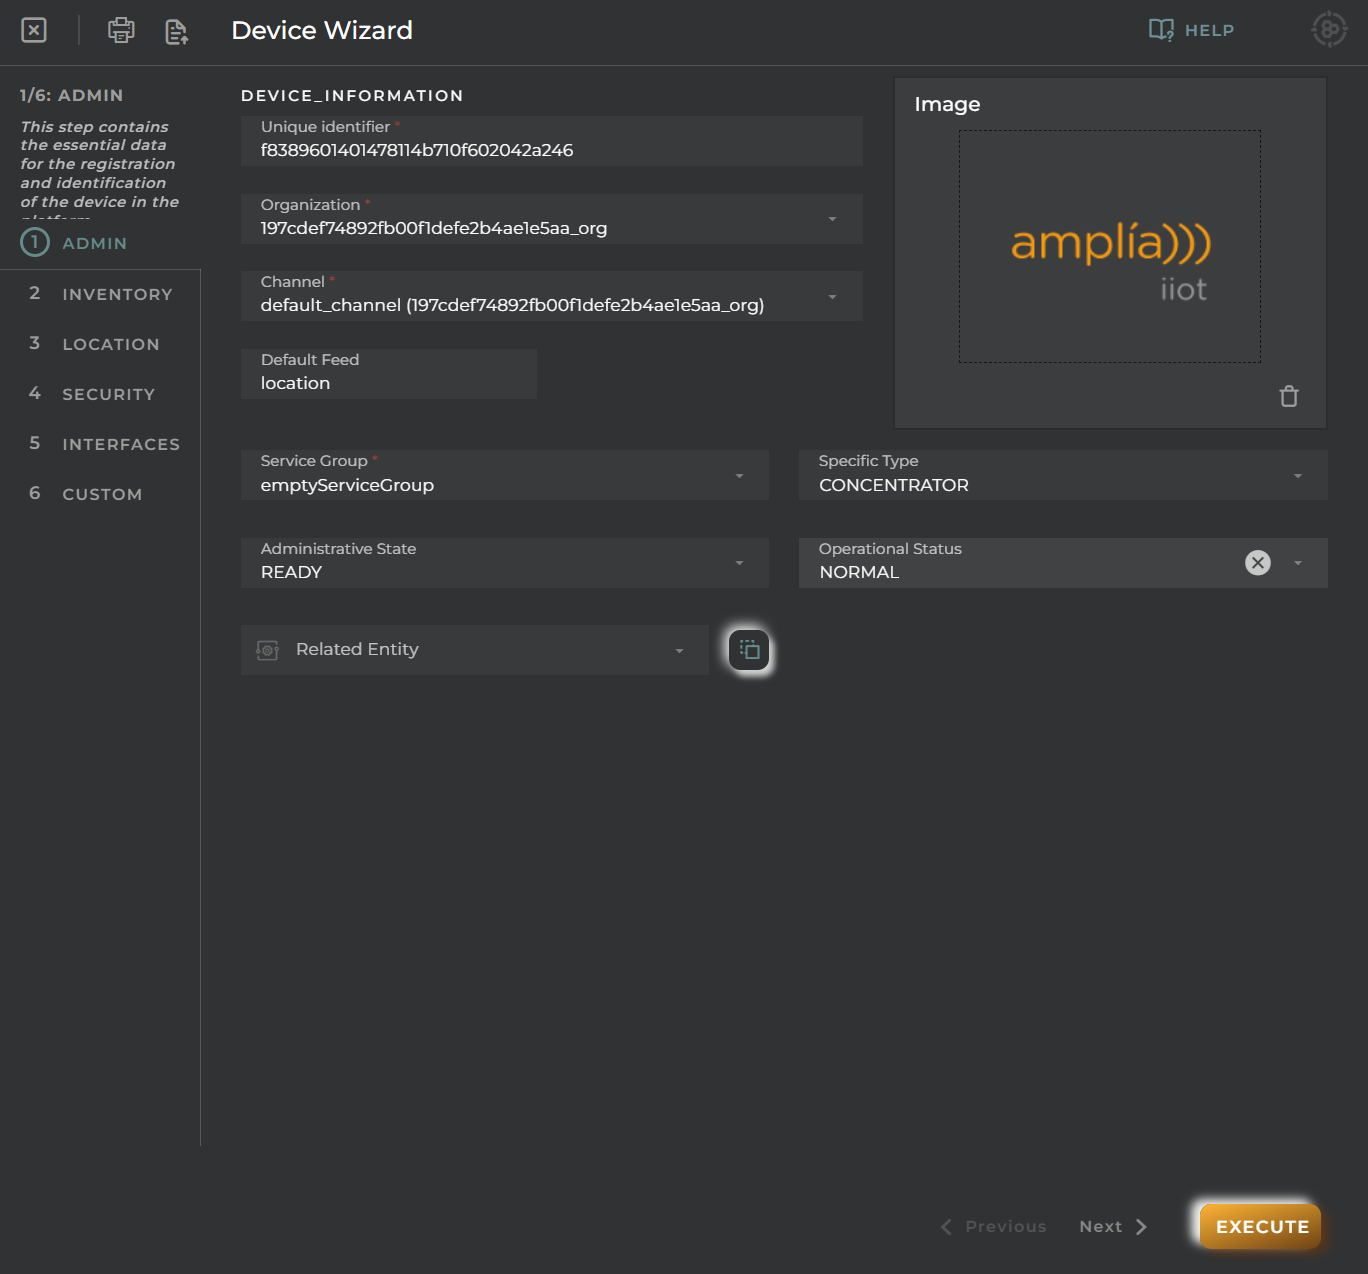
This wizard allows us to create entities of type entity.device.
All the data entered will be provisioning data.
Essential data for the registration and identification of the device on the platform.
You could already finish setting up the device.
Fields
Unique identifier of entity Each entity have a unique identifier all over the platform.
Organization The entity will associate with one of the organizations selected from the list of organizations that have access.
Channel The entity will associate with one of the channels selected from the list of channels that have access. This list depends on the selected organization.
Default feed The entity will store data related to this when no other supplied on collection
Plan Defines the usage limits for the entity (More info)
Service group Determines how OpenGate behaves when managing the entity (More info)
Administrative state
Requested - Entity requested to the supplier
Ready - Entity ready for installation
Repair - Entity under repair
Testing - Entity in tests
Active - Field deployed entity
Suspended - Suspended its operation
Deleted - Entity removed from available stock
Retired - Field entity withdrawal
Banned - Entity banned, It means that received information of this entity is not going to be collected
Operational status
Unknown - Not known
Normal- Normal Operation
Alarm - The device has active alarms
Down - The device is not operative. Could be running but it is not performing its operation
Safe mode - The device is in Safe Mode (Sleeping, etc.)
Tamper - The device was tampered
Test - The device is working in test mode
Related entity Datastreams collected by this device will be copied to the related entity
Inventory
Data with inventory information.
Fields
You could already finish setting up the device.
Name of entity Each M2M entity have a unique identifier all over the platform.
Description of entity Using the name attribute and the description attribute, you can set up an alias for your favourite entity and you can write down any detail you want about an entity or its state.
Serial number An identification number of device.
Hardware Choose, from the list of hardware allowed by the platform, the hardware of the device.
Software Choose, from the list of software allowed by the platform, the software of the device.
Location
Initial location of the device.
You could already finish setting up the device.
Fields
Latitude, longitude To set latitude and longitude of the device, click show map to open map and drag the point to the desired position.
Address, Postal code, Province, Region and Town extra information for the location.
Security
From here, you can associate a certificate with the device.
You could already finish setting up the device.
Fields
Trusted boot Secure boot configuration
When you create a device with a trusted boot field, this action has consequence in the collection actions, that is, when collect an event from device with the “trusted boot” field, if the event has secure boot the platform will compare the collected value with the provisioned value and can define an alarm rule for automatically change the administrative status to banned if both values are different.
Certificate Used for secure communication between device and platform. Can select multiple certificates from the list.
Interfaces
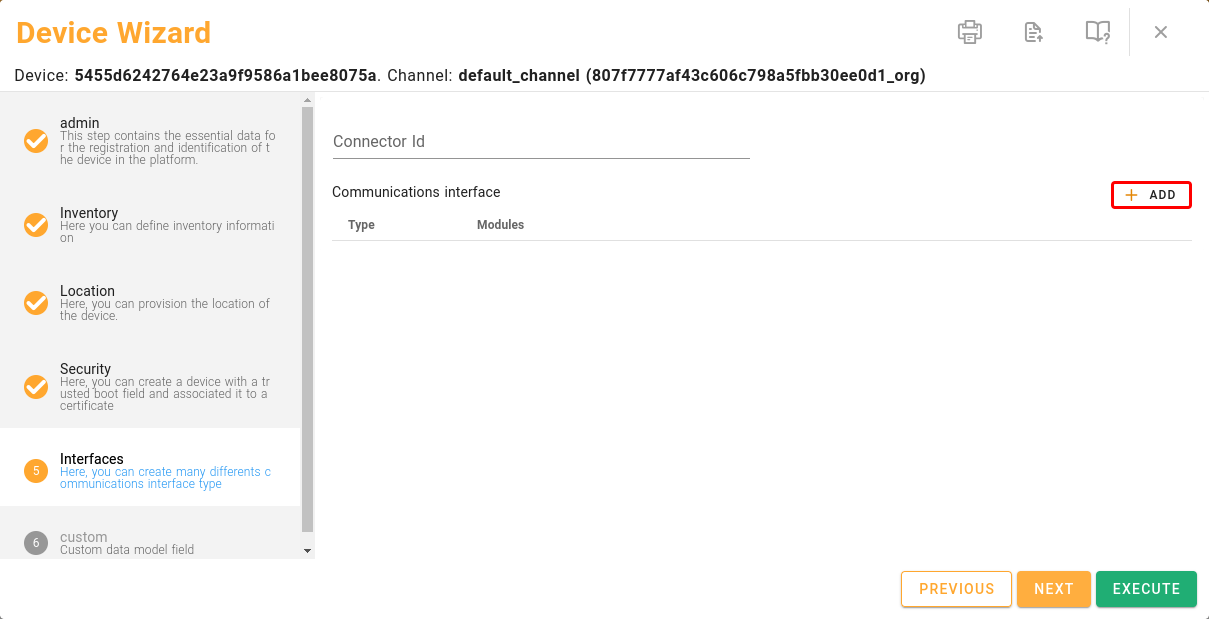
Creation of different types of communication interfaces associated with the device.
From here, you can configure several types of communication interfaces:
Customization
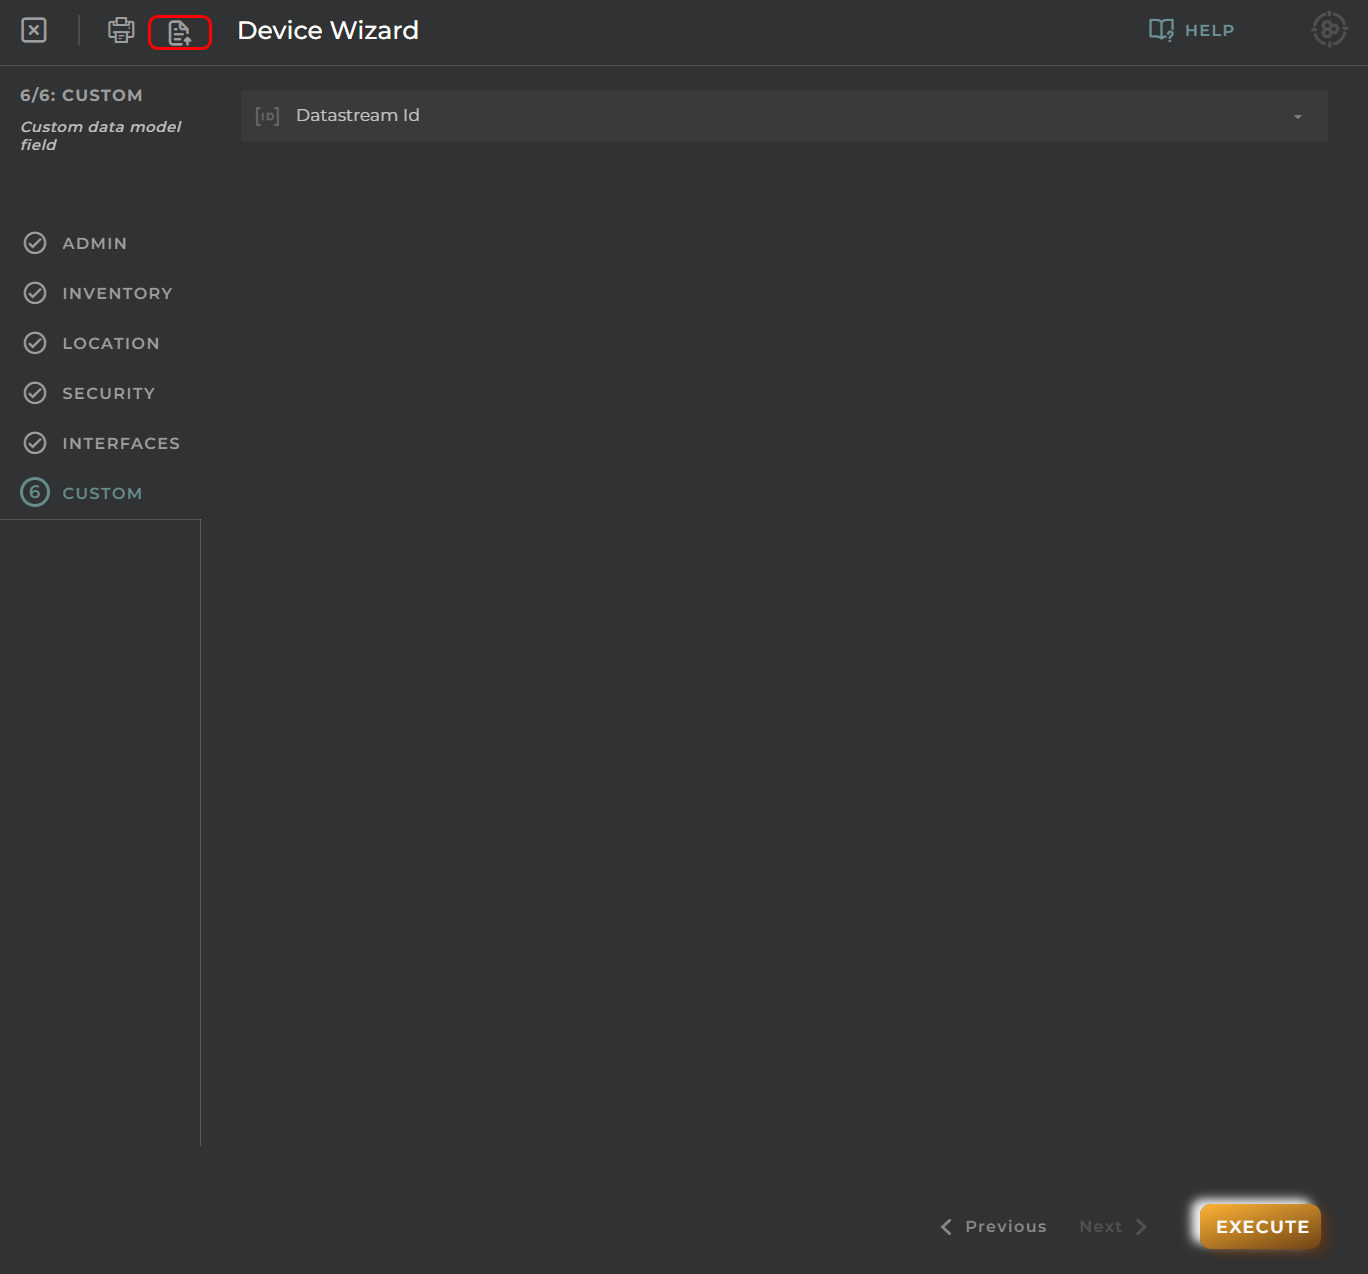
Custom data based on the data models created for the user’s organization. Default platform data model is not included.
Import/Export Configuration
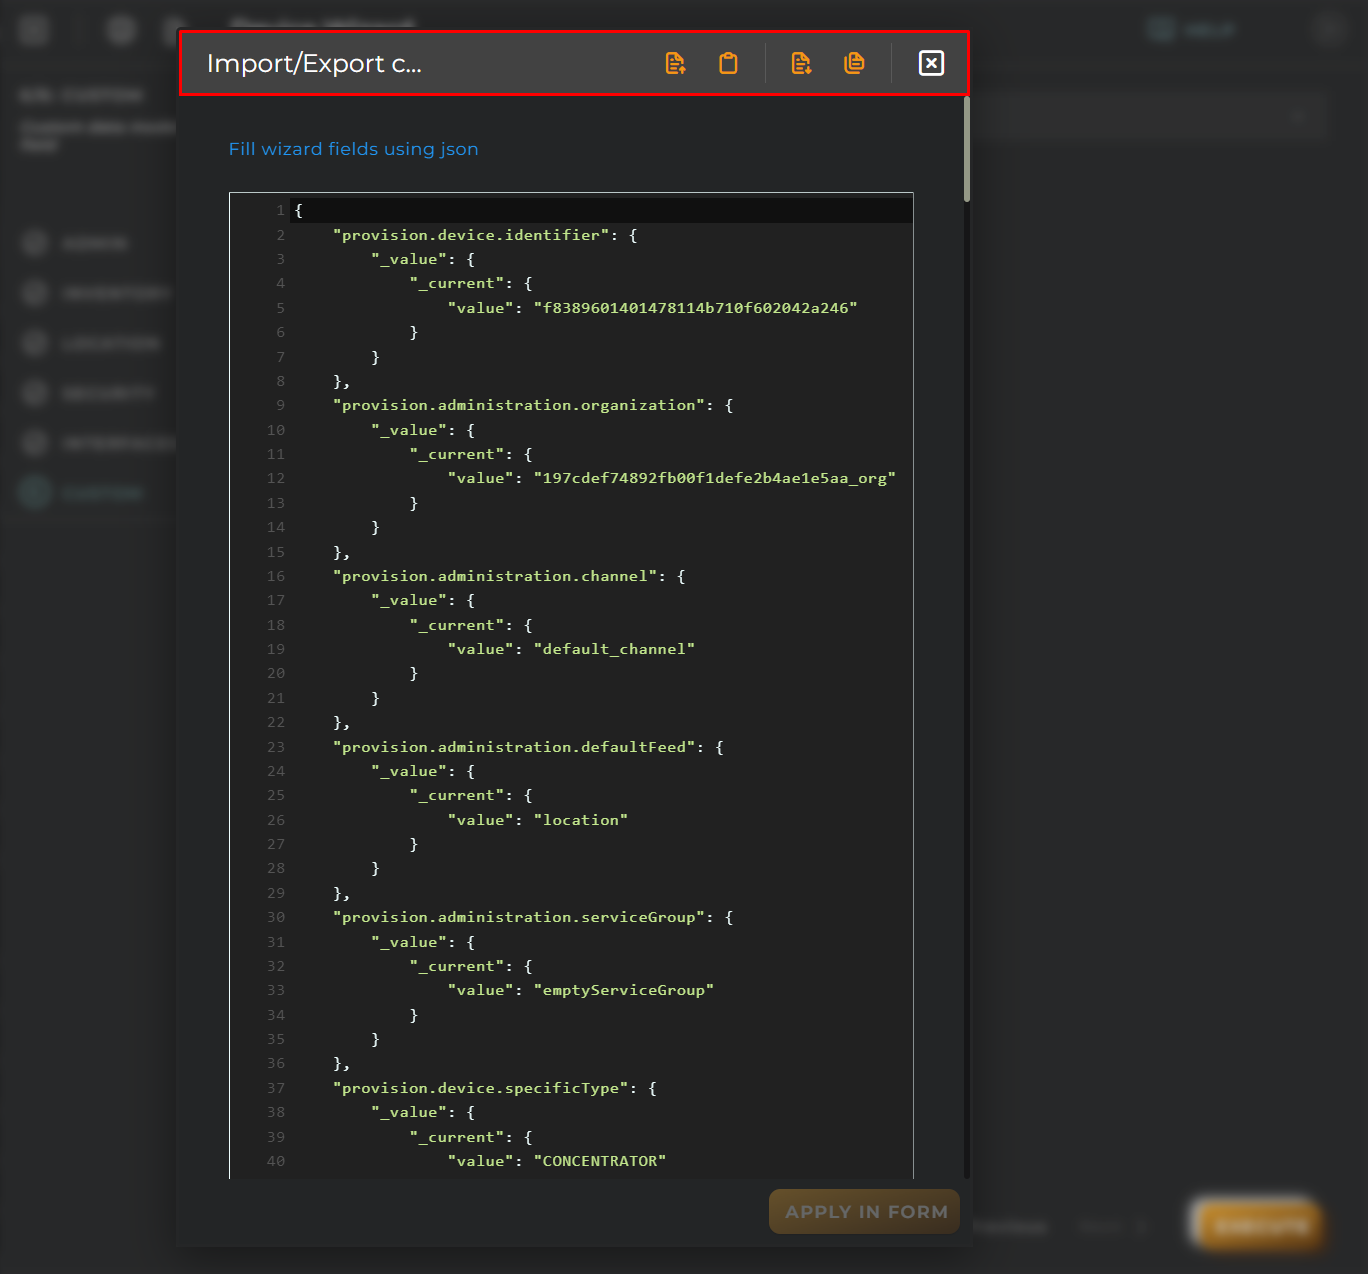
Allows you to import and export the wizard’s configuration via JSON.
When accessing the import and export functionality, it displays a window with various actions. Additionally, it presents the configuration of the wizard in JSON format.
The available actions are as follows:
Upload Json: Uploads a JSON file and replaces the previous JSON configuration.
Paste from clipboard: Pastes JSON data from the clipboard and replaces the previous JSON configuration.
Download Json: Downloads the JSON configuration as a file with the wizard’s name.
Copy to clipboard: Copies the JSON configuration to the clipboard.
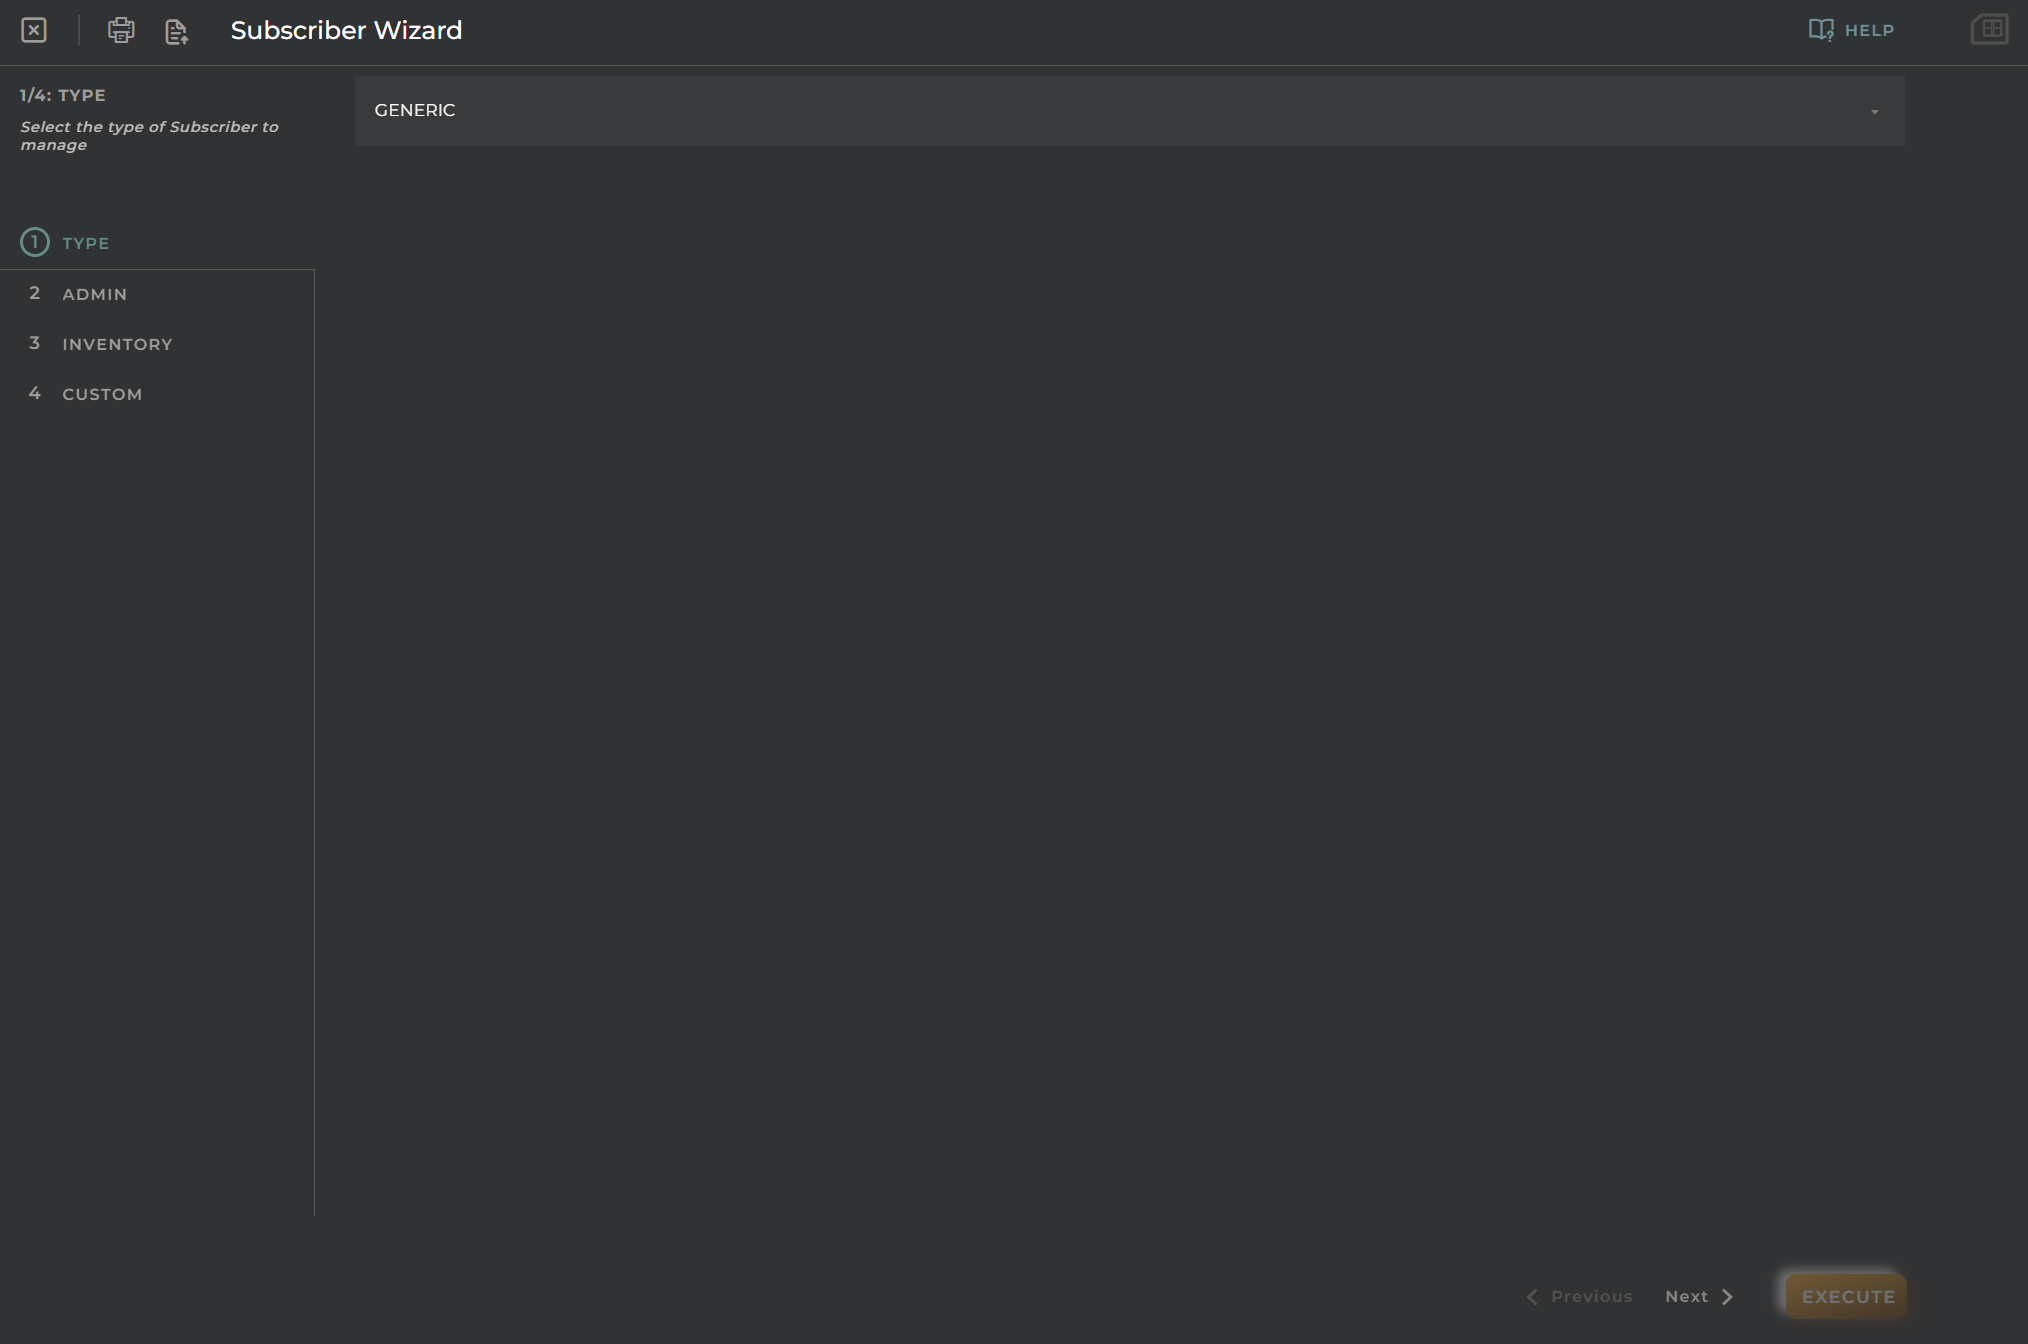
Create new Subscriber
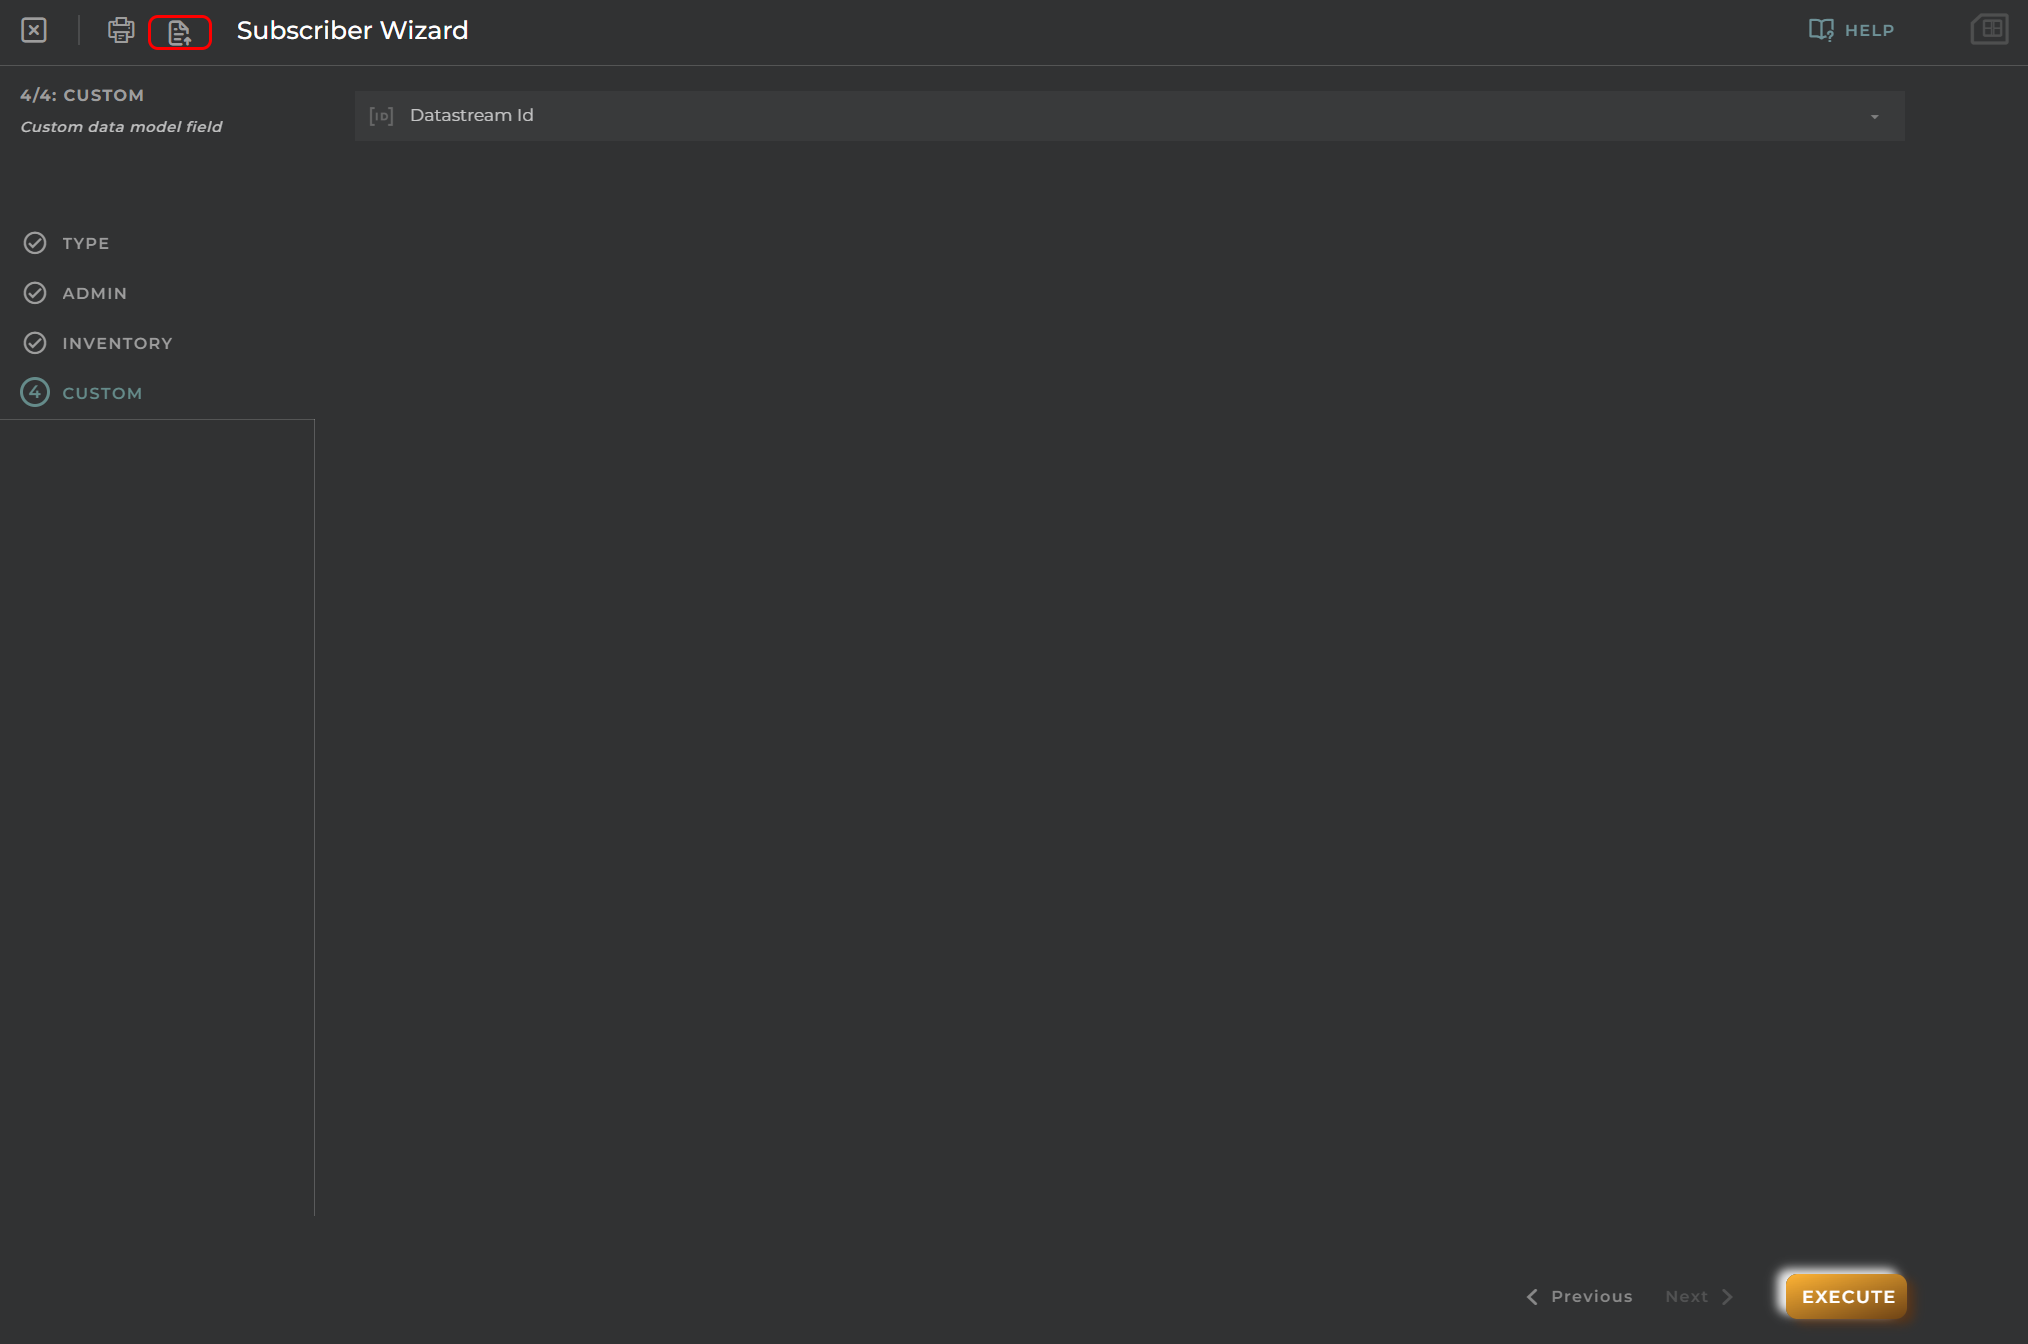
This wizard allows us to create subscribers.
Steps
Type
Select the type of subscriber to manage.
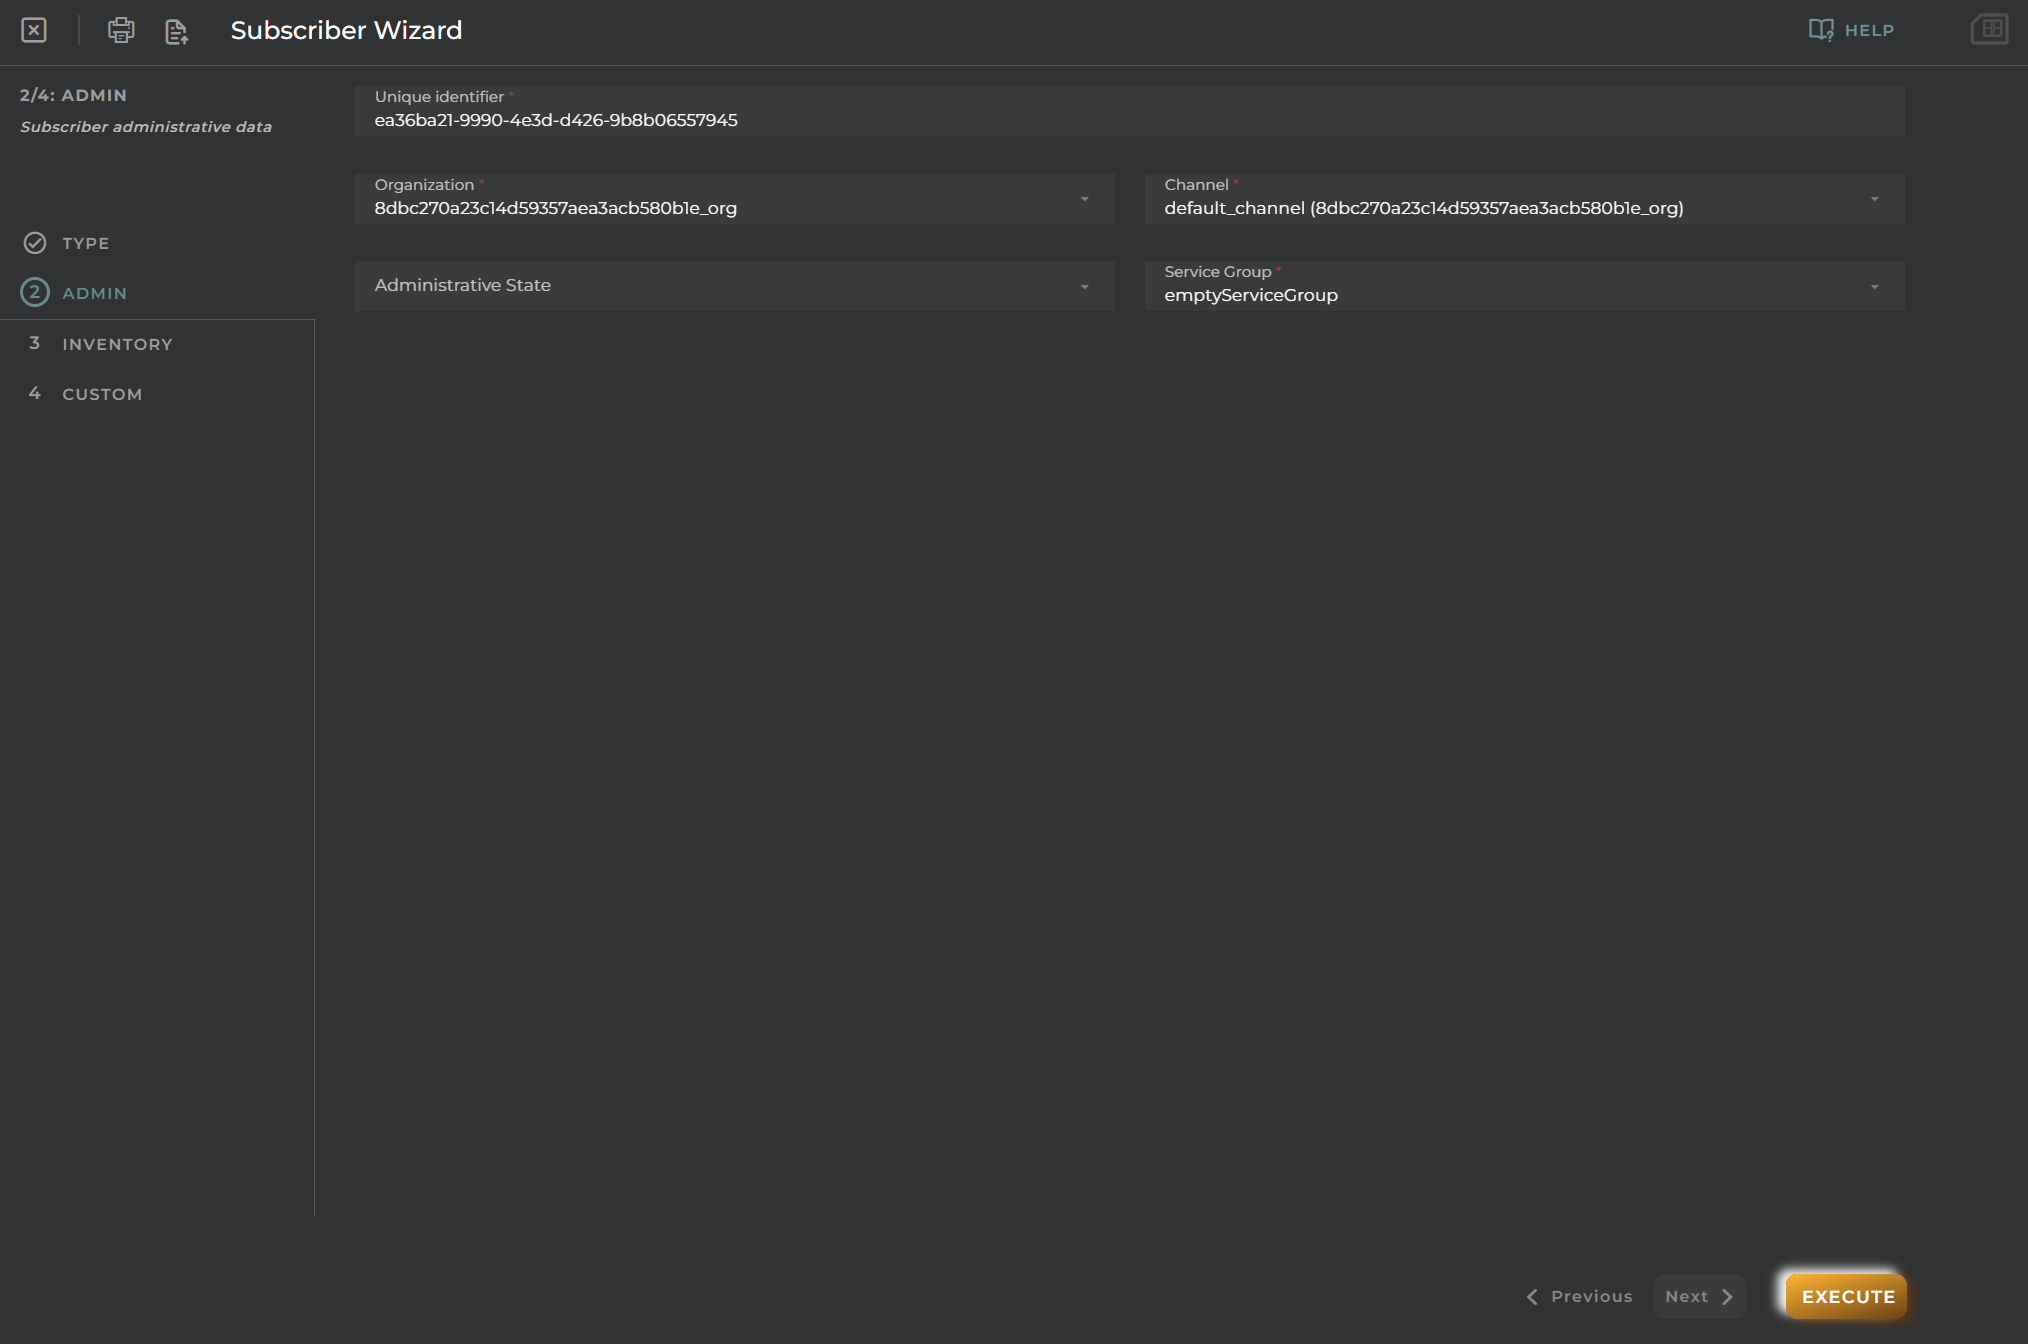
Admin
Data for registration and identification for creating a subscriber on the platform.
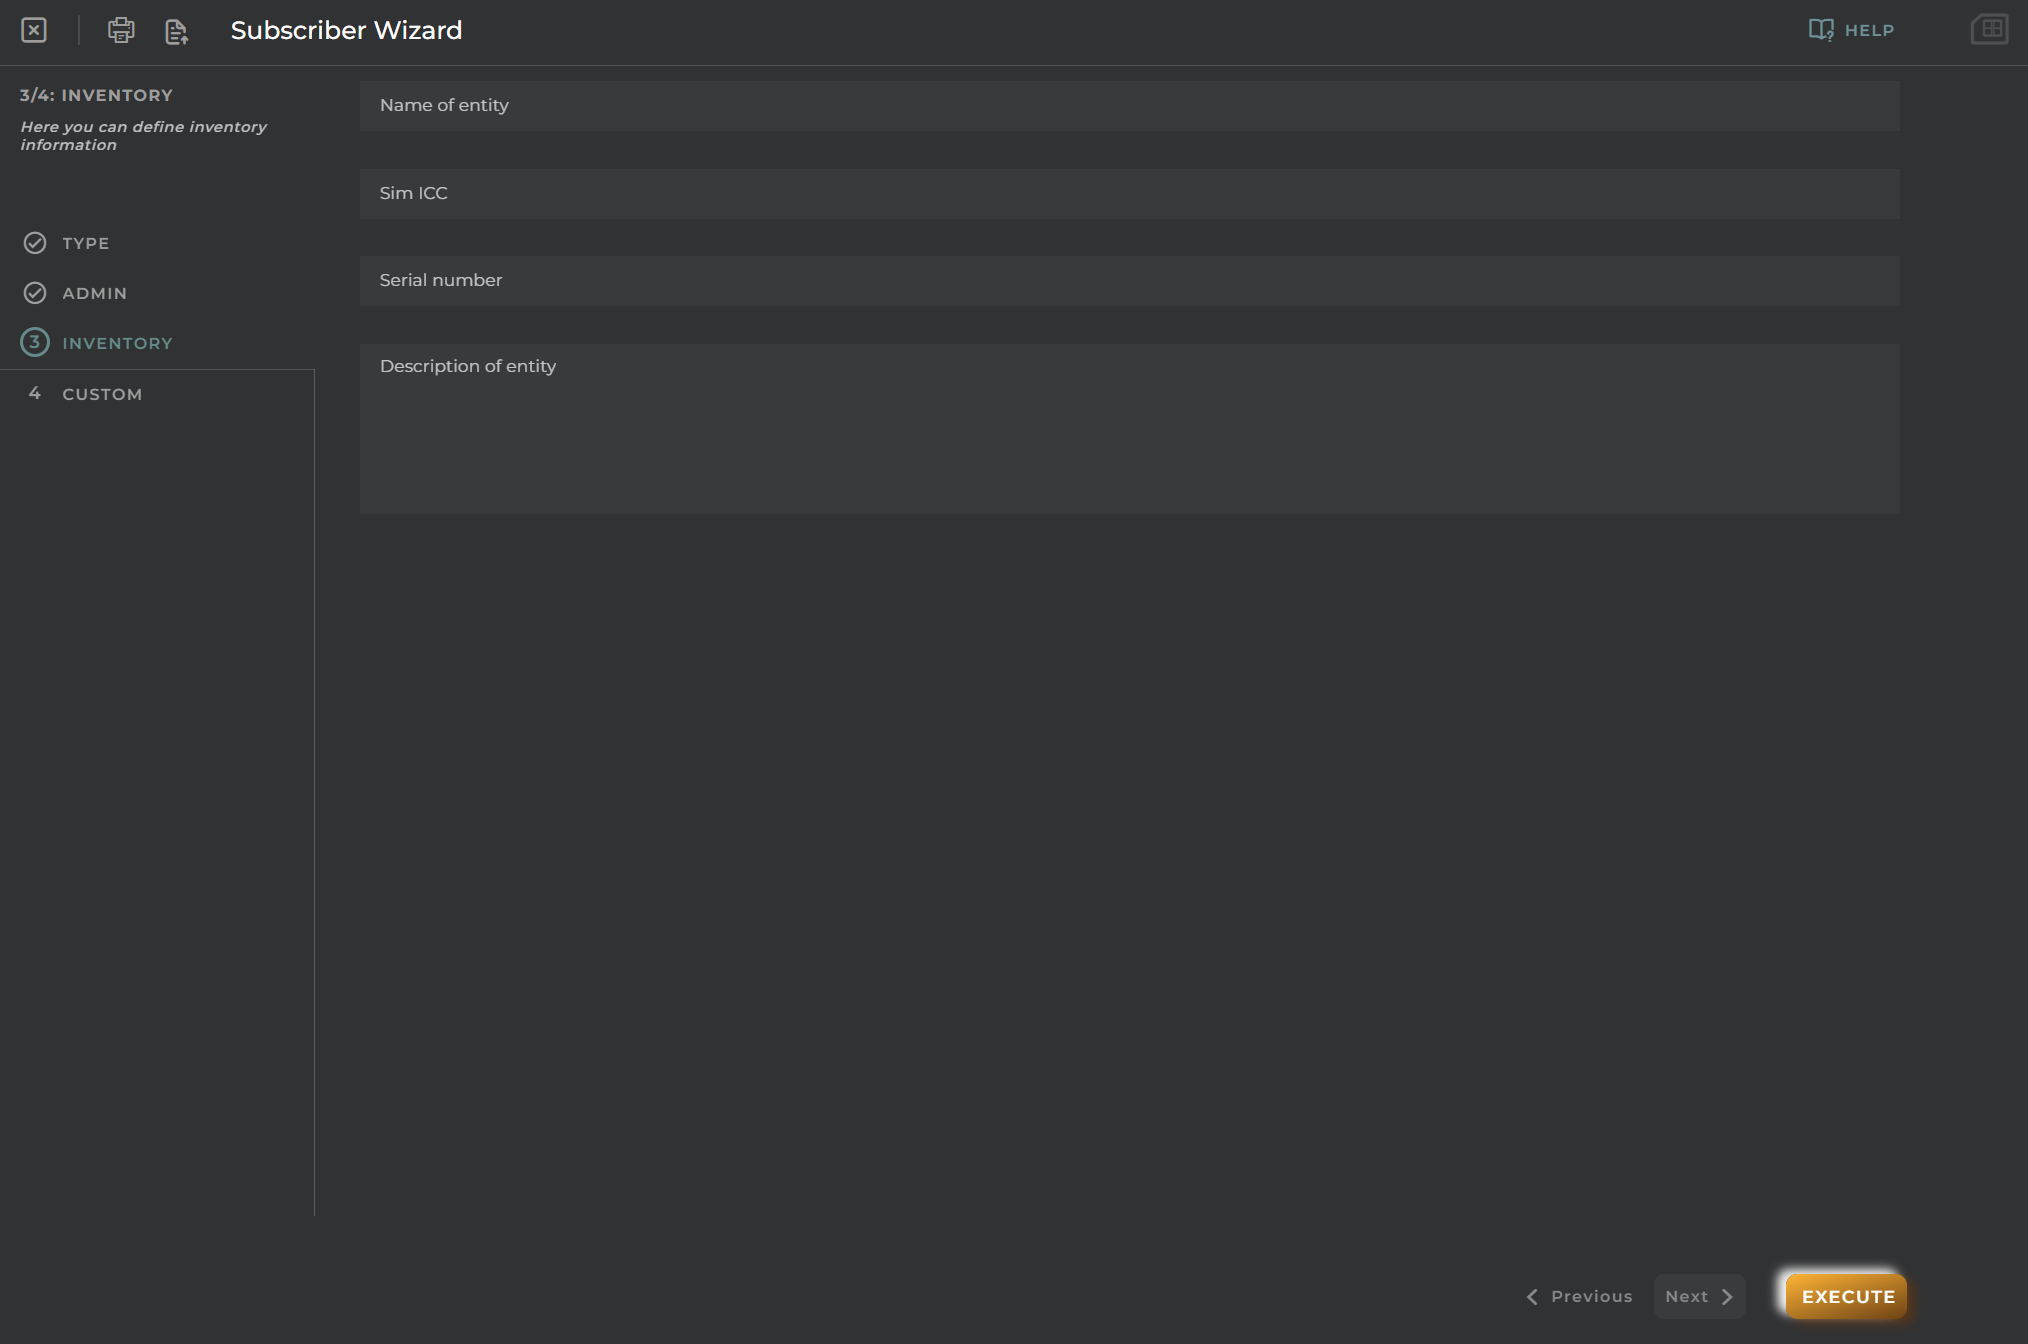
Inventory
Define inventory information.
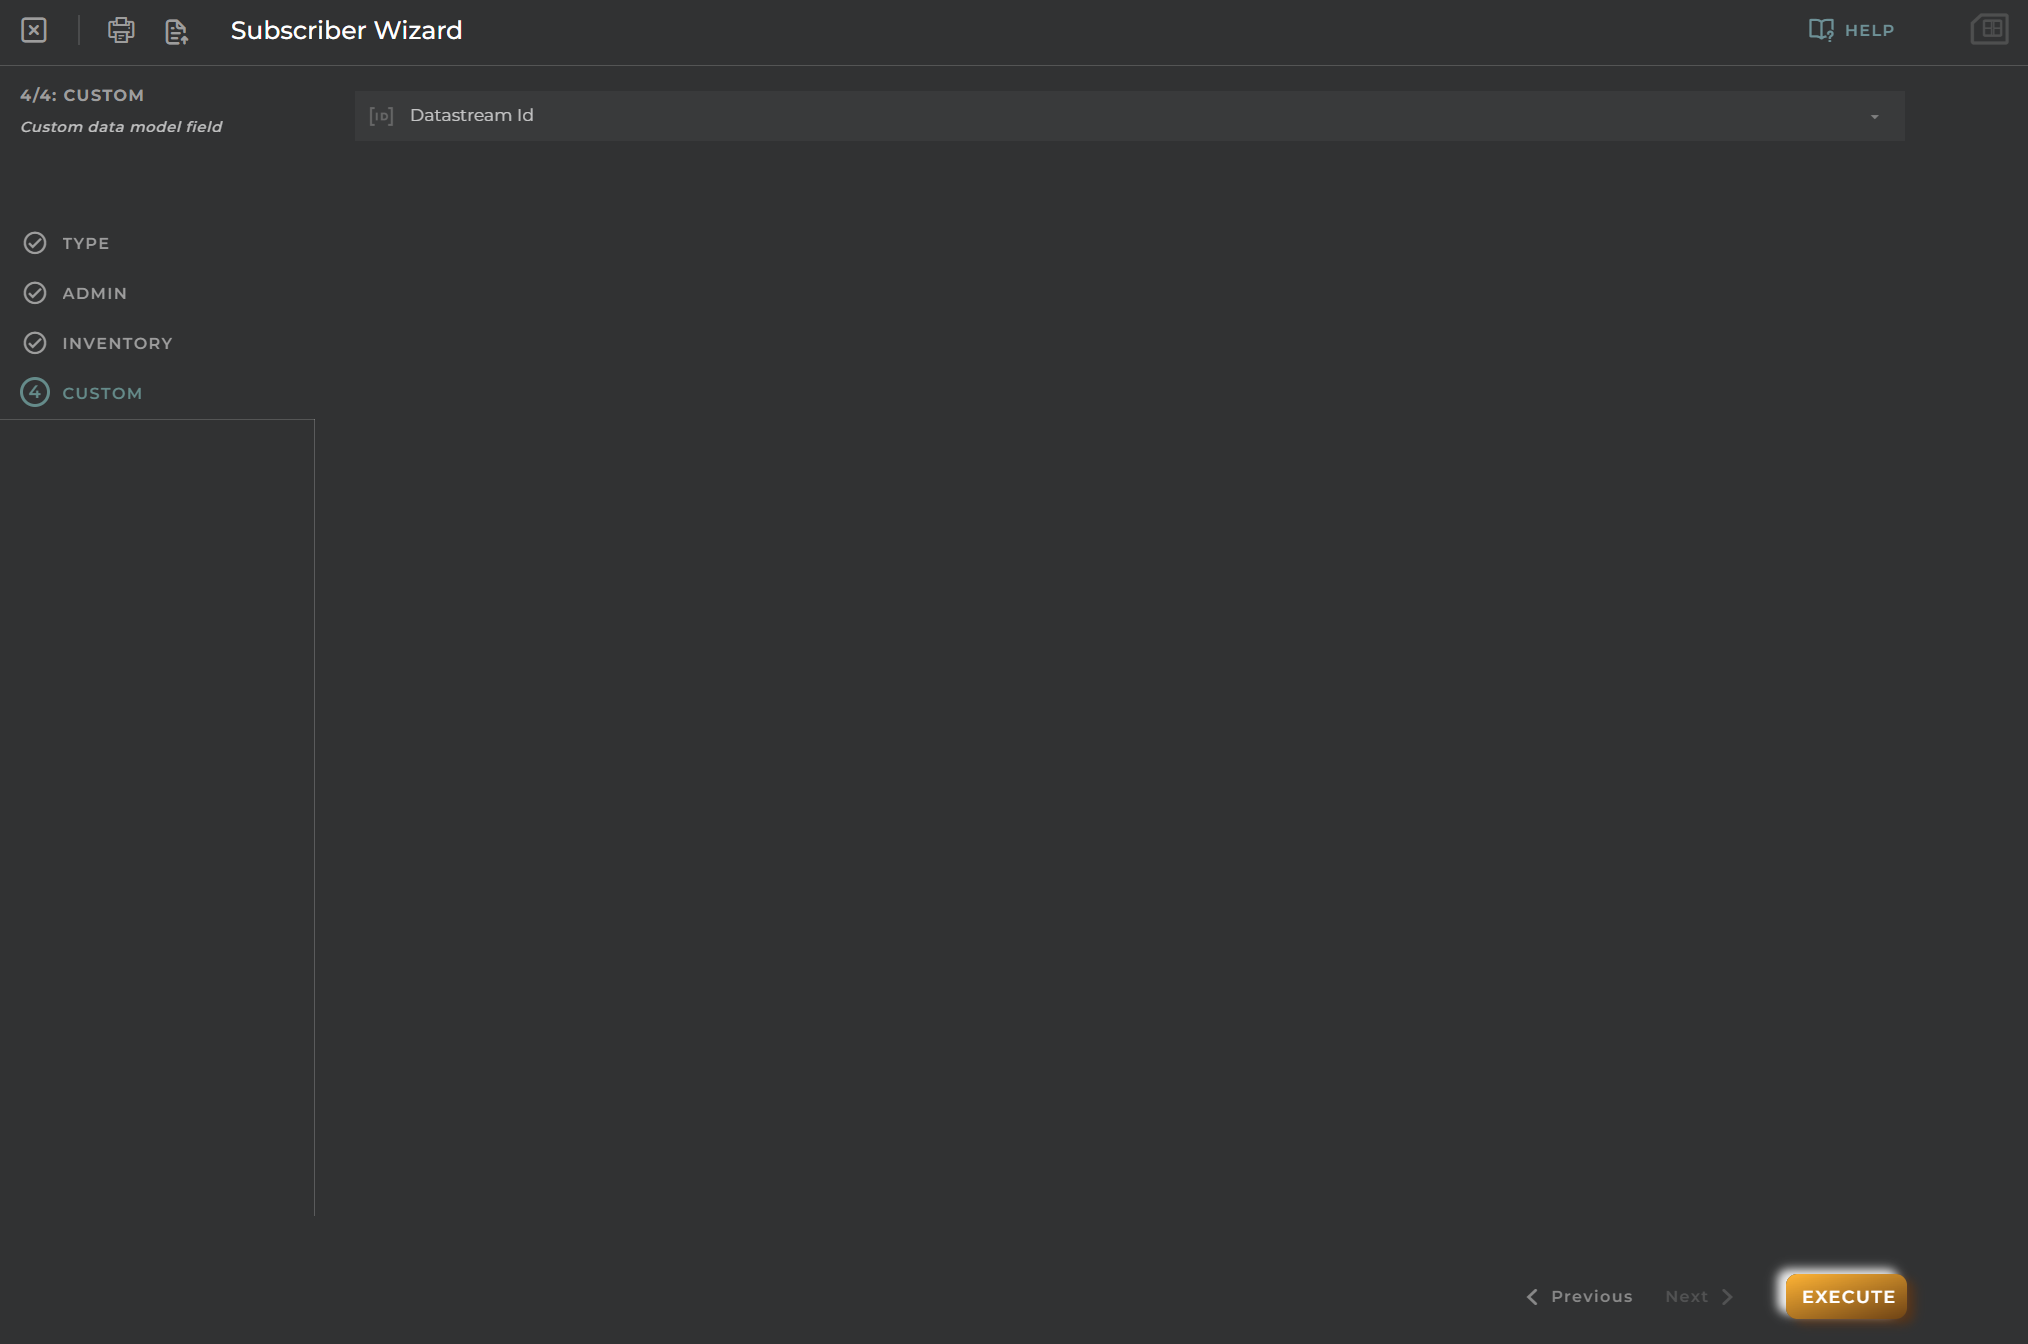
Custom
Allows the selection of a custom data model.
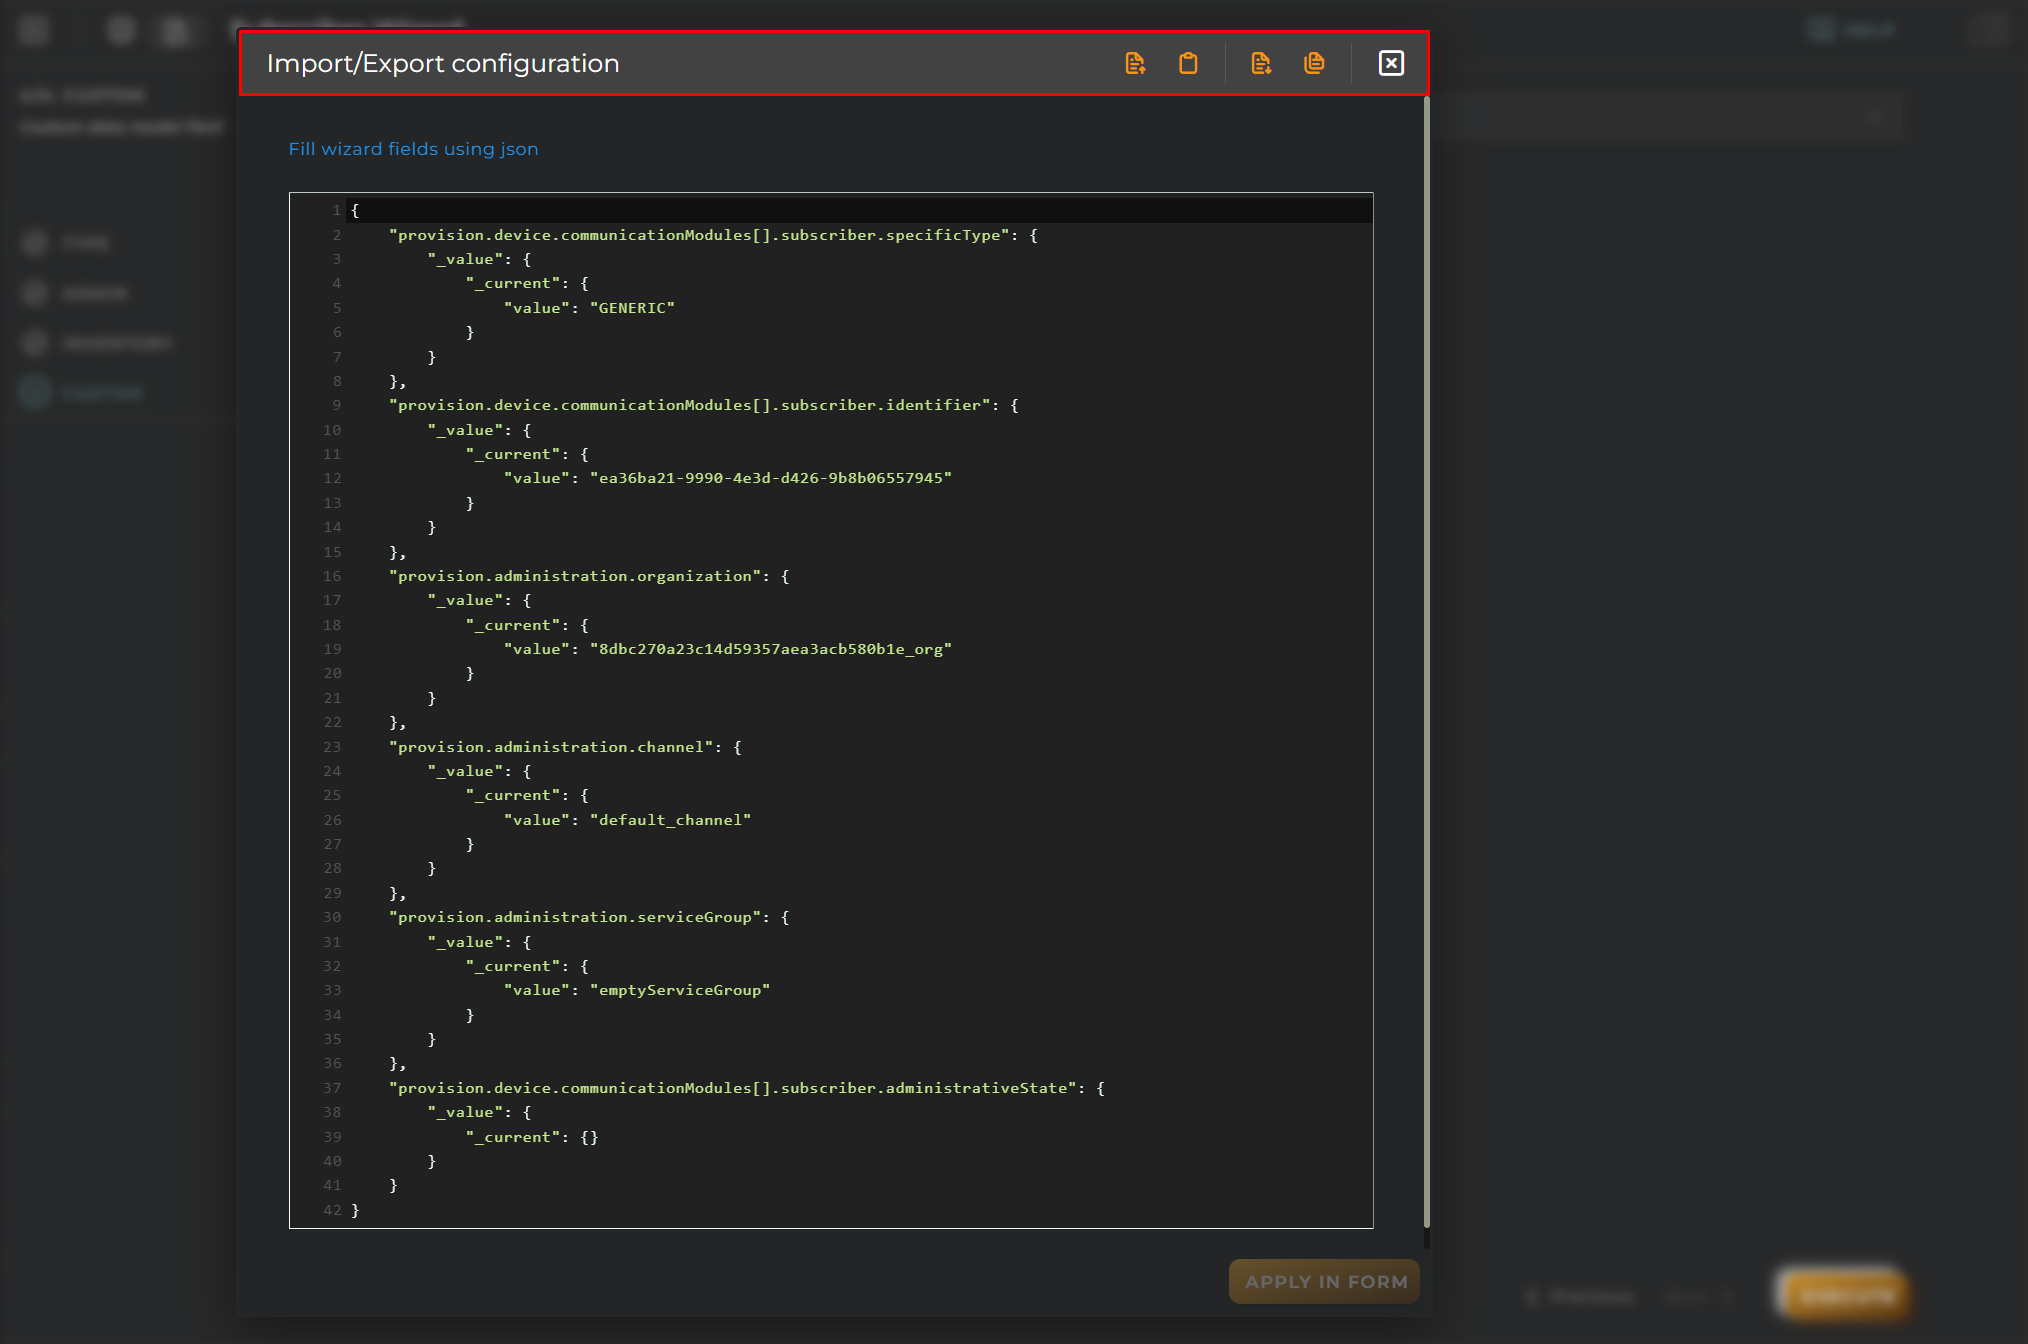
Import/Export Configuration
Allows you to import and export the wizard’s configuration via JSON.
When accessing the import and export functionality, it displays a window with various actions. Additionally, it presents the configuration of the wizard in JSON format.
The available actions are as follows:
Upload Json: Uploads a JSON file and replaces the previous JSON configuration.
Paste from clipboard: Pastes JSON data from the clipboard and replaces the previous JSON configuration.
Download Json: Downloads the JSON configuration as a file with the wizard’s name.
Copy to clipboard: Copies the JSON configuration to the clipboard.
Create new Subscription
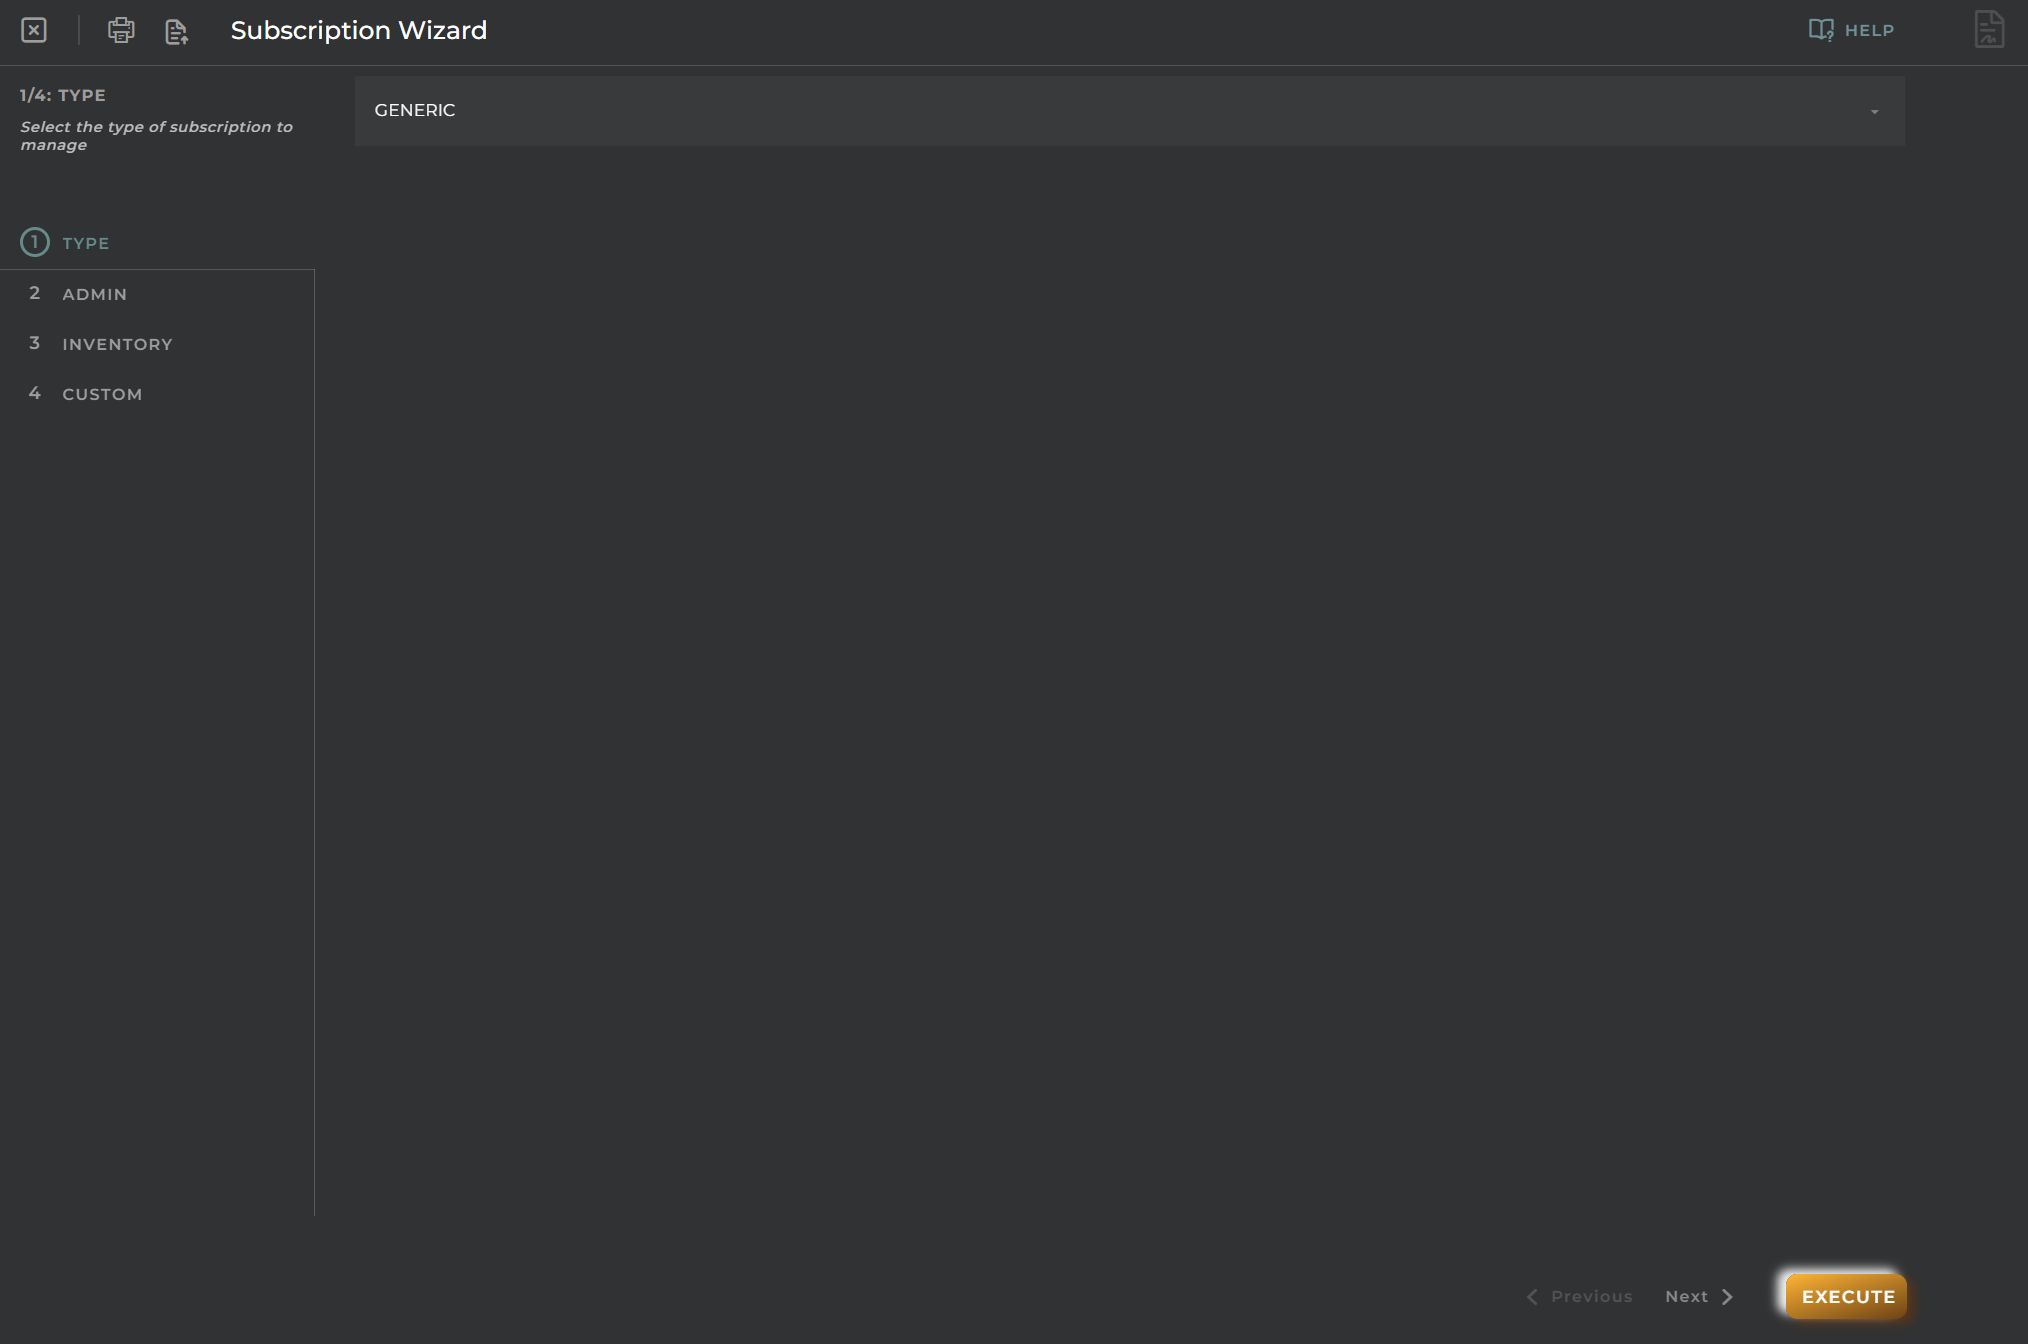
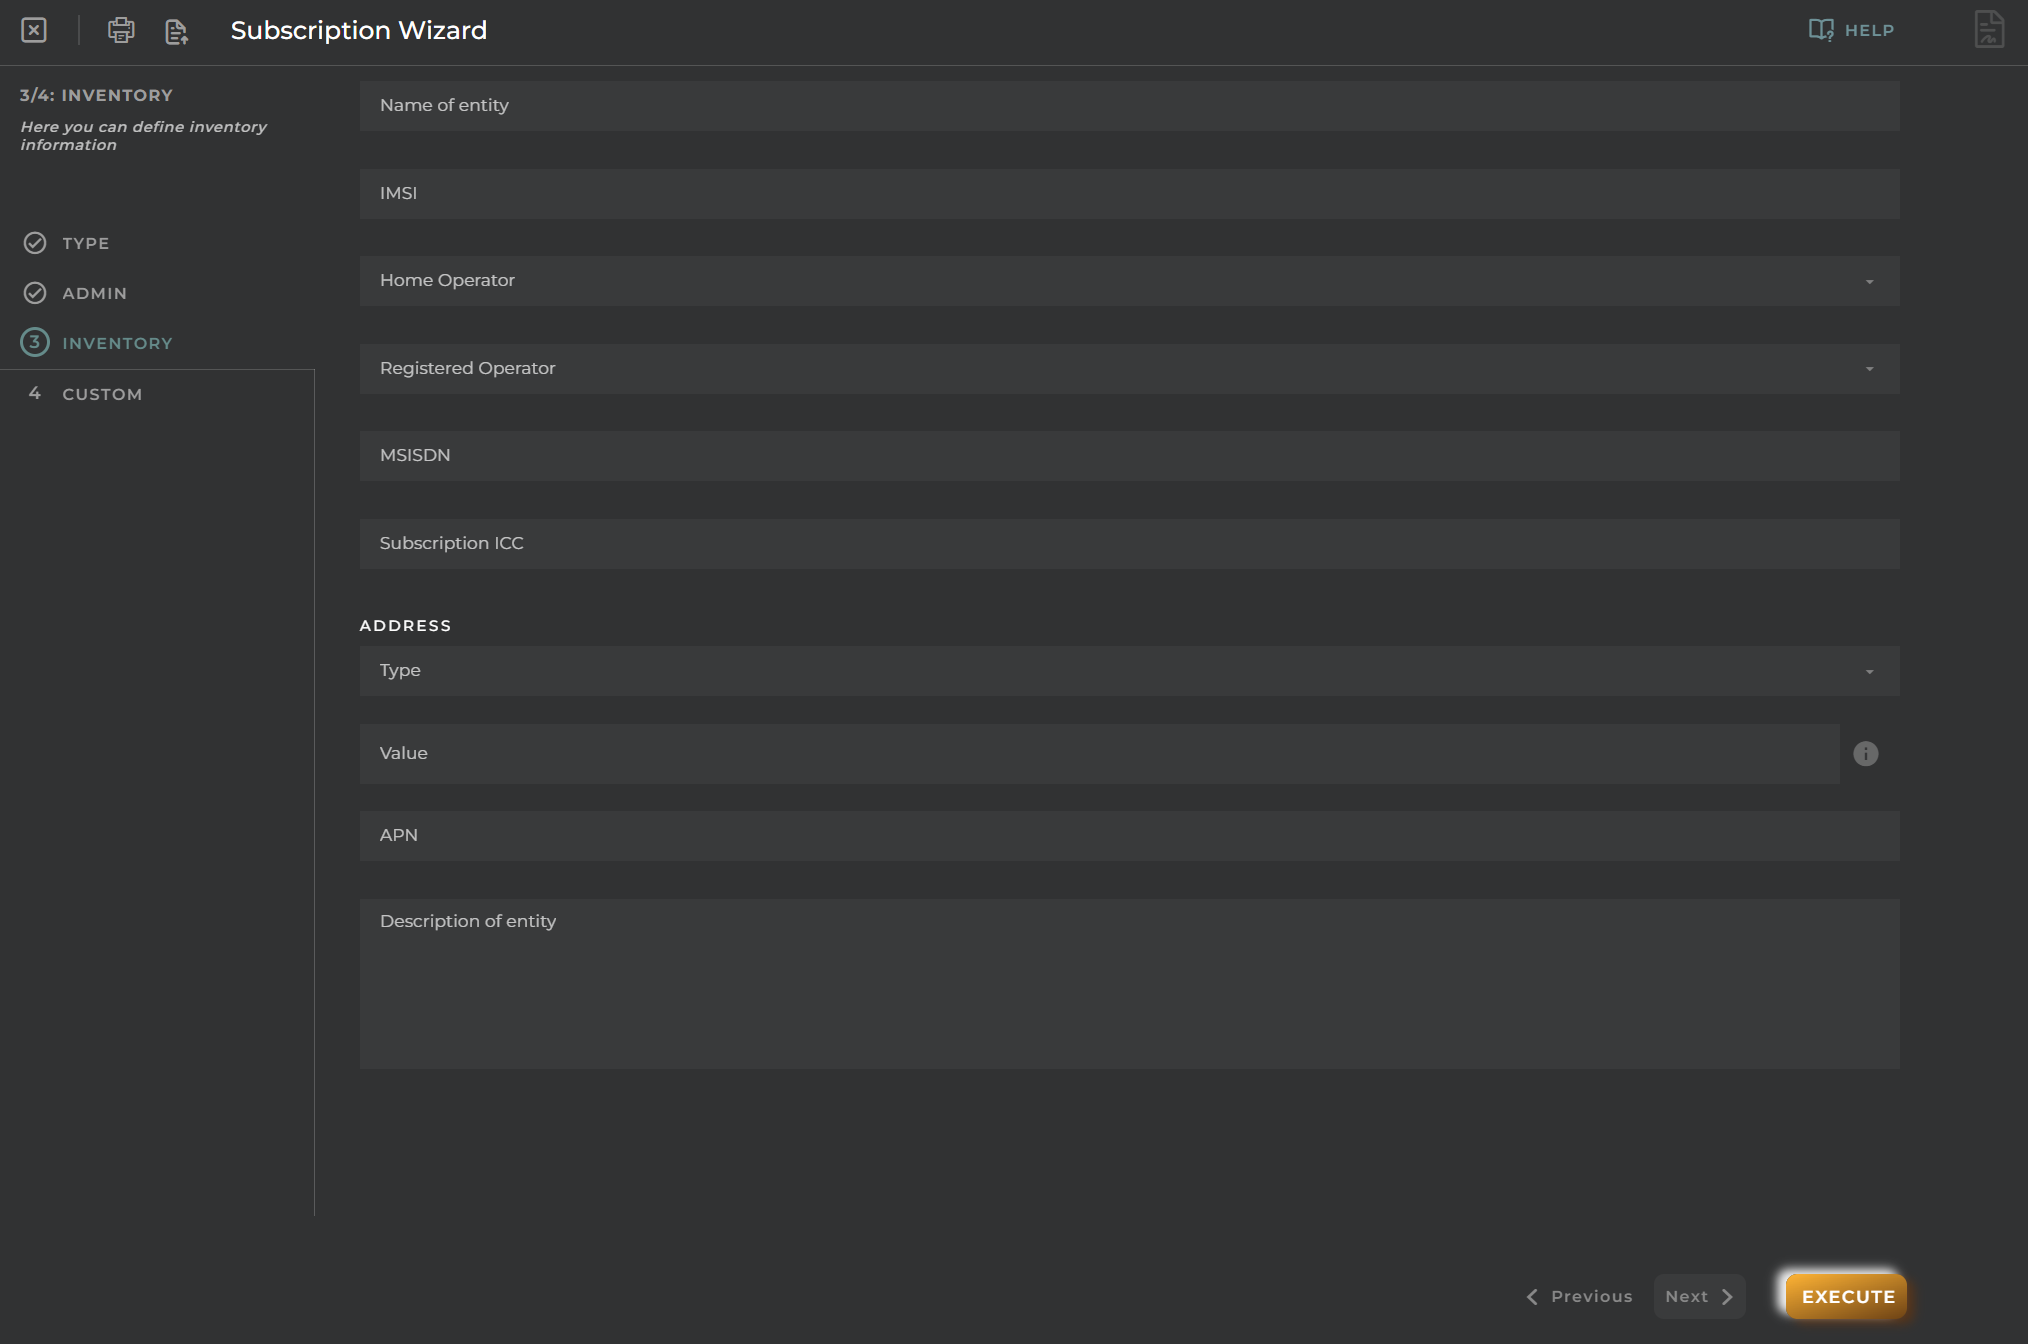
This wizard allows us to create subscriptions.
Steps
Type
Select the type of subscription to manage.
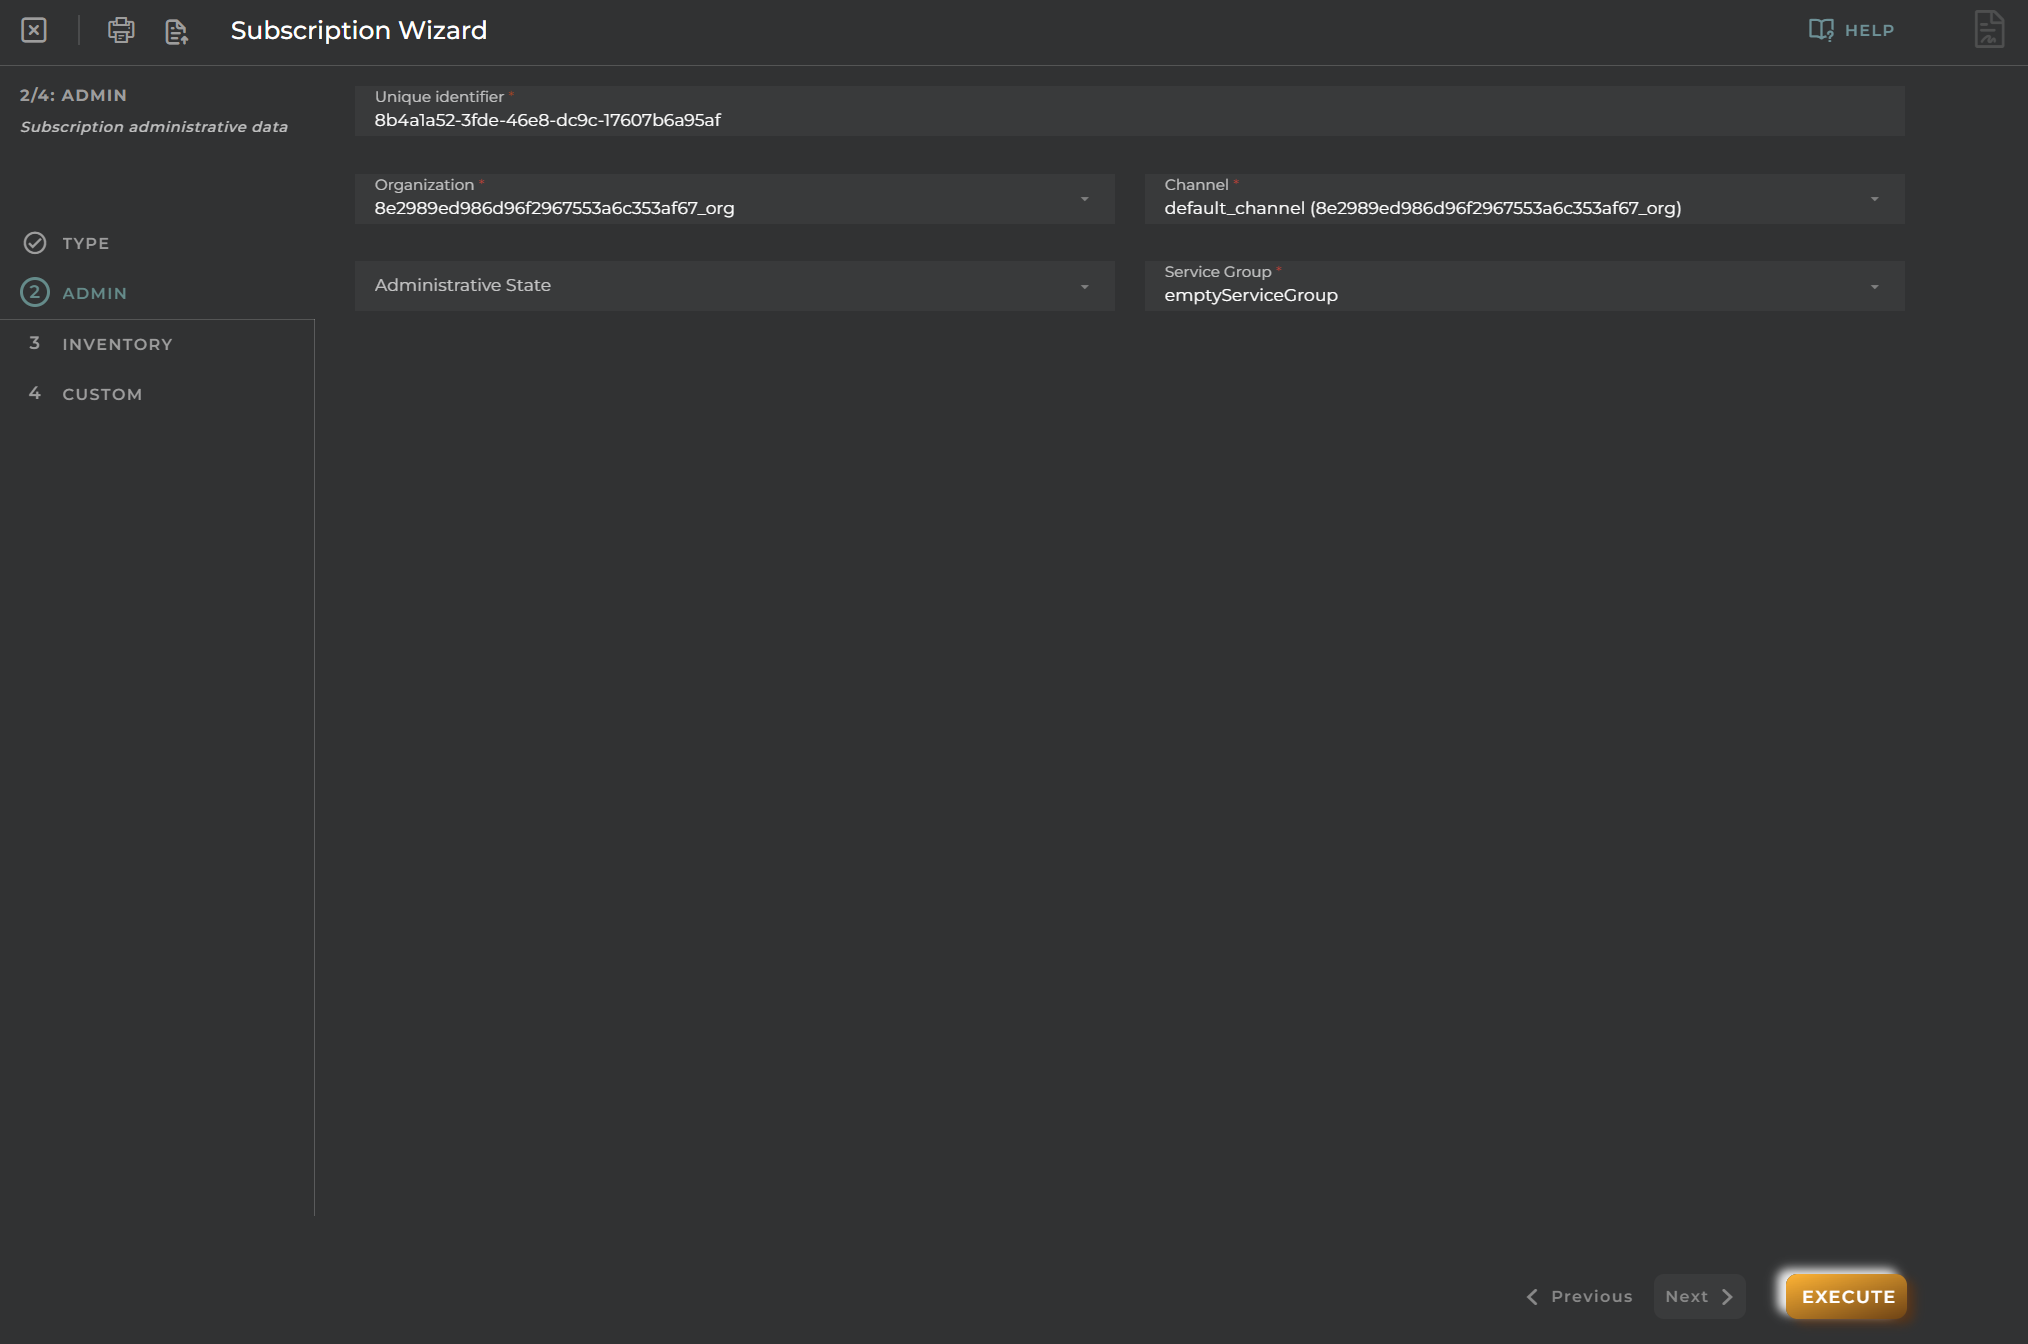
Admin
Data for registration and identification for creating a subscription on the platform.
Inventory
Define inventory information.
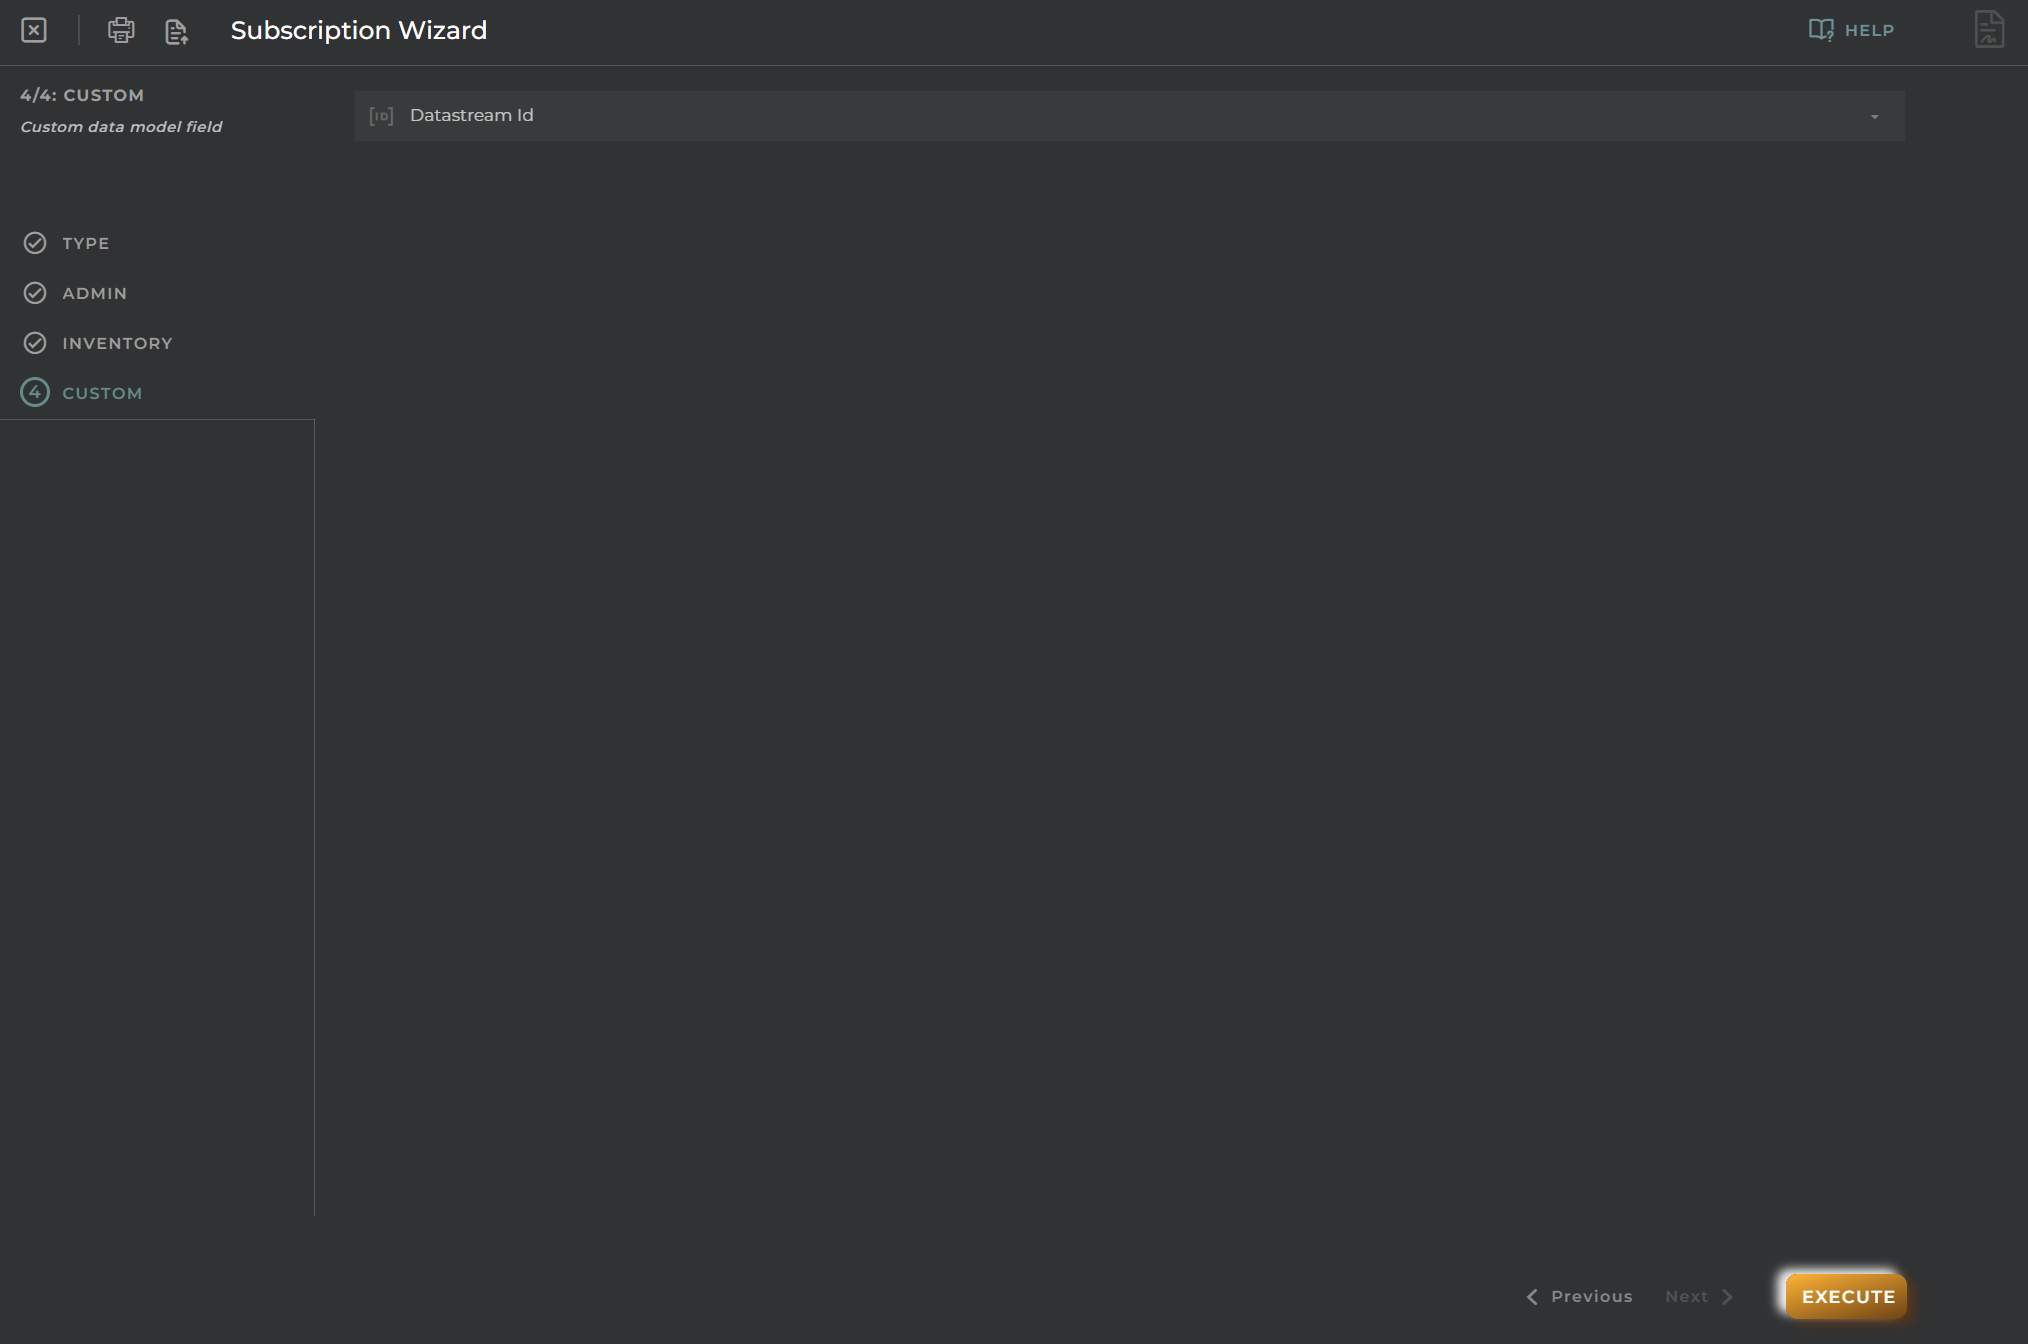
Custom
Allows the selection of a custom data model.
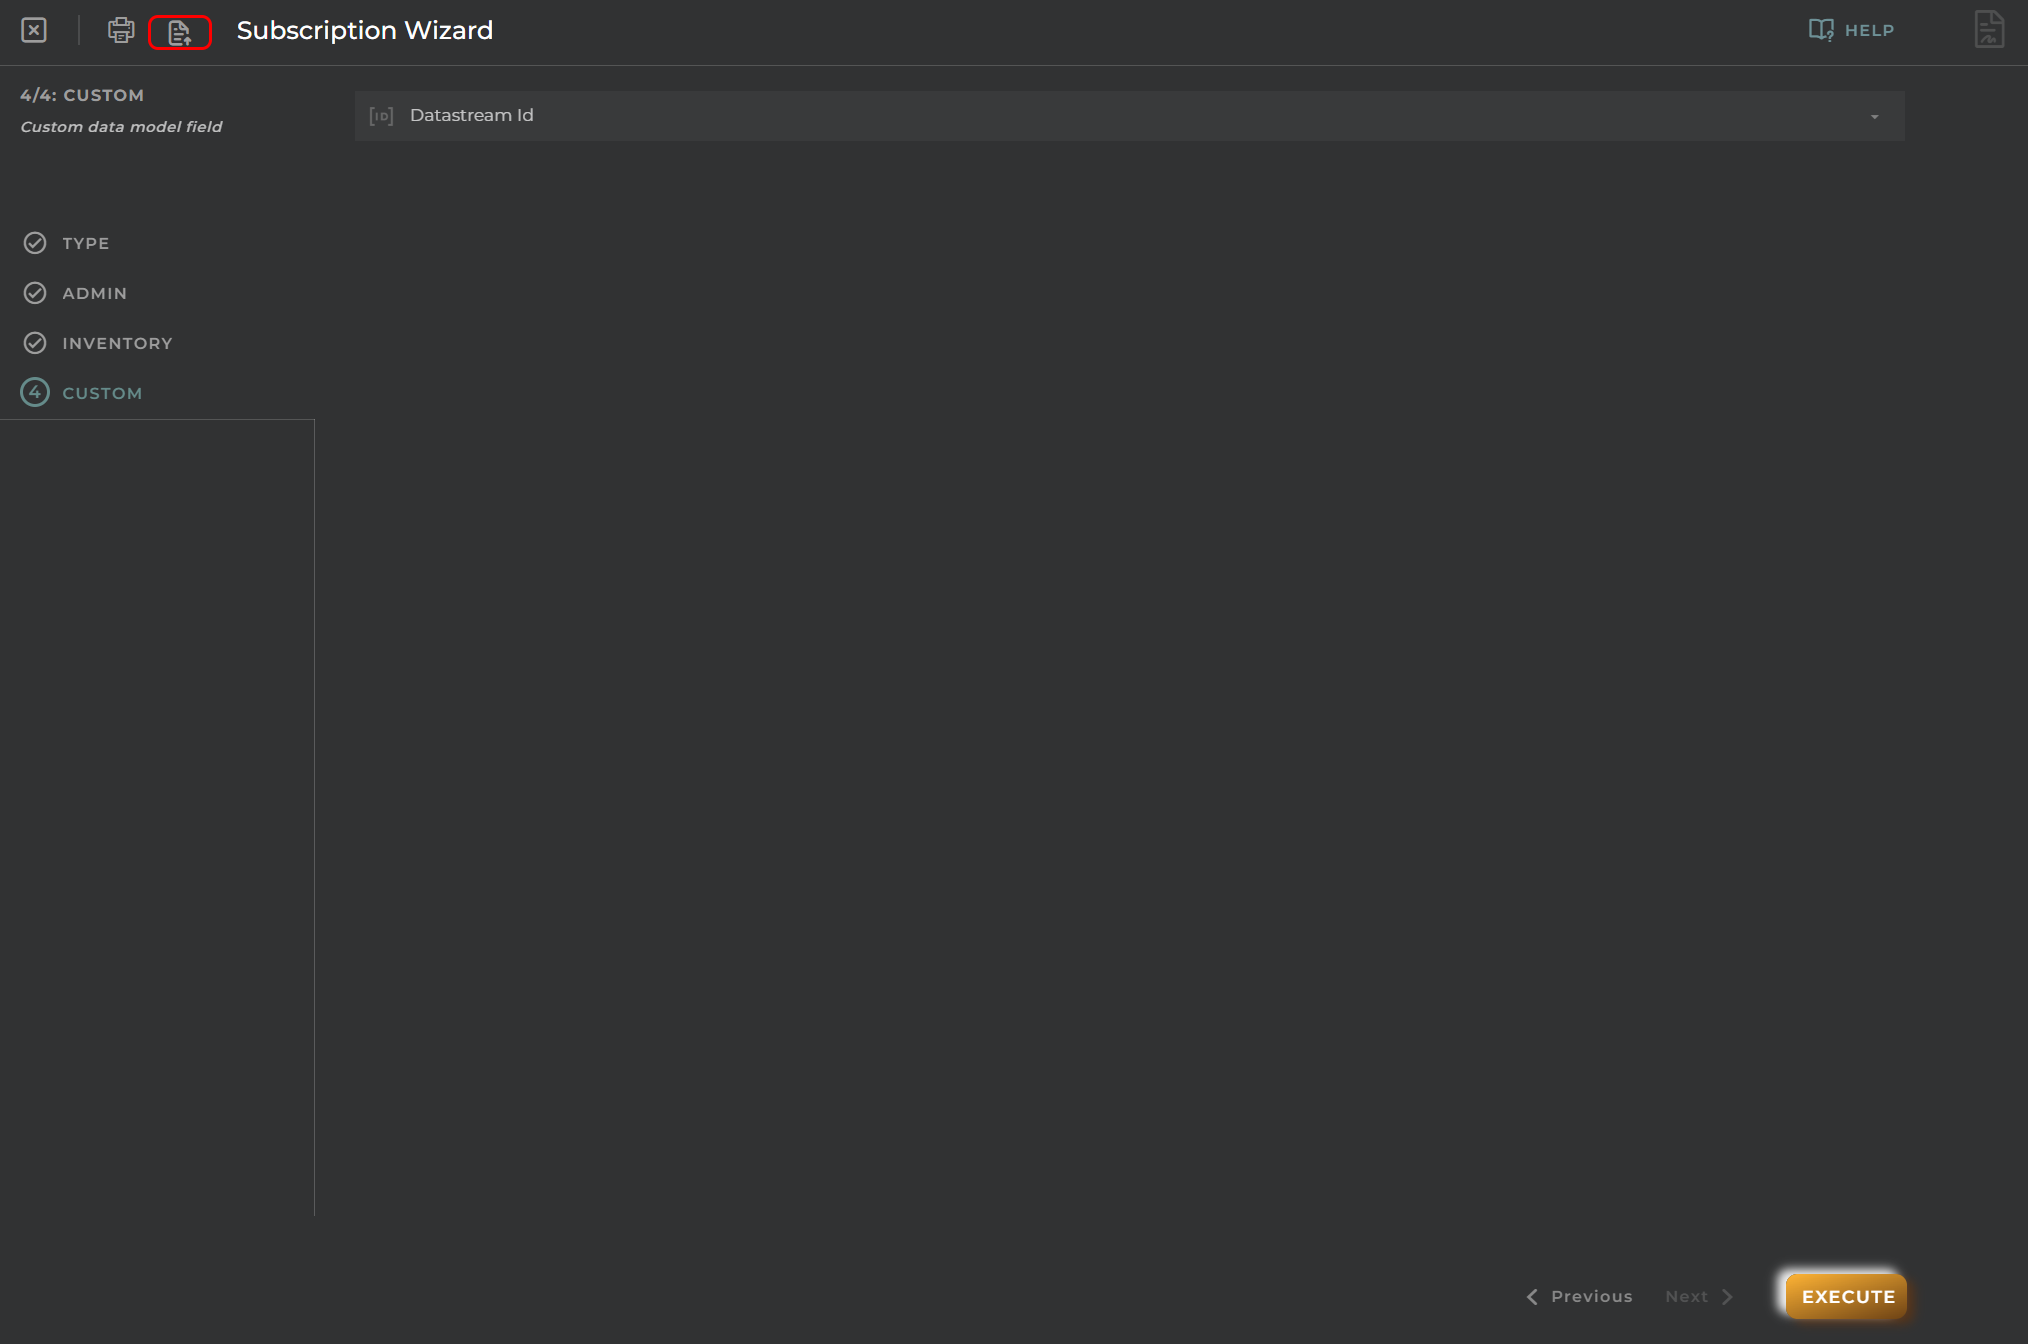
Import/Export Configuration
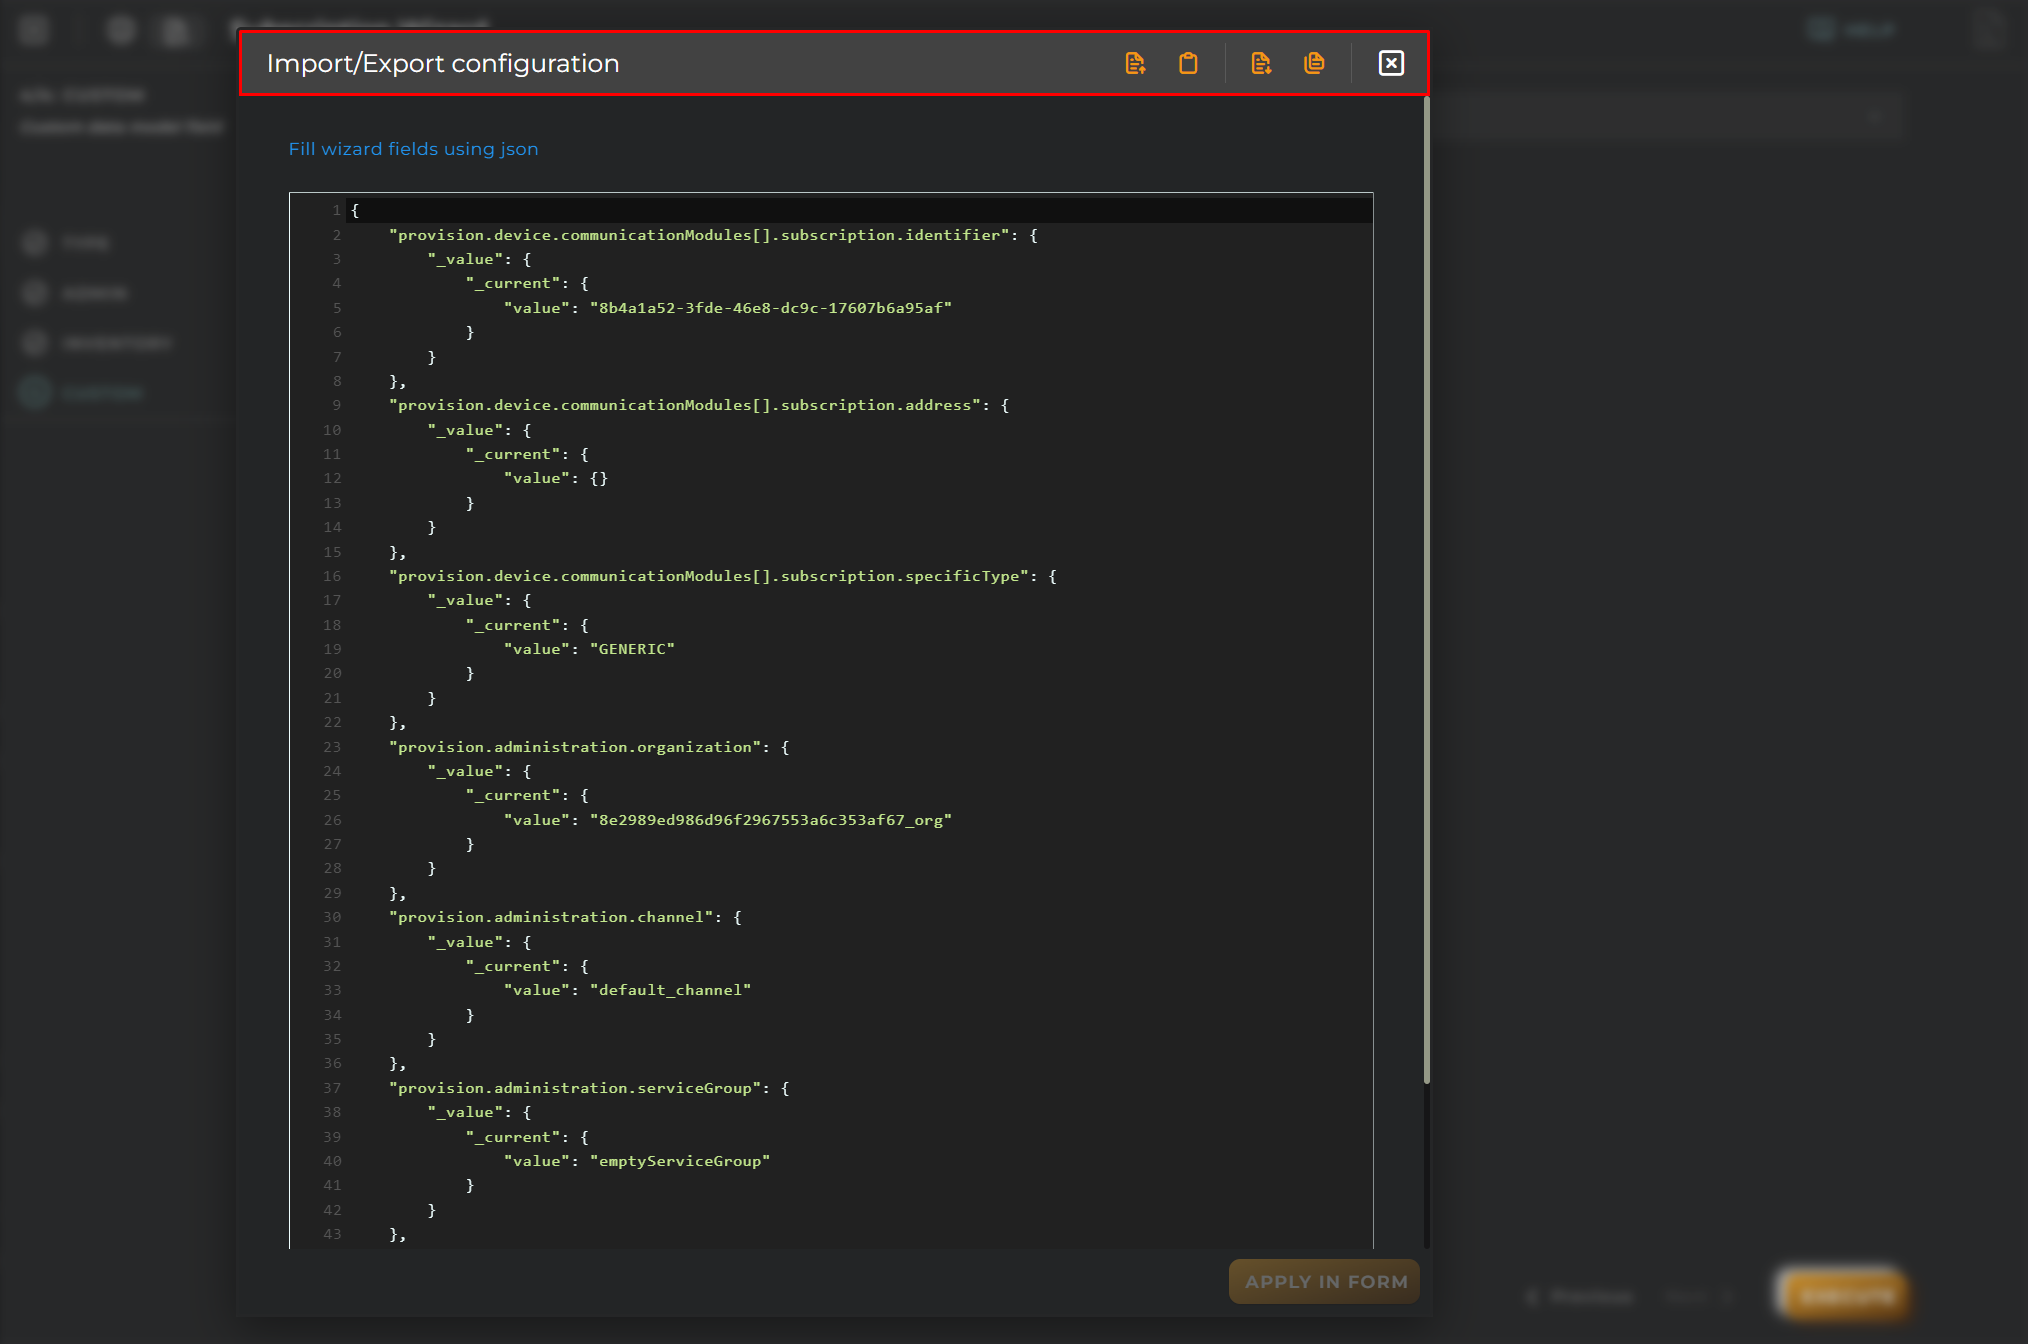
Allows you to import and export the wizard’s configuration via JSON.
When accessing the import and export functionality, it displays a window with various actions. Additionally, it presents the configuration of the wizard in JSON format.
The available actions are as follows:
Upload Json: Uploads a JSON file and replaces the previous JSON configuration.
Paste from clipboard: Pastes JSON data from the clipboard and replaces the previous JSON configuration.
Download Json: Downloads the JSON configuration as a file with the wizard’s name.
Copy to clipboard: Copies the JSON configuration to the clipboard.
Create new Ticket
Here you can initiate a new ticket on the platform.
Steps
Administration
Essential data for the registration and identification of the ticket on the platform.
Inventory
Location
Information about the ticket’s location.
Custom
Custom data based on data models created for the user’s organization. Default platform data model information is not included.
Import/Export Configuration
Allows you to import and export the wizard’s configuration via JSON.
When accessing the import and export functionality, it displays a window with various actions. Additionally, it presents the configuration of the wizard in JSON format.
The available actions are as follows:
Upload Json: Uploads a JSON file and replaces the previous JSON configuration.
Paste from clipboard: Pastes JSON data from the clipboard and replaces the previous JSON configuration.
Download Json: Downloads the JSON configuration as a file with the wizard’s name.
Copy to clipboard: Copies the JSON configuration to the clipboard.
Upload Bulk File
You can attach a file to create new entities.
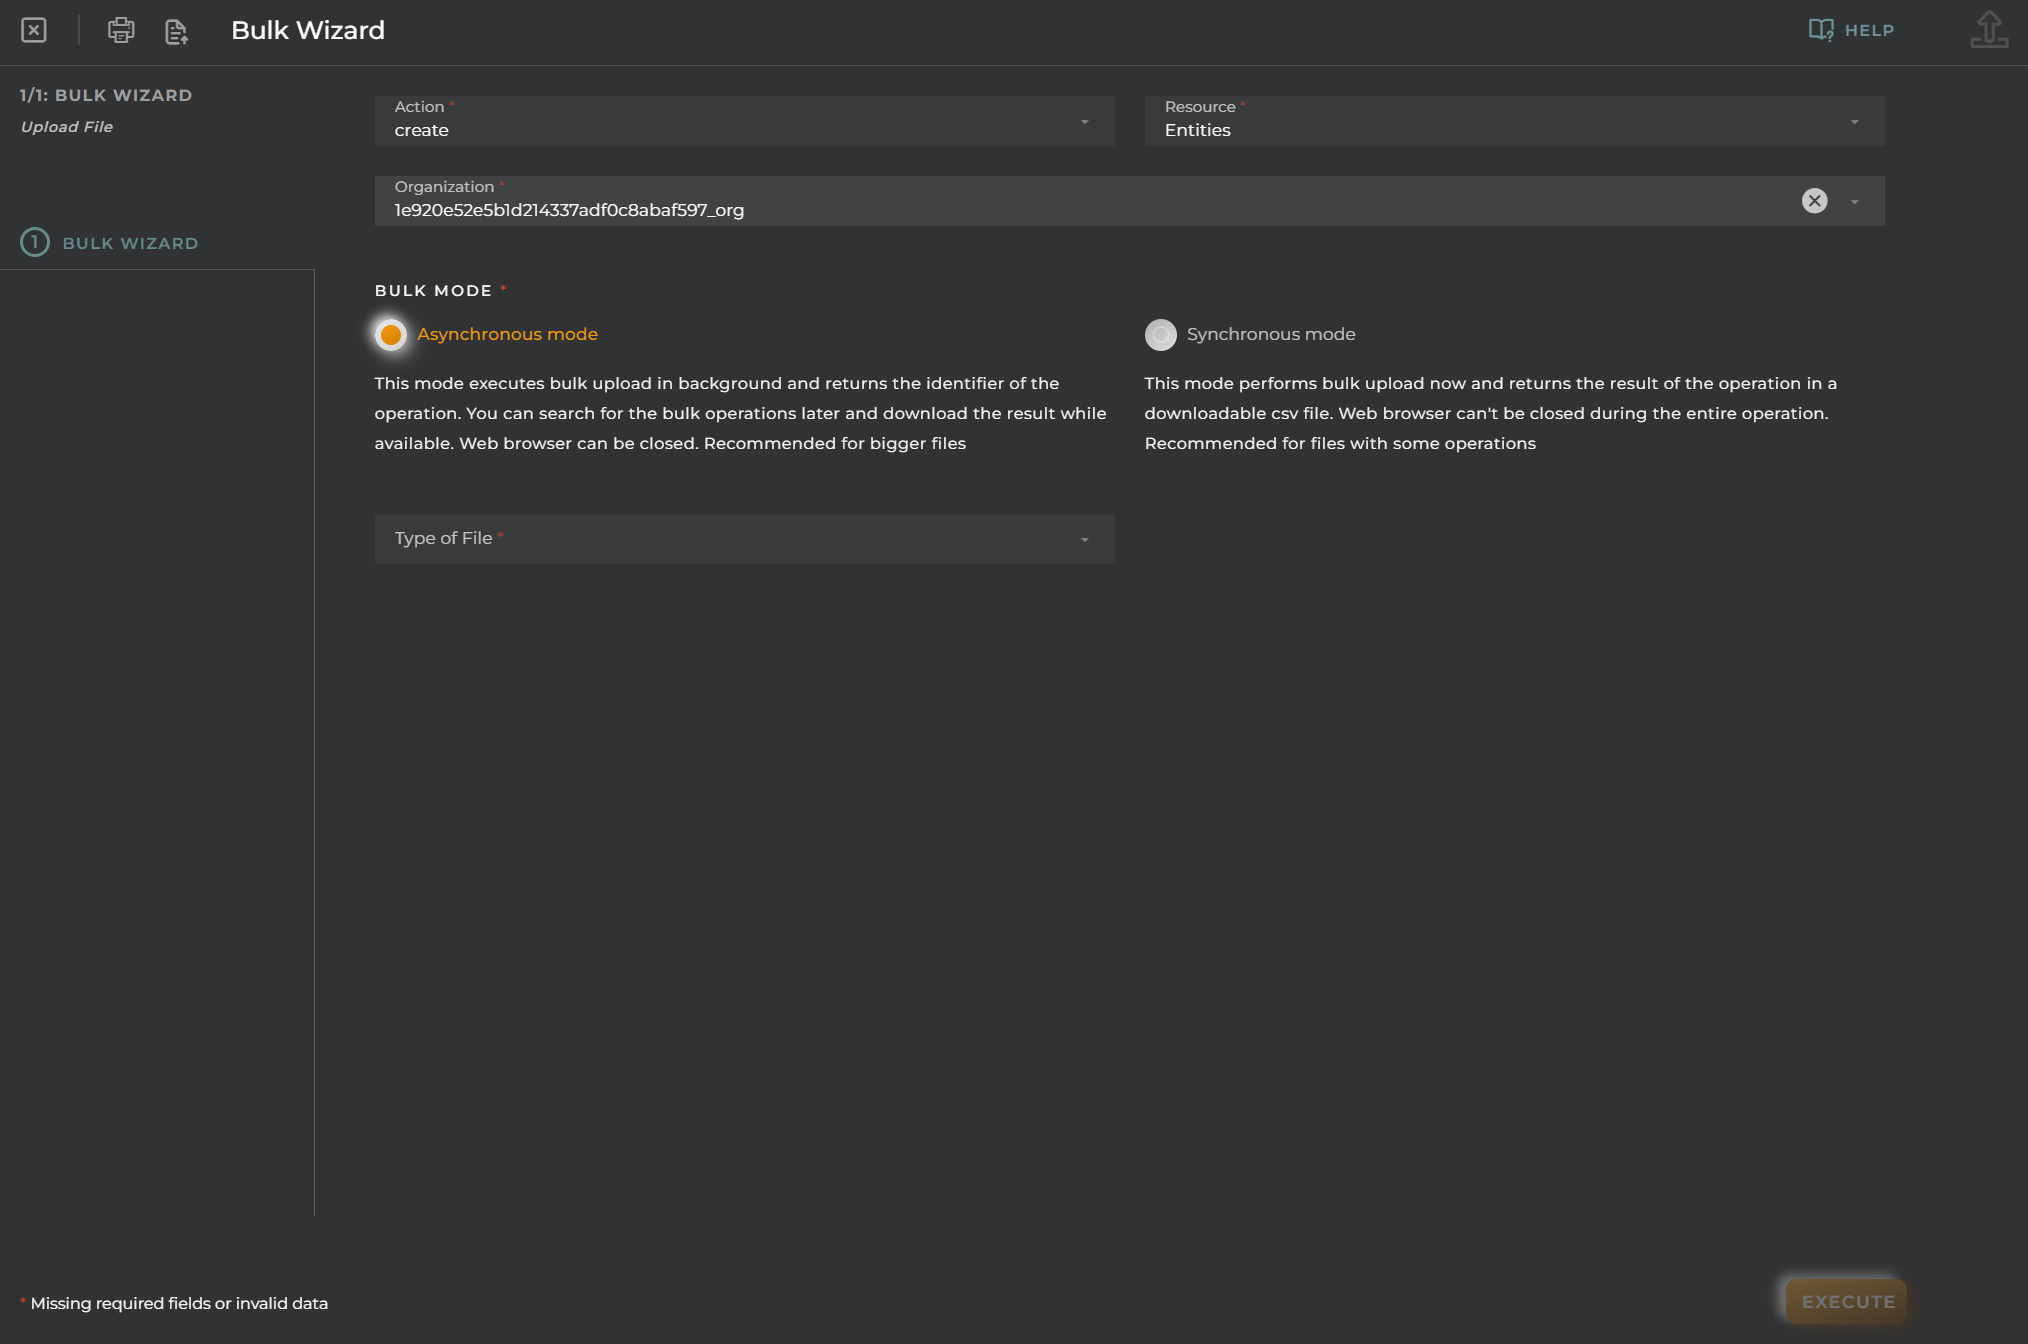
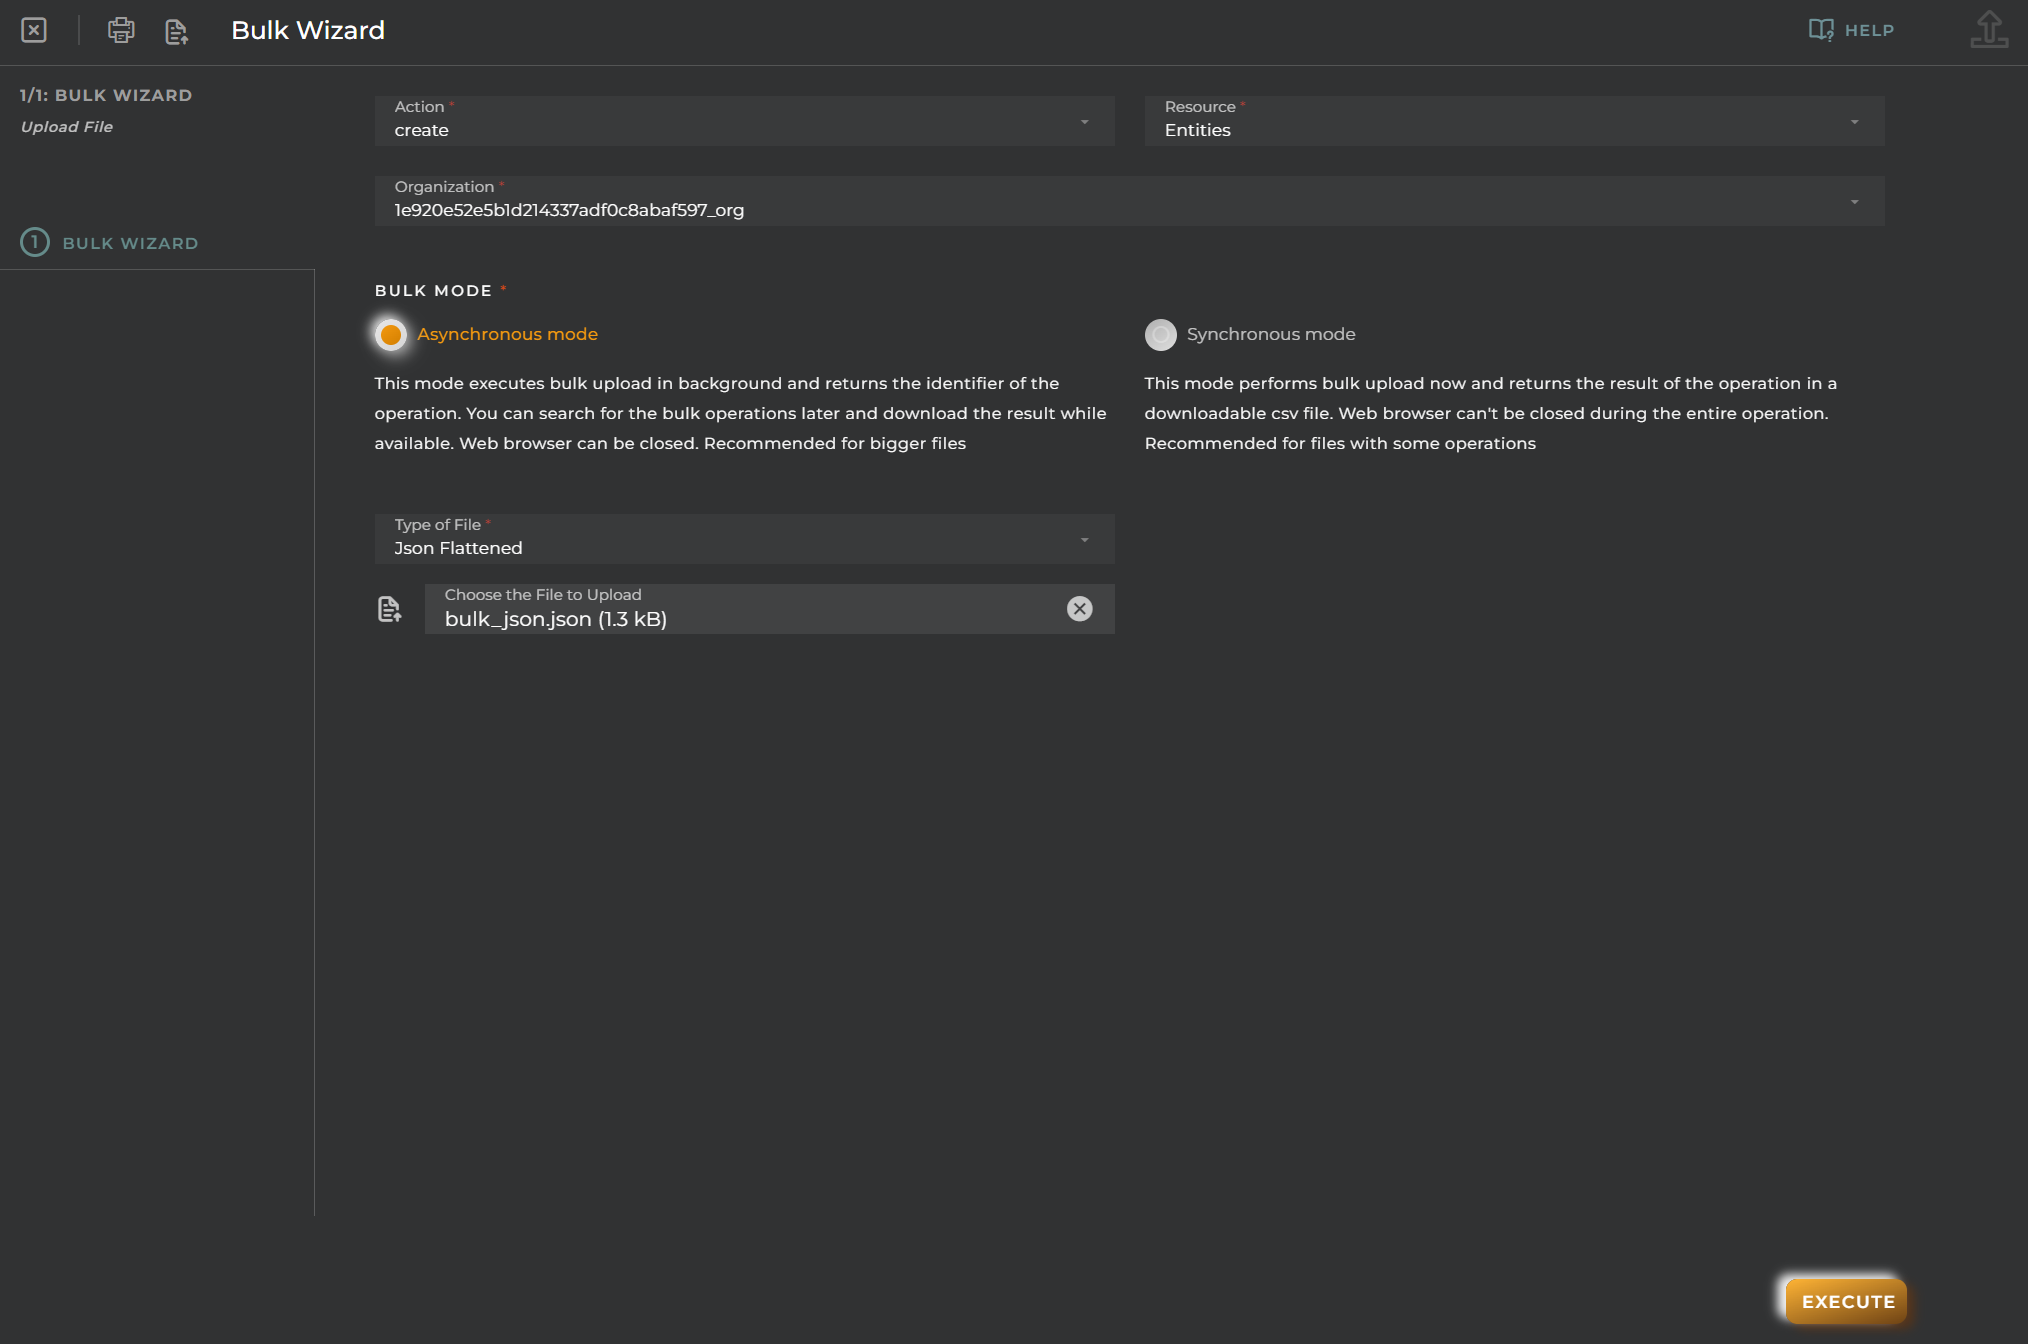
Here, the user can create, update, and delete entities. To do this, the user must choose the type of action to execute and the type of file to upload.
Steps
Bulk Wizard
Available actions:
Create
Delete: This option allows deleting the device. If the device subscriptions or subscribers exist, this entity will not be deleted.
Delete All: This option allows deleting the complete device with subscriptions and subscribers.
Update
Resource: We will have the options of Entities or Tickets.
Type of file:
It allows the selection of a file with the following types:
Csv
Json
Flattened: A data file format that simplifies the structure, presenting information in a flat list, which can be beneficial in some data analysis and processing situations.
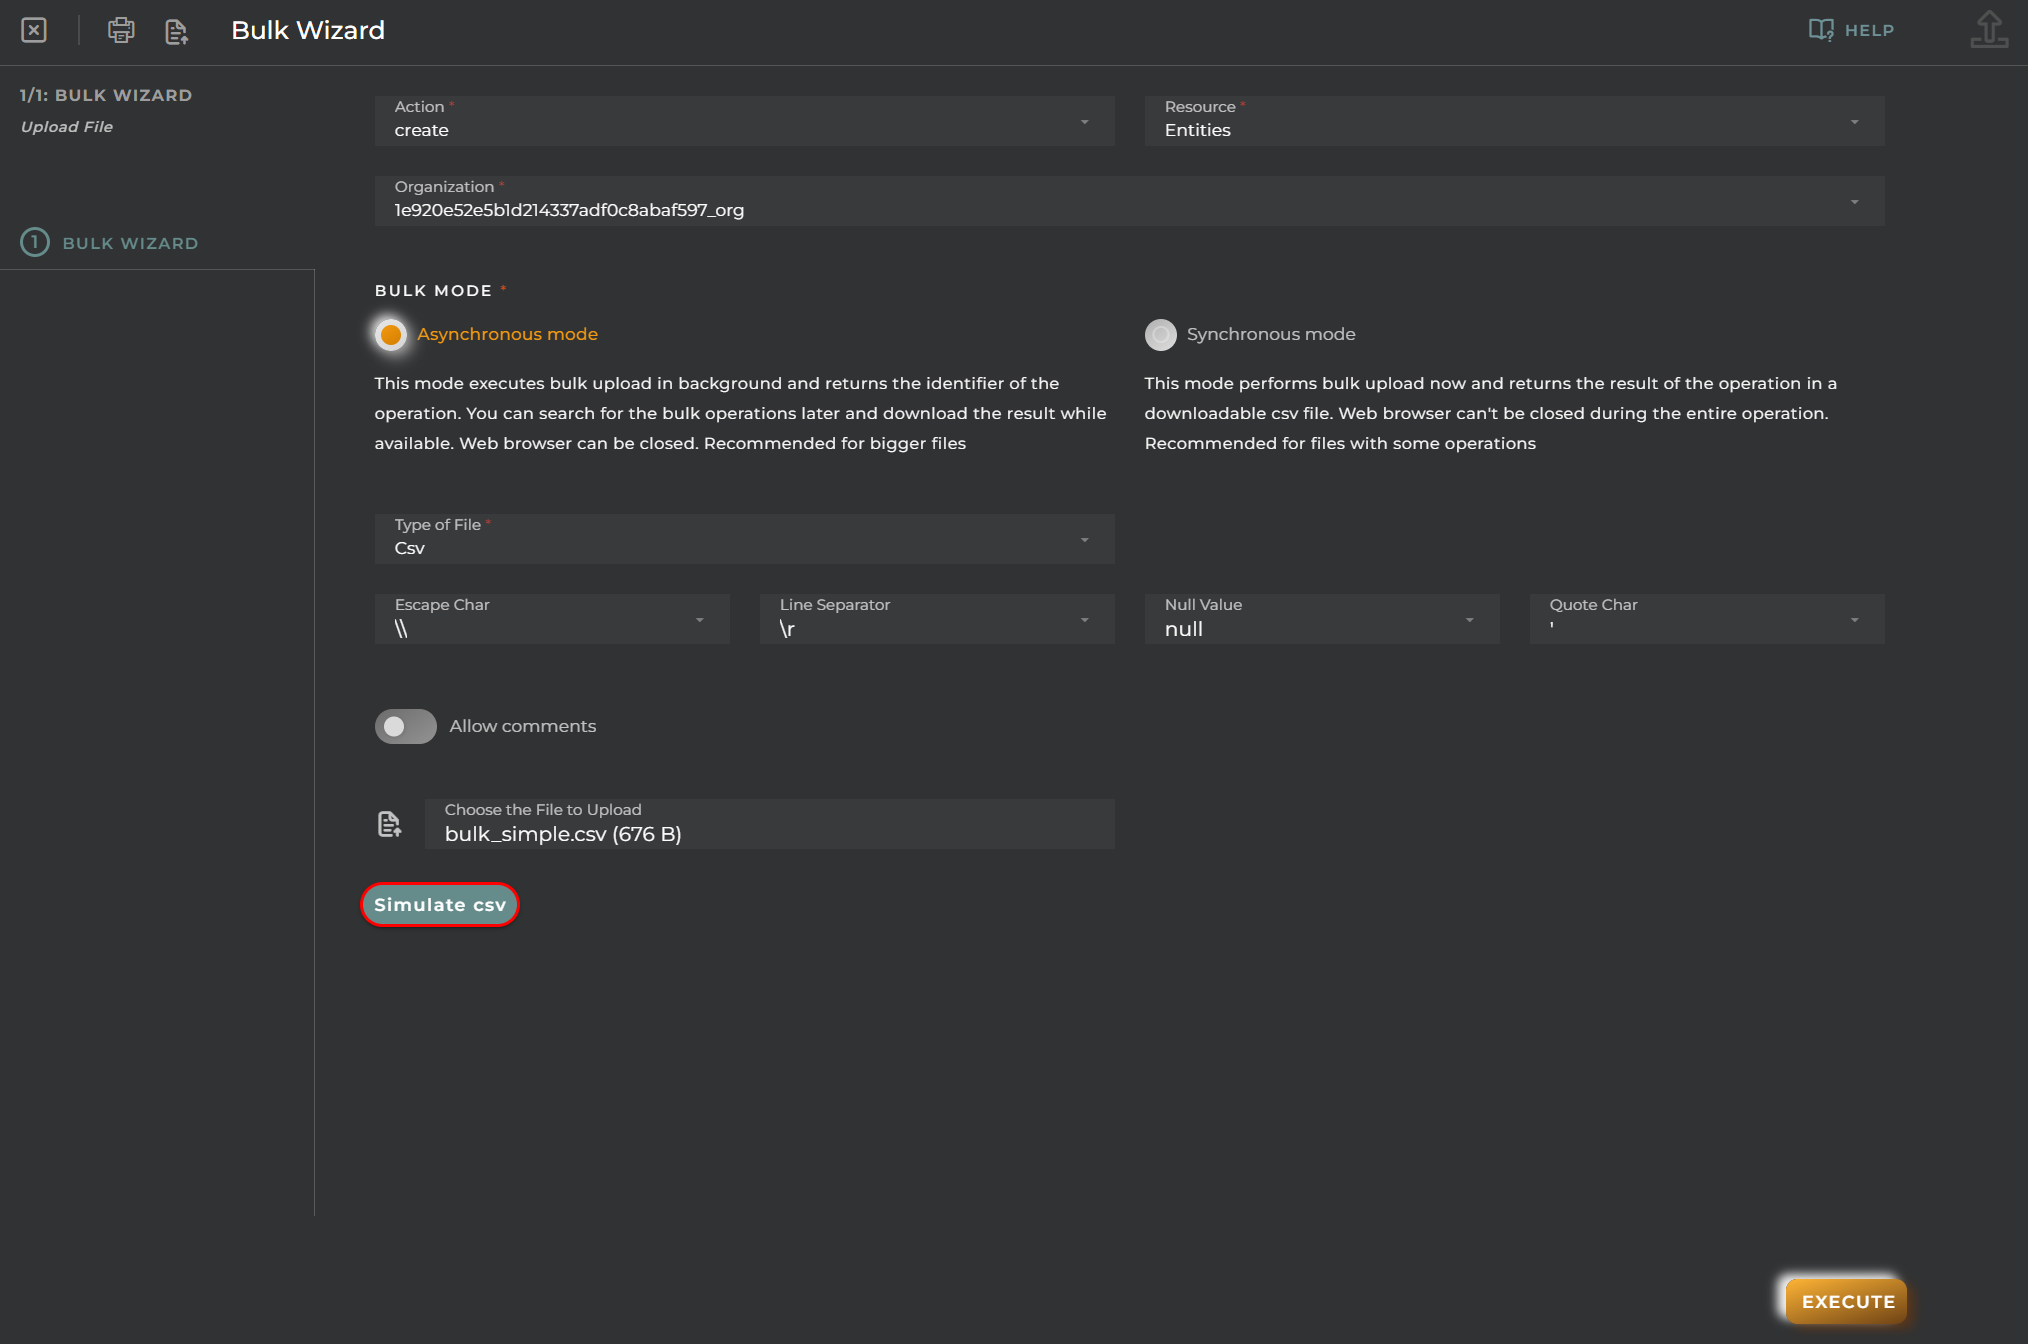
CSV
In the CSV section, we will add the different options: Escape Char, Line separator, Null Value, and Quote Char.
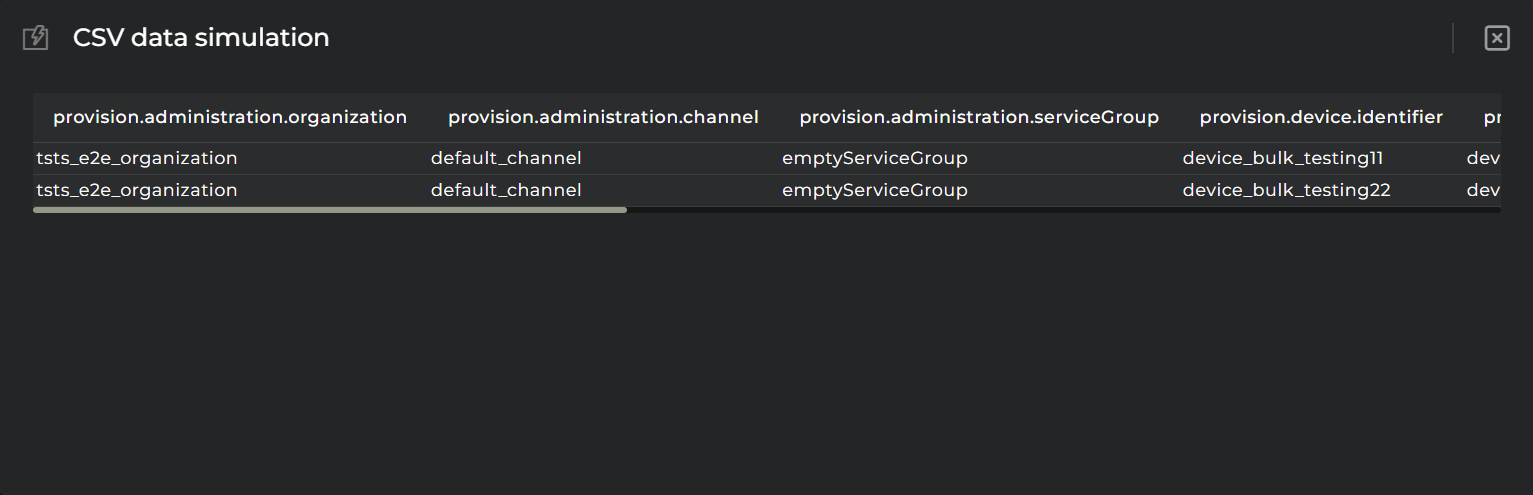
Once this is done, we will add the CSV file, and the simulation button will be enabled. This button is only available for the CSV file type.
When you press the simulation button, a window will open where you can see the attached CSV file.
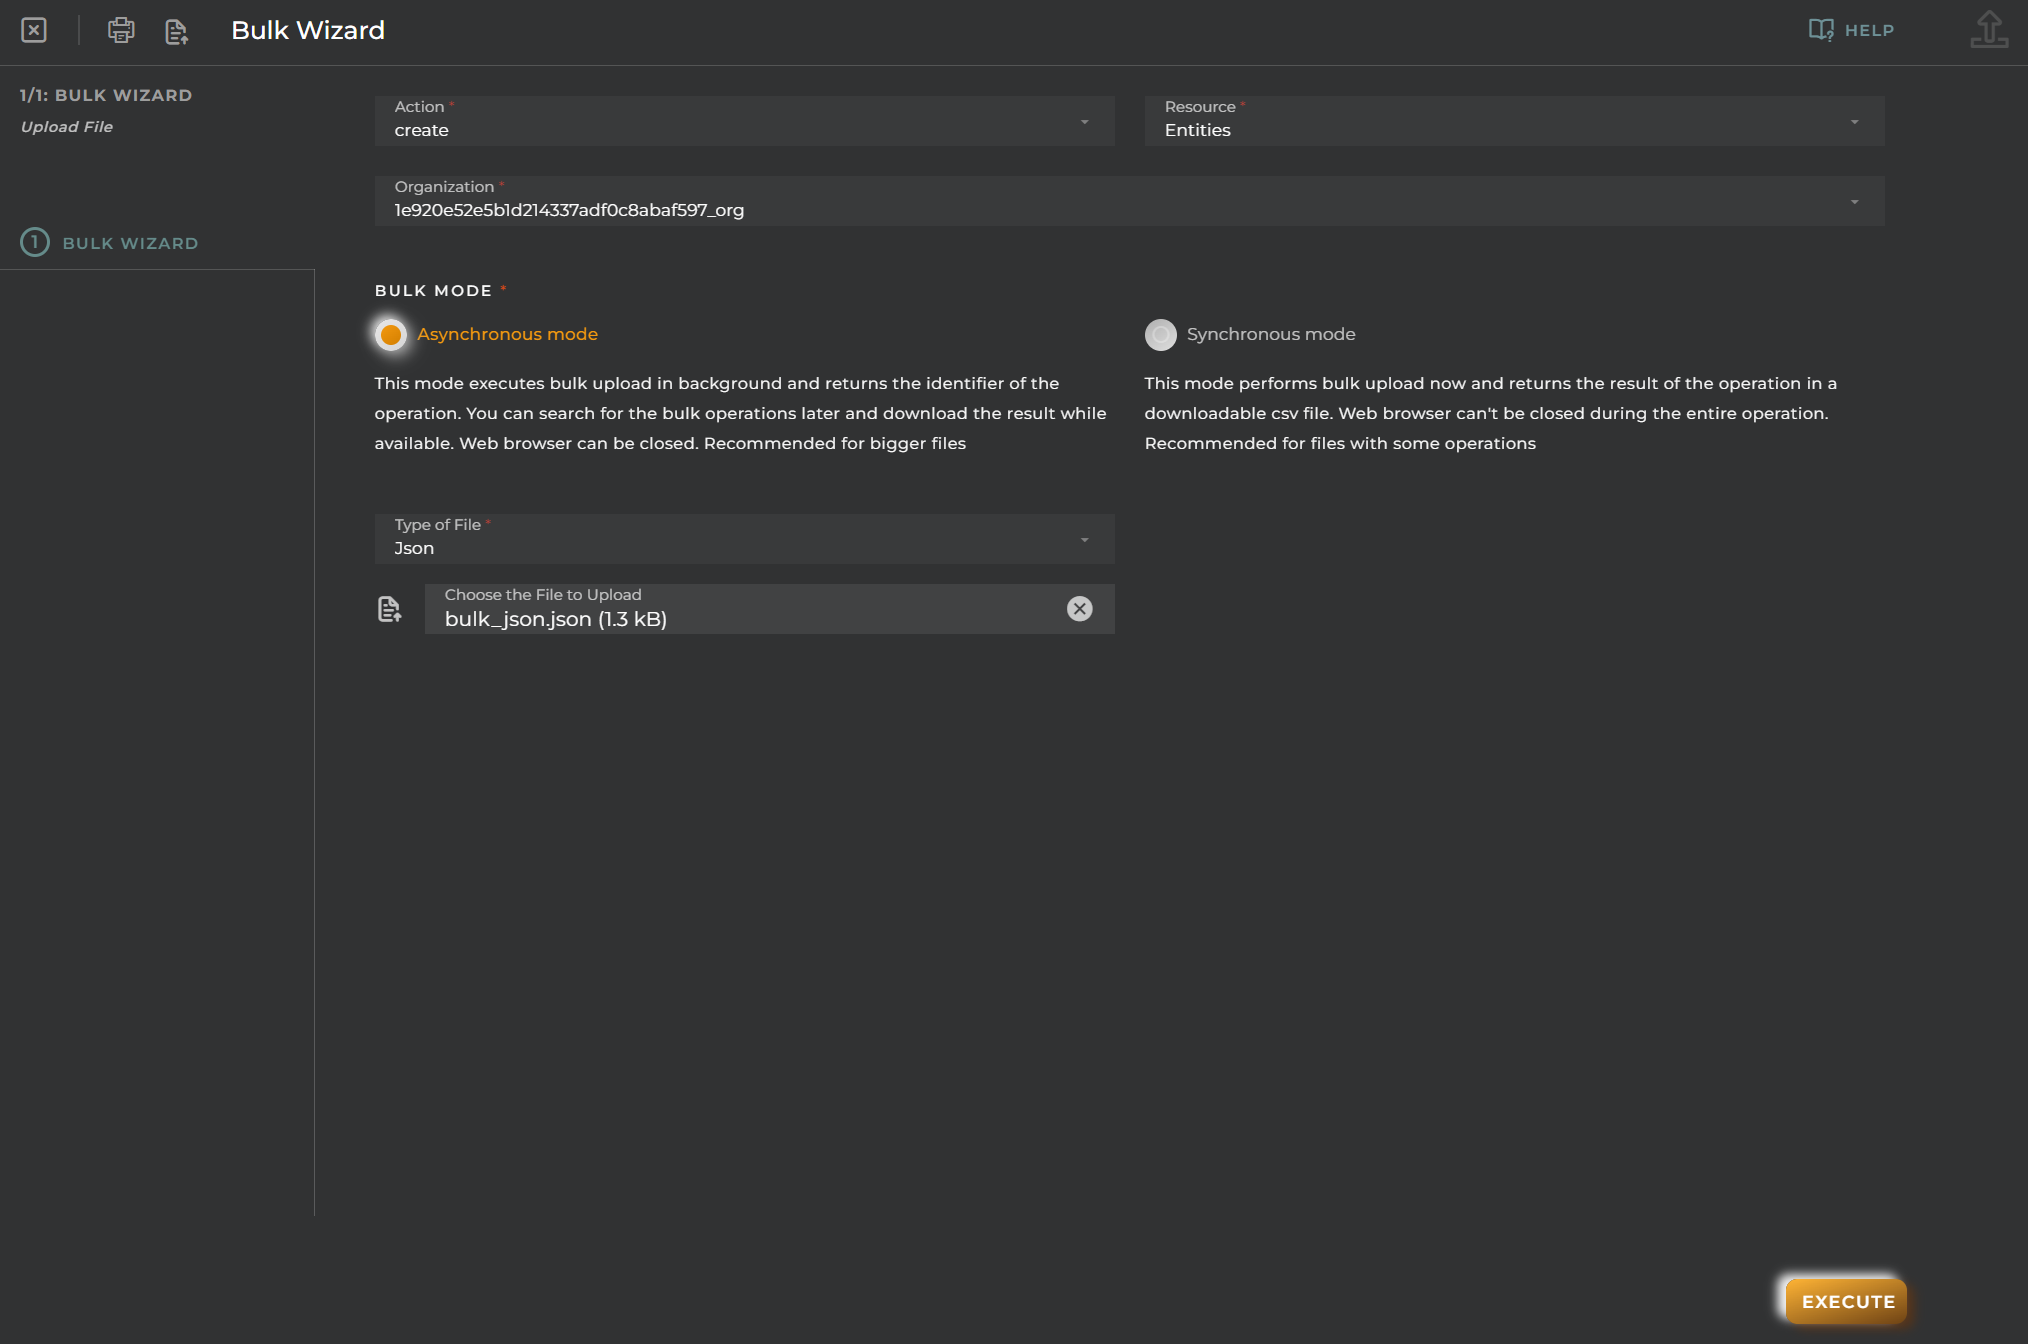
JSON
Attach a JSON file.
JSON Flattened
Attach a JSON Flattened file.
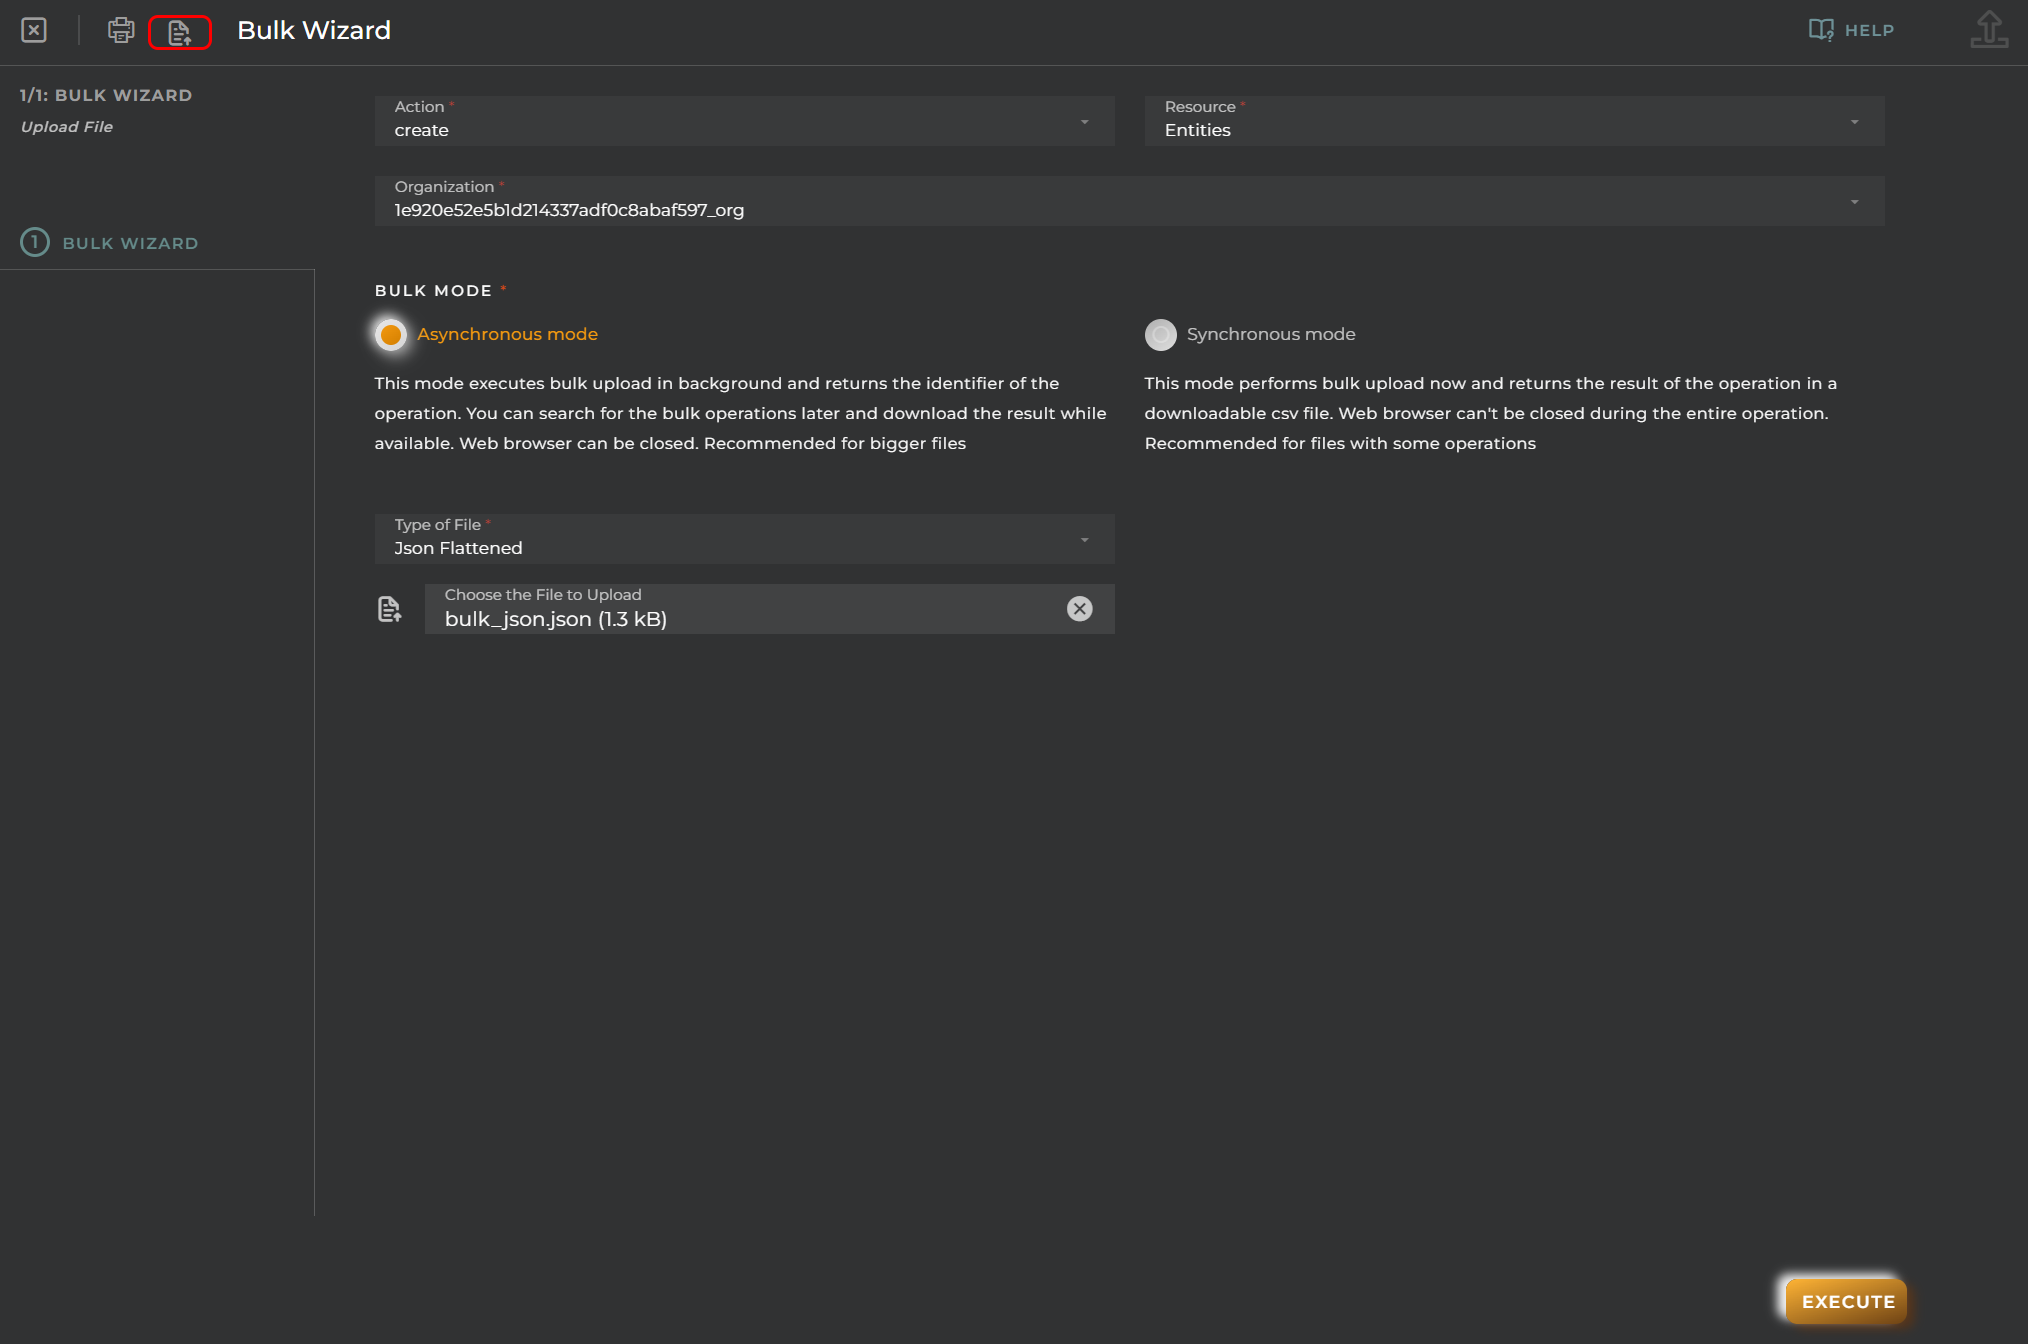
Import/Export Configuration
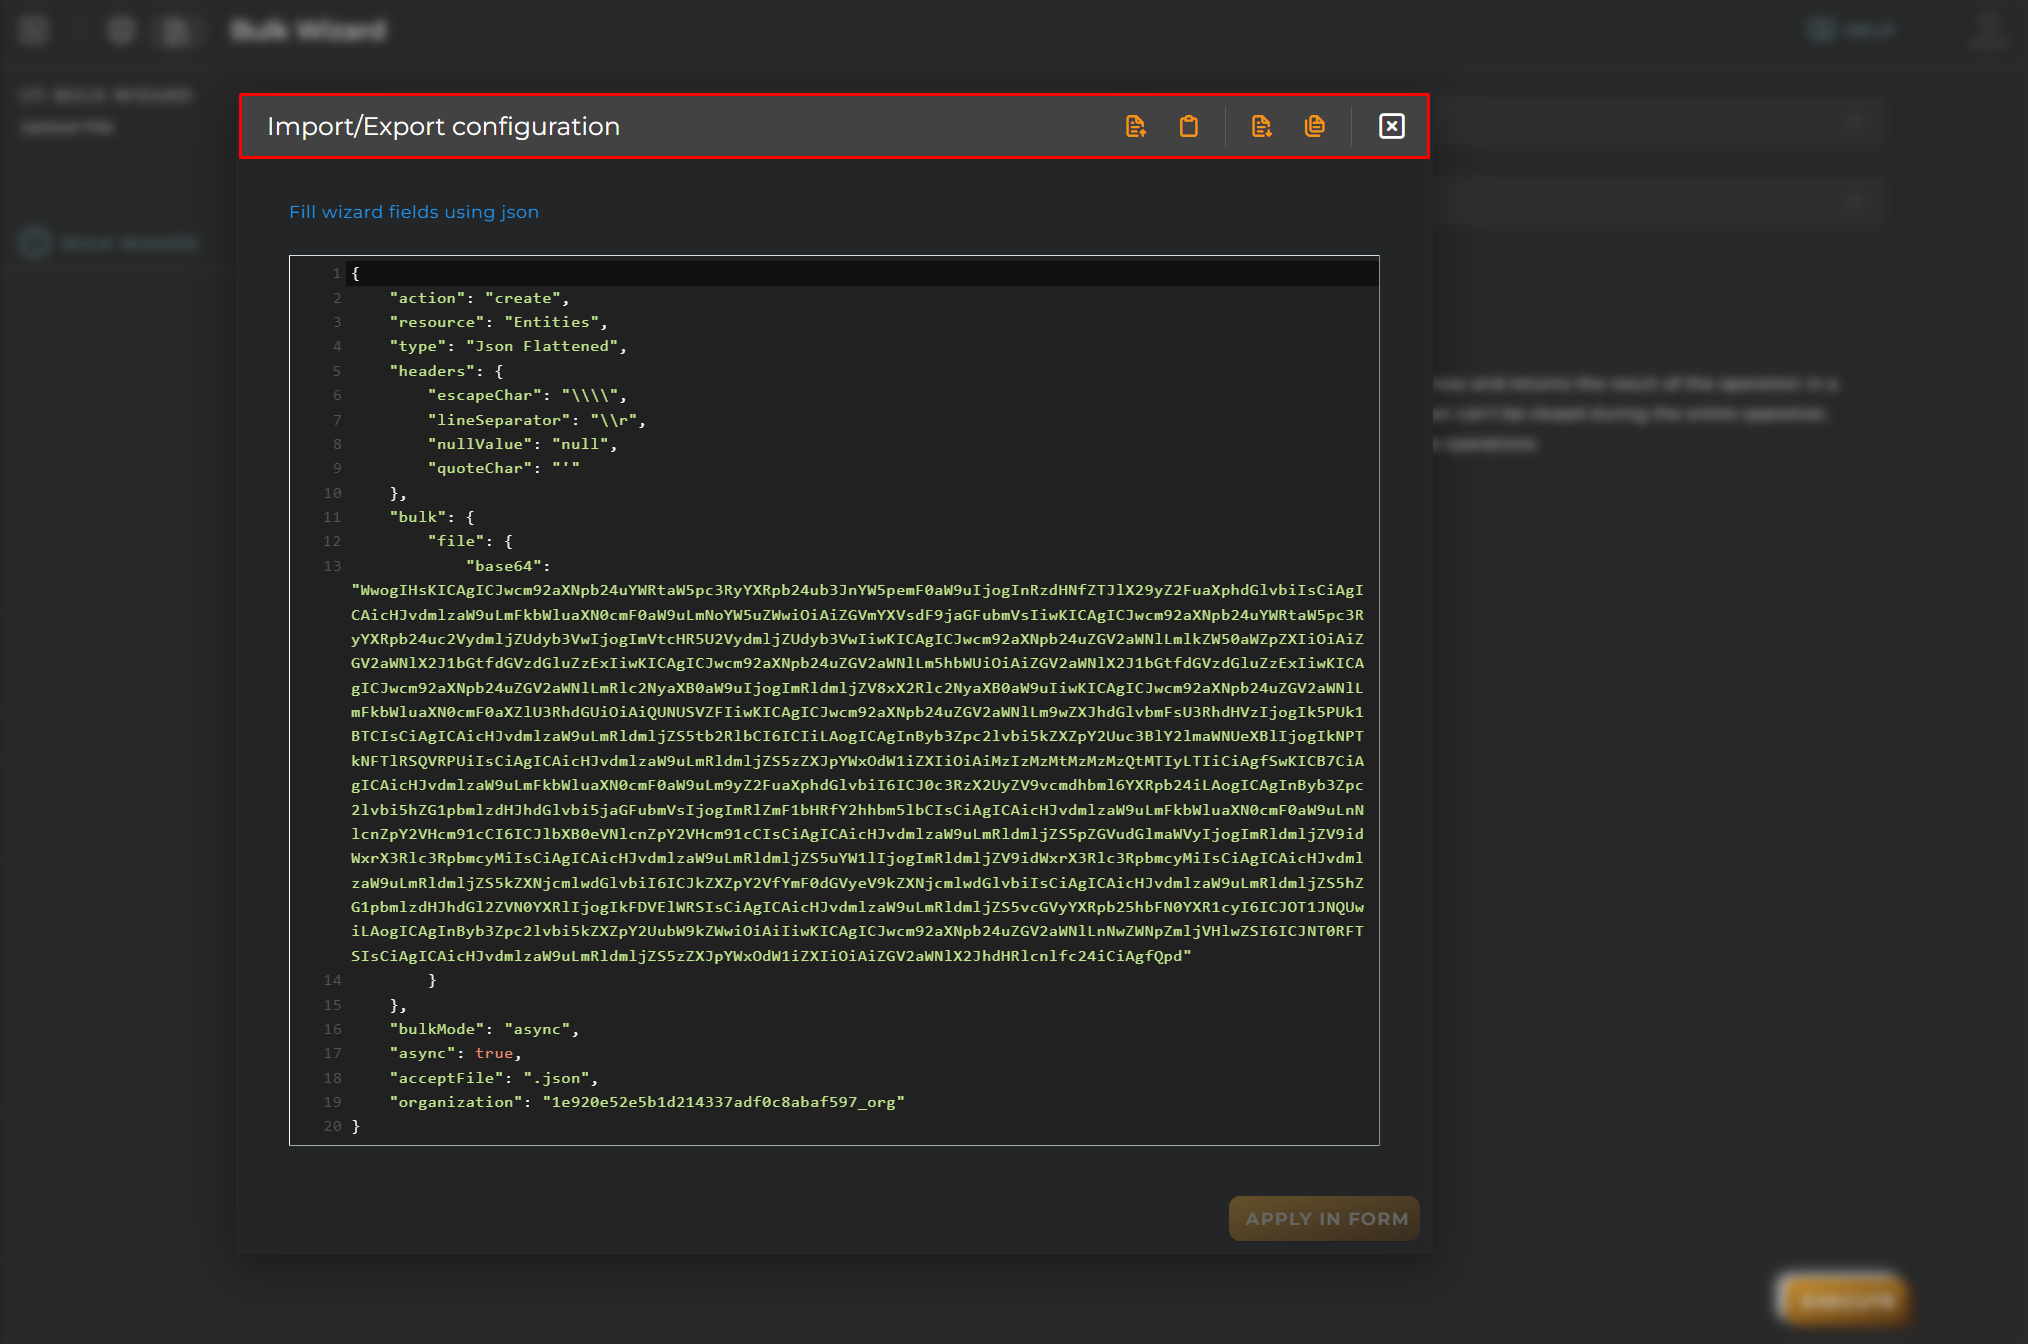
Allows you to import and export the wizard’s configuration via JSON.
When accessing the import and export functionality, it displays a window with various actions. Additionally, it presents the configuration of the wizard in JSON format.
The available actions are as follows:
Upload Json: Uploads a JSON file and replaces the previous JSON configuration.
Paste from clipboard: Pastes JSON data from the clipboard and replaces the previous JSON configuration.
Download Json: Downloads the JSON configuration as a file with the wizard’s name.
Copy to clipboard: Copies the JSON configuration to the clipboard.
Upload bulk file (Advanced)
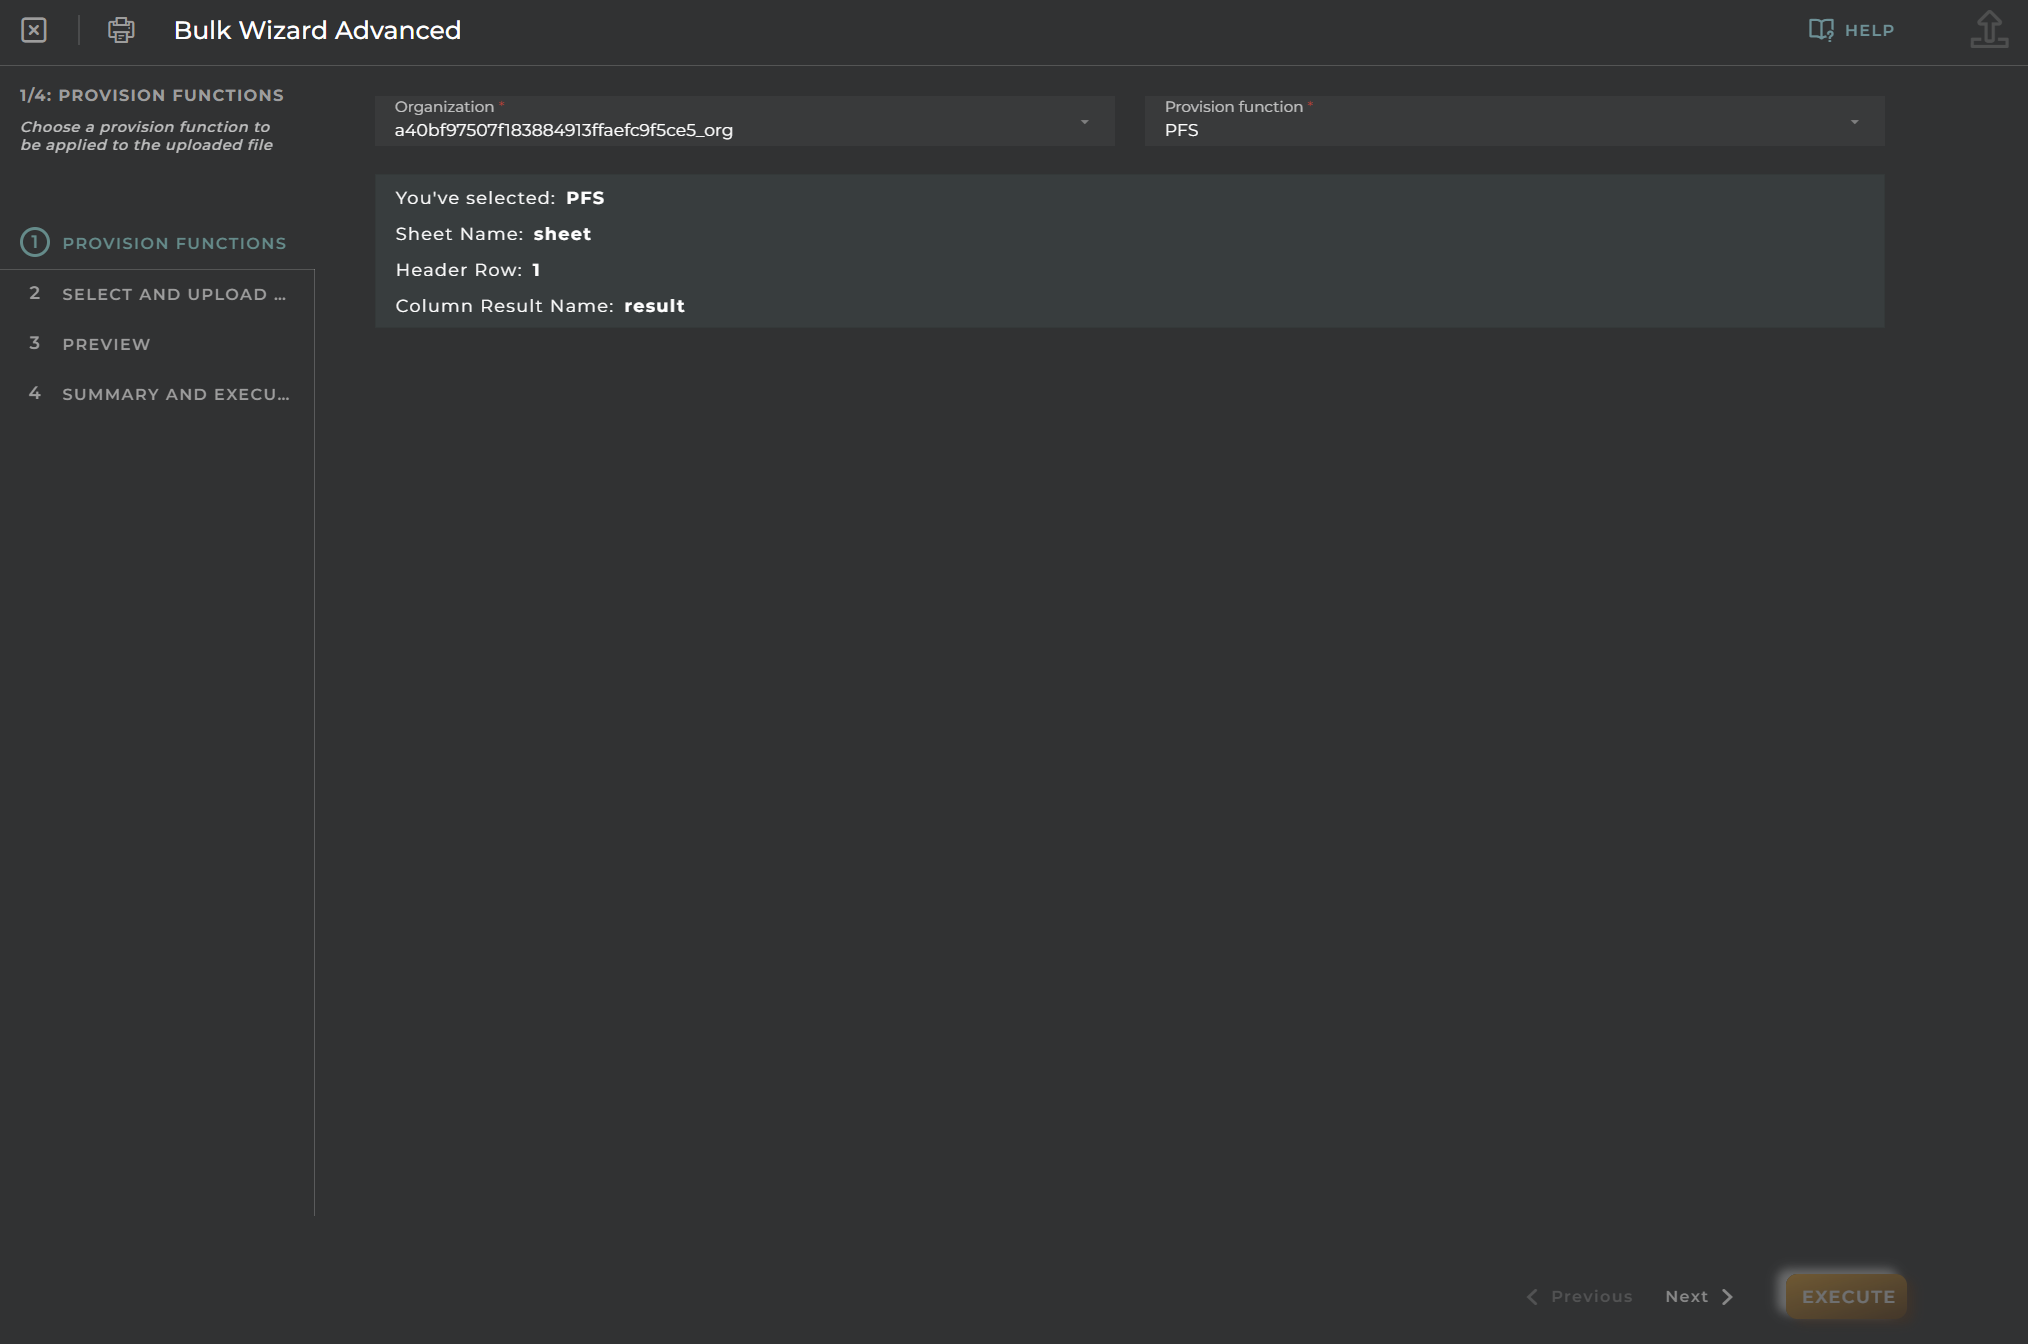
This wizard allows us to create, delete, or update entities in bulk using an Excel file and a provisioning function previously created in the provisioning function wizard.
Steps
Provision functions
Provision Function: Name of the provisioning function. A provisioning function will have JavaScript code that takes inbound data and calculates the actions to be performed for correct provisioning of entities (Assets, Devices, Subscriptions, and Subscribers).
Sheet Name: Name of the selected sheet when creating the provisioning function.
Header row: The row where the header is located in the file.
Column result name: The column where it will return the results obtained when executing this wizard.
Select and upload file
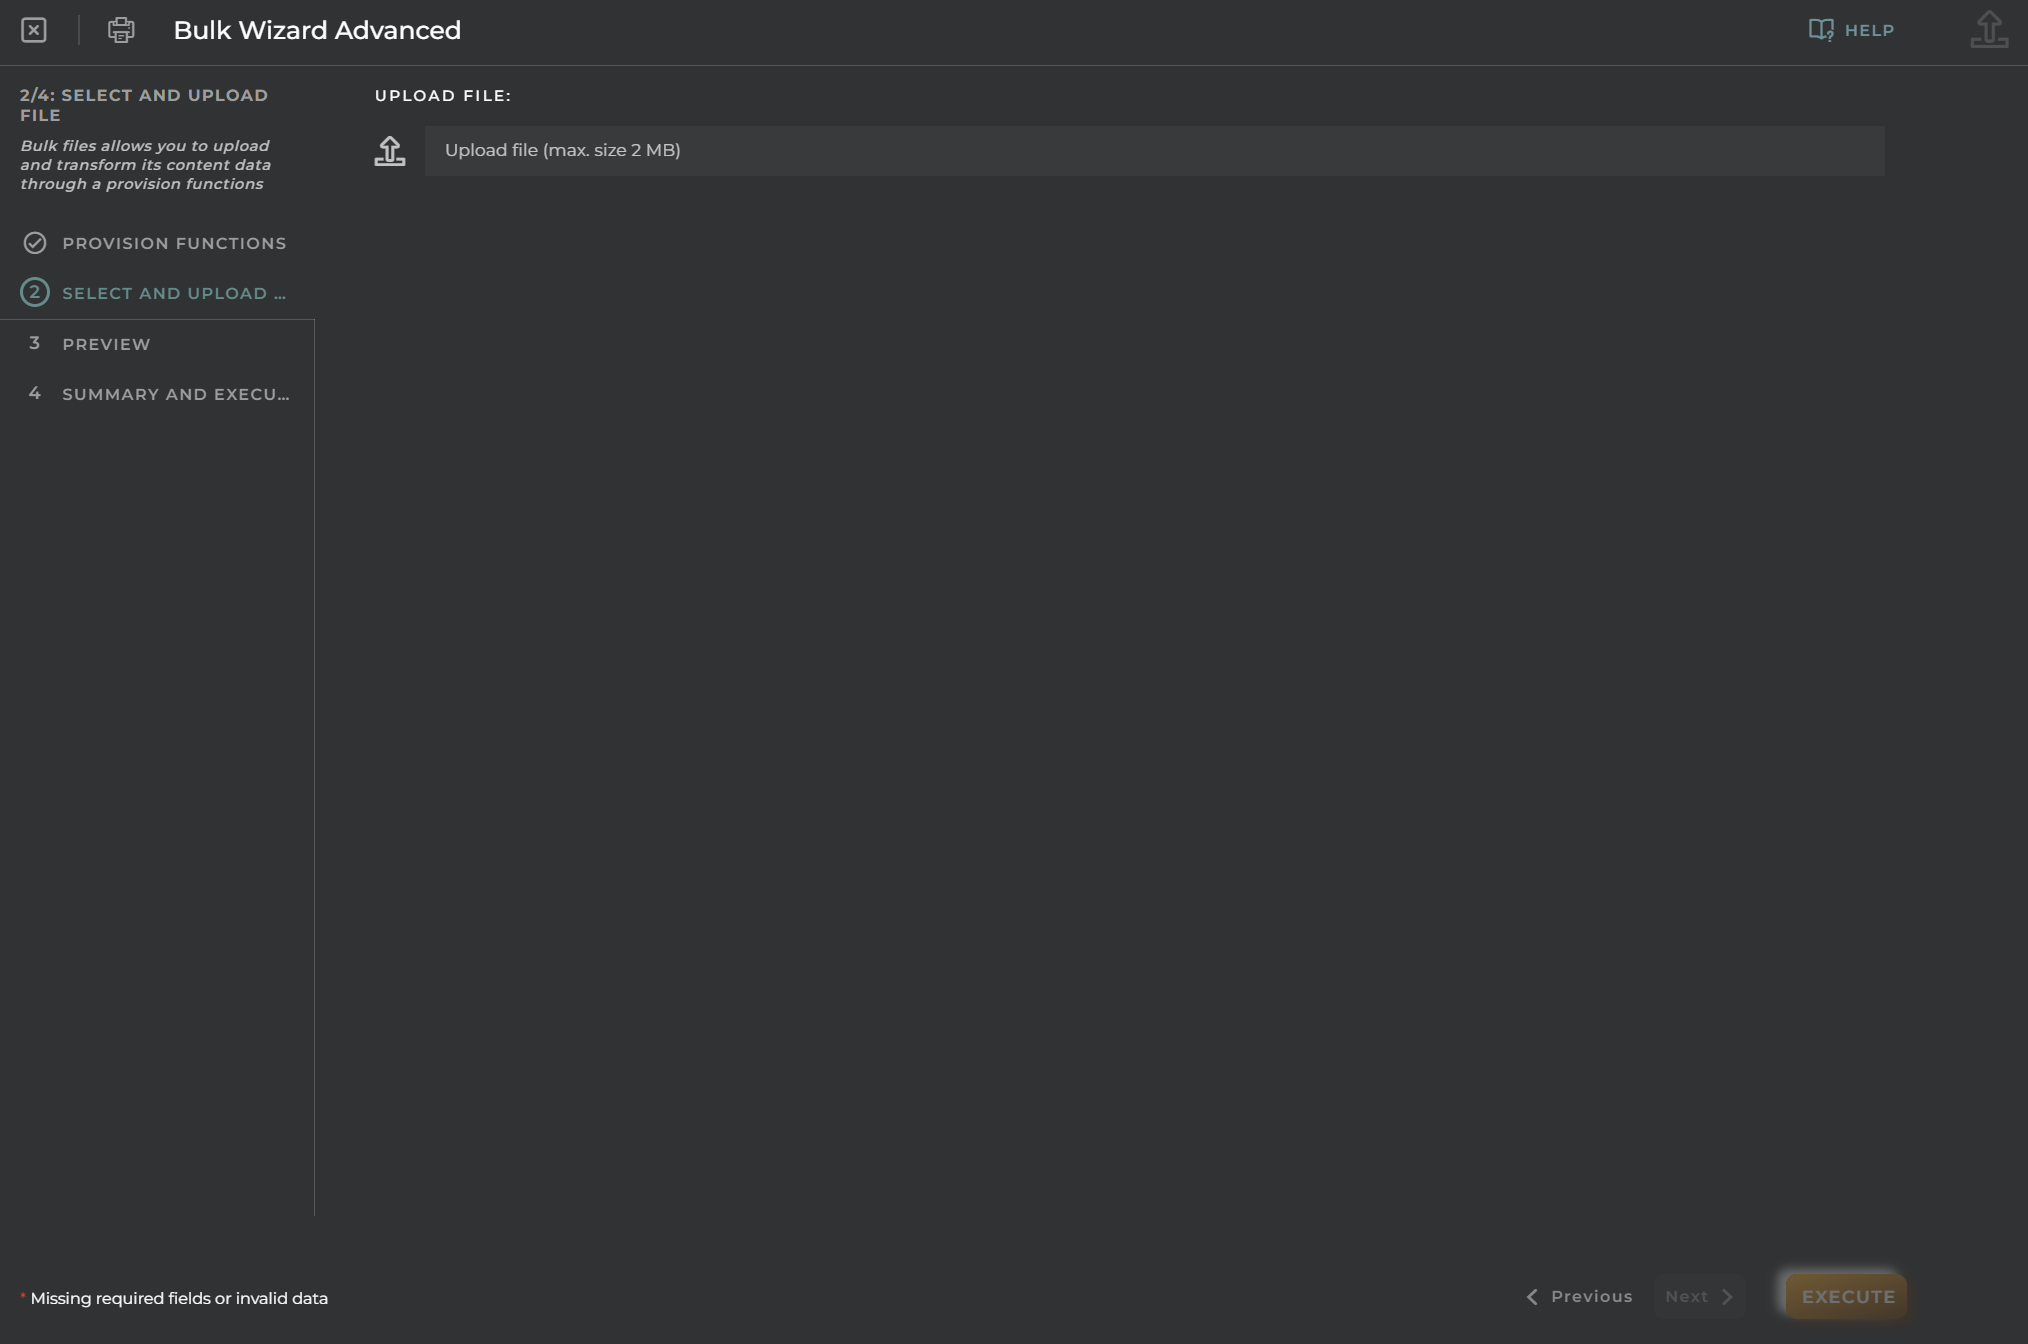
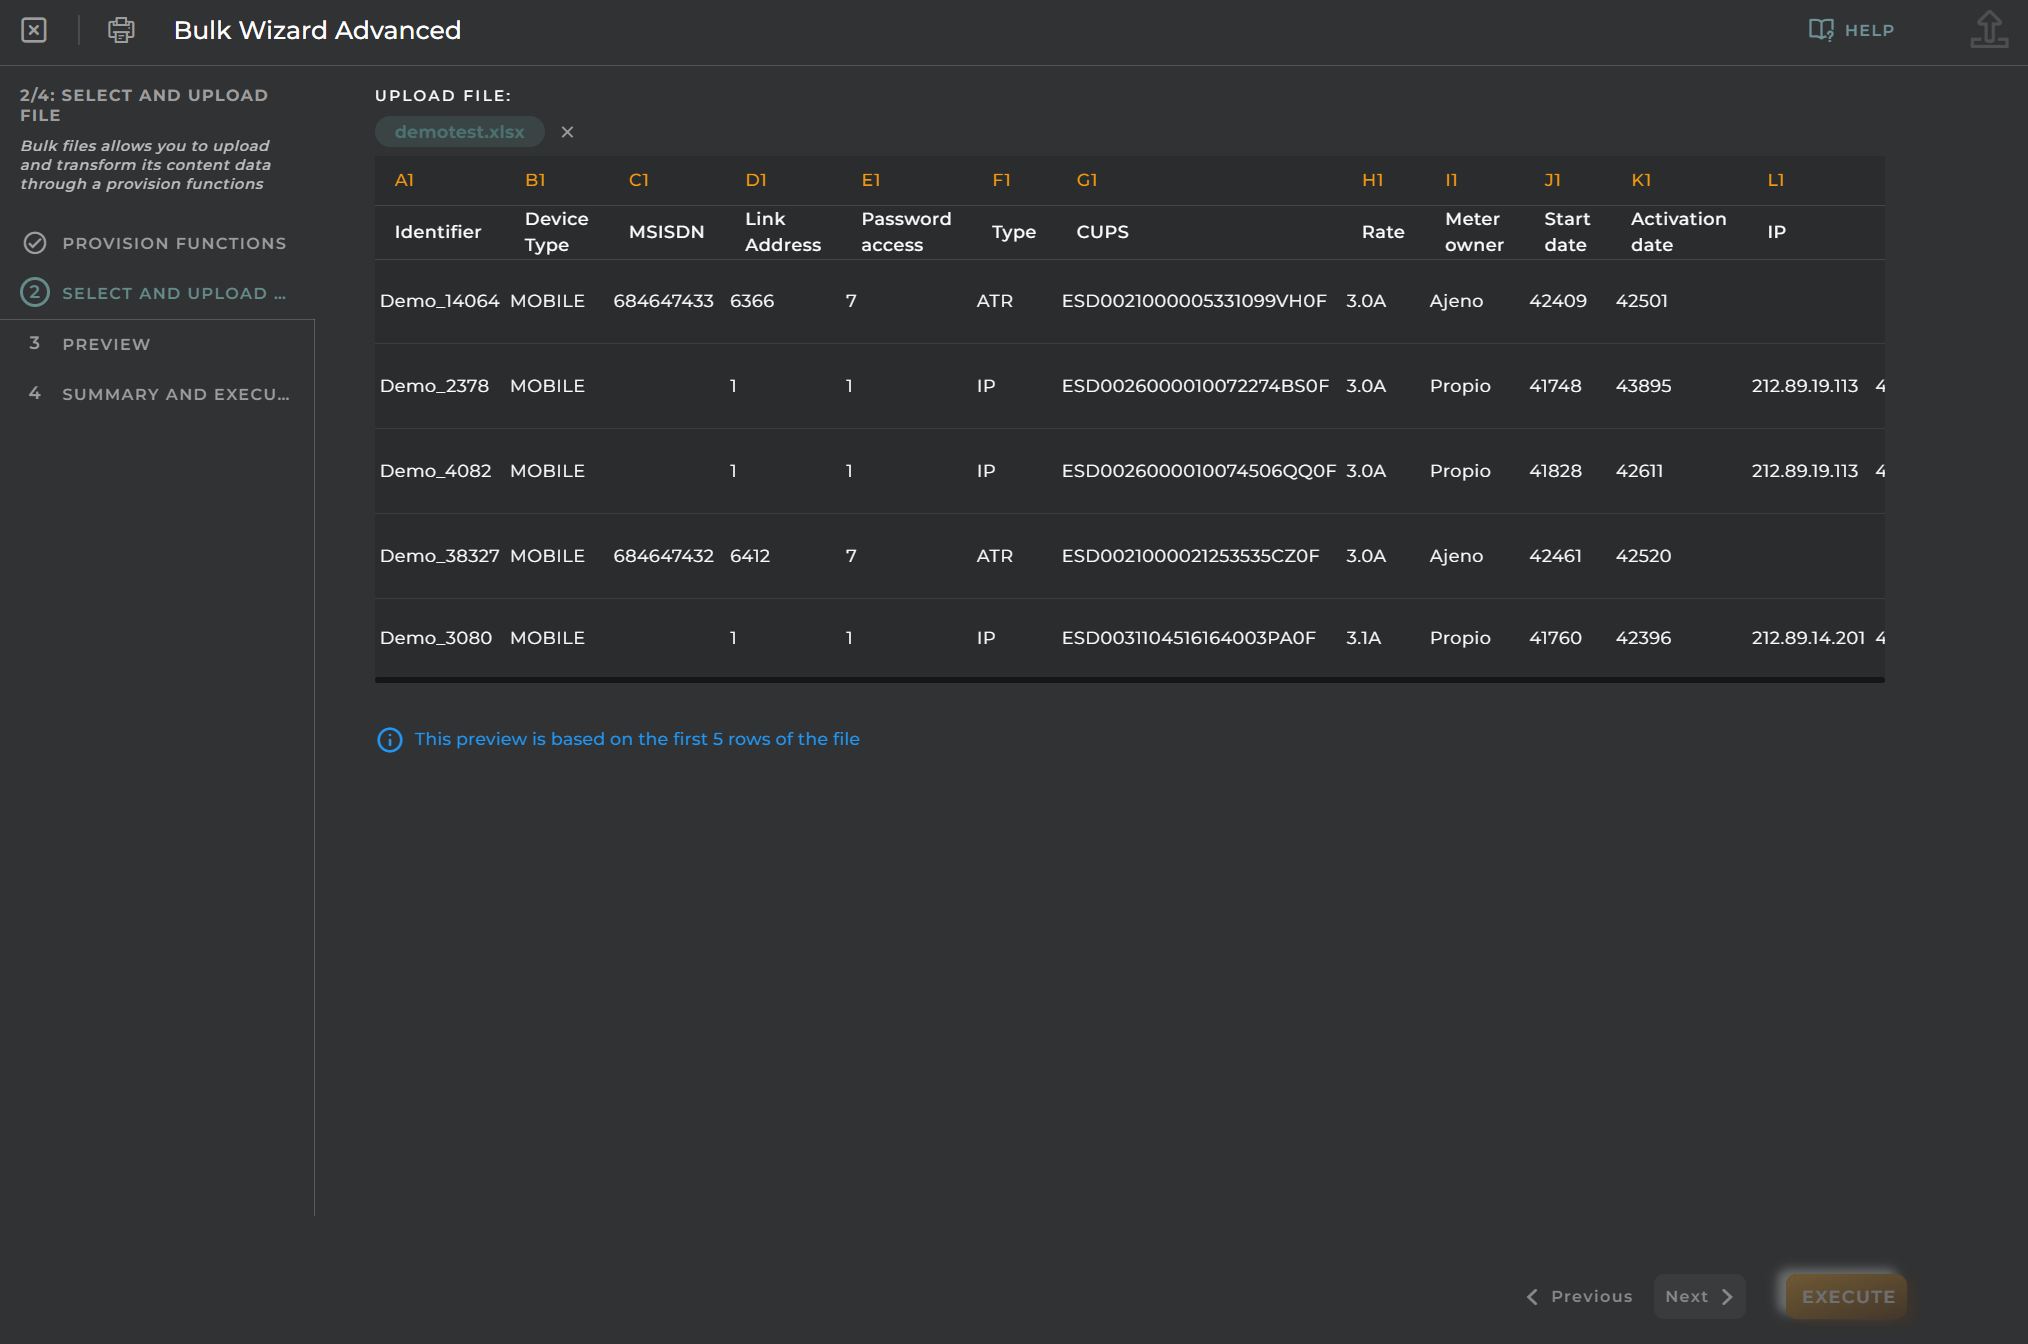
Bulk files allow you to upload and transform their content data through provisioning functions. Only xlsx and xls files are allowed. It is necessary that the file contains the name of the sheet to be able to visualize it. The preview will only be made of the first 5 rows.
Preview
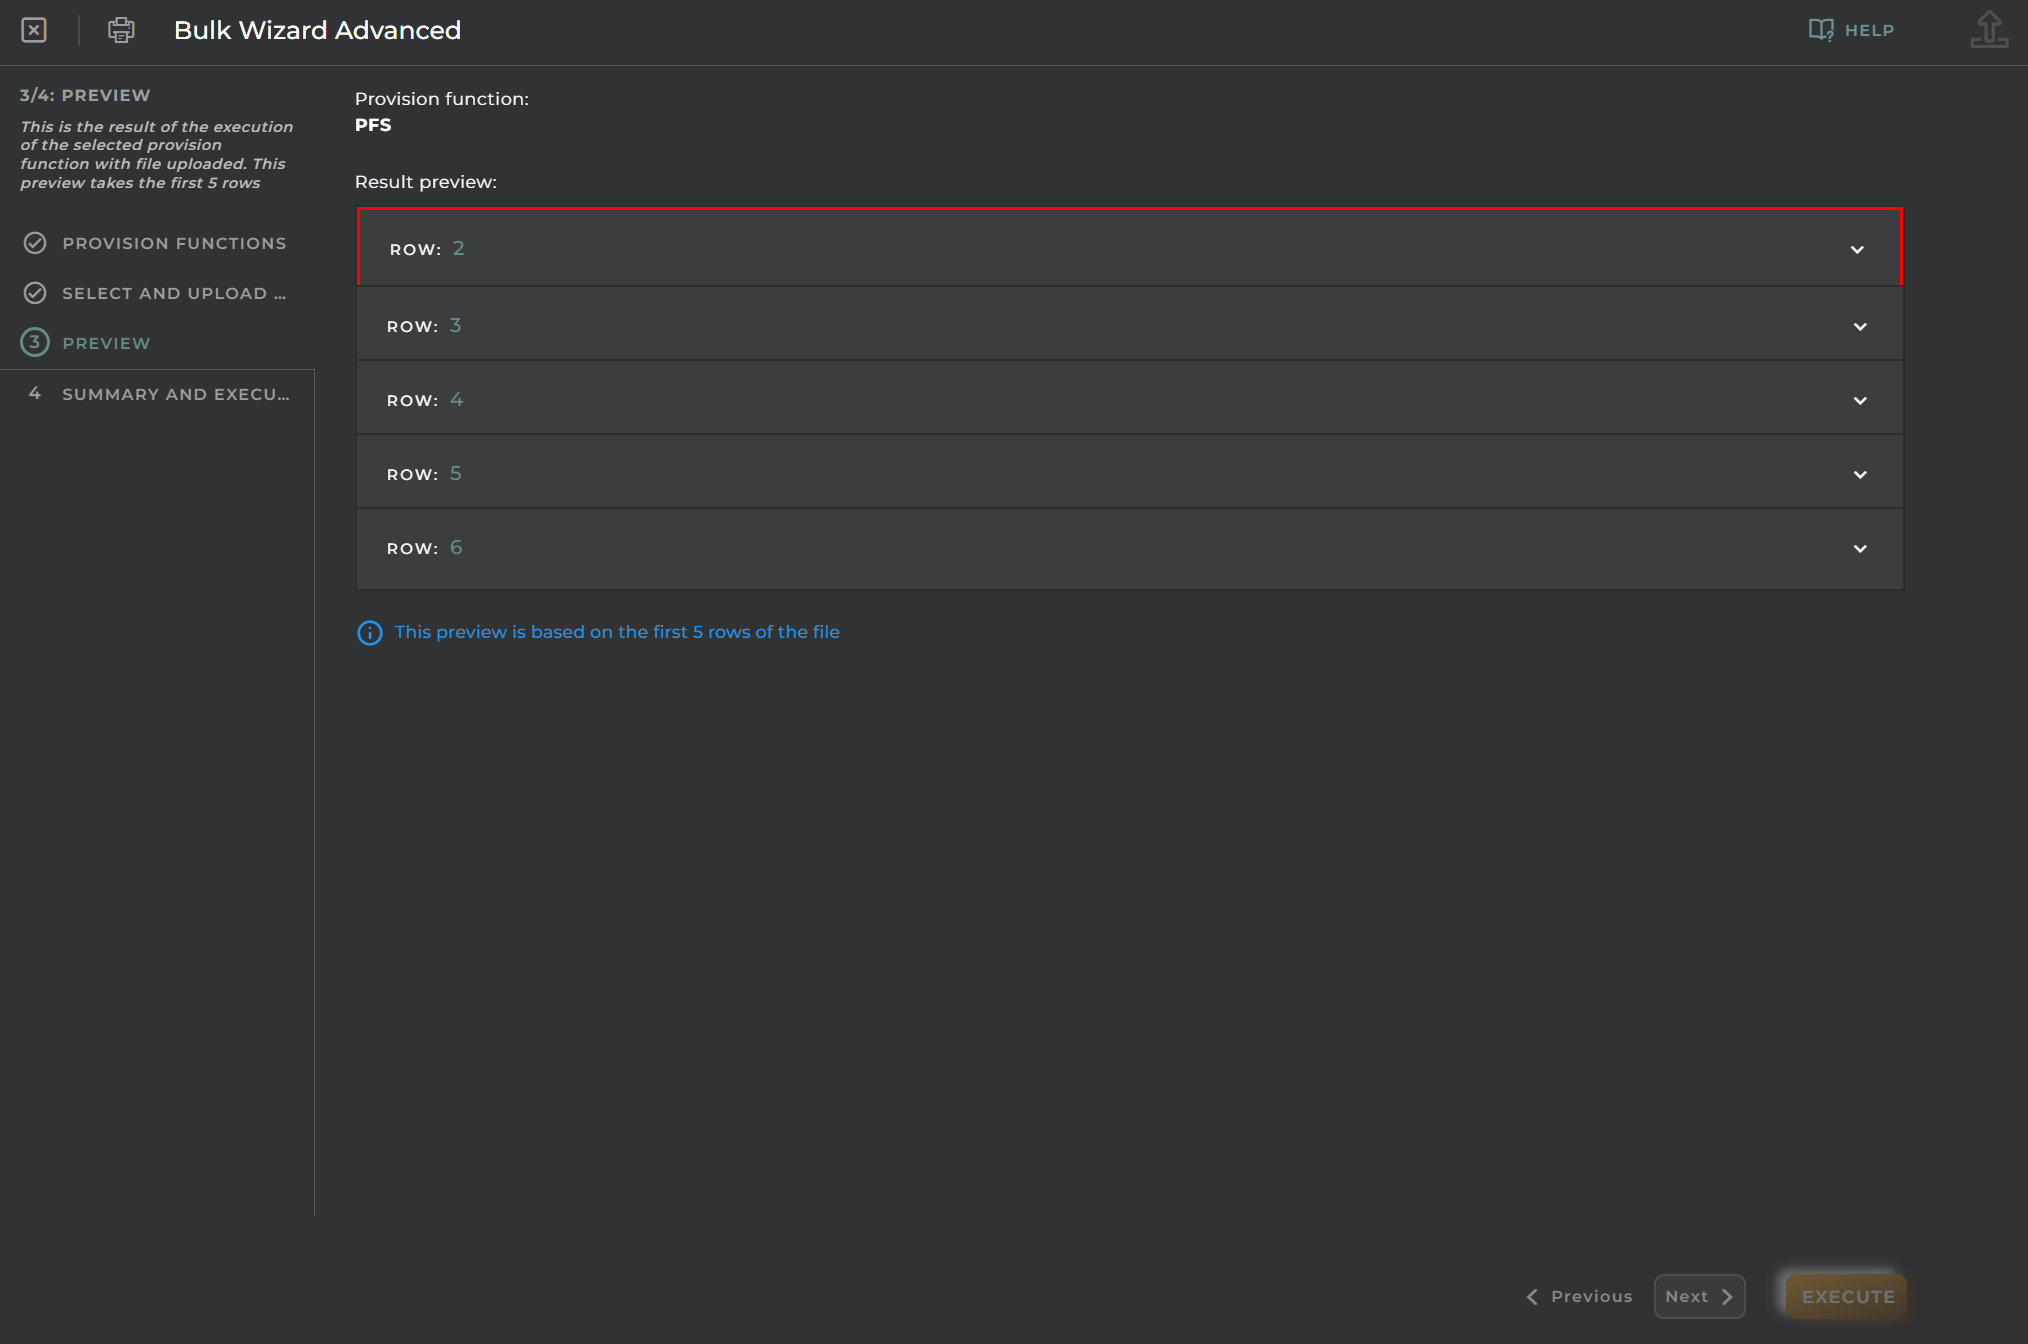
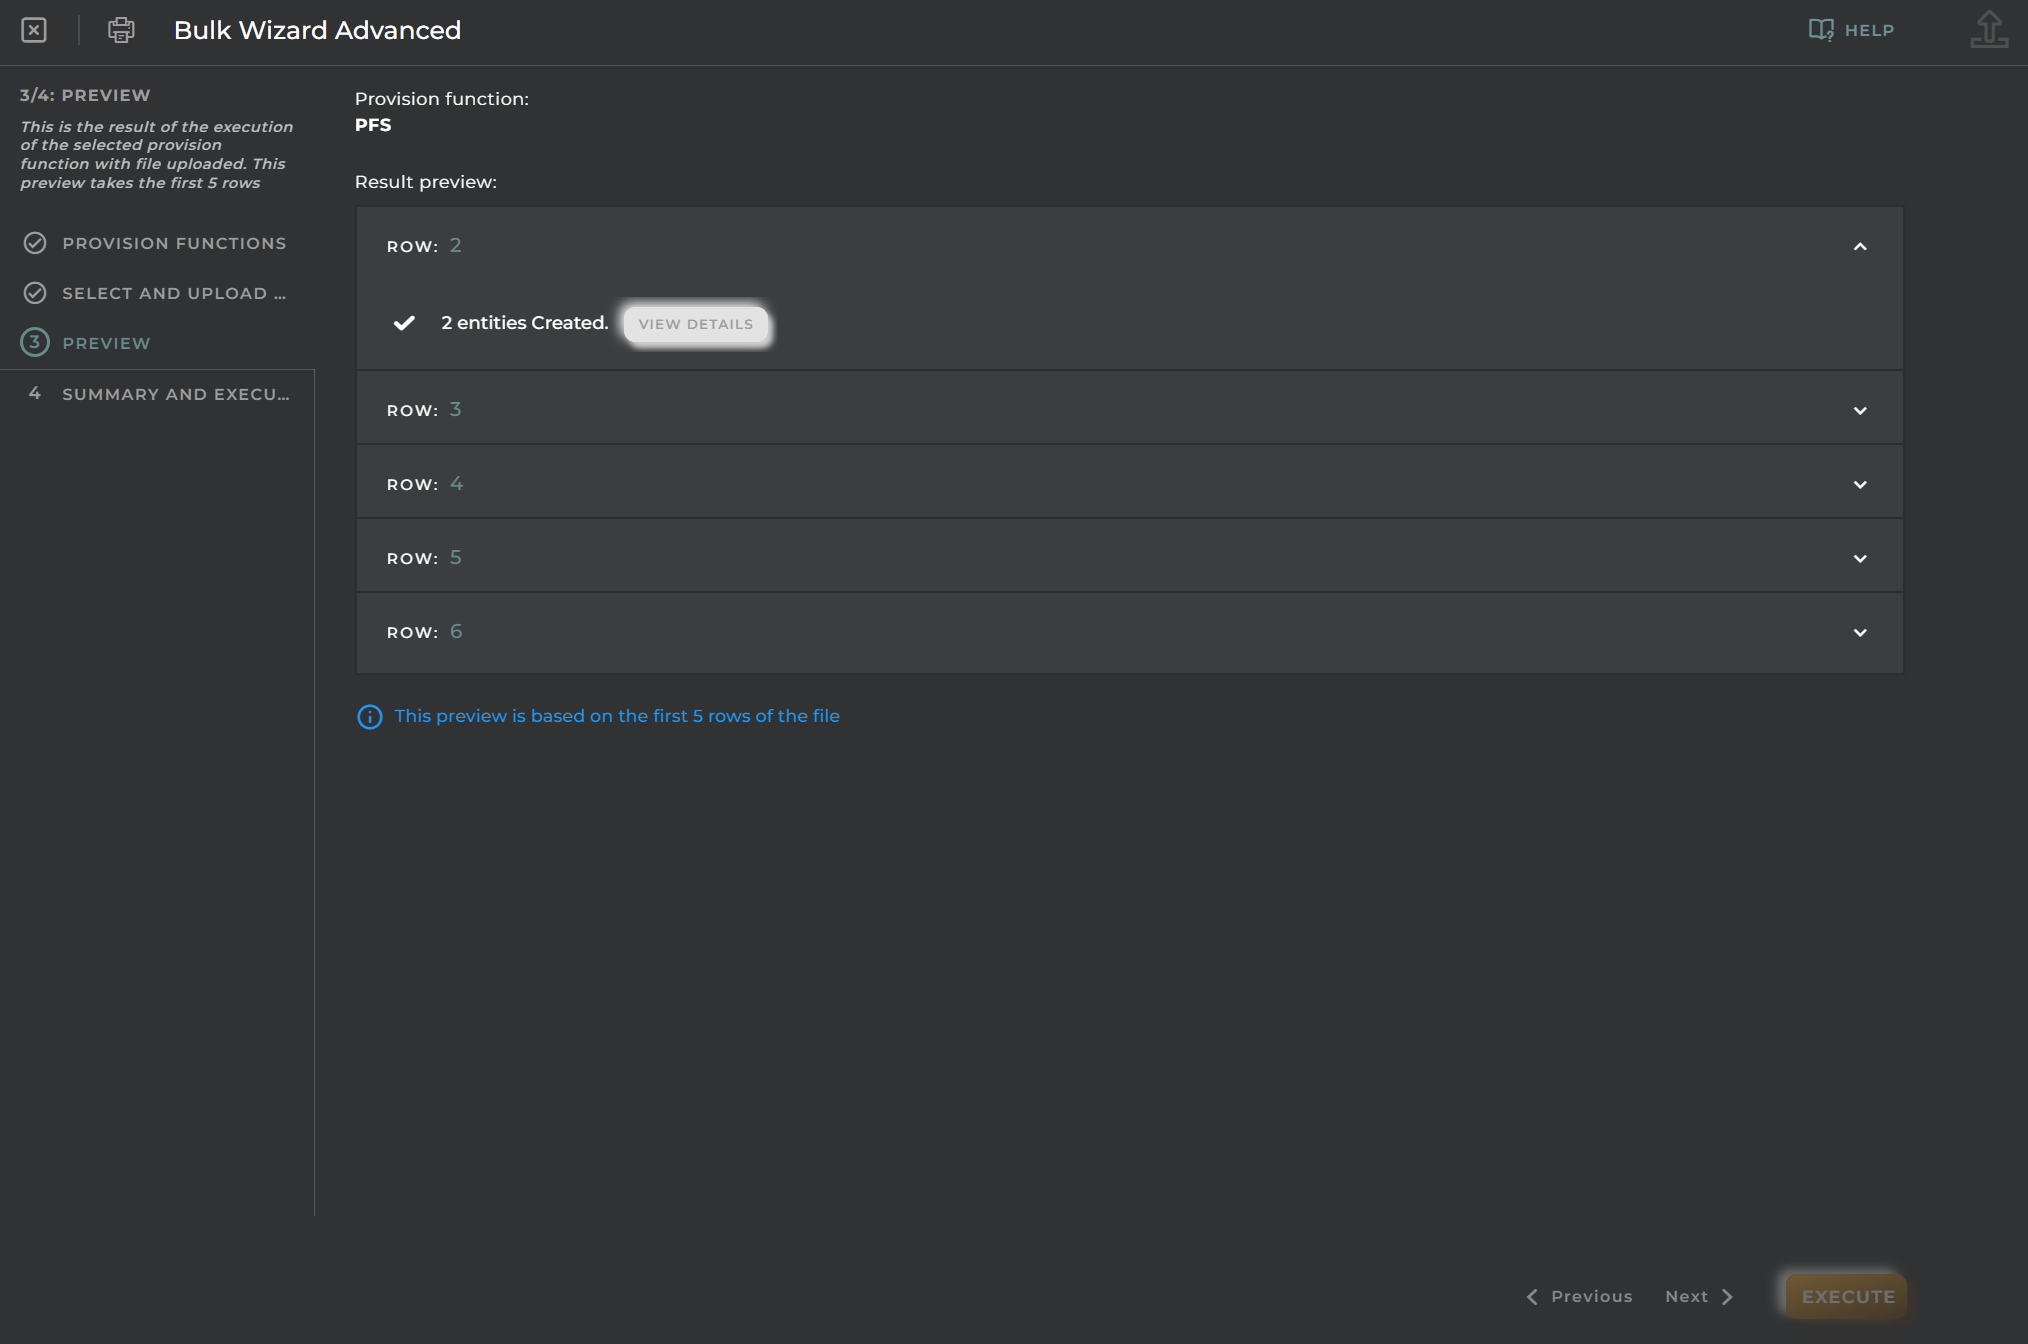
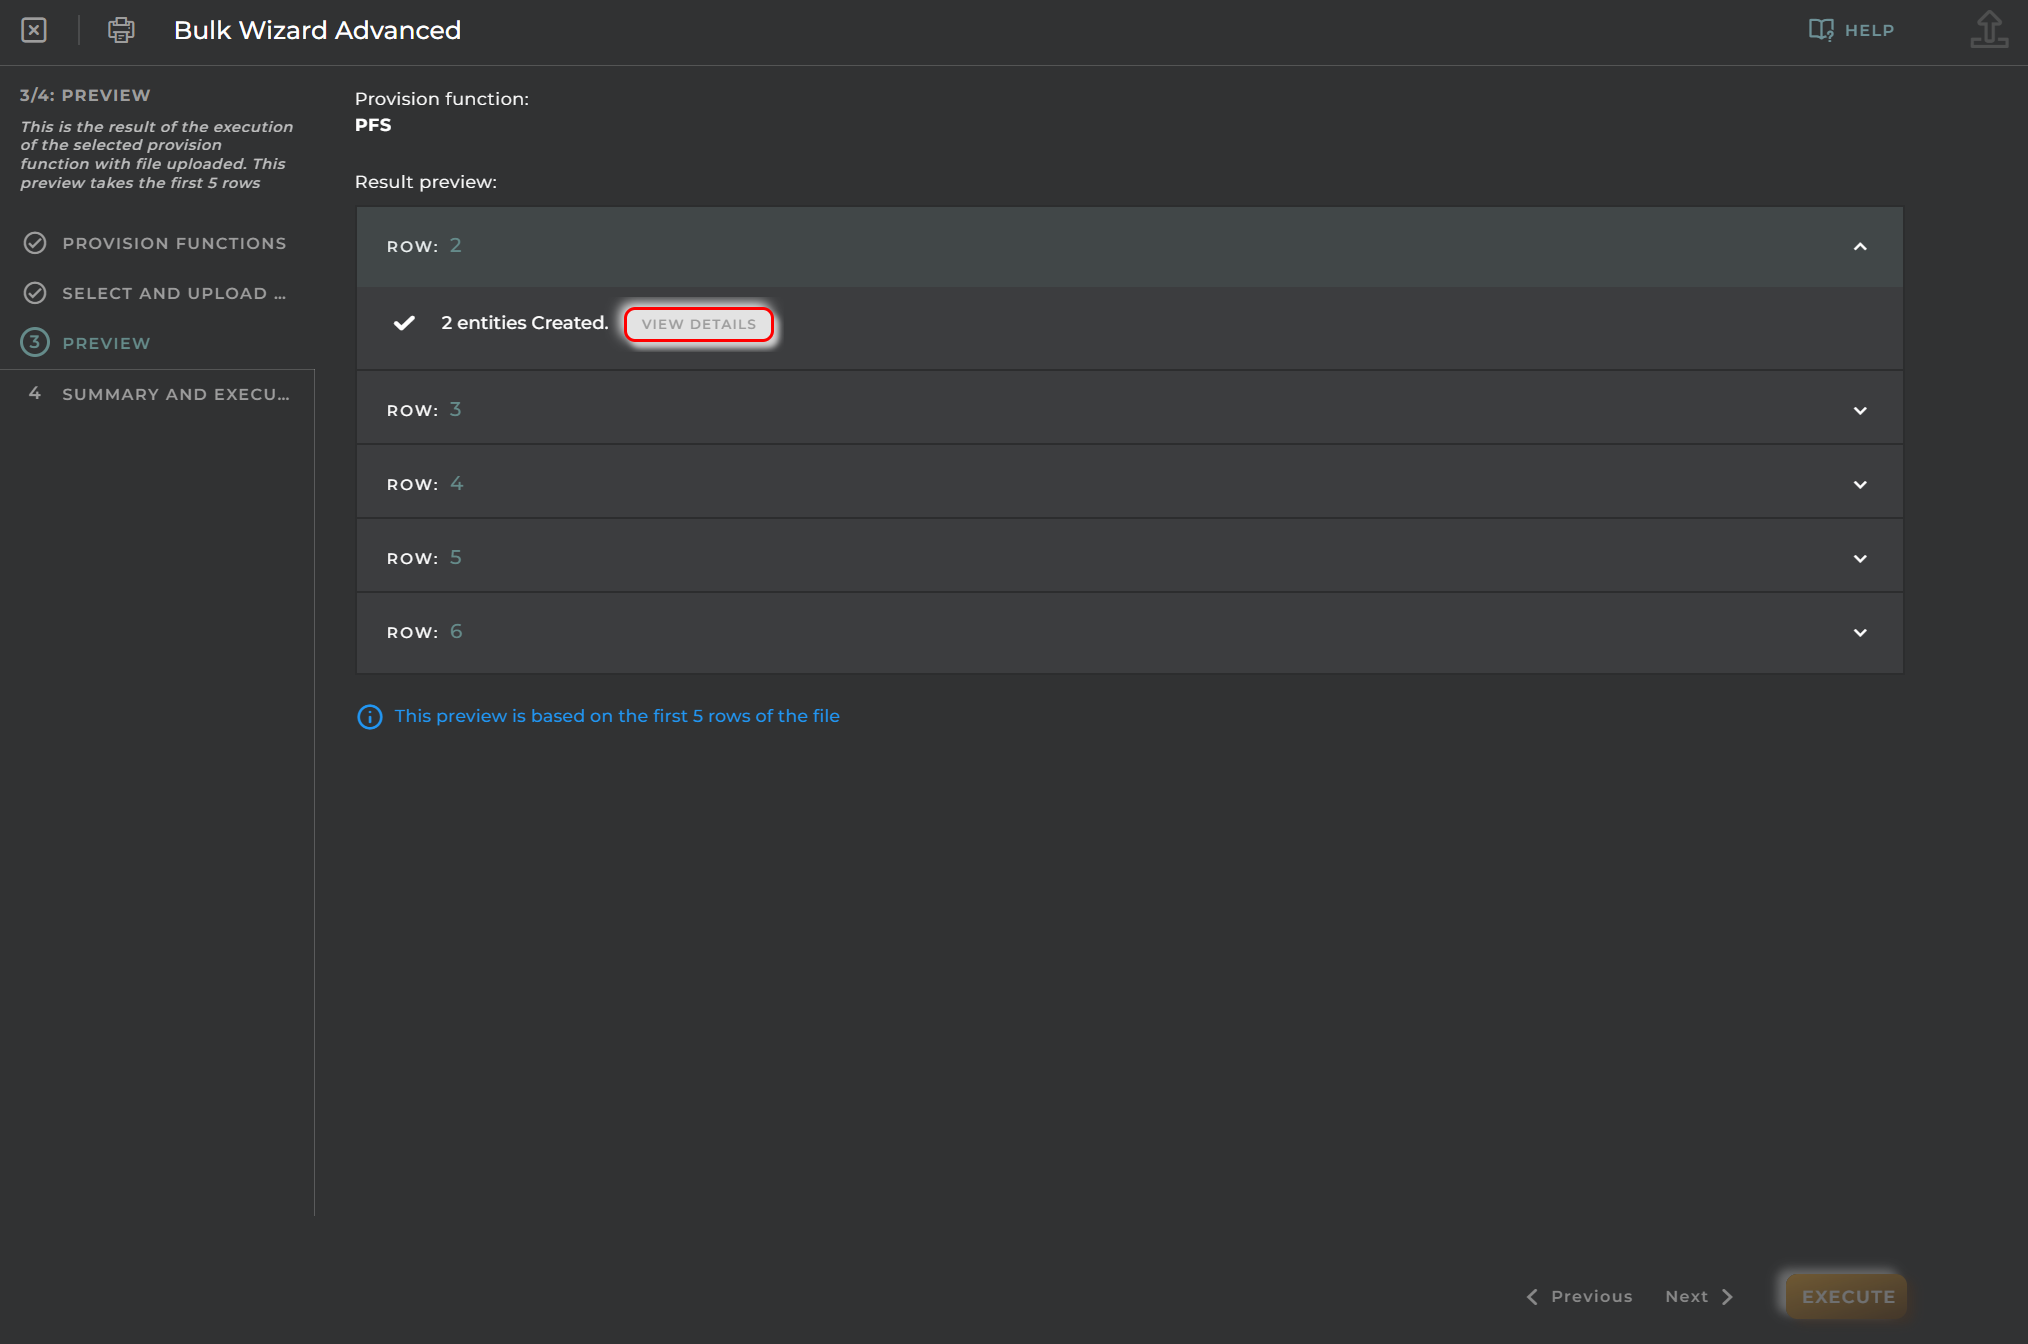
Result of the execution of the selected provisioning function with the uploaded file. This preview takes the first 5 rows.
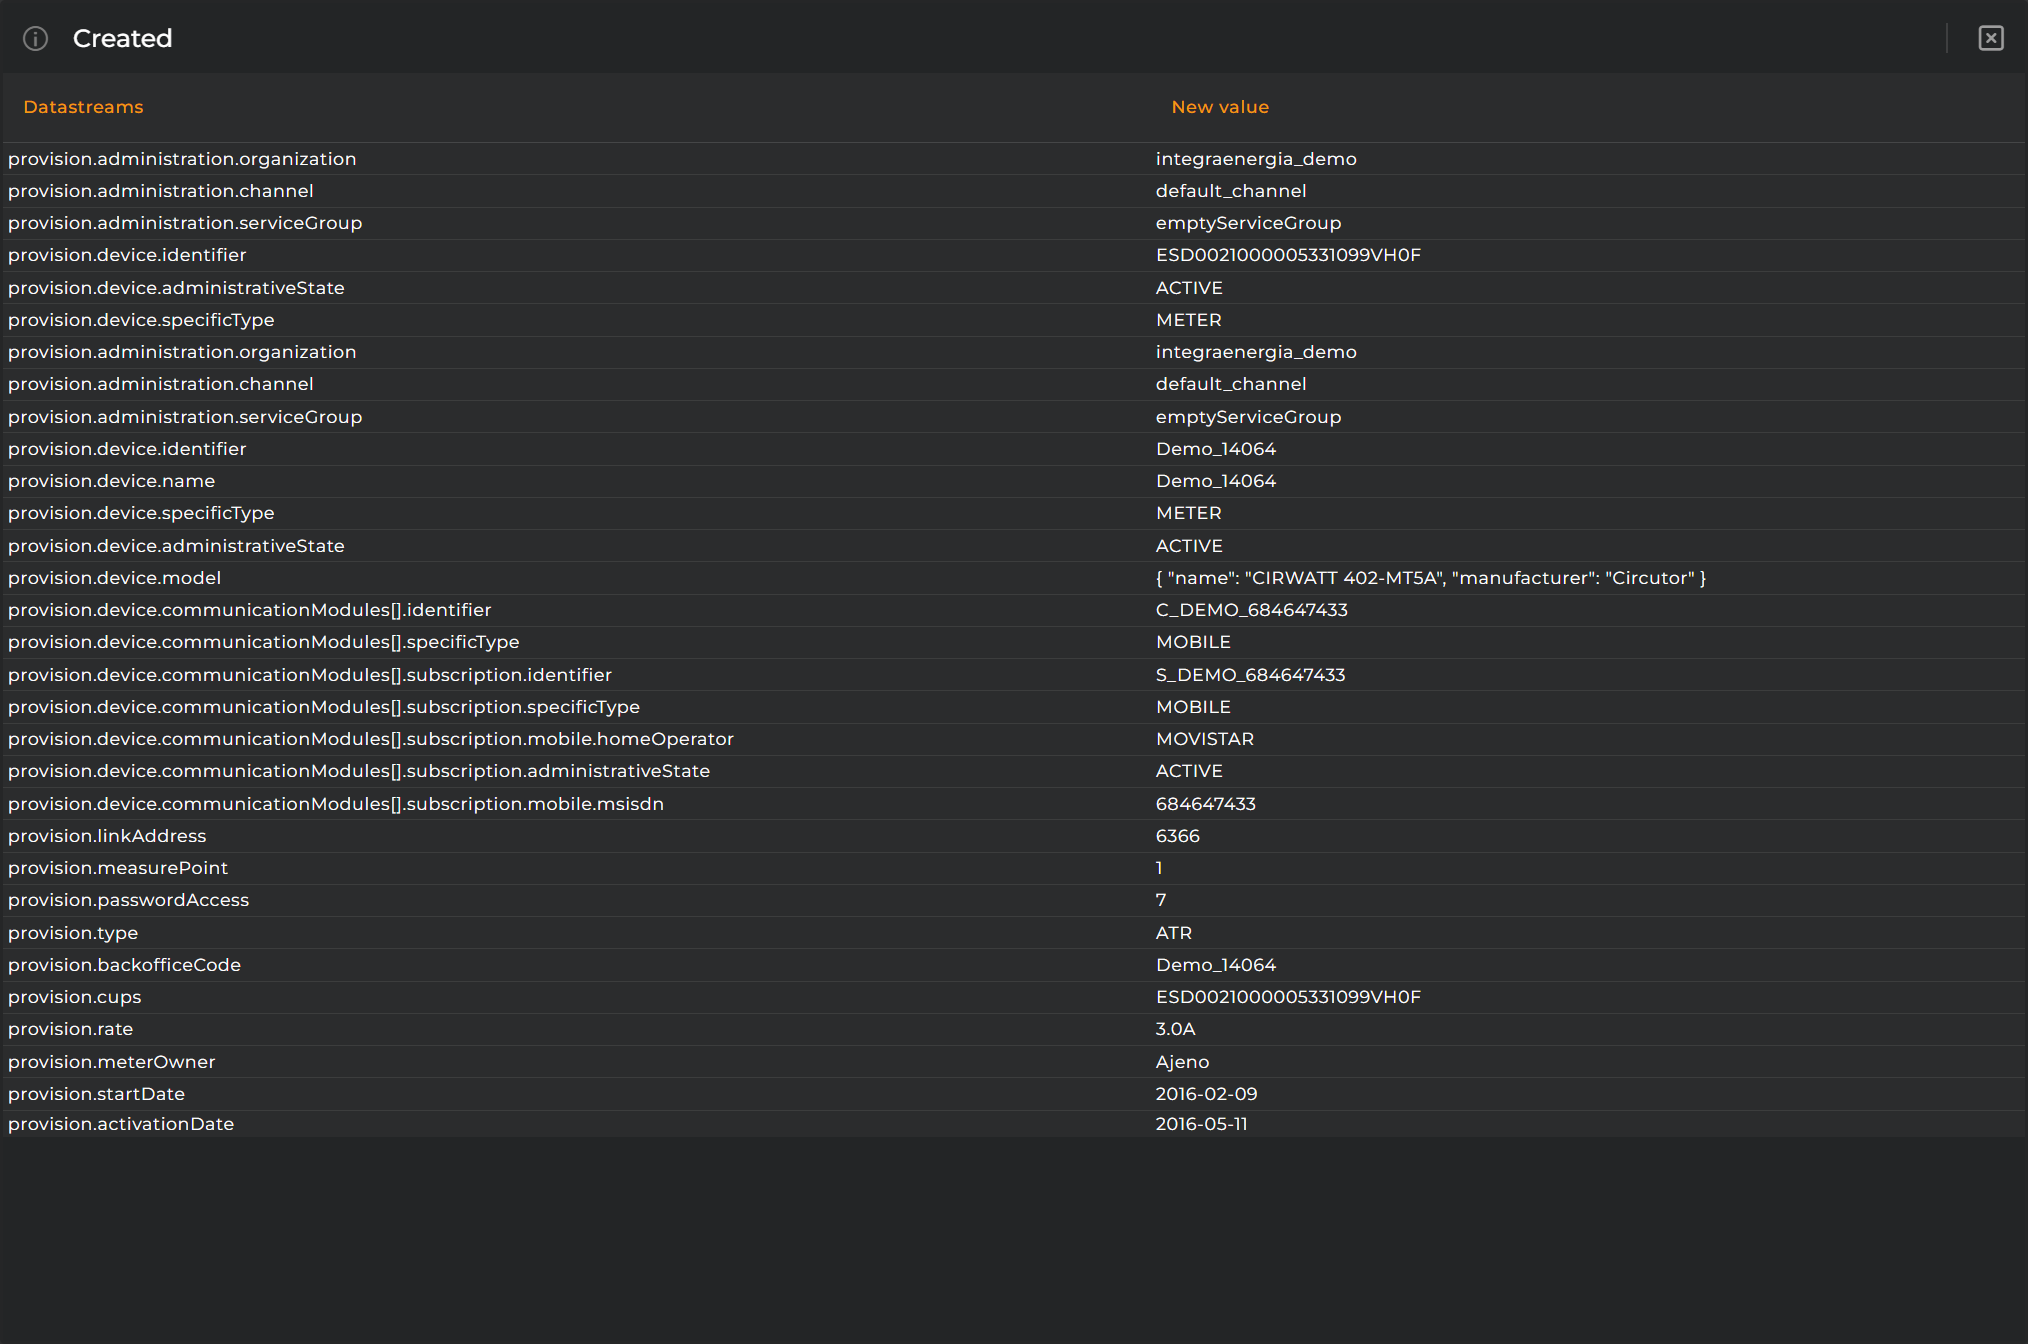
Clicking on “view details” will open a modal window showing all the details along with their values.
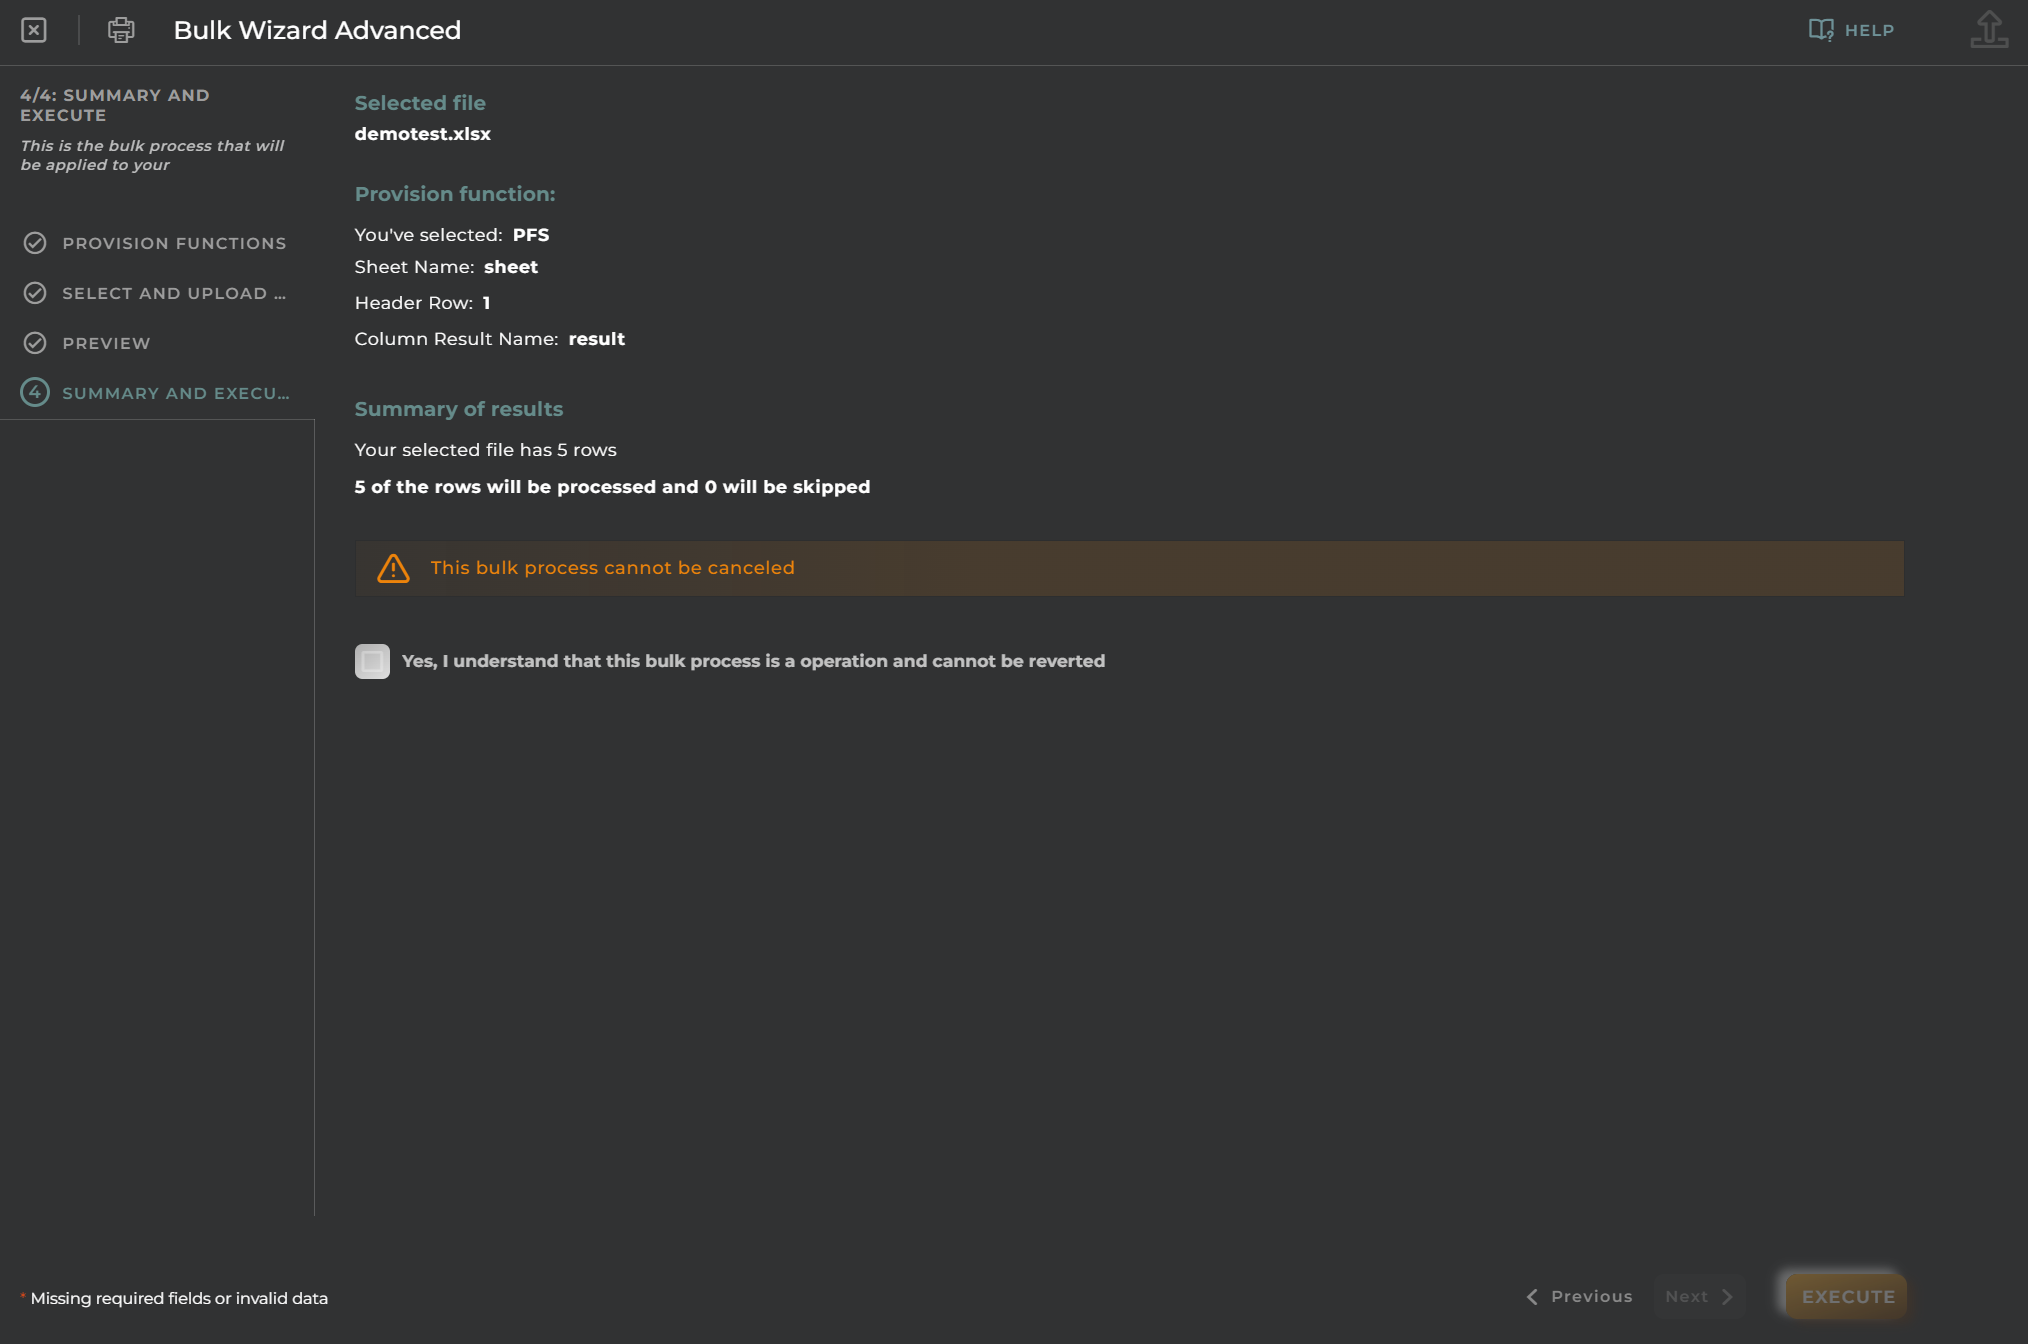
Summary and Execute
Displays a brief summary of:
Selected file: The file selected in the first step.
Provision function: The data of the provisioning function selected in the first step.
Summary of results: Result of the selected rows, executed rows, and rows that will be skipped.
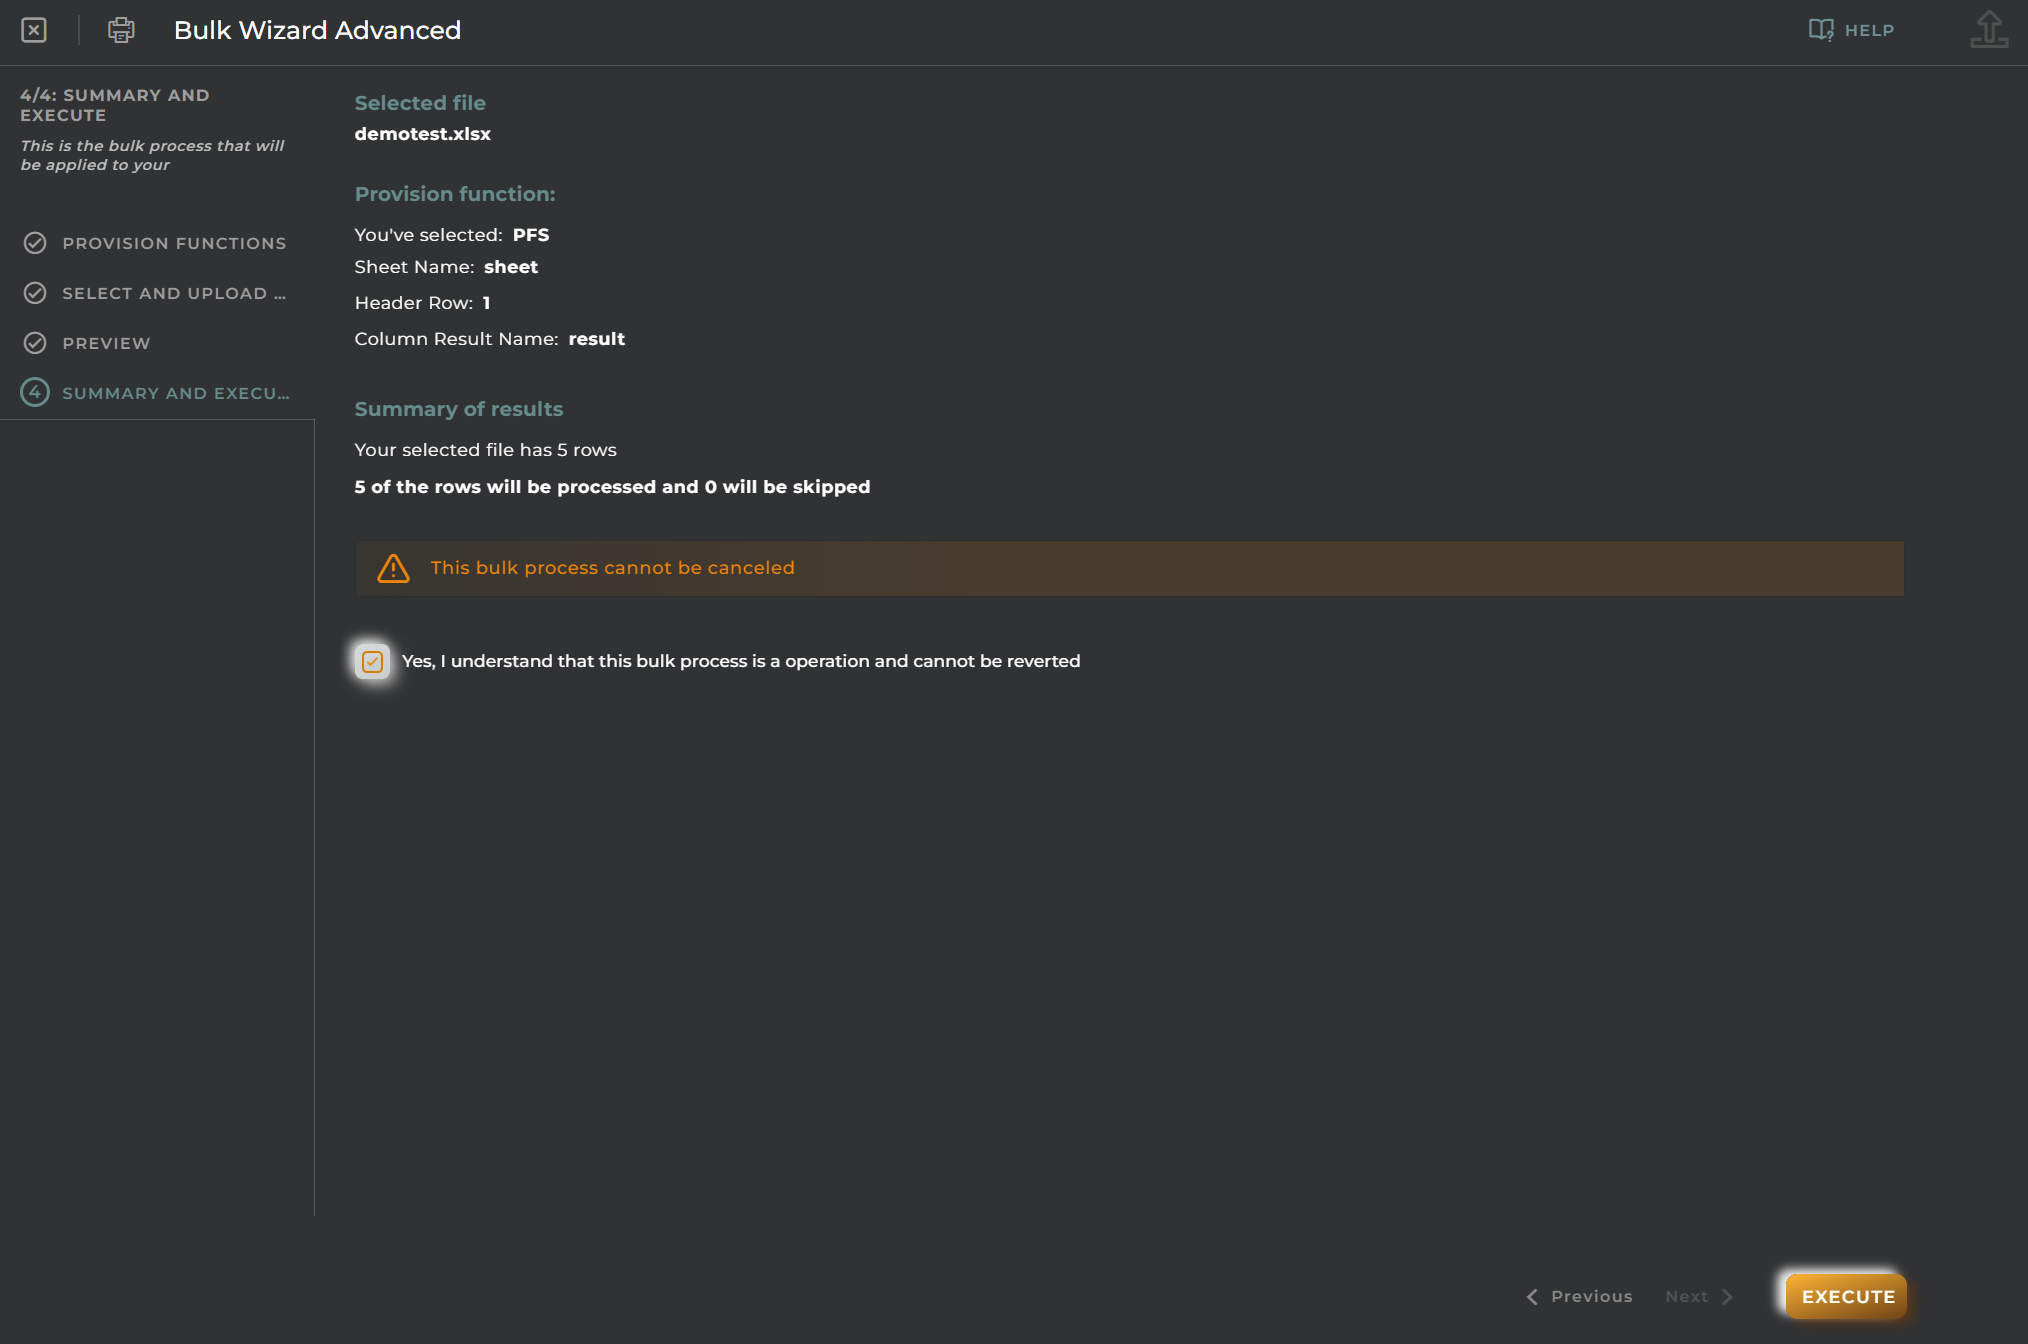
Since this is a potentially irreversible operation, it is necessary to check the checkbox in order to execute the bulk wizard advanced.