BIM/IFC Widget
The BIM/IFC widget allows you to configure a 3D model under the BIM/IFC standard and add sensors to the desired elements of the model.
How it Works
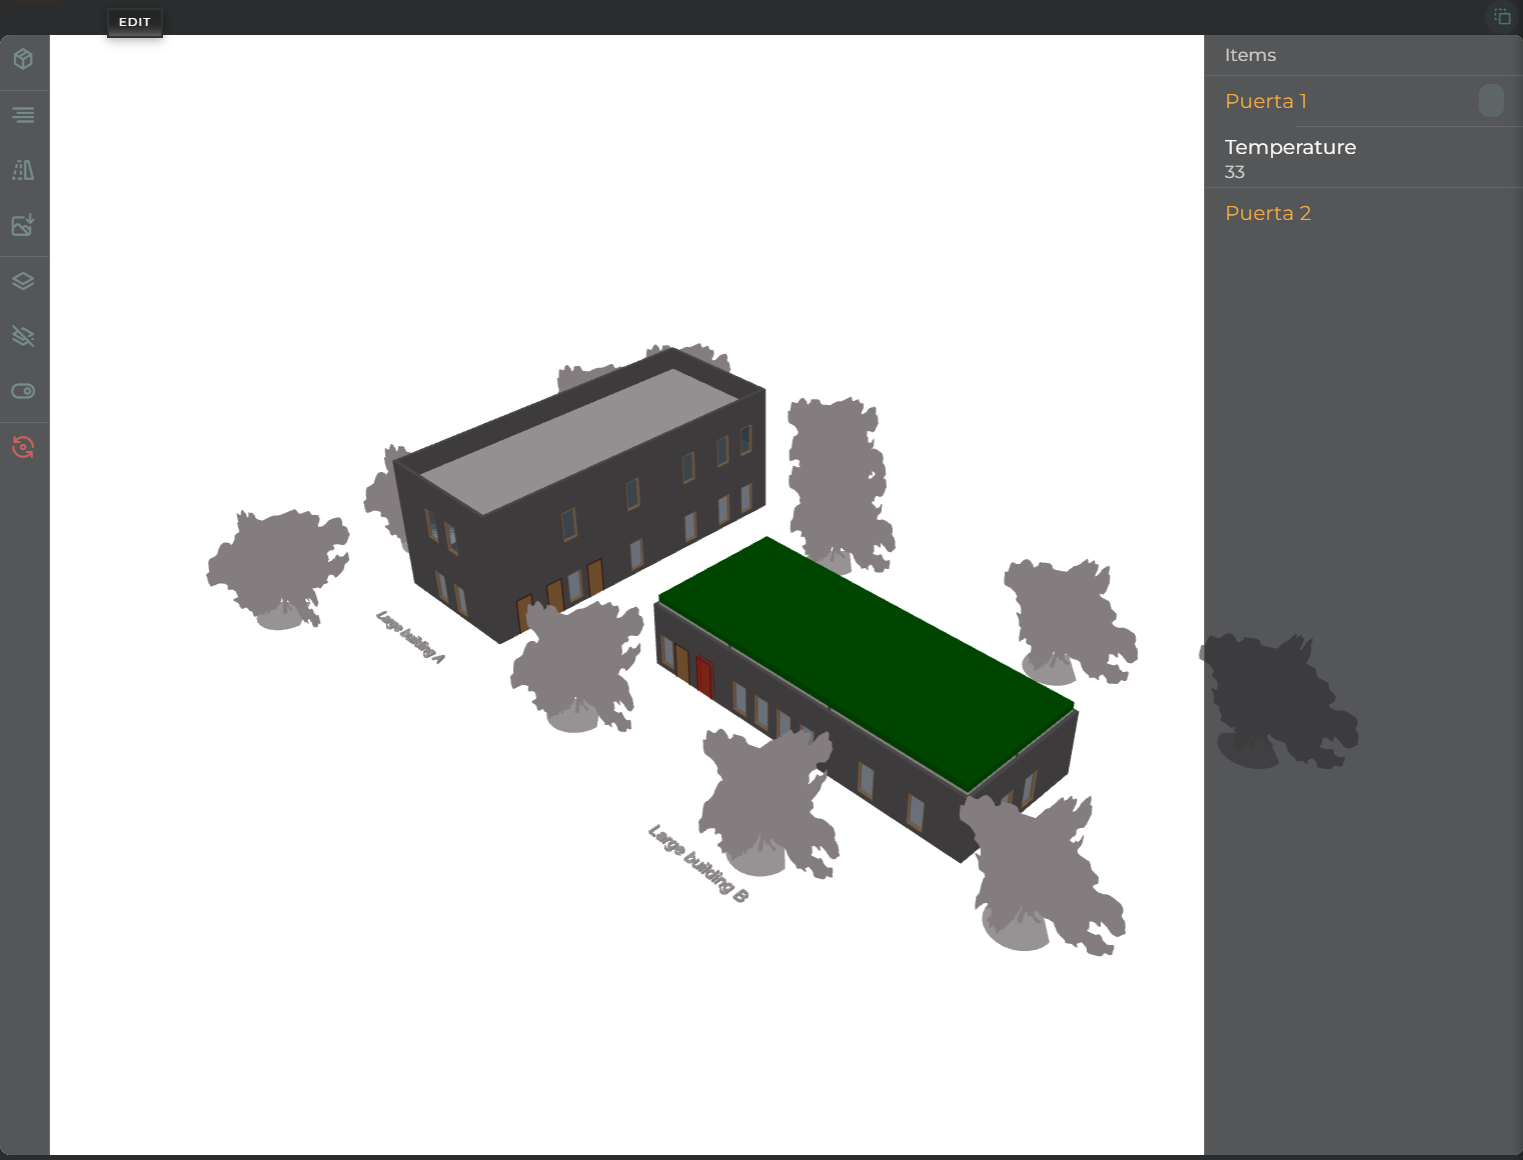
The widget displays the selected model, covering the widget area. To the left of the widget is a panel with available actions, and to the right are listed the selected and monitored elements.
Actions Panel
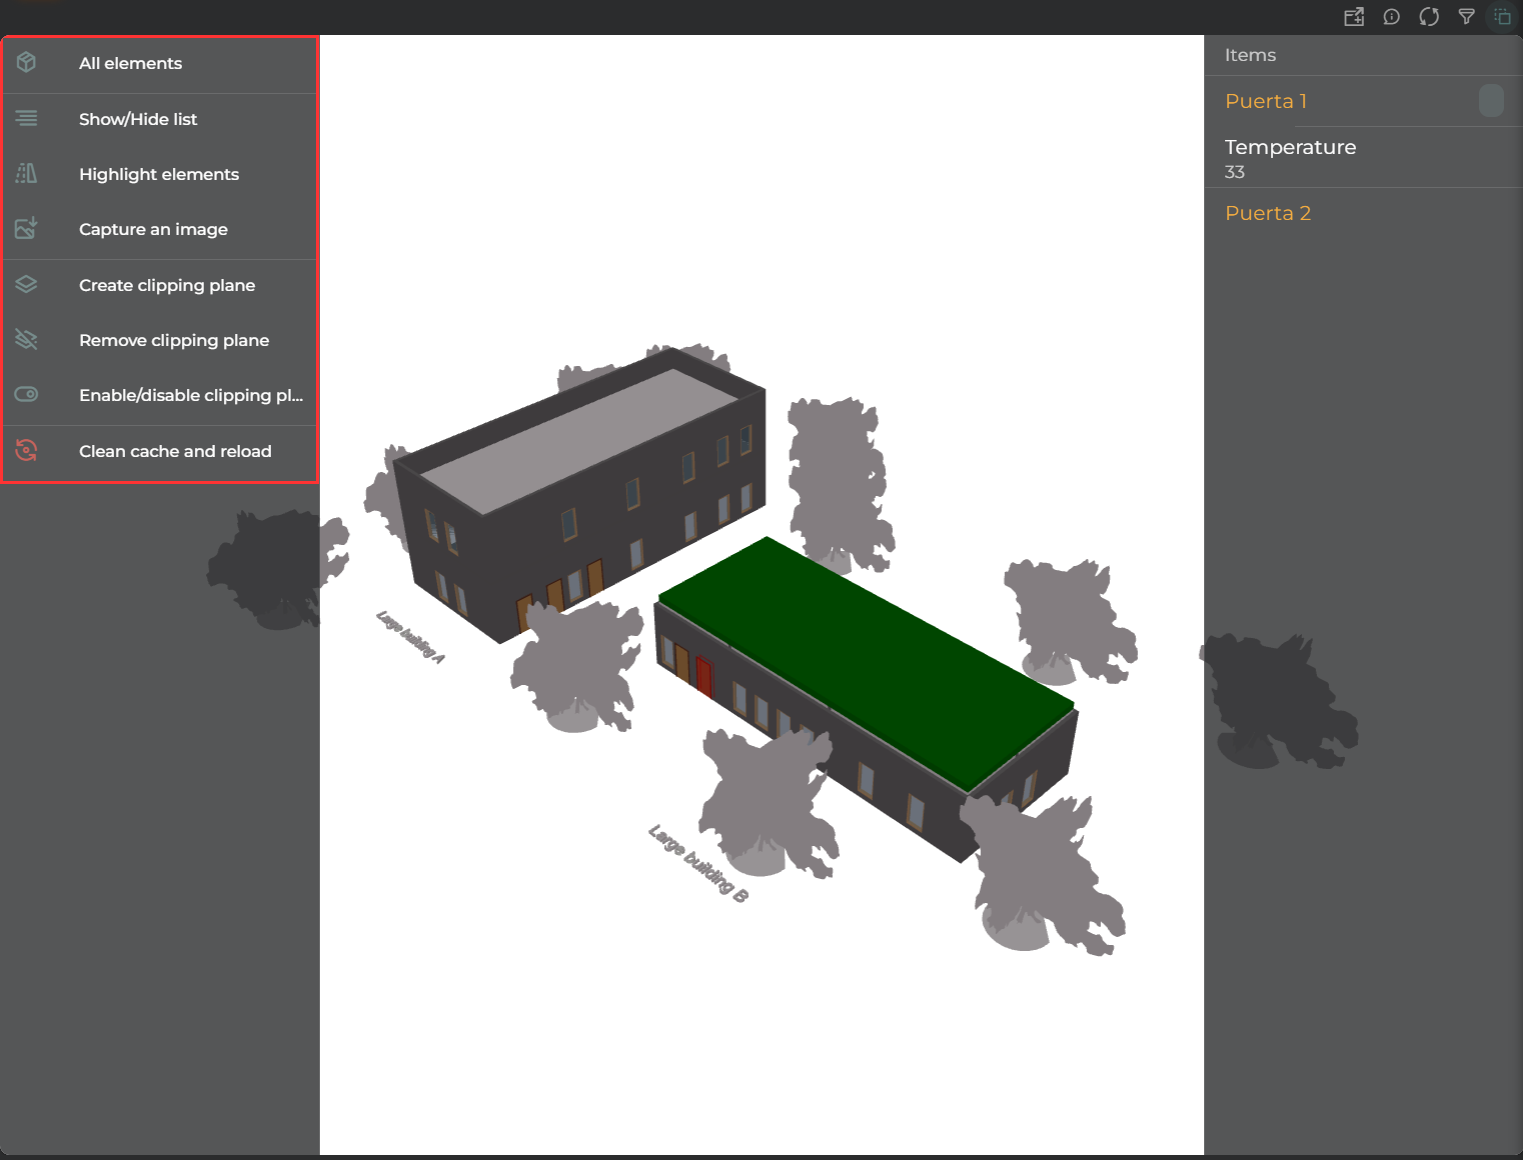
With the Actions Panel, you can:
- All elements displays a list of all elements in the model, allowing you to search and select an element quickly
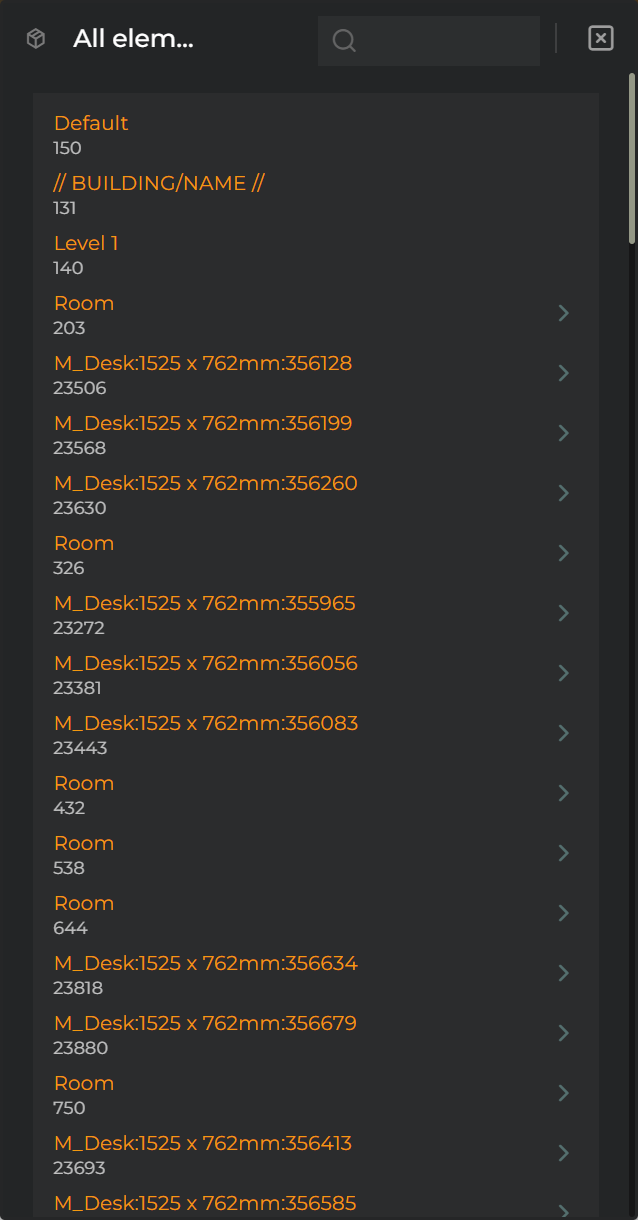
- Show/Hide list allows you to show/hide the right panel of elements
- Highlight elements will select all preconfigured elements from the right panel in the model
- Capture an image downloads a snapshot of only the model in its current state
- Create clipping plane enables the option to select an element in the model to create a cutting layer that allows you to cut the model and see elements inside
- Remove clipping plane removes the selected cutting layer
- Enable/disable clipping planes activates/deactivates the cutting layers without needing to remove and add
- Clear cache and reload clears the cache and reloads the image to return it to its initial state
Elements Panel
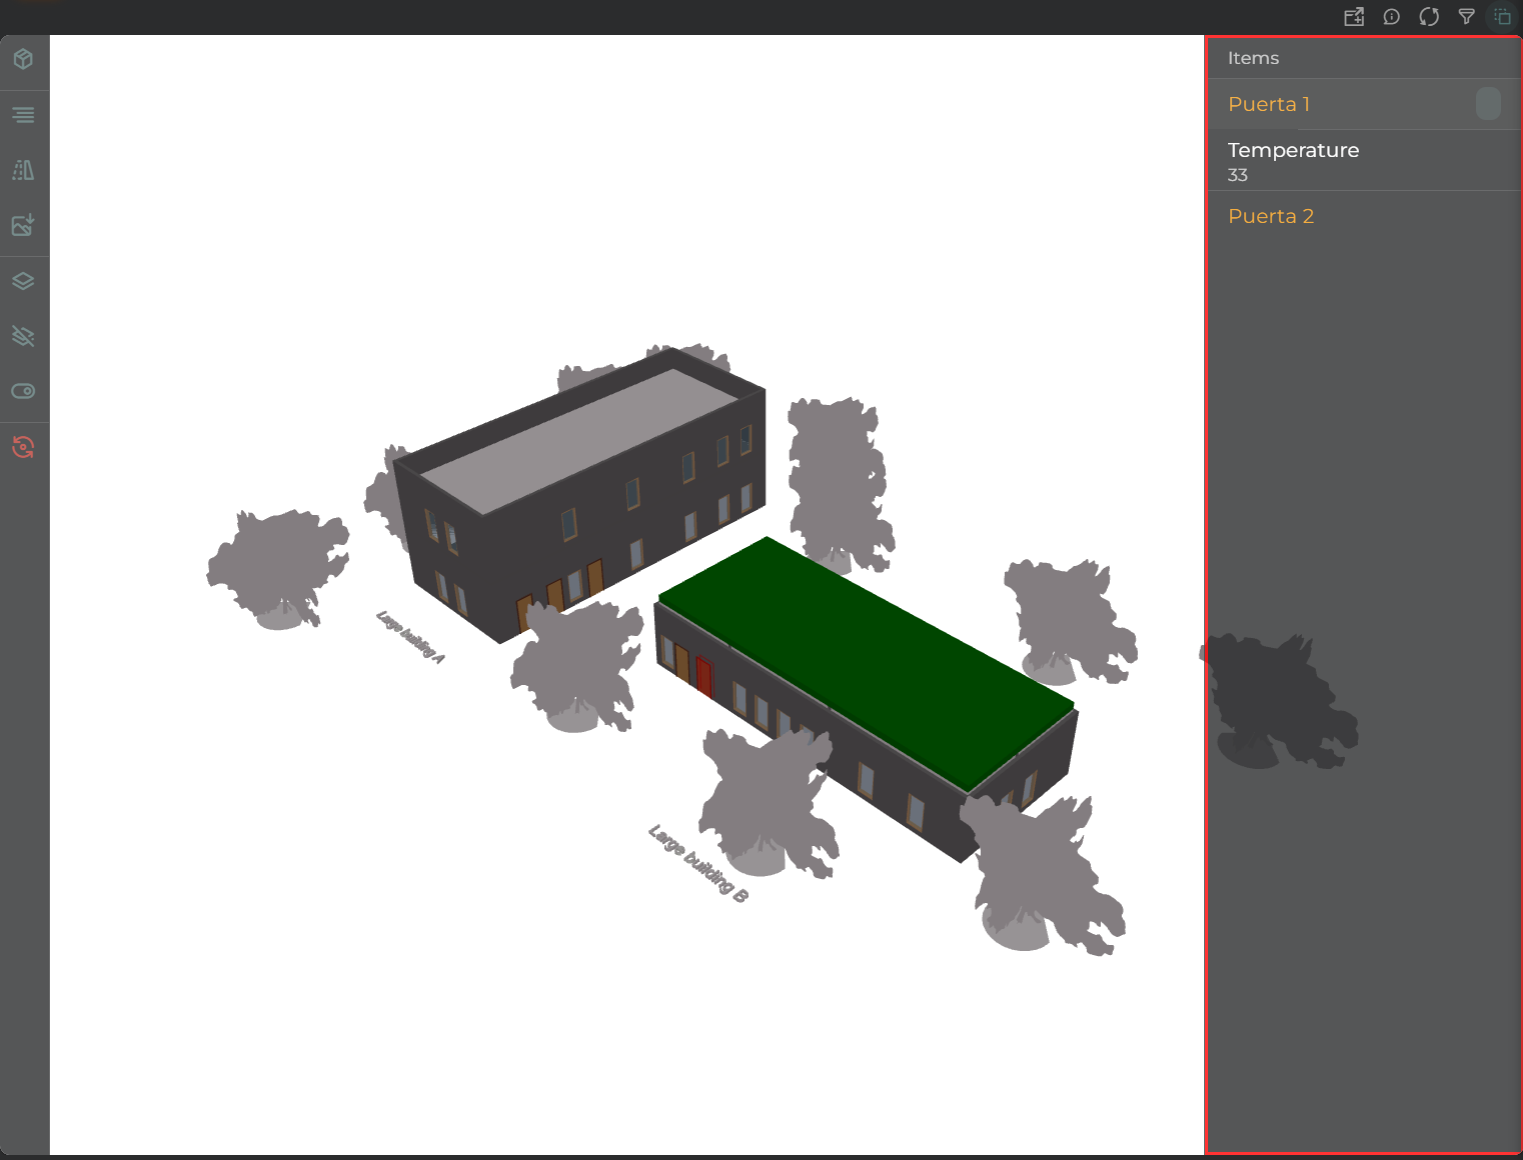
With the Elements Panel, you can select an element to highlight it in the model for more precise location.
States are also represented here as established by the configured code.
Configuration
General
- Boxed: widget will be displayed with background in dahsboard.
- About: widget description in Markdown format.
- Title: widget title. It can be configured to remain fixed in the widget or only be displayed when it receives focus.
- Toolbar: configures the behavior of the widget bar on the dashboard, allowing you to hide it, hide it when not in use, or leave it always visible.
- Refresh Frequency: allows configuring the data refresh frequency displayed in the list.
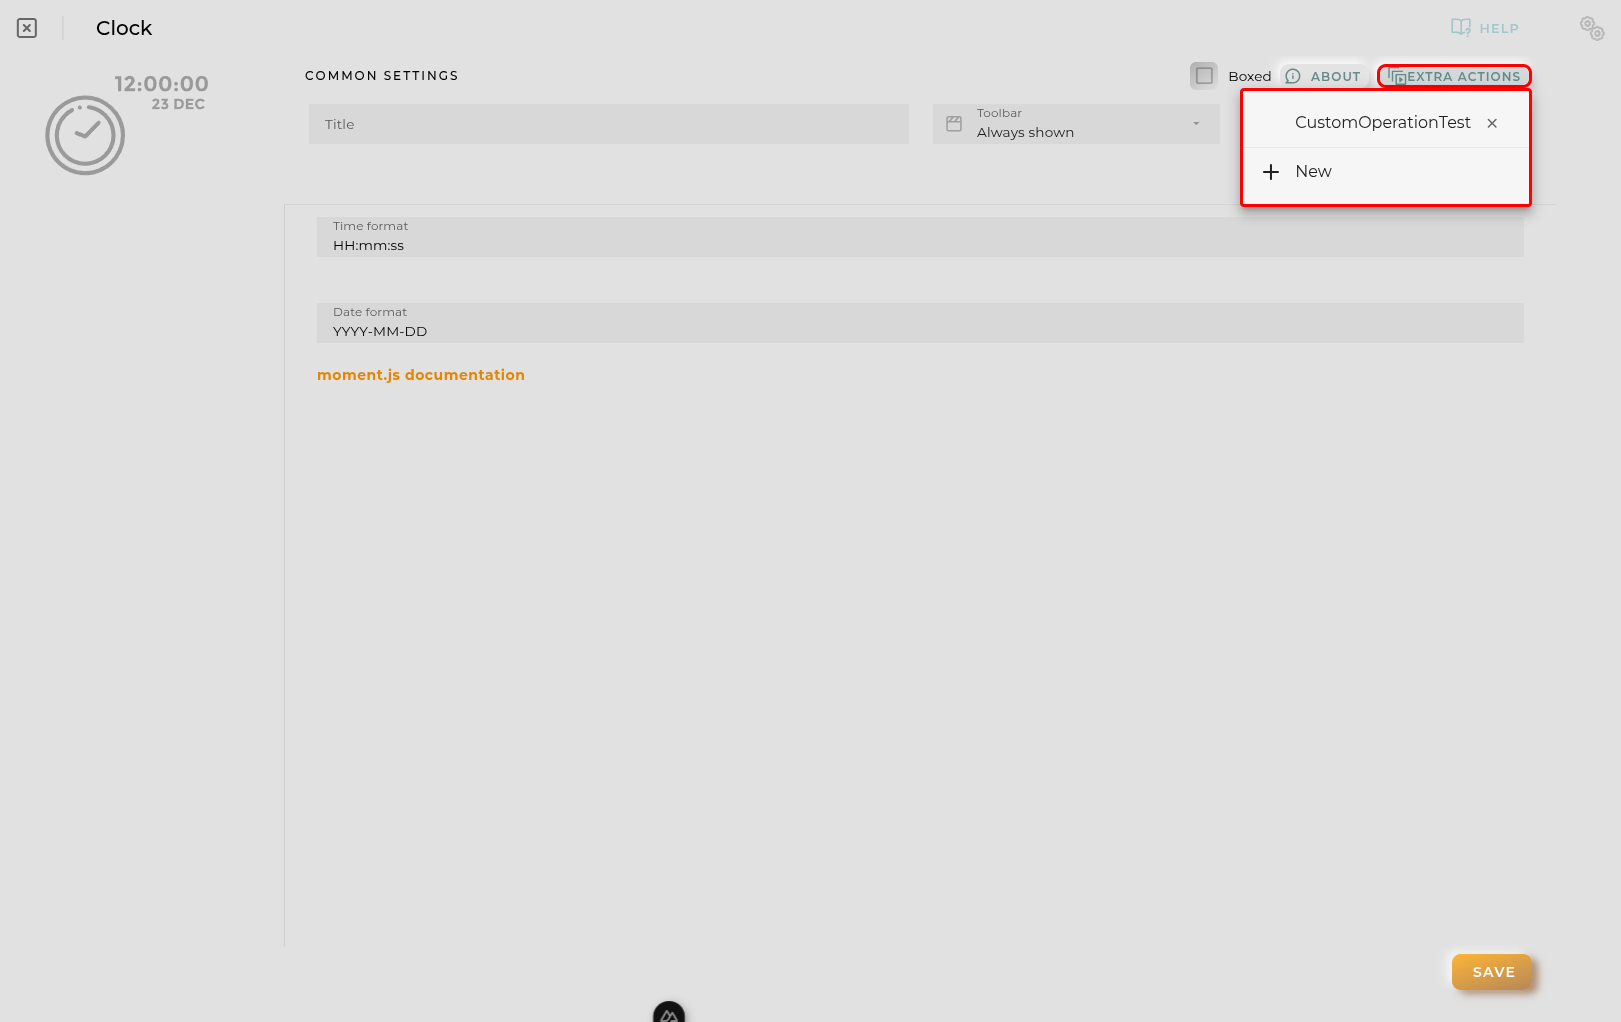
- Extra actions: allows user to add new specific actions to the widget with your own code.
You can add a new one by pressing the New button.
Once you added a custom action it can be modified later by pressing the name in the list.
In order to remove the custom action click the delete icon button on the right.
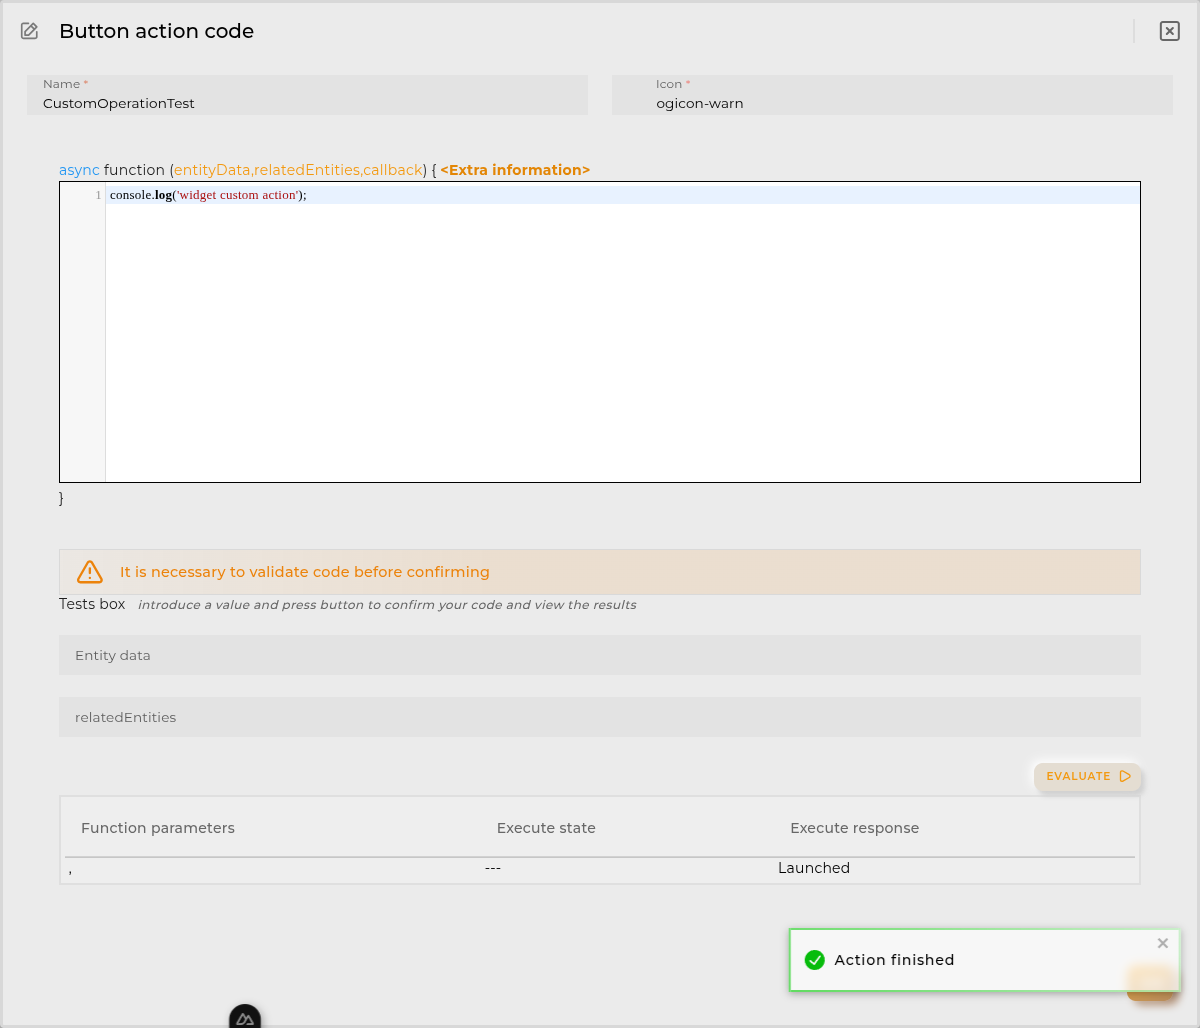
In extra actions you can write your own code were you can open other dashboards, entities dashboards or execute wizards.
You can find all available functions and methods in Extra parameters
-
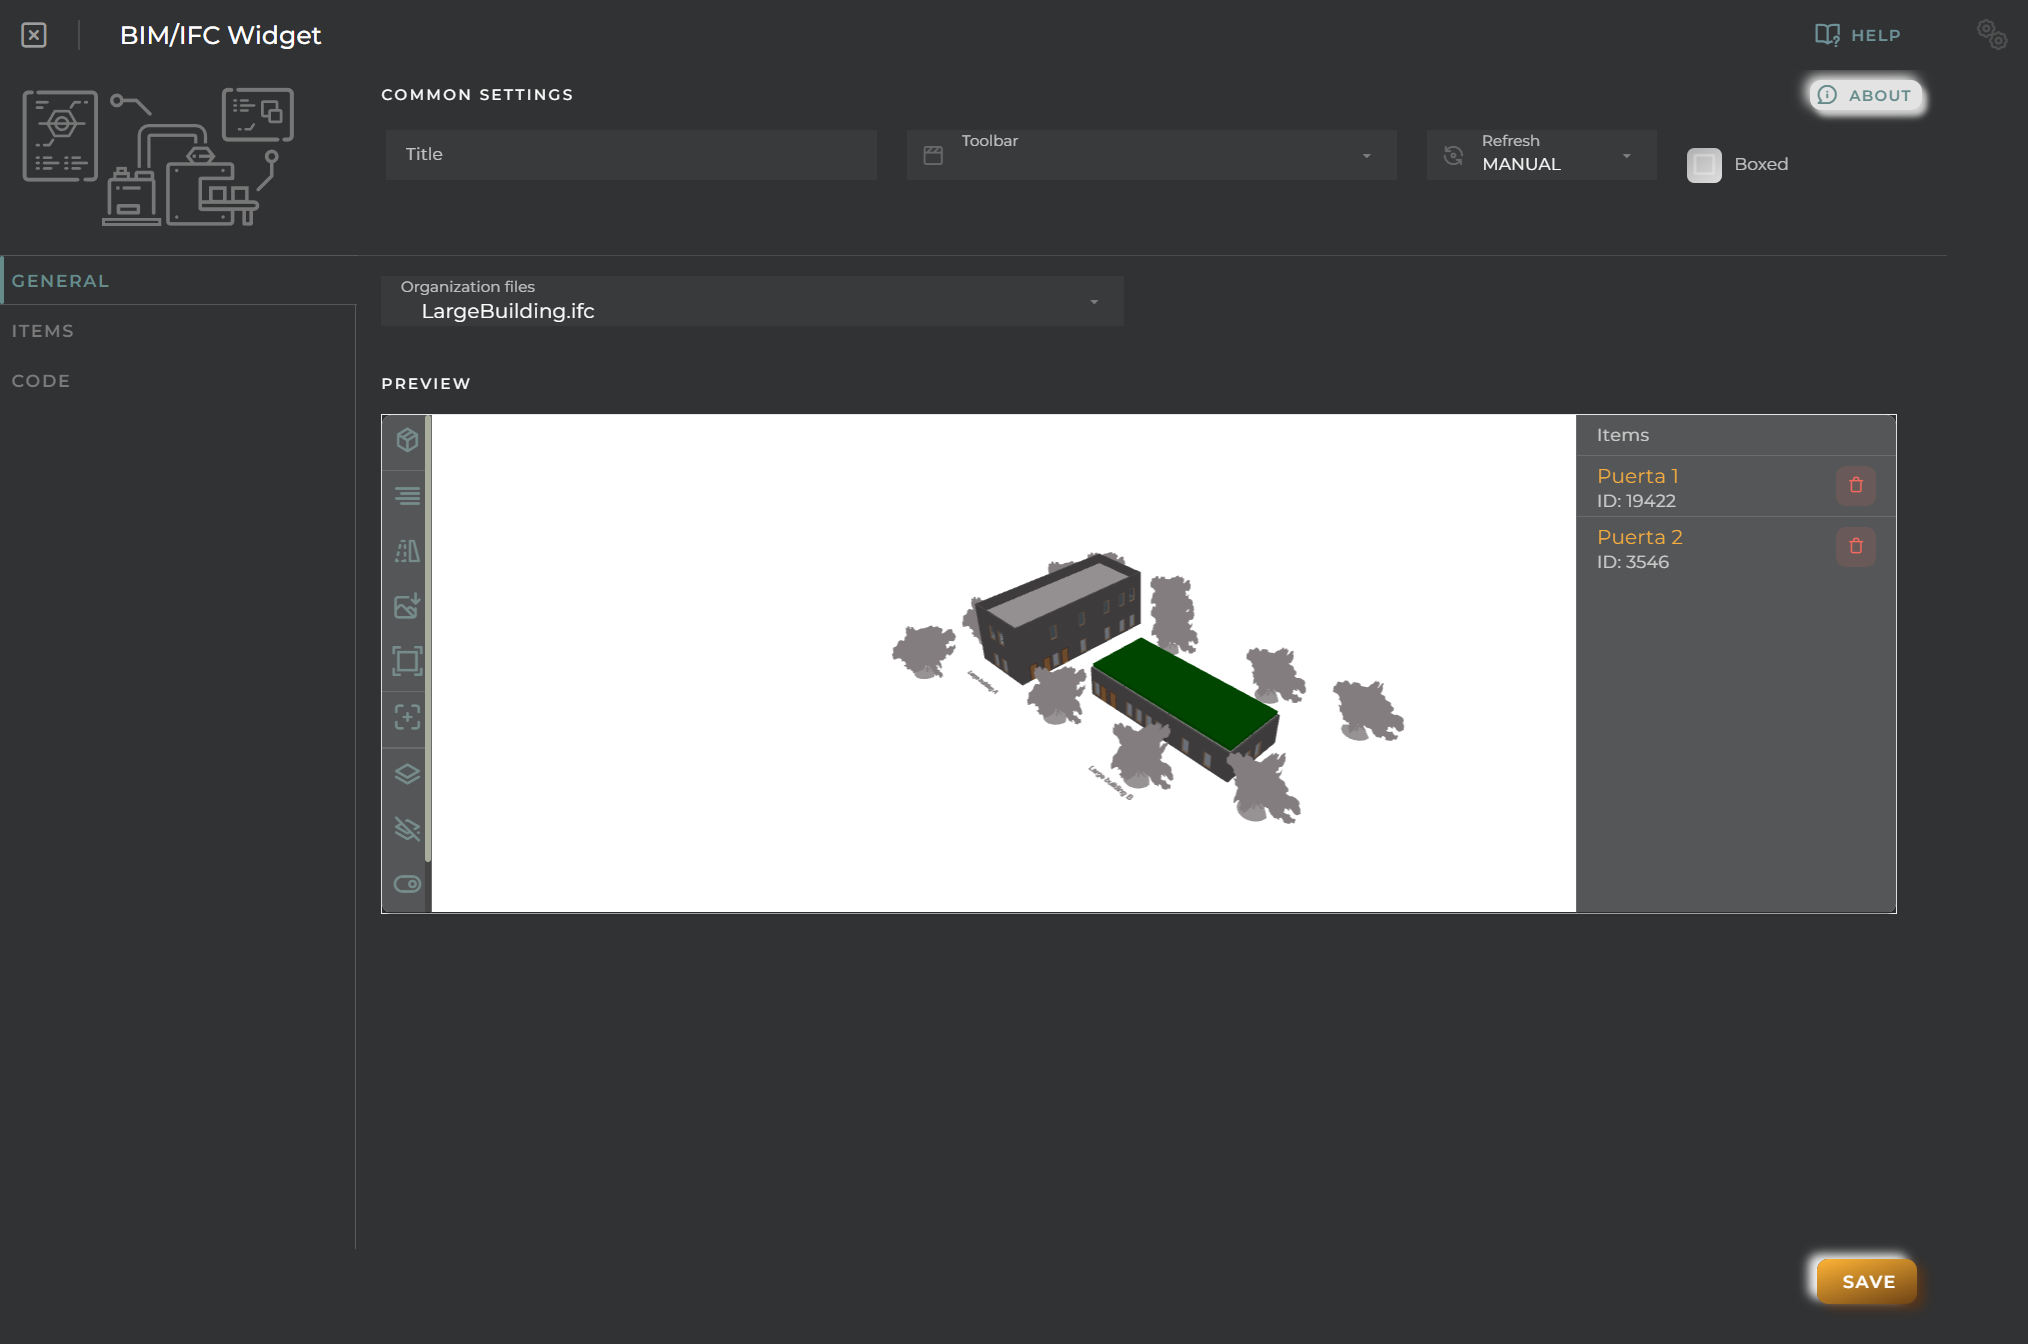
Organization files allows you to select a file to add to our widget
-
Preview here, you can see the loaded model and preselect those elements you want to highlight/monitor
In the preview panel, the following actions are found:
[…The actions are similar to the Actions Panel section…]
Items Tab
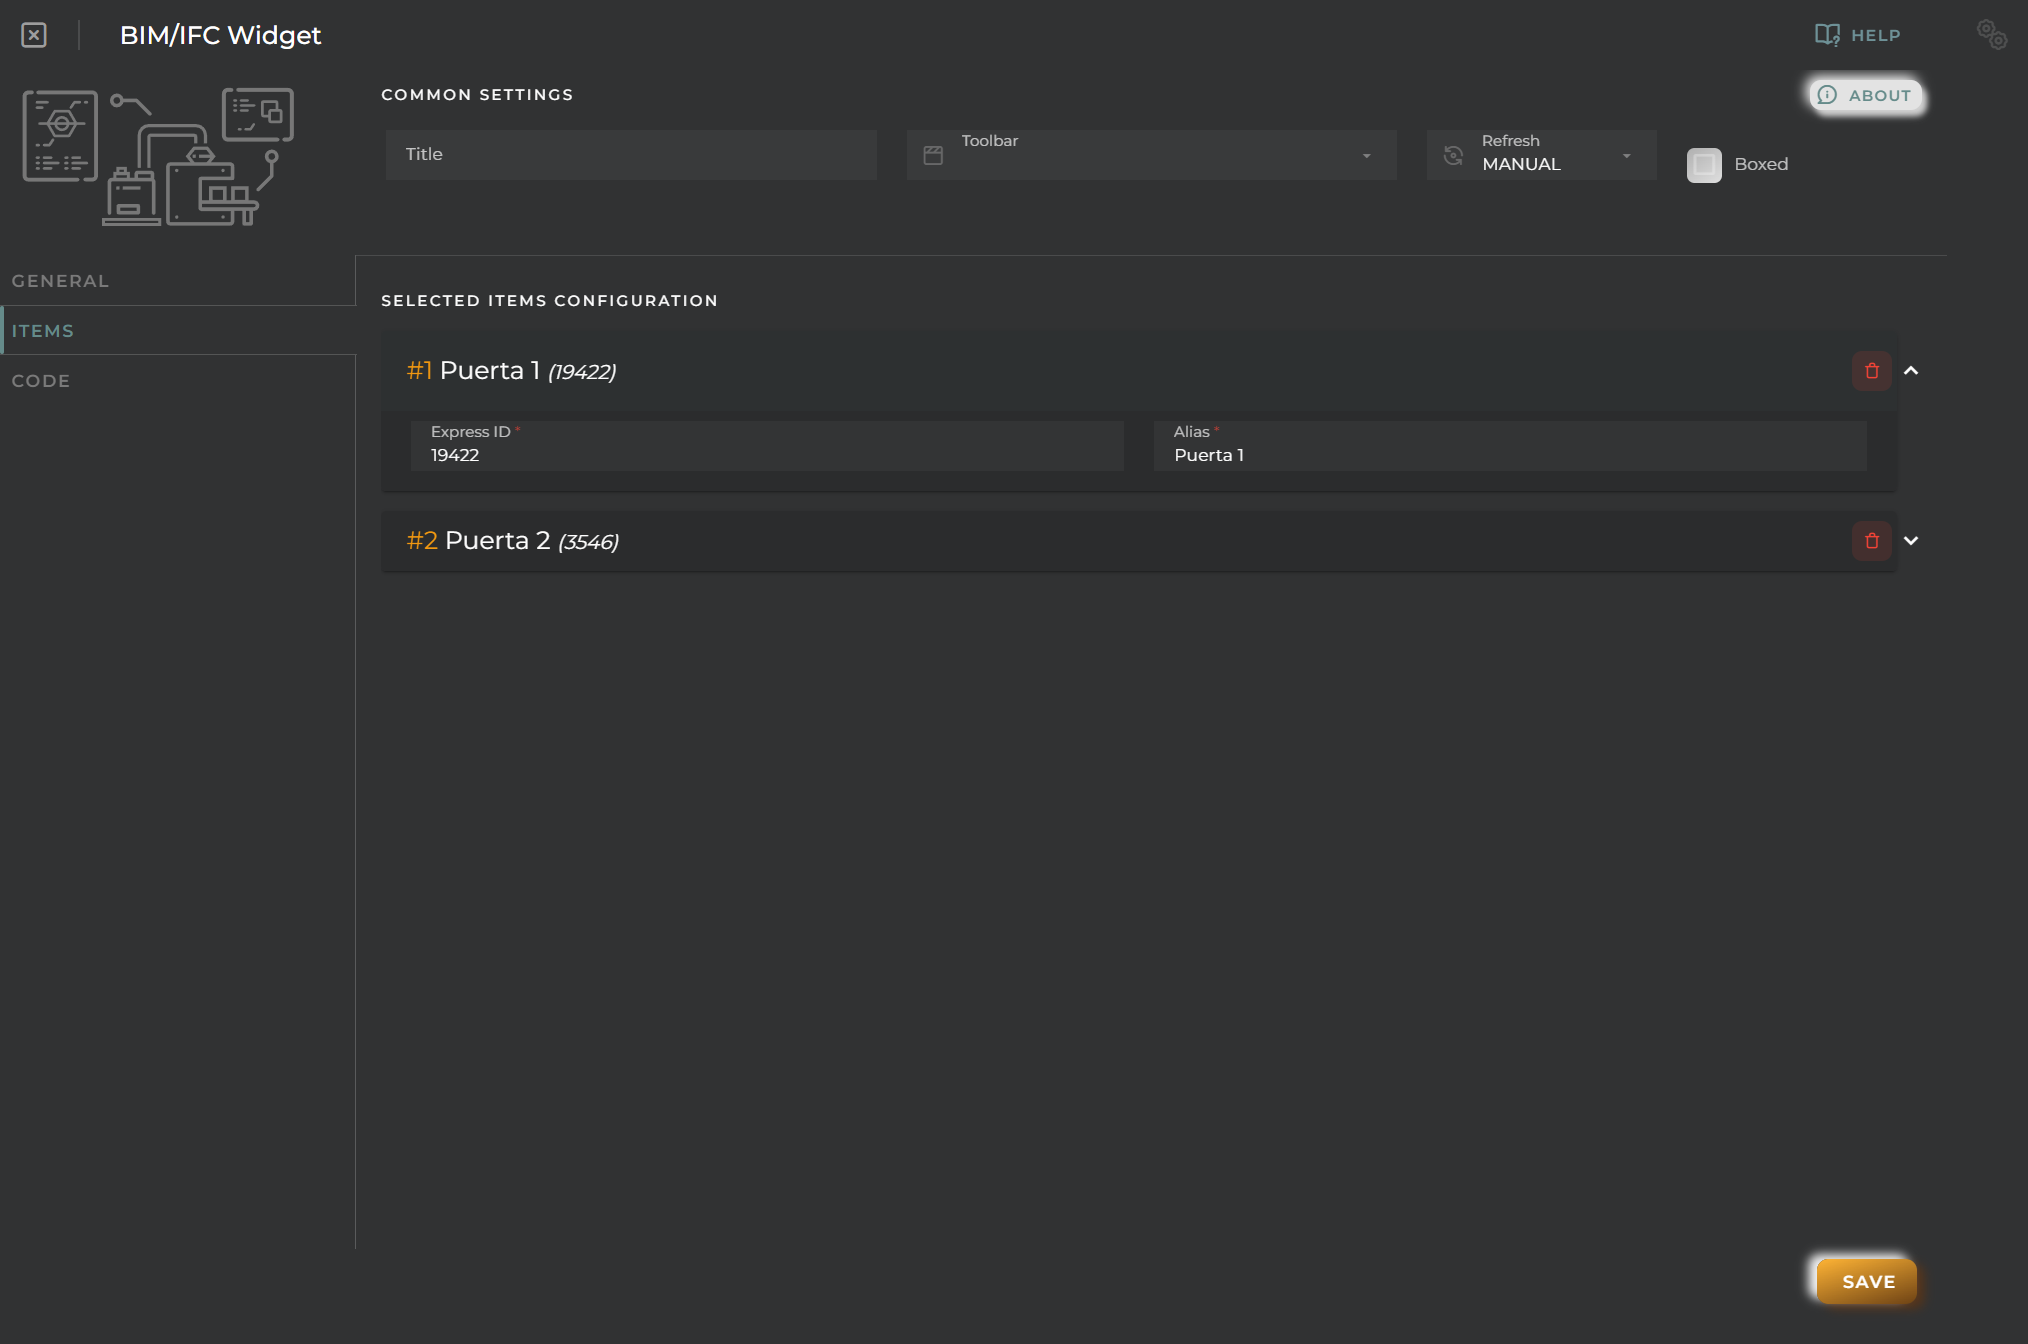
From here, you can alter the values of the elements selected in the model preview:
- Express ID allows you to modify the ID of the selected element if it has changed in the model
- Alias you can assign an alternative display name
Code Tab
Here, you configure the logic needed for the identification of different values and to display them on the elements of the model.
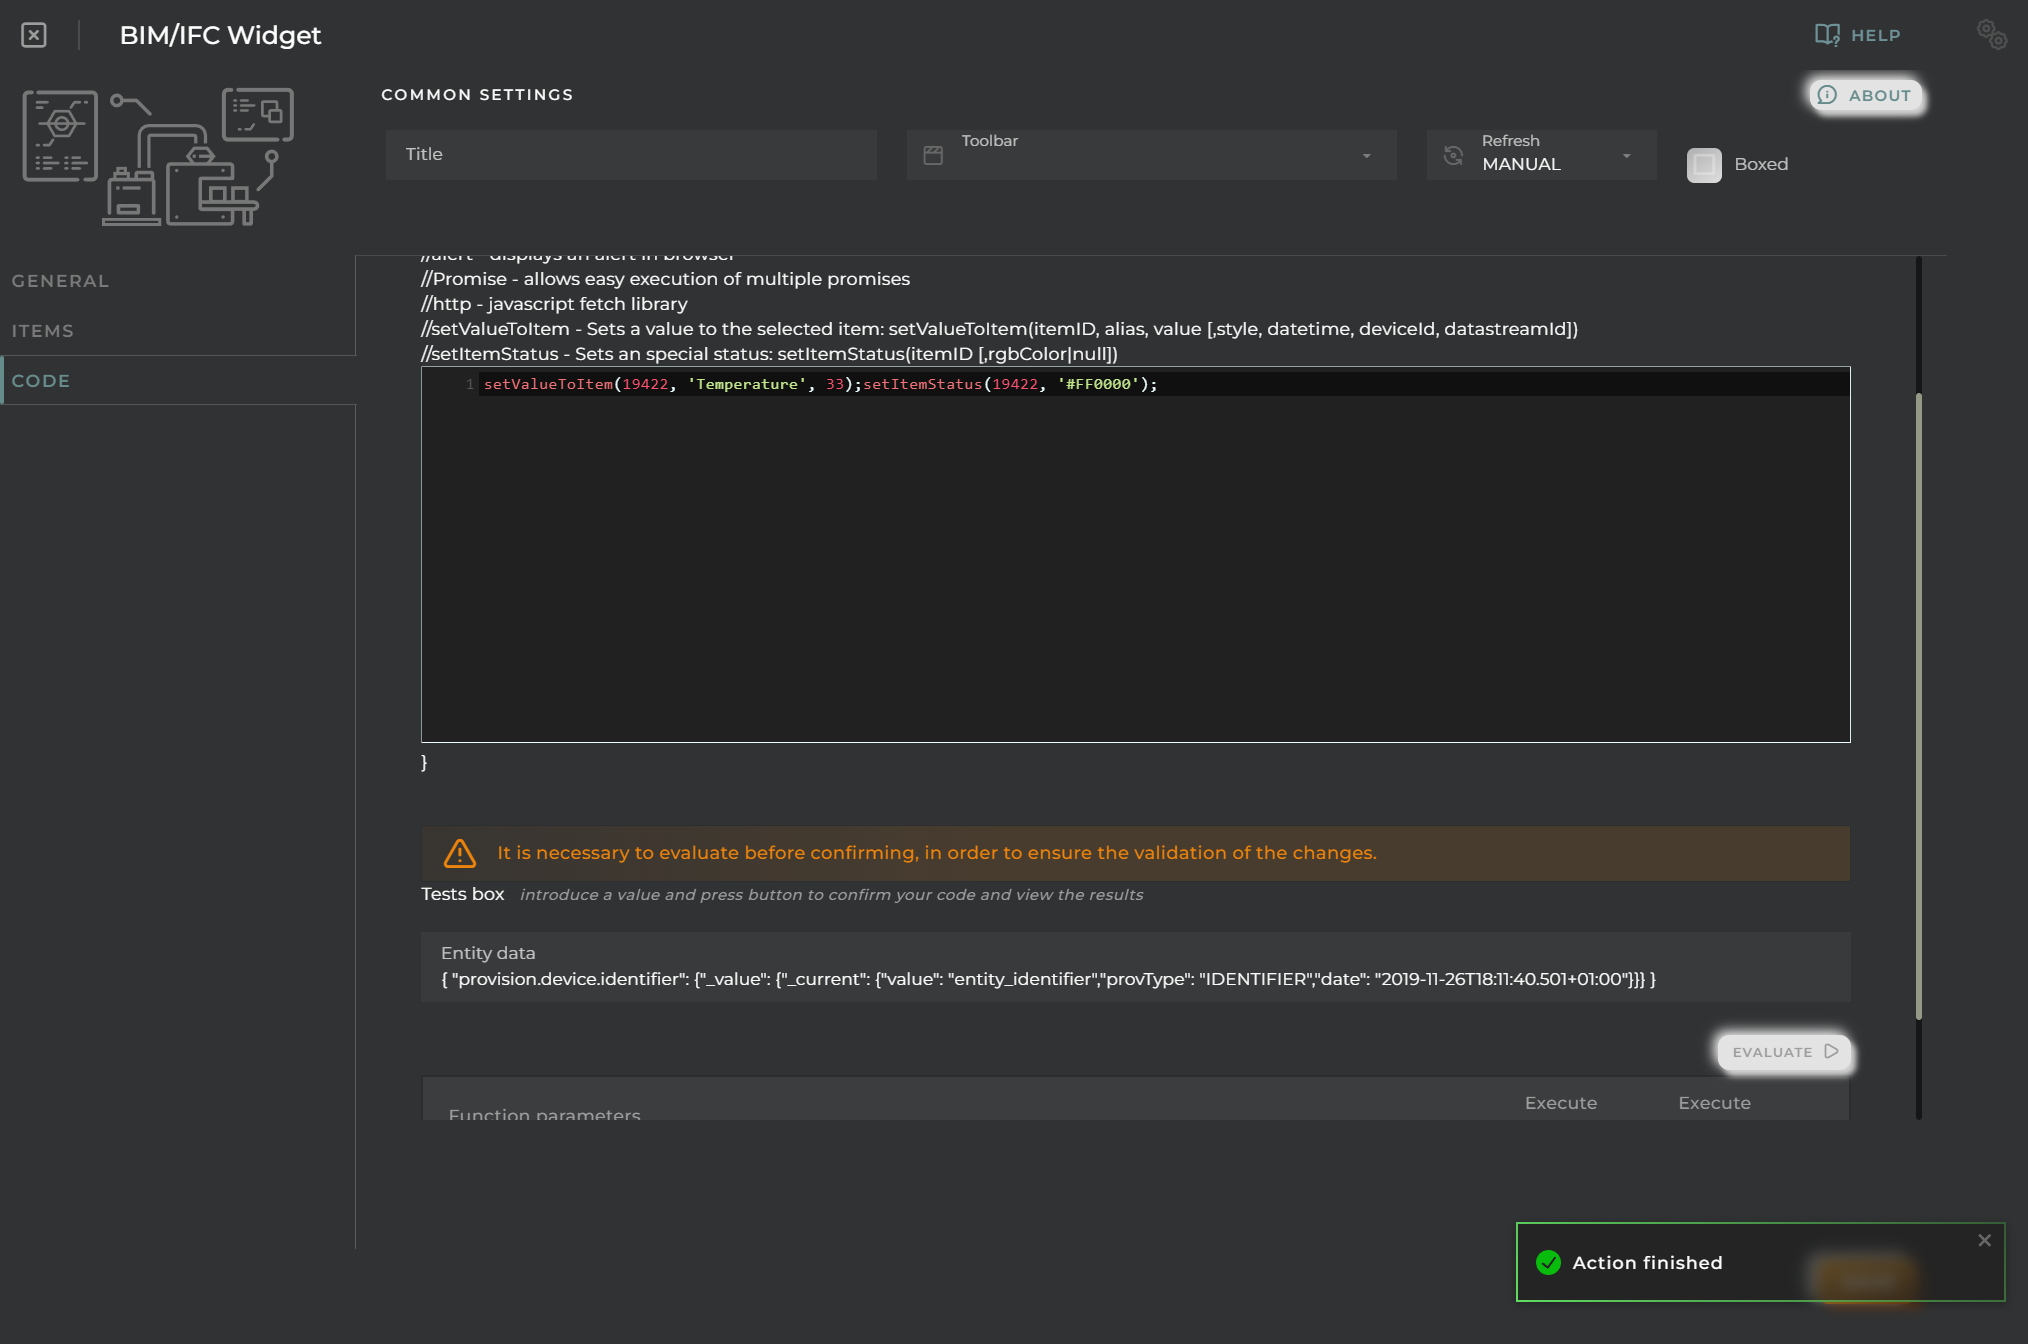
IMPORTANT NOTE: Whenever code is modified, it must be evaluated to save the changes
Function
Depending of the configuration receives the following parameters:
- entityData contains the data of the opened entity NOTE: only available when the user opens an entity dashboard template
Example:
{
  "provision.administration.identifier": {
    "_value": {
      "_current": {
        "value": "device_1"
      }
    }
  },
  "provision.administration.organization": {
    "_value": {
      "_current": {
        "value": "organization_name"
      }
    }
  },
  "provision.administration.channel": {
    "_value": {
      "_current": {
        "value": "channel_name"
      }
    }
  },
  "provision.administration.serviceGroup": {
    "_value": {
      "_current": {
        "value": "service_group_name"
      }
    }
  }
}- relatedEntities contains an array of entities related to the entity selected. NOTE: only available when the user opens an entity dashboard template
Example:
[{
  "provision.administration.identifier": {
    "_value": {
      "_current": {
        "value": "related_1"
      }
    }
  },
  "provision.administration.organization": {
    "_value": {
      "_current": {
        "value": "organization_name"
      }
    }
  },
  "provision.administration.channel": {
    "_value": {
      "_current": {
        "value": "channel_name"
      }
    }
  },
  "provision.administration.serviceGroup": {
    "_value": {
      "_current": {
        "value": "service_group_name"
      }
    }
  }
}]- timeserieData contains info about the timeserie opened by the user
- config timeserie configuration
- data timeserie row selected
NOTE: only available when the user opens an entity dashboard template from timeserie table widget
An example:
{
  "config": {
    "identifier": "69281dc43545e97df66c42a1",
    "name": "Battery charge history",
    "timeBucket": 3600,
    "bucketColumn": "bucketEnd",
    "bucketInitColumn": "bucketInit",
    "identifierColumn": "EntityID",
    "retention": 2592000,
    "origin": "2025-11-26T23:00:00Z",
    "context": [
      {
        "path": "provision.device.administrativeState",
        "name": "Administrative state",
        "sort": "true",
        "filter": "YES",
        "type": "string"
      }
    ],
    "columns": [
      {
        "path": "device.powersupply.battery.charge._current.value",
        "name": "Powersupply battery charge Current Value",
        "filter": "NO",
        "type": "number",
        "sort": false,
        "aggregationFunction": "FIRST"
      }
    ]
  },
  "data": {
    "bucketEnd": "2025-12-11T13:00:00+01:00",
    "bucketInit": "2025-12-11T12:00:00+01:00",
    "EntityID": "entity_1",
    "Powersupply battery charge Current Value": 34
  }
}- alarmData contains the data of the alarm opened in template
{
  "identifier": "270dd9f9-1396-4660-bb5f-8d8b471e1dcd",
  "name": "activityForbidden",
  "rule": "activityForbidden",
  "description": "Activity detected for an entity with administrative state disabled",
  "severity": "INFORMATIVE",
  "priority": "LOW",
  "organization": "organization_name",
  "channel": "default_channel",
  "entityIdentifier": "A_WORKER_1",
  "subEntityIdentifier": "A_WORKER_1",
  "resourceType": "ENTITY_ASSET",
  "status": "CLOSED",
  "openingDate": "2019-06-27T08:57:36+02:00",
  "closureDate": "2019-06-27T08:57:51+02:00"
}- callback (optional) function used to send data to the widget (only when the api/http petitions are promised, use return instead)
callback();or
return;Available utils
$api -> use it to create http petitions to OpenGate Api Rest doc
$user -> Logged user
Example:
{
    "email": "email@amplia.es",
    "workgroup": "workgroup",
    "domain": "domain",
    "profile": "profile",
    "countryCode": "ES",
    "langCode": "en",
    "timezone": "Europe/Madrid"
}
$moment -> use it to format date doc
console -> display messages in navigator console
Promise -> allows easy execution of multiple promises
http -> javascript encapsulation of useFetch (Nuxt 4) library doc
alert -> alert navigator method
setValueToItem -> Sets a value to the selected item
setValueToItem(itemID, alias, value [,style, datetime, deviceId, datastreamId])setItemStatus -> Sets an special status
setItemStatus(itemID, [rgbColor(string format)|null])Final code structure build by the application
async function main(entityData, relatedEntitiesData, timeserieData, alarmData,callback) {
  // YOUR CODE HERE WITH RETURN OR CALLBACK
}