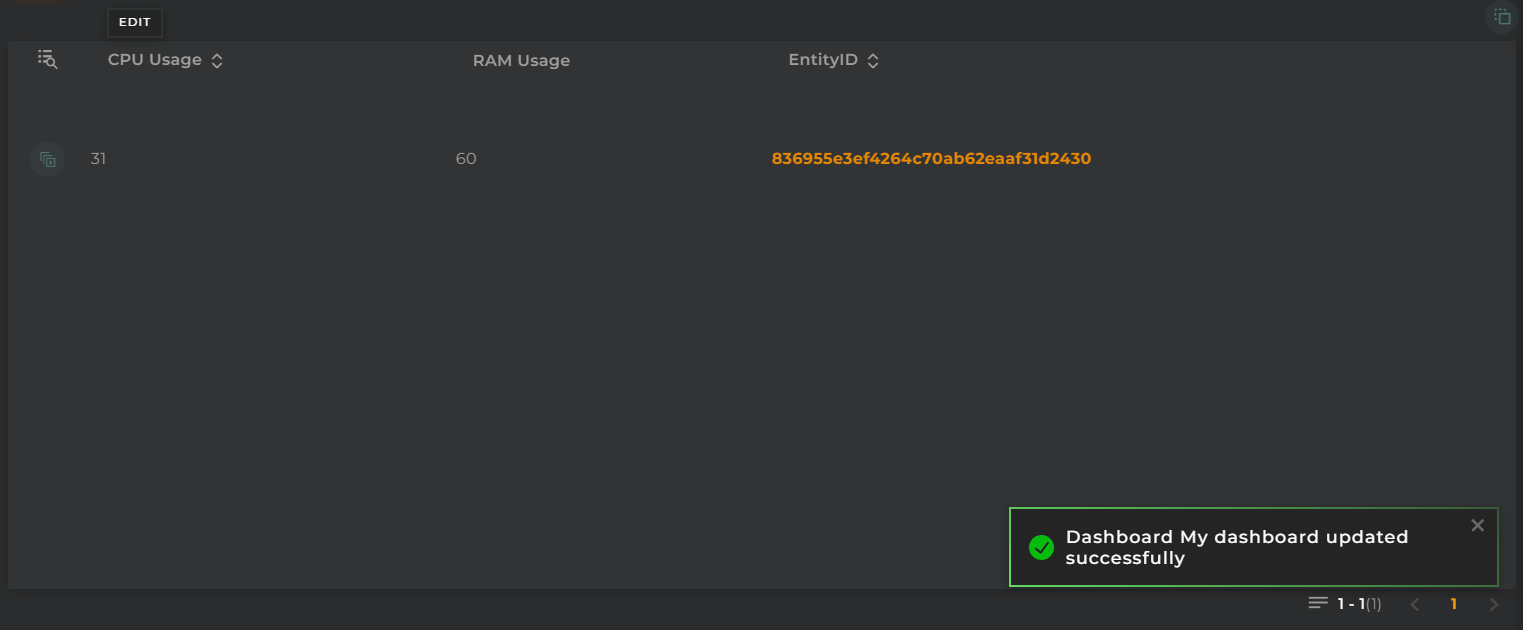
Time Series data List
The listing allows us to see the values provided by a time series and manage the entities related to it.
How it works
Below are the actions that can be performed both within the widget and on the displayed data.
Filter by Columns

Advanced Filter
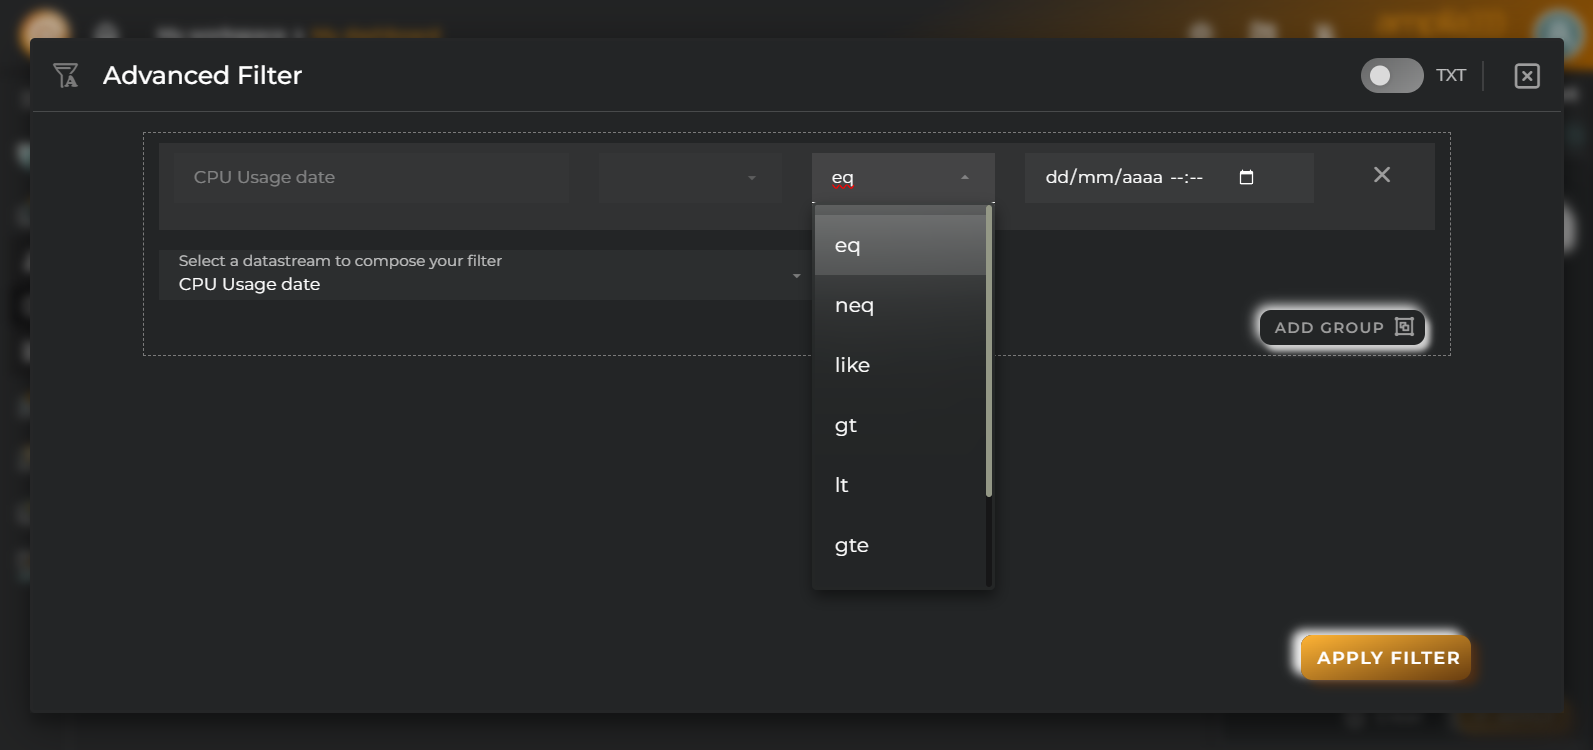
Perform a search by selecting the fields to filter by and how to filter by them.
Widget Menu
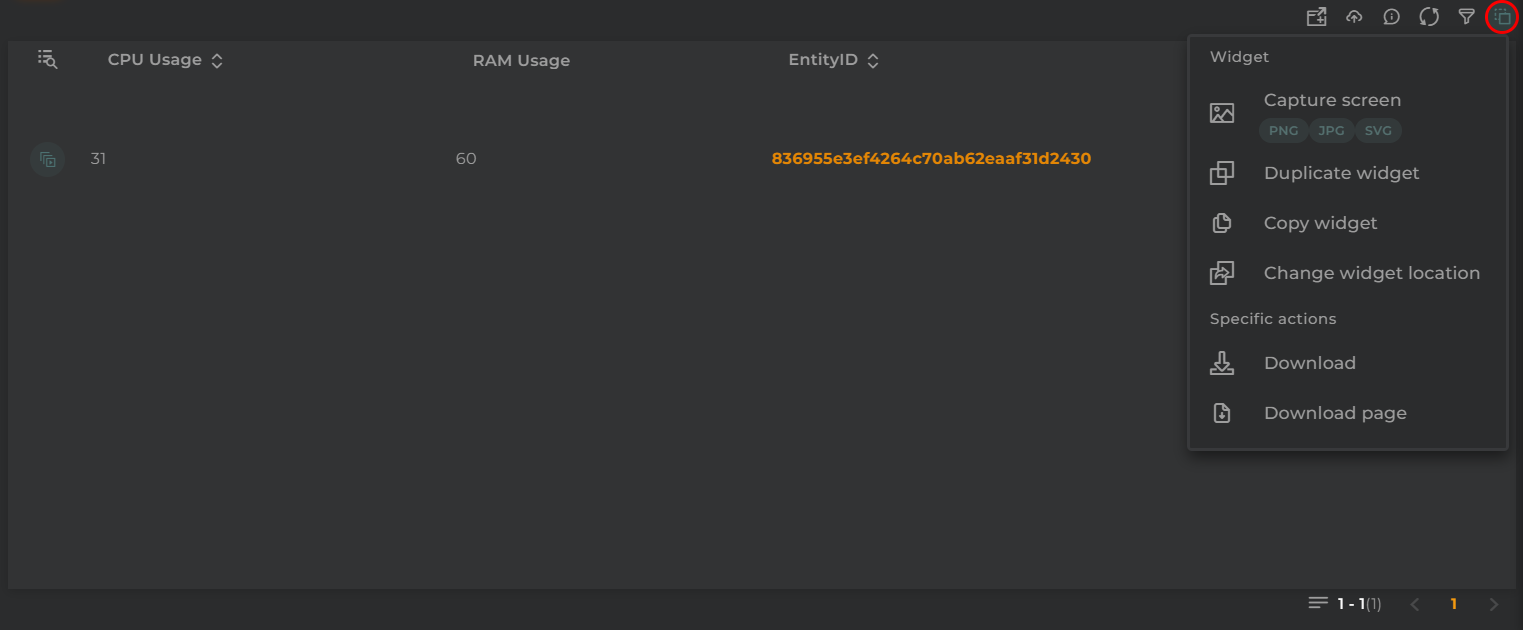
The following actions can be performed:
- Download: Data download in CSV format
- Capture screen: Takes a screenshot of the widget.
- Duplicate widget: Creates a duplicate of the widget on the dashboard.
- Copy widget: Copies the widget to another dashboard.
- Change widget location: Moves the widget to another dashboard.
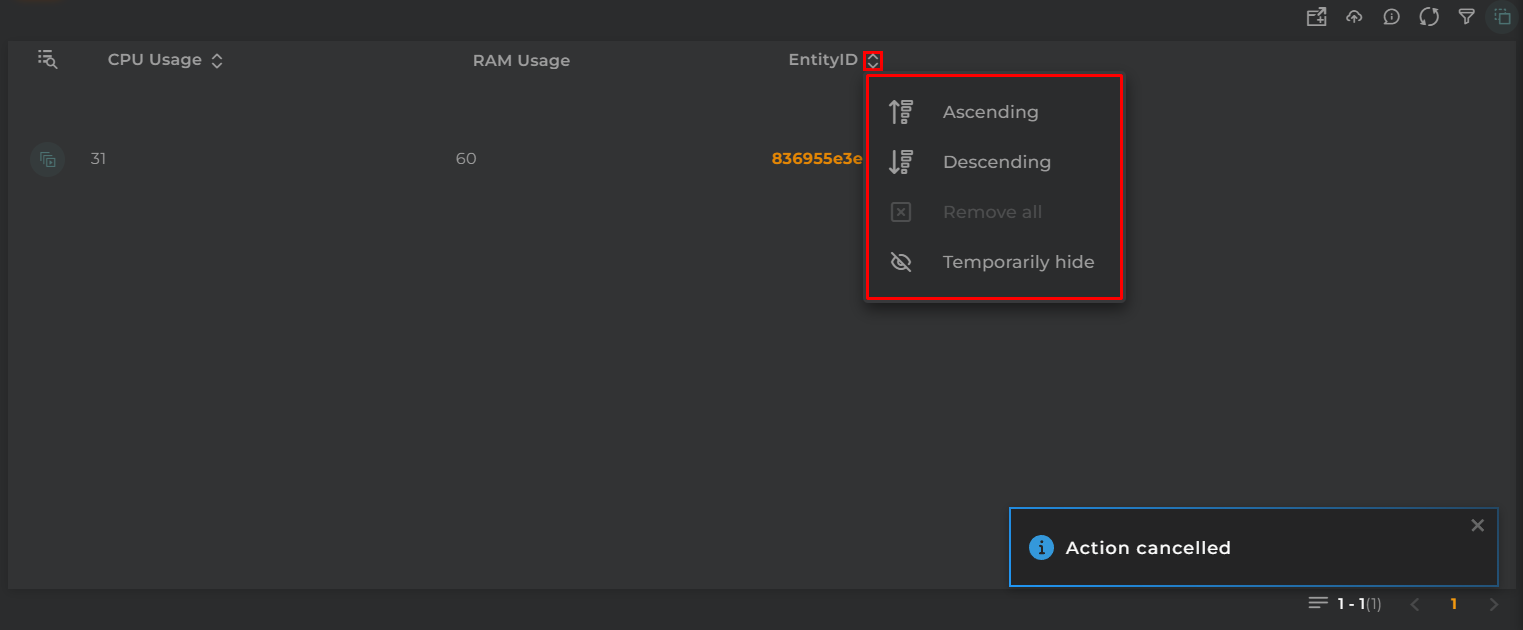
Sort and Temporarily Hide Columns
Actions by Entity
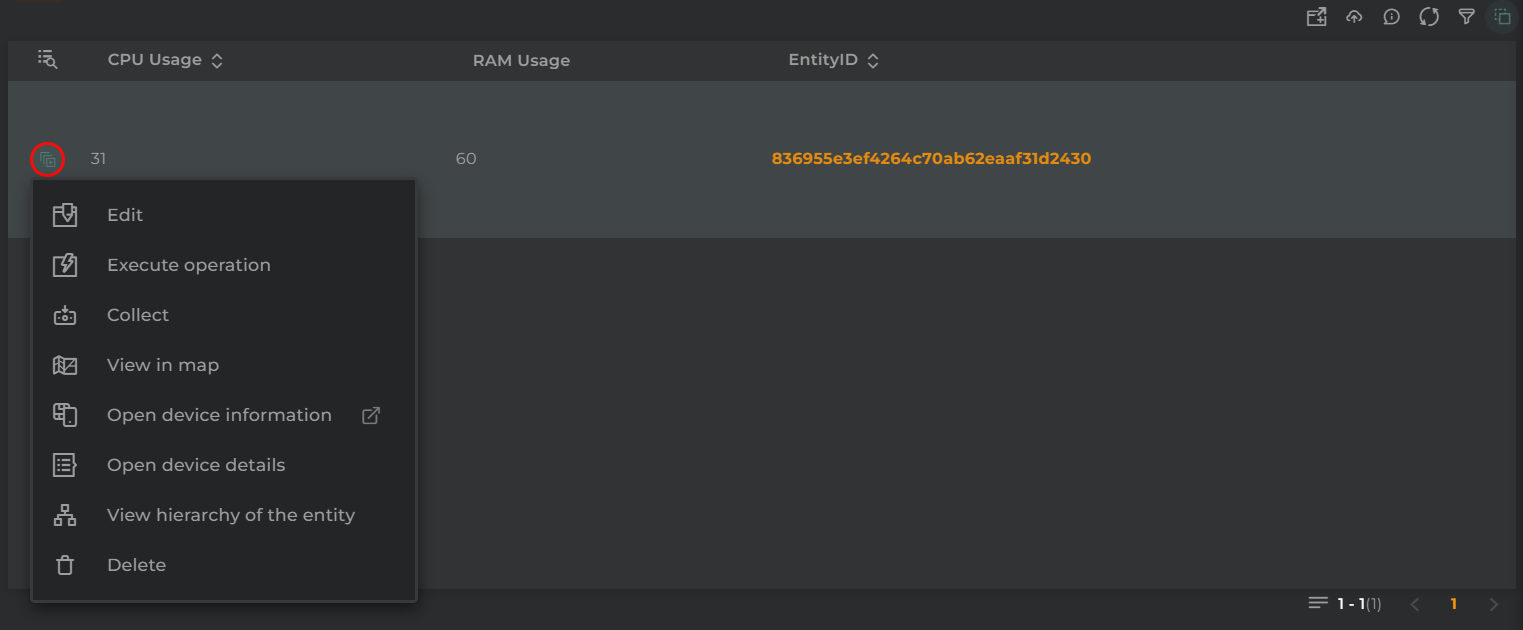
The actions to be performed will depend on the type of entity that is set as the identifying column:
- Edit: Edit the entity by opening the corresponding wizard for that entity type
- Execute operation: Perform an operation on the displayed entity
- Collect: Simulate data collection on an entity (if the entity type supports this action)
- Open device/asset/subscriber/subscription information: Open a temporary dashboard that will display information related to the entity
- Open device/asset/subscriber/subscription details: Open the information widget for an entity with the entity’s details
- View hierarchy of the entity: Open the hierarchy widget to display the hierarchy of the entity (if the entity type supports this action)
- Delete: Delete the entity
Configuration
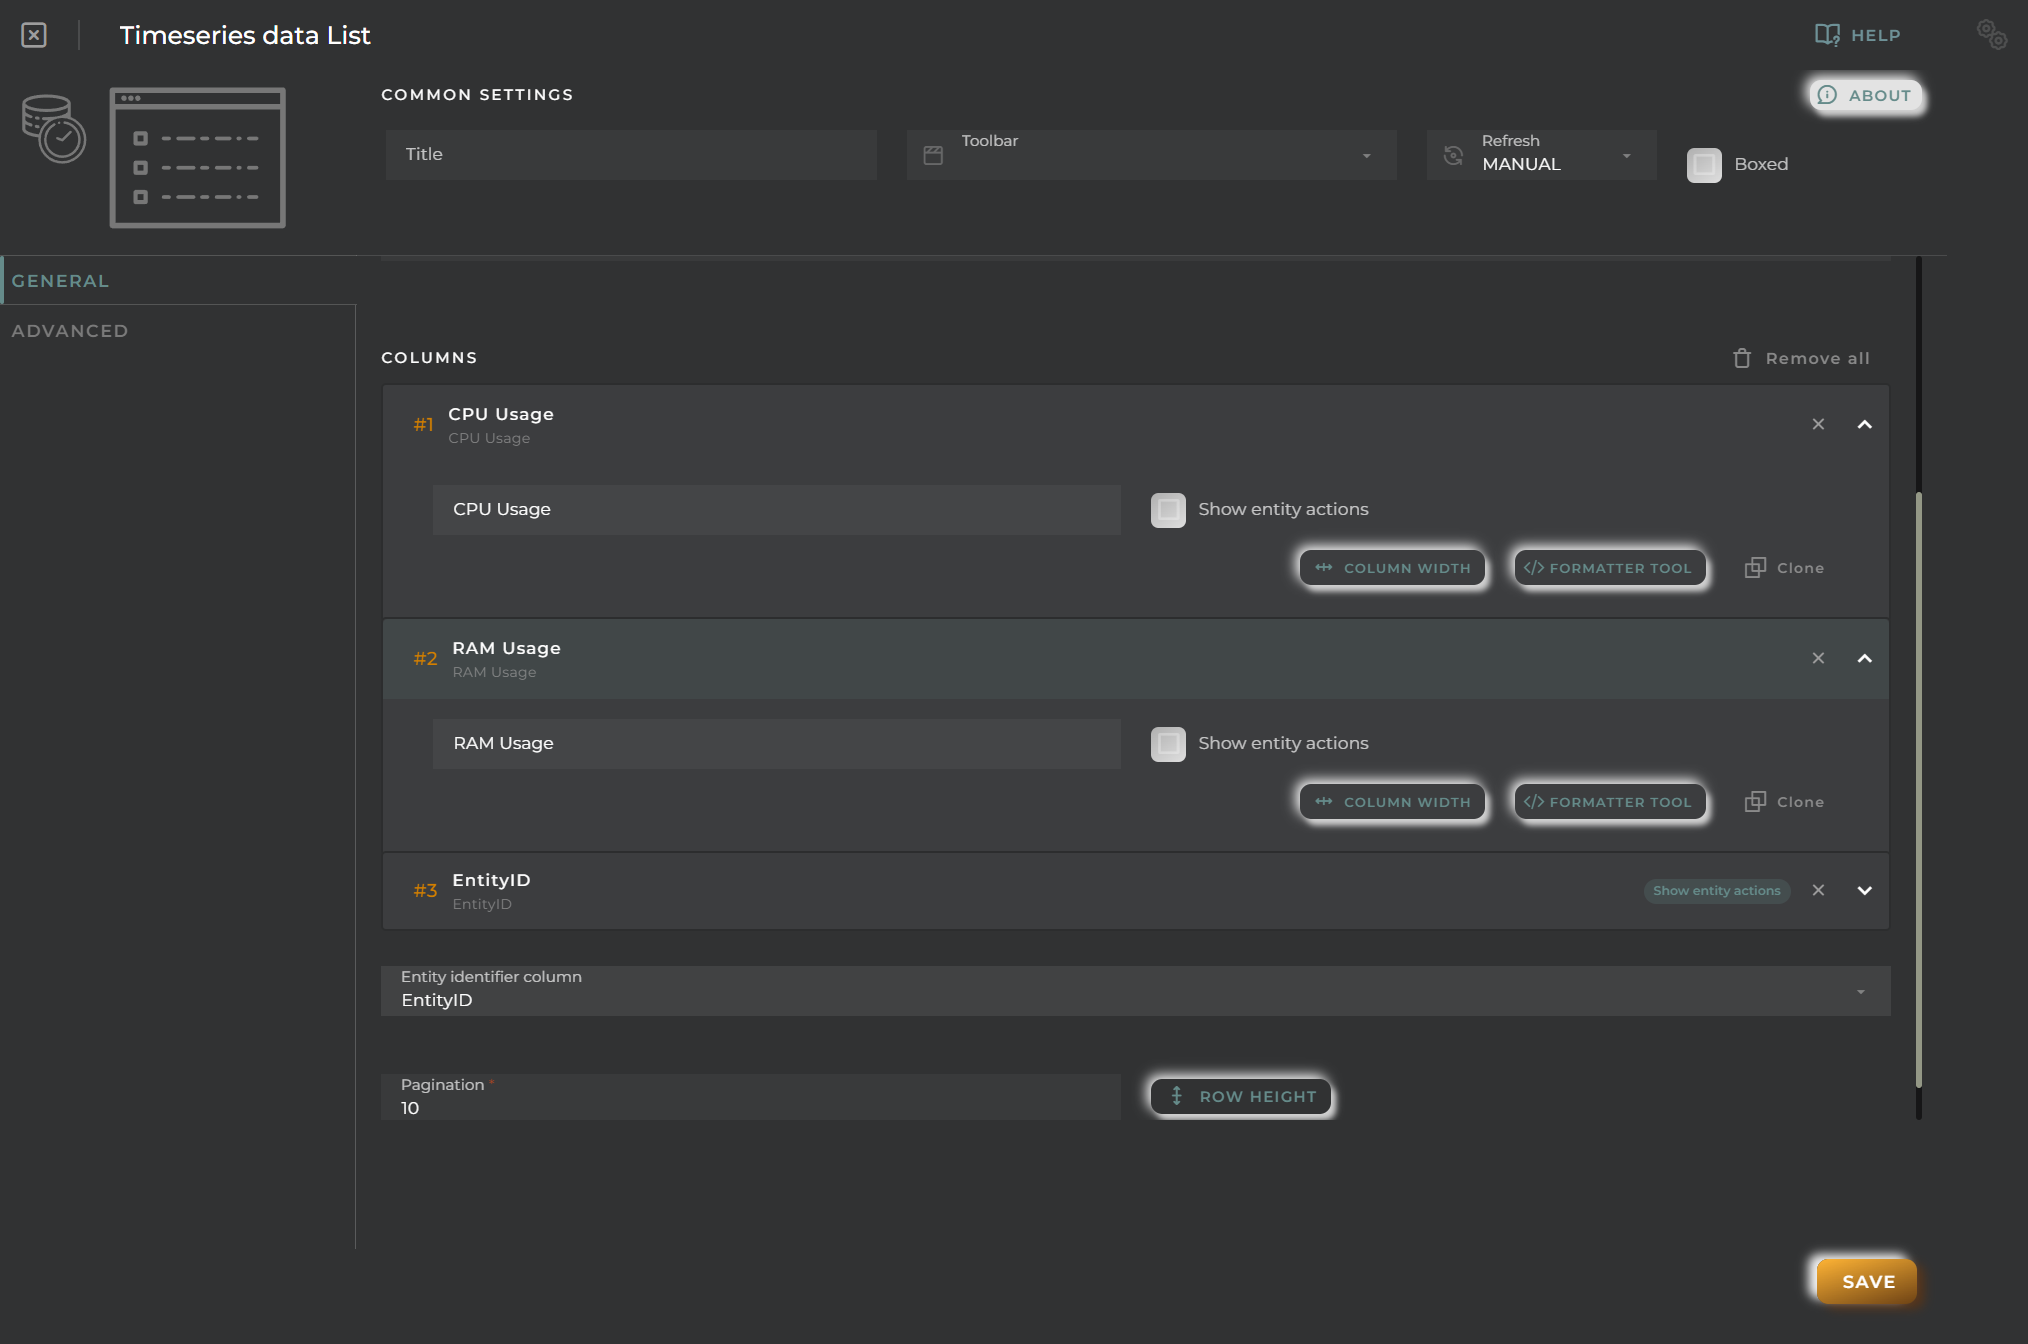
General
- Boxed: widget will be displayed with background in dahsboard.
- About: widget description in Markdown format.
- Title: widget title. It can be configured to remain fixed in the widget or only be displayed when it receives focus.
- Toolbar: configures the behavior of the widget bar on the dashboard, allowing you to hide it, hide it when not in use, or leave it always visible.
- Refresh Frequency: allows configuring the data refresh frequency displayed in the list.
- Extra actions: allows user to add new specific actions to the widget with your own code.
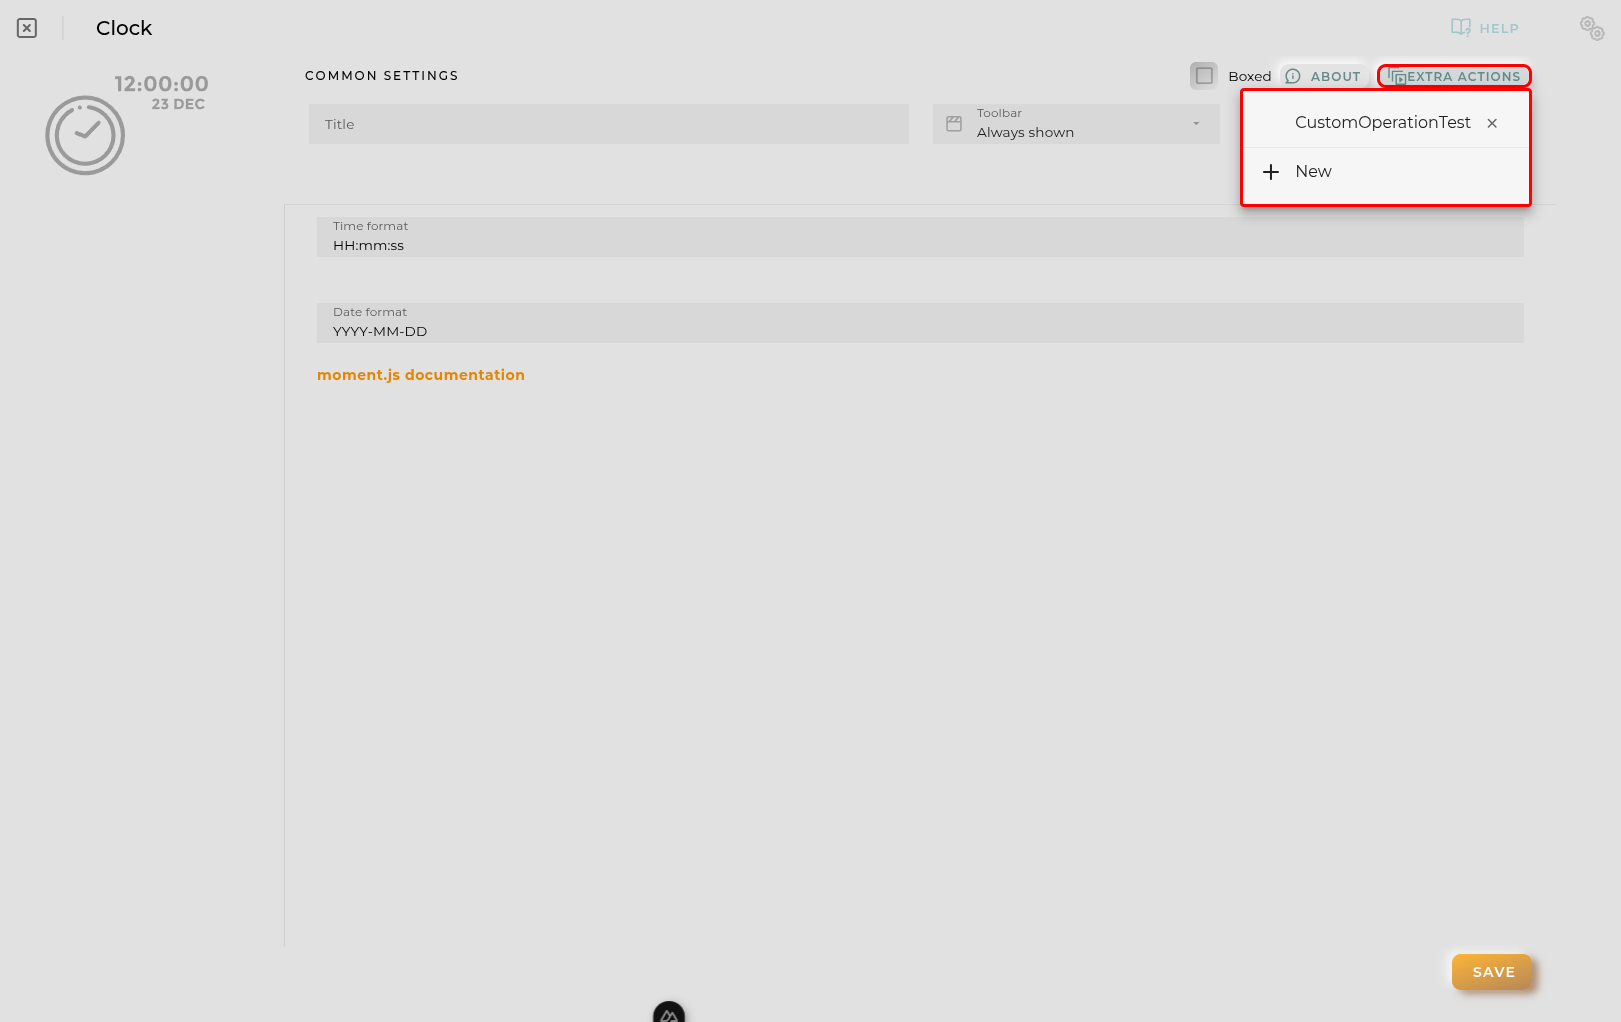
You can add a new one by pressing the New button.
Once you added a custom action it can be modified later by pressing the name in the list.
In order to remove the custom action click the delete icon button on the right.
In extra actions you can write your own code were you can open other dashboards, entities dashboards or execute wizards.
You can find all available functions and methods in Extra parameters
Dataset and Column Selection

- Organization: Select the organization to which the dataset belongs
- Data set: Select the dataset
- Columns: Select the configured columns in the dataset
Column Identifier Selection

Select the identifying column. Based on the value of this column, the table will display different actions to be performed on each of its rows.
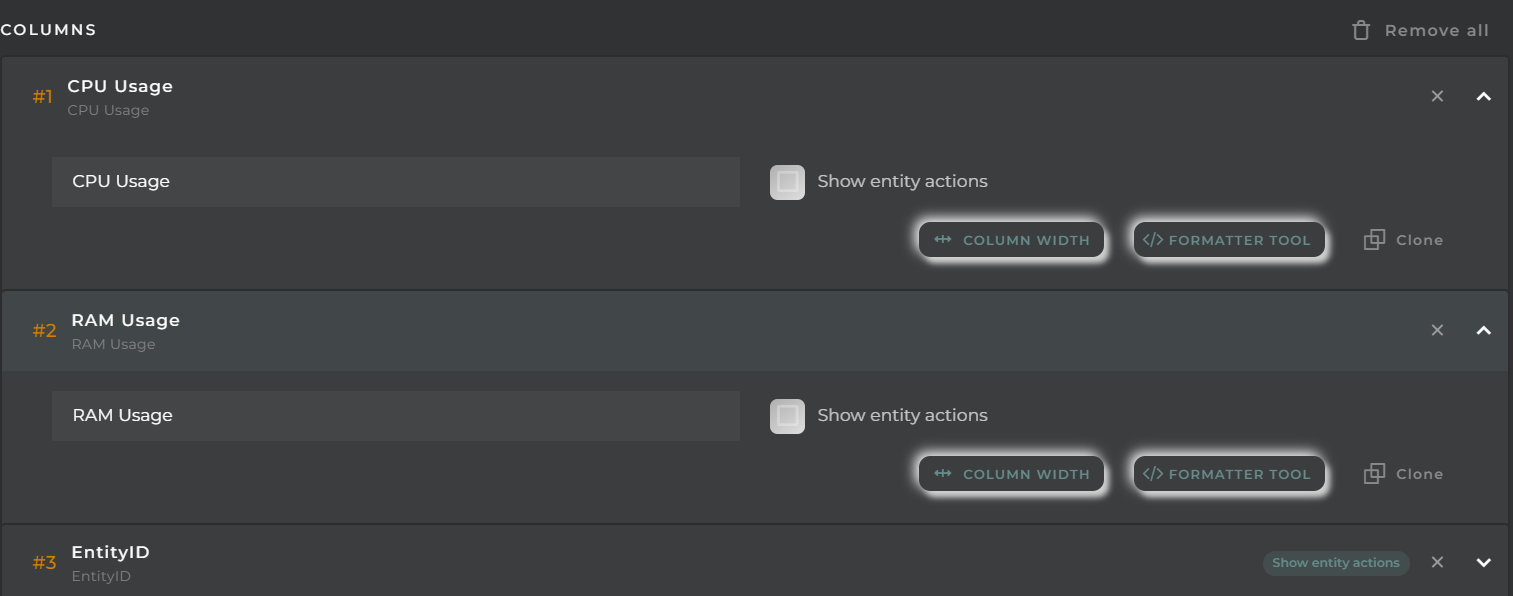
Cell Configuration
-
Alias: Modify the column name. If nothing is added, it will use the default configured name.
-
Show entity actions: Allow displaying the actions menu when selecting its value in the cell. If the column is an identifier, this field will be enabled.
-
Hidden column: Enabling this option will hide the column from the user. This is useful when you need the data for formatting purposes, as only the data required in the list will be available.
-
Options:
- Modify the cell’s width and horizontal alignment of its content.

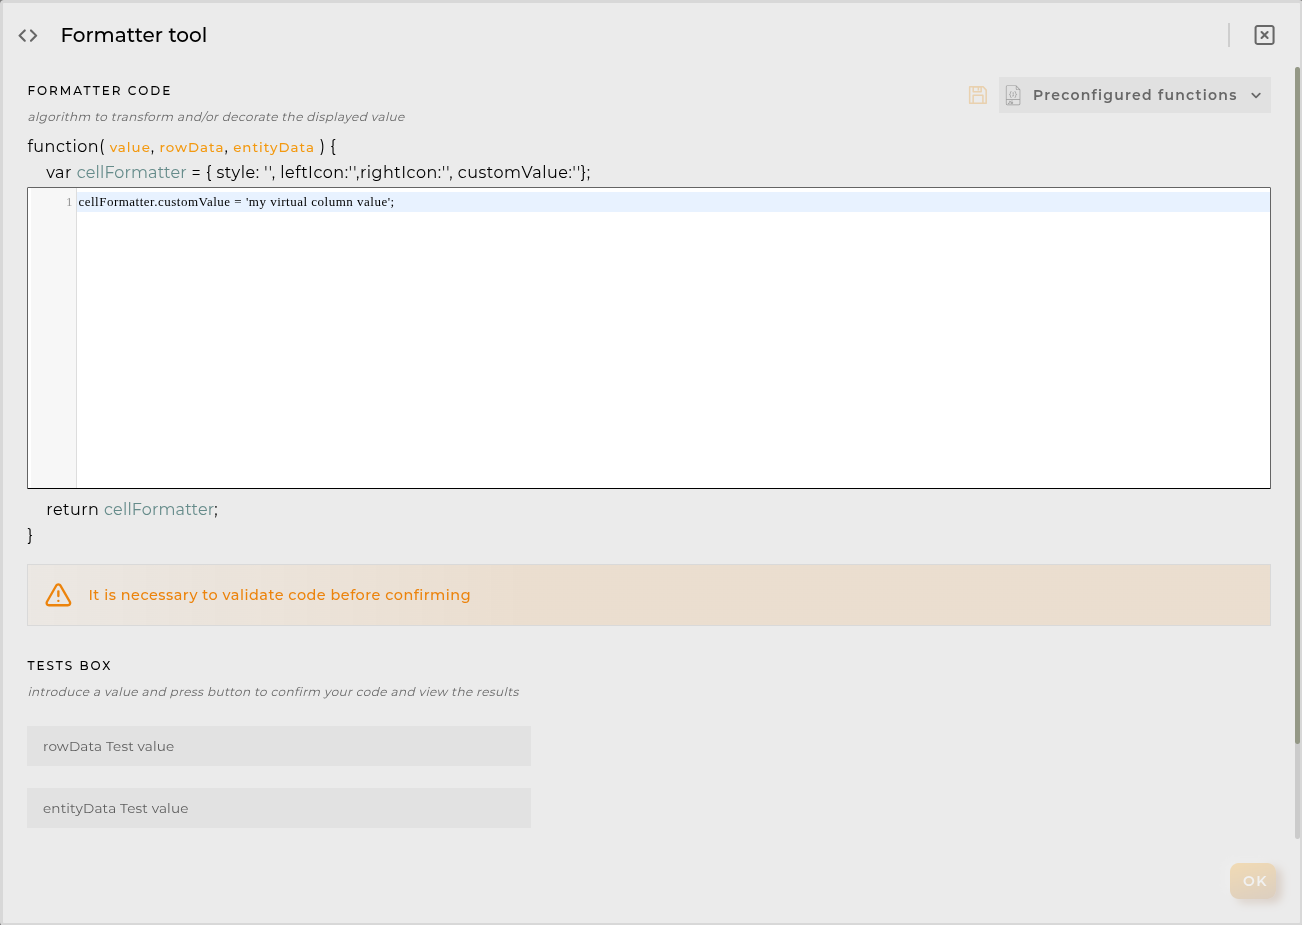
- Format the cell’s value.

- Modify the cell’s width and horizontal alignment of its content.
-
Pagination: Configure the number of rows to display per page.

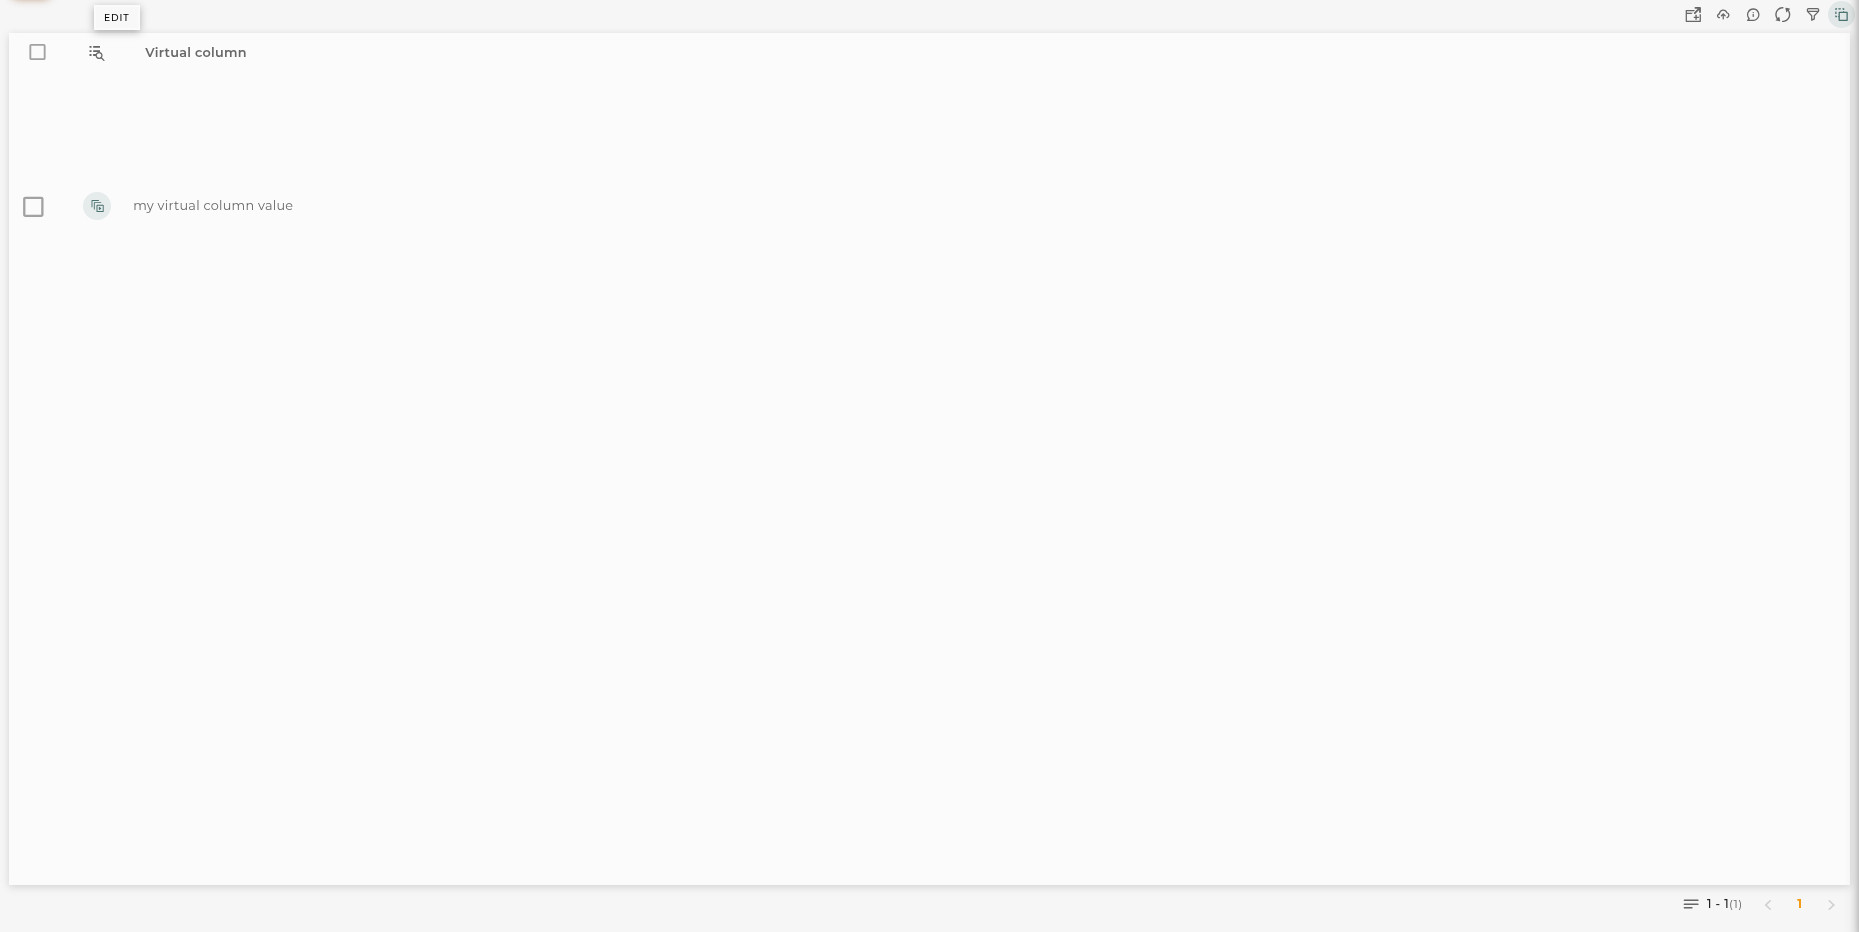
Virtual columns
Also you can add virtual columns to lists.
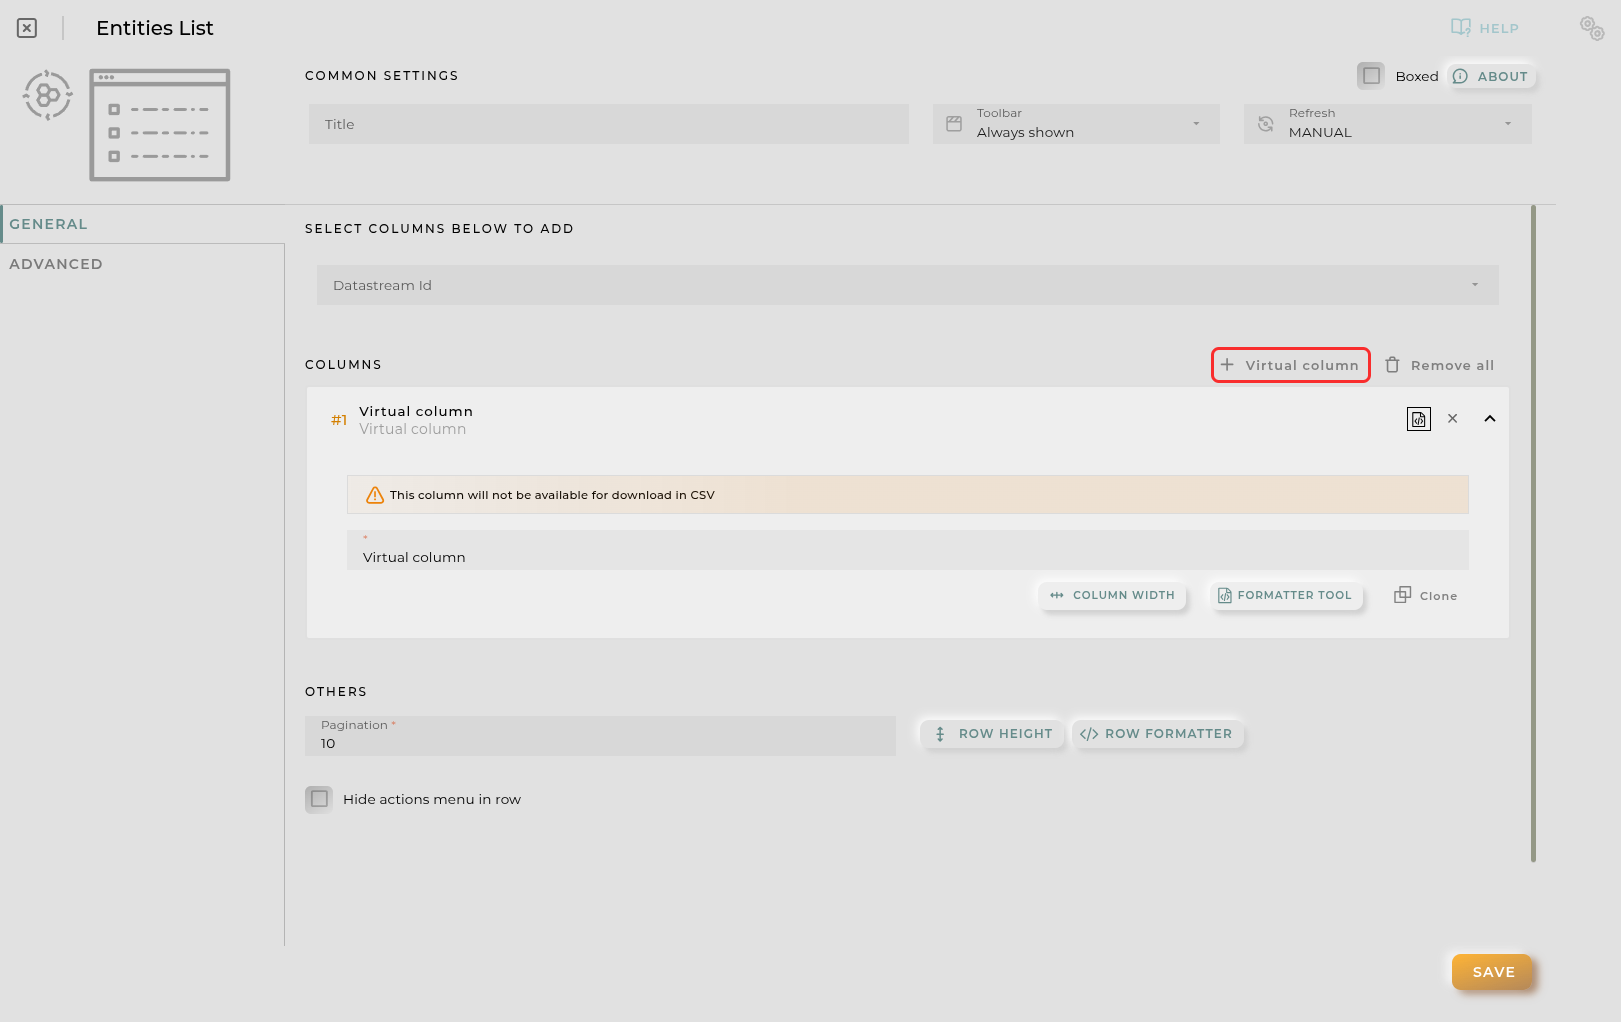
These columns do not have their own values and must be configured in the column formatter once added.
Please note that the contents of this column will never be output to CSV, as it is calculated on the fly and does not rely on any native platform resources.
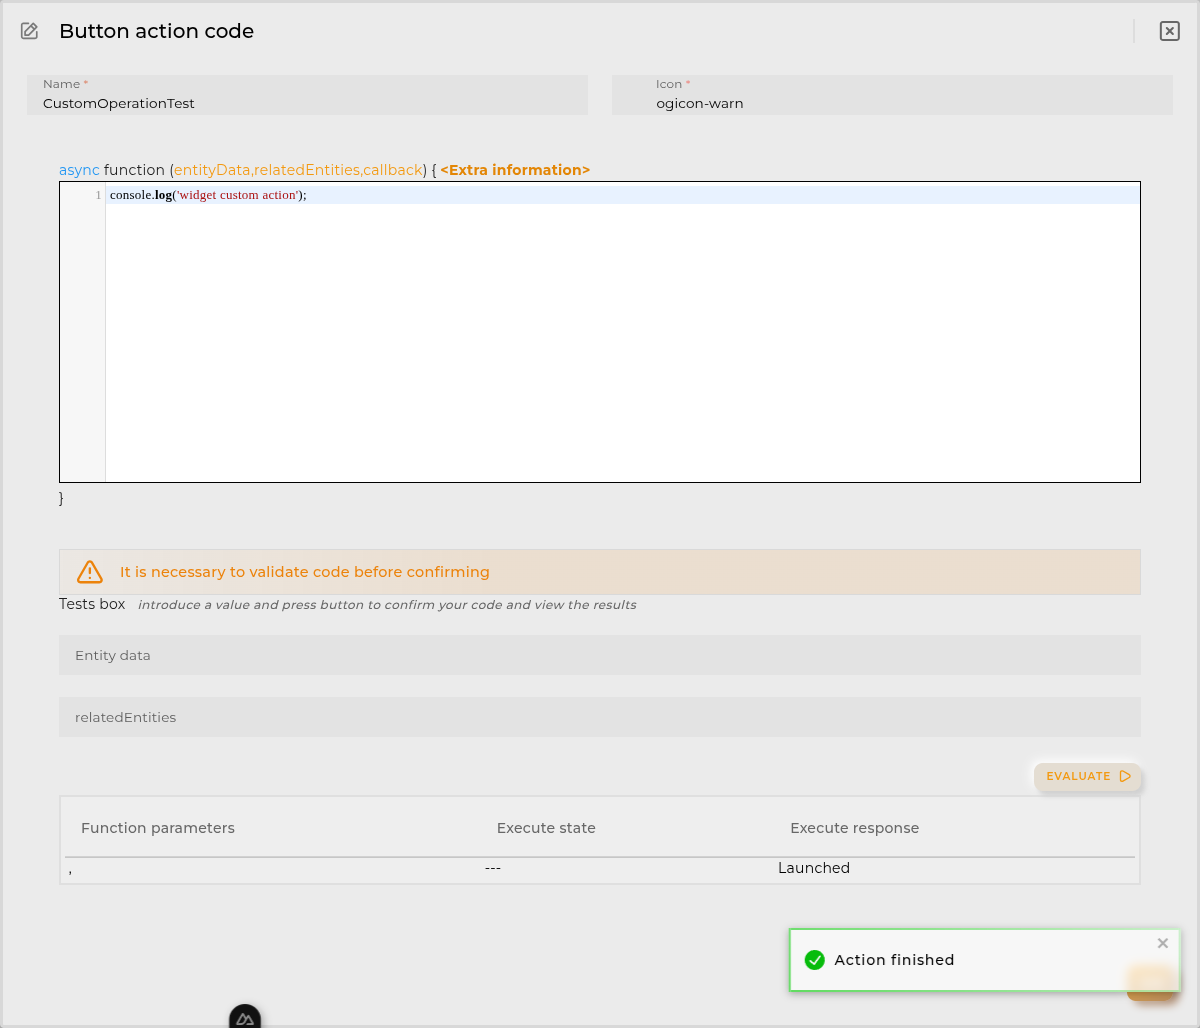
Button columns
Also you can add button columns to lists in order to execute some custom action related with the row data.
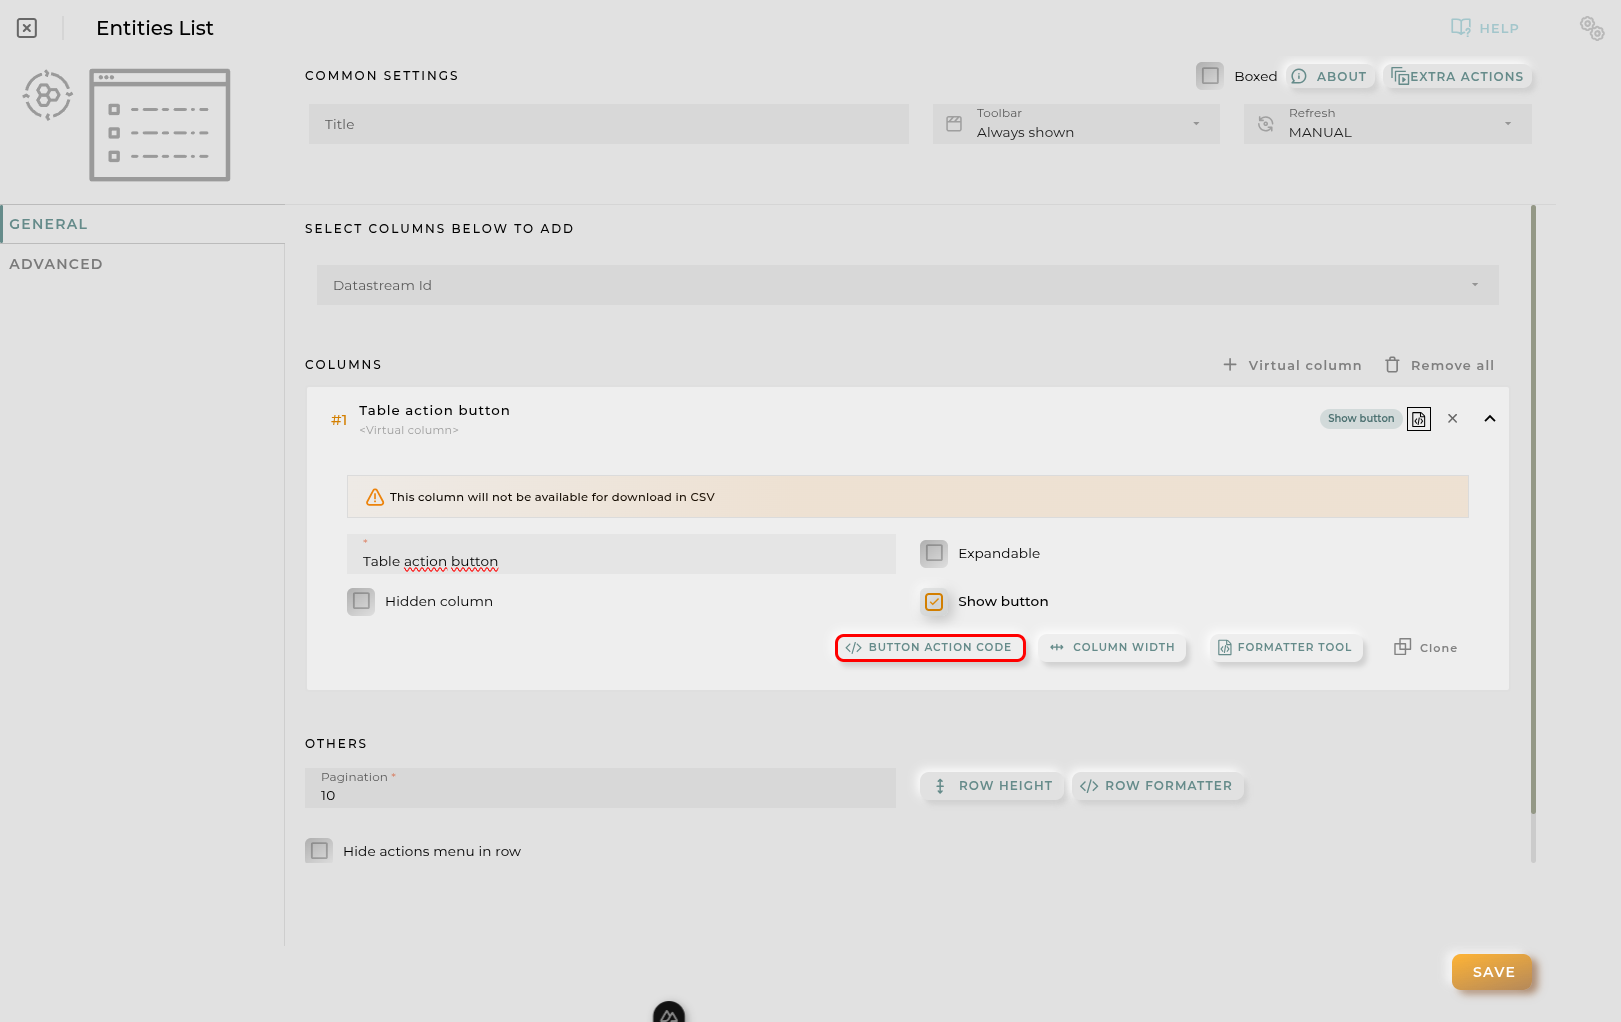
Button label can be setted in normal or virtual columns. Label will be the value.
Button action code receives the complete rowData and you can open other dashboards, entities dashboards or execute wizards.
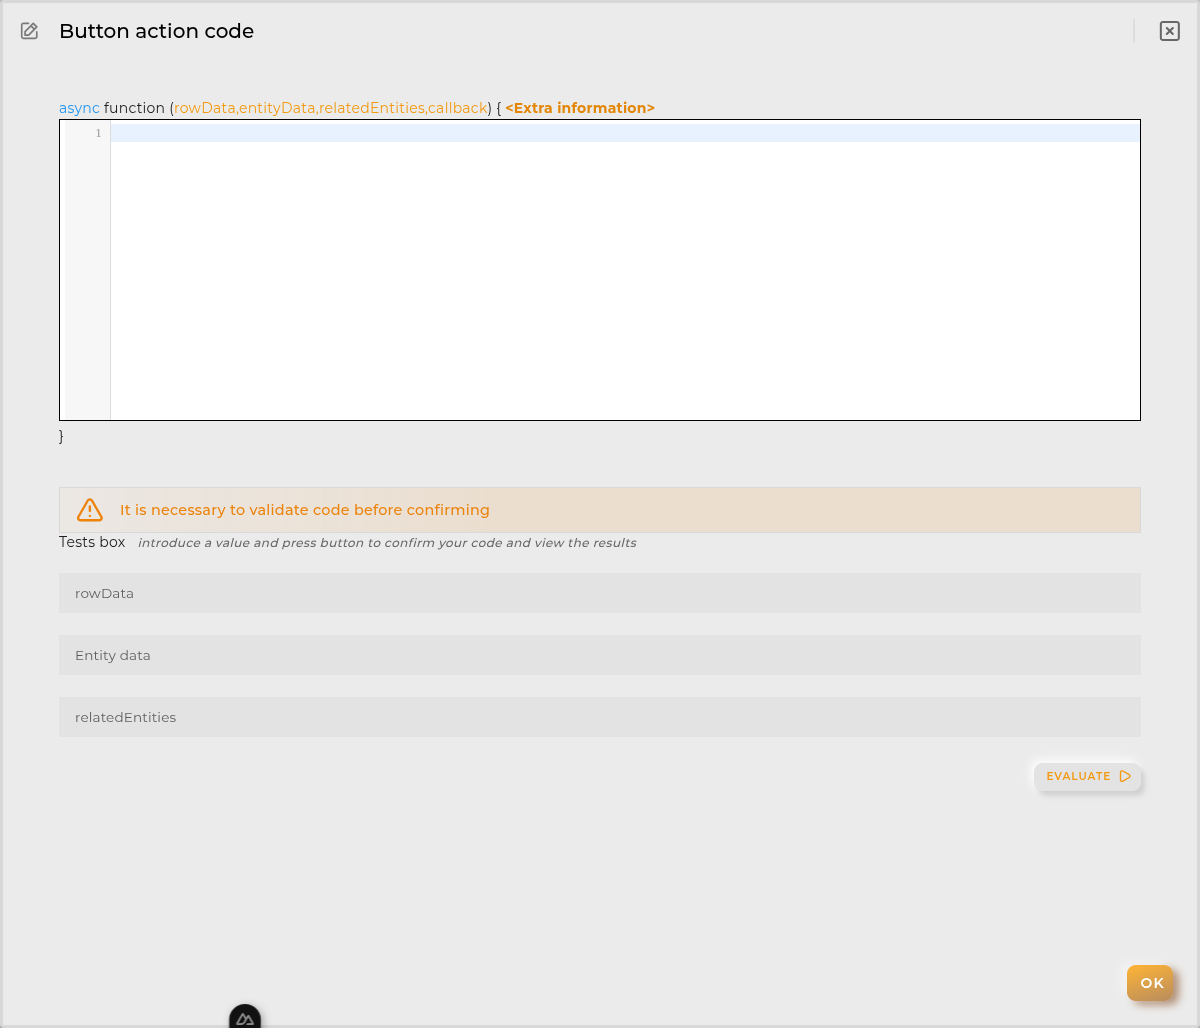
You can find all available functions and methods in Extra parameters
Advanced
In this section, you will configure various filters that will be applied to queries regardless of the user’s specific filtering preferences.

Widget Filters Configuration
Here you can define how widget filters should behave when sharing the dashboard with other users/organizations. This means that when sharing, a user opens these dashboards and won’t see the filters applied to the original dashboard in the specified widgets, preventing the information displayed from changing after a dashboard refresh.
The three possible options are:
- Don’t share the widget’s general filter
- Don’t share header filters in lists
- Don’t share sorting in lists