2. Users and Roles
OpenGate Users and roles
OpenGate offers a flexible system for user and role management. The platform primarily distinguishes between administrators and regular users.
-
🛠️ Administrators: Users with the highest level of access and permissions. They can manage key account settings, such as organization structure, user provisioning, datamodel and datastream configuration, and the creation of time series and datasets. Administrators are typically responsible for modeling the collected data, defining a structured environment through workspaces and dashboards, and sharing them with other users.
-
👥 Platform Users: Users with more limited roles, focusing on solution operations. They interact with entities and digital assets, oversee values, manage rules, alarms, tickets, and more. Administrators may create specific dashboards and workspaces for these users, or they can build their own based on their access level.
Additionally, all roles are fully customizable, allowing fine-grained control over access and actions across the platform. While the deeper logic and configuration of roles is explored in the complete OpenGate API documentation, this guide focuses on user creation and role assignment via the built-in wizard.
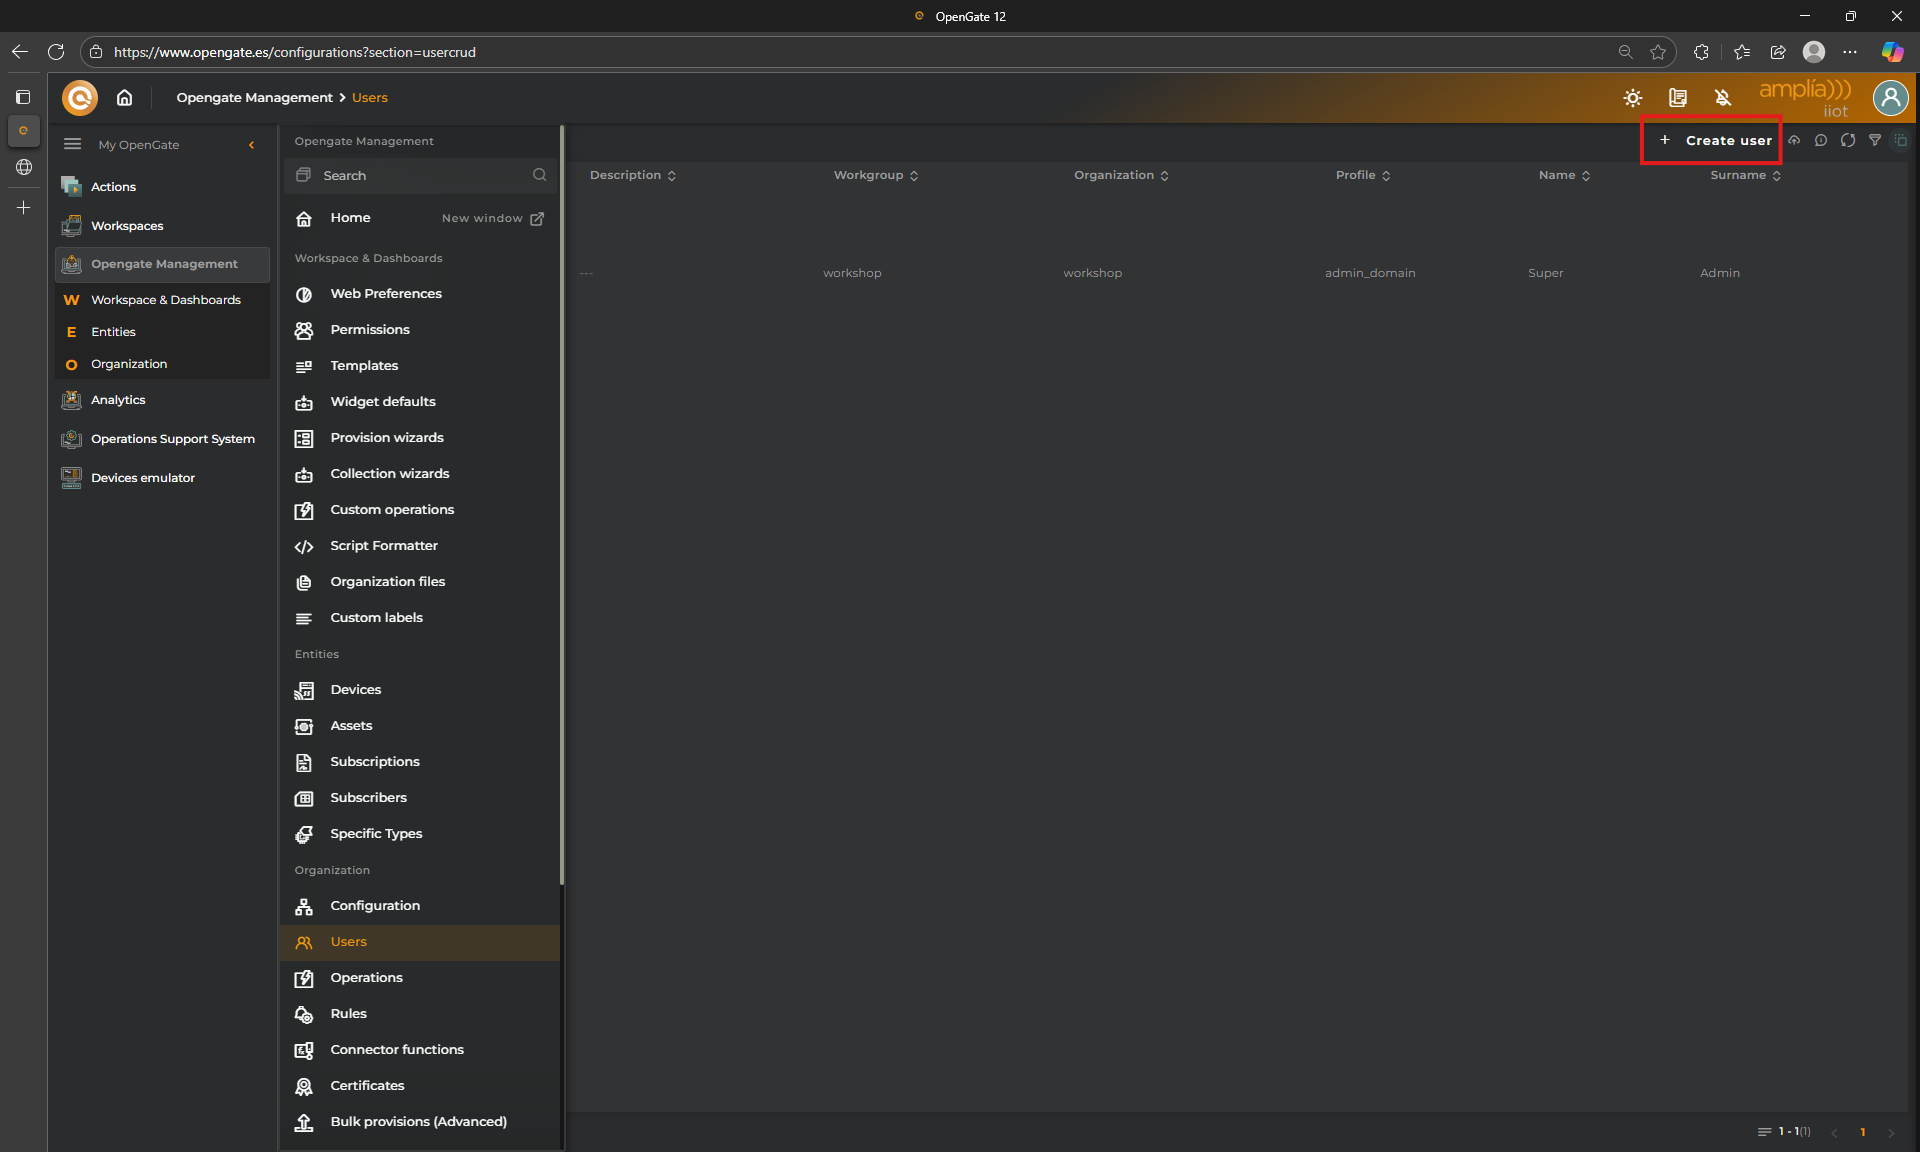
👤 Creating a new user
Administrators can onboard users using a step-by-step wizard located in the “Users” section of the “Opengate Management” web console. Click on “+ Create user” within the users table to begin.
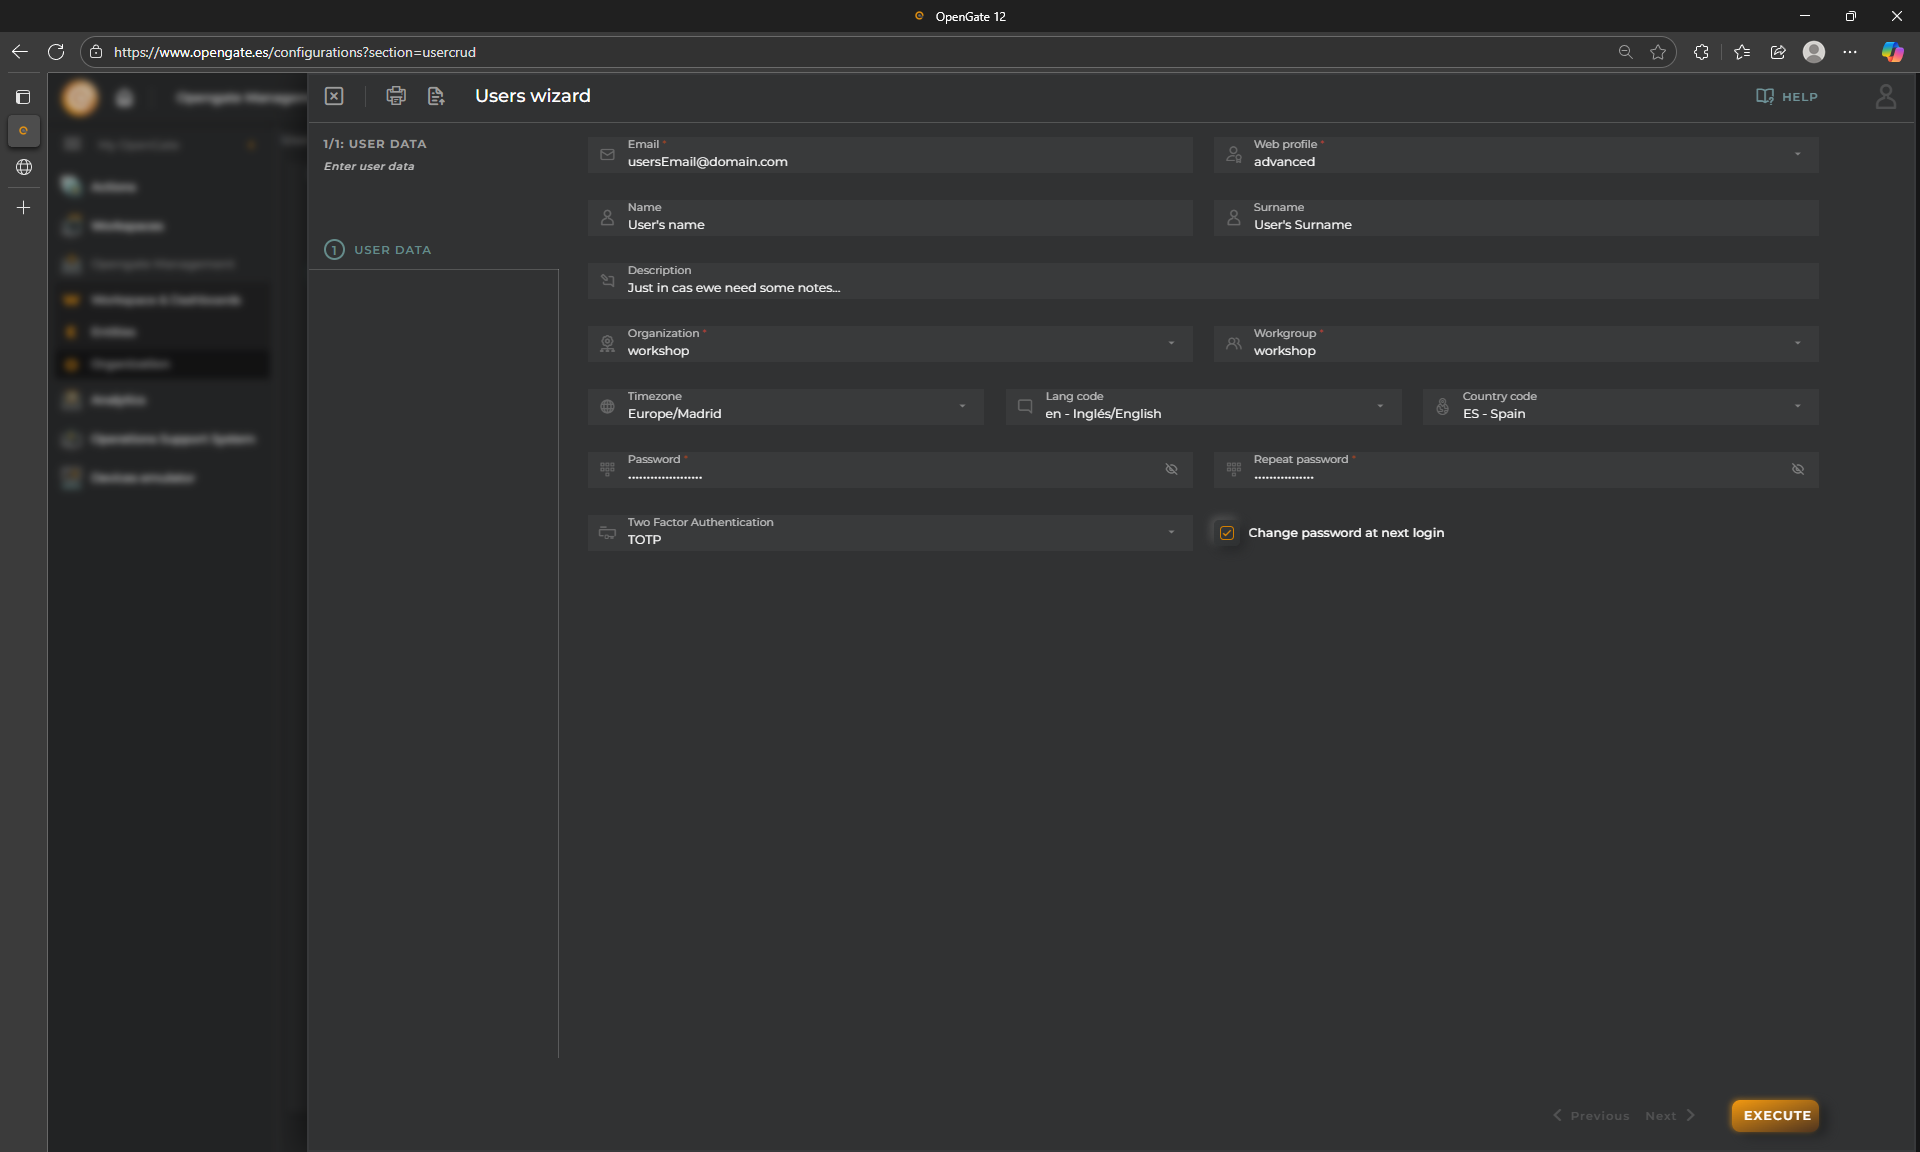
Once selected, the wizard guides you through the essential onboarding fields:
- User’s full name and email address: The email address will serve as the username and is required for password recovery.
- Organization: Indicates where the user belongs. This could be a suborganization if multiple levels exist within your OpenGate account.
- Role selection: Choose from predefined or custom roles.
- Password setup: You can define an initial password, enforce a password change on first login, and configure TOTP (Time-Based One-Time Password).
⚠️ IMPORTANT: Passwords must contain at least 12 characters, including uppercase letters, lowercase letters, numbers, and symbols.
After completing the form, the user is registered immediately and can log in with the provided credentials. Permissions are granted based on the assigned role, determining their access scope and allowed actions.
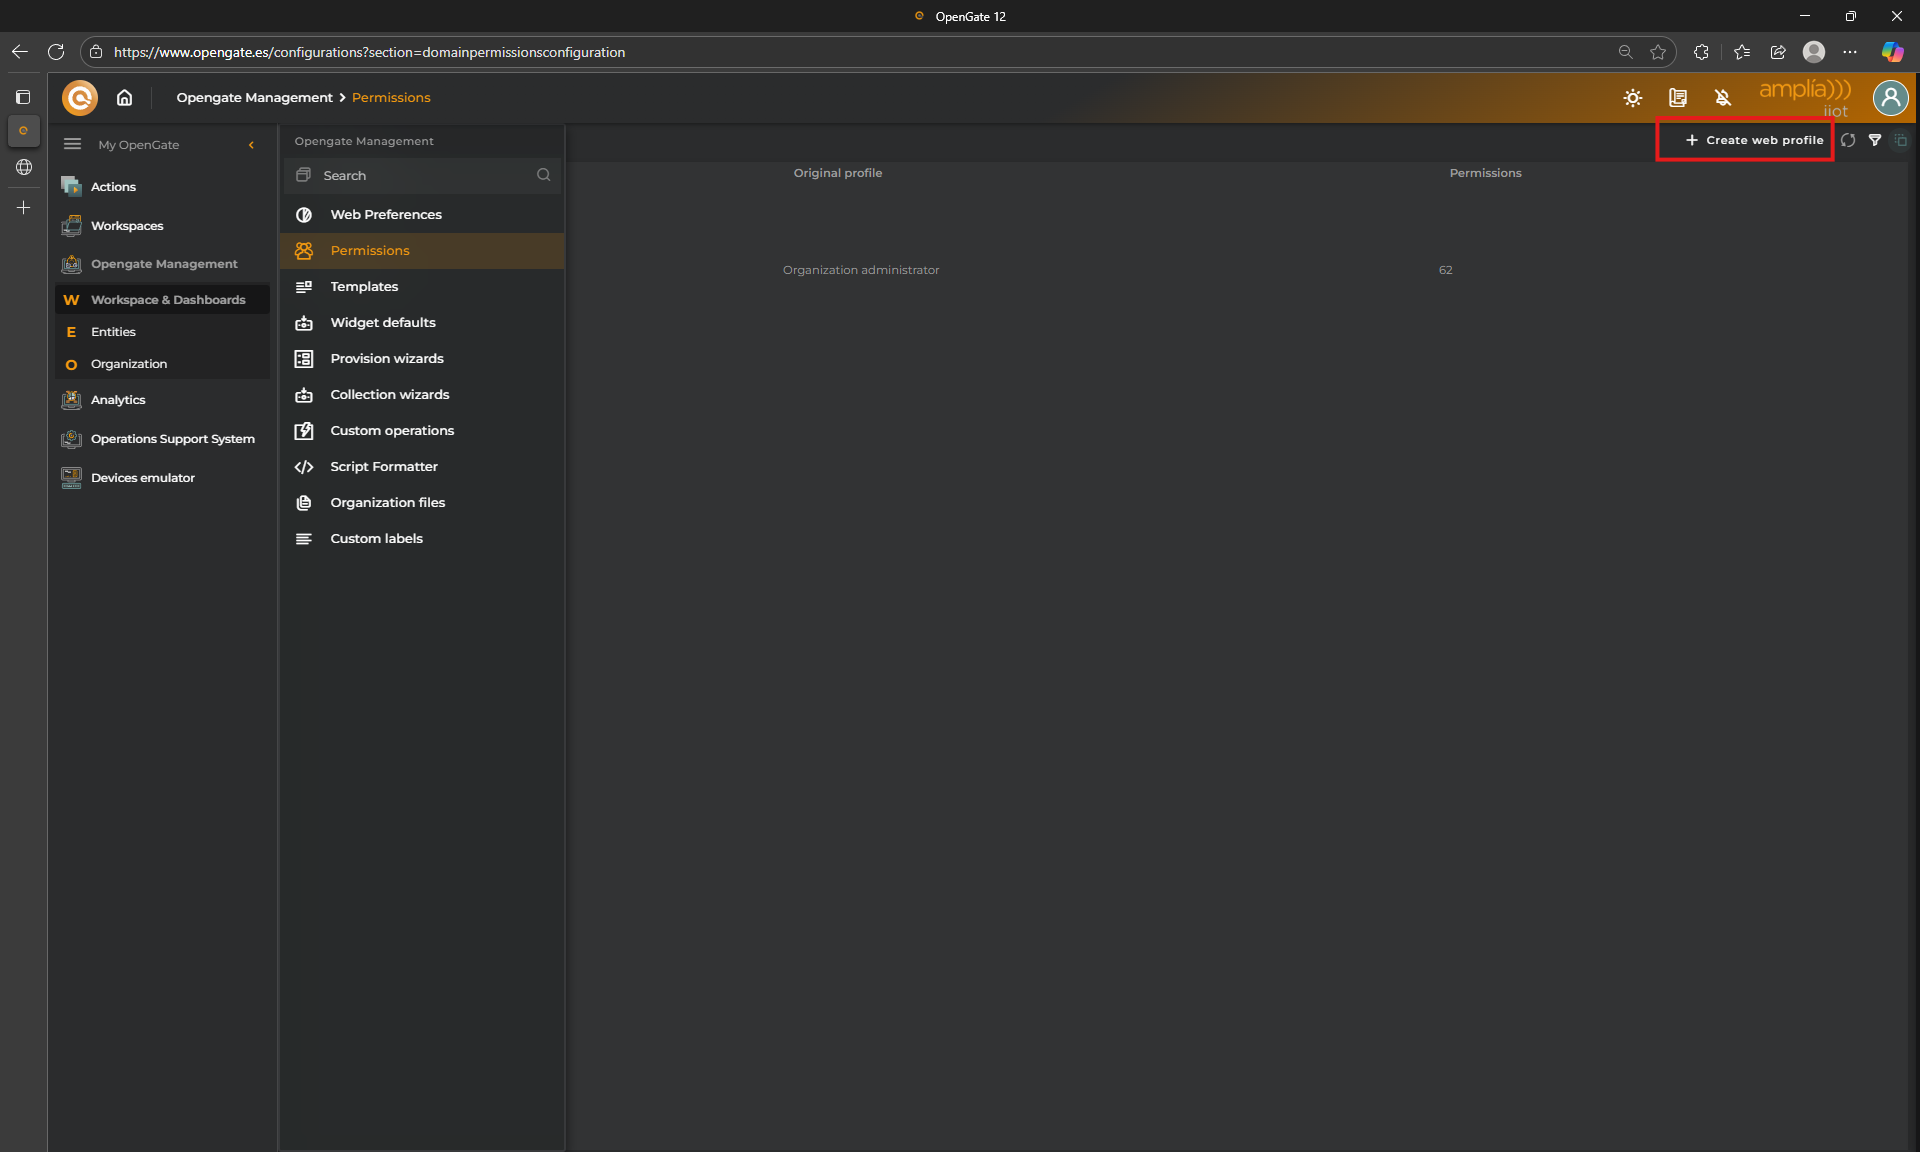
🎭 Creating a custom role
Let’s take a quick view of this functionality. It is possible to create custom roles if you login as an Administrator user and go to “Opengate Management > Permissions”, then click on “+ Create web profile”.
This opens a wizard to help you define a new role with tailored permissions:
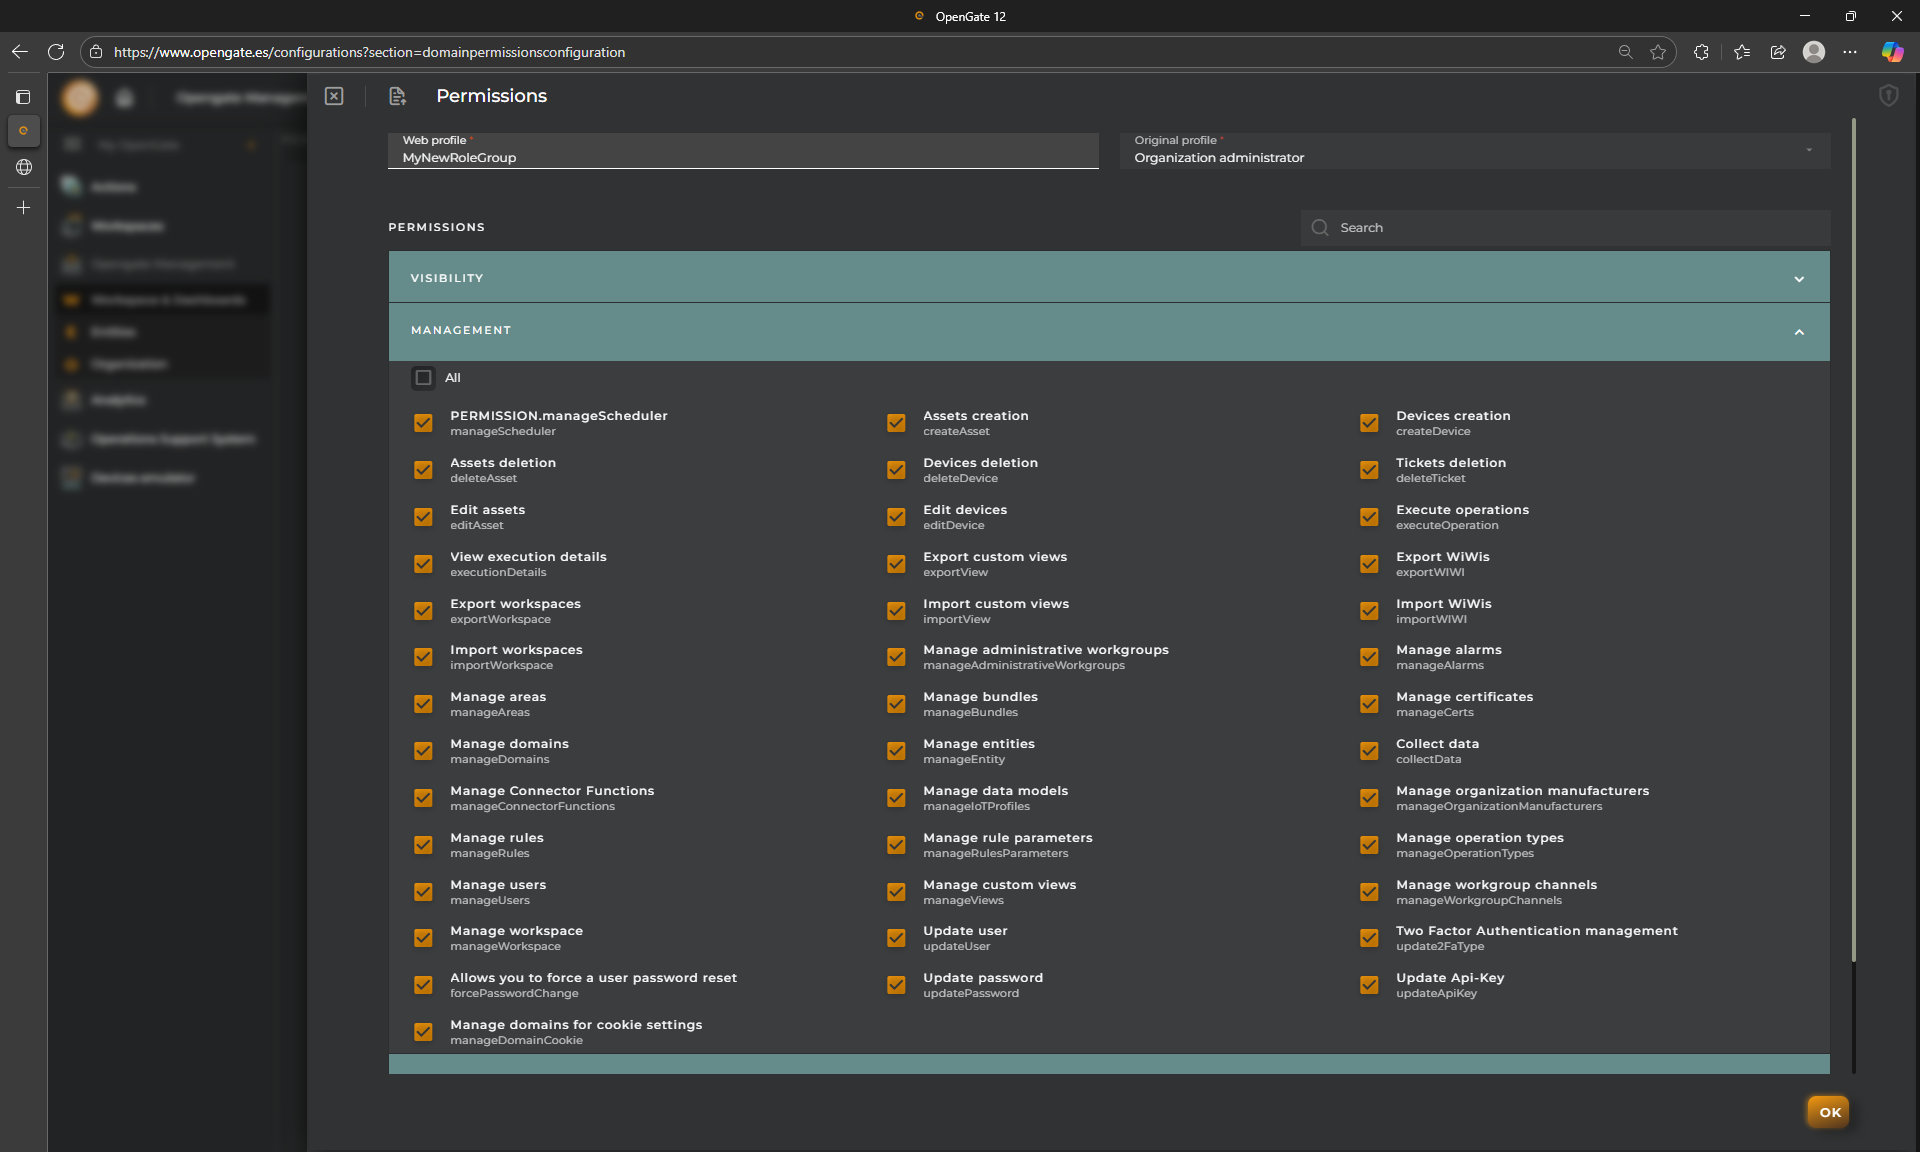
📌 IMPORTANT: Custom roles apply only to the OpenGate GUI. If your users need API access, remember that only the predefined OpenGate roles are supported at the API level.