3. Data Modeling
📦 Data Modelling in OpenGate
OpenGate provides you powerful tools to create and manage data models that define how information flows through the platform. This includes setting up entities, digital assets, and the structure used to monitor, analyze, and act upon collected data.
A well-defined data model allows you to:
- Represent real-world objects (devices, vehicles, installations, etc.) as entities or digital assets
- Define its properties, attributes or collected data as datastreams to capture metrics, behaviors, and status information
- Enable visualizations creating dashboards and templates for your entities
- Create rules that respond to data values or changes over time
- Manage the entities creating operations
Data models, are organized into groups or Categories and, each category contains one or more datastreams, that are the representation of each entity data or property. The platform enables administrators to build these structures manually using the OpenGate web interface (or programmatically via the API). For a hands-on guide to building your data model and so, your data structure, let’s continue with the Datamodel configuration.
🏗️ Create your first Datamodel
We are going to create our first Datamodel in our OpenGate IoT Platform account (We assume that you have an OpenGate user with “admin” role). Following our story regarding the warehouse facility, we are going to create this structure where the intention is to represent parking slots and its status (the parking slot occupation) and facility rooms and its status (temperature, humidity and presence):
Data Model
-
ID:
warehouse -
Name:
Warehouse -
Description:
Warehouse datamodel for parking and facilitiesCategory 1
- ID:
parking - Name:
ParkingData Stream 1- Data Stream ID:
occupation - Data Stream Name:
Parking Space Occupation - Data Stream Description:
Parking space occupation detected - JSON schema:
boolean
- Data Stream ID:
Category 2
-
ID:
facility -
Name:
FacilityData Stream 1
- Data Stream ID:
temperature - Data Stream Name:
Temperature - Data Stream Description:
Ambient temperature registered - JSON schema:
number
Data Stream 2
- Data Stream ID:
humidity - Data Stream Name:
Humidity - Data Stream Description:
Humidity registered - JSON schema:
number
Data Stream 3
- Data Stream ID:
presence - Data Stream Name:
Presence - Data Stream Description:
Presence detected - JSON schema:
boolean
- Data Stream ID:
- ID:
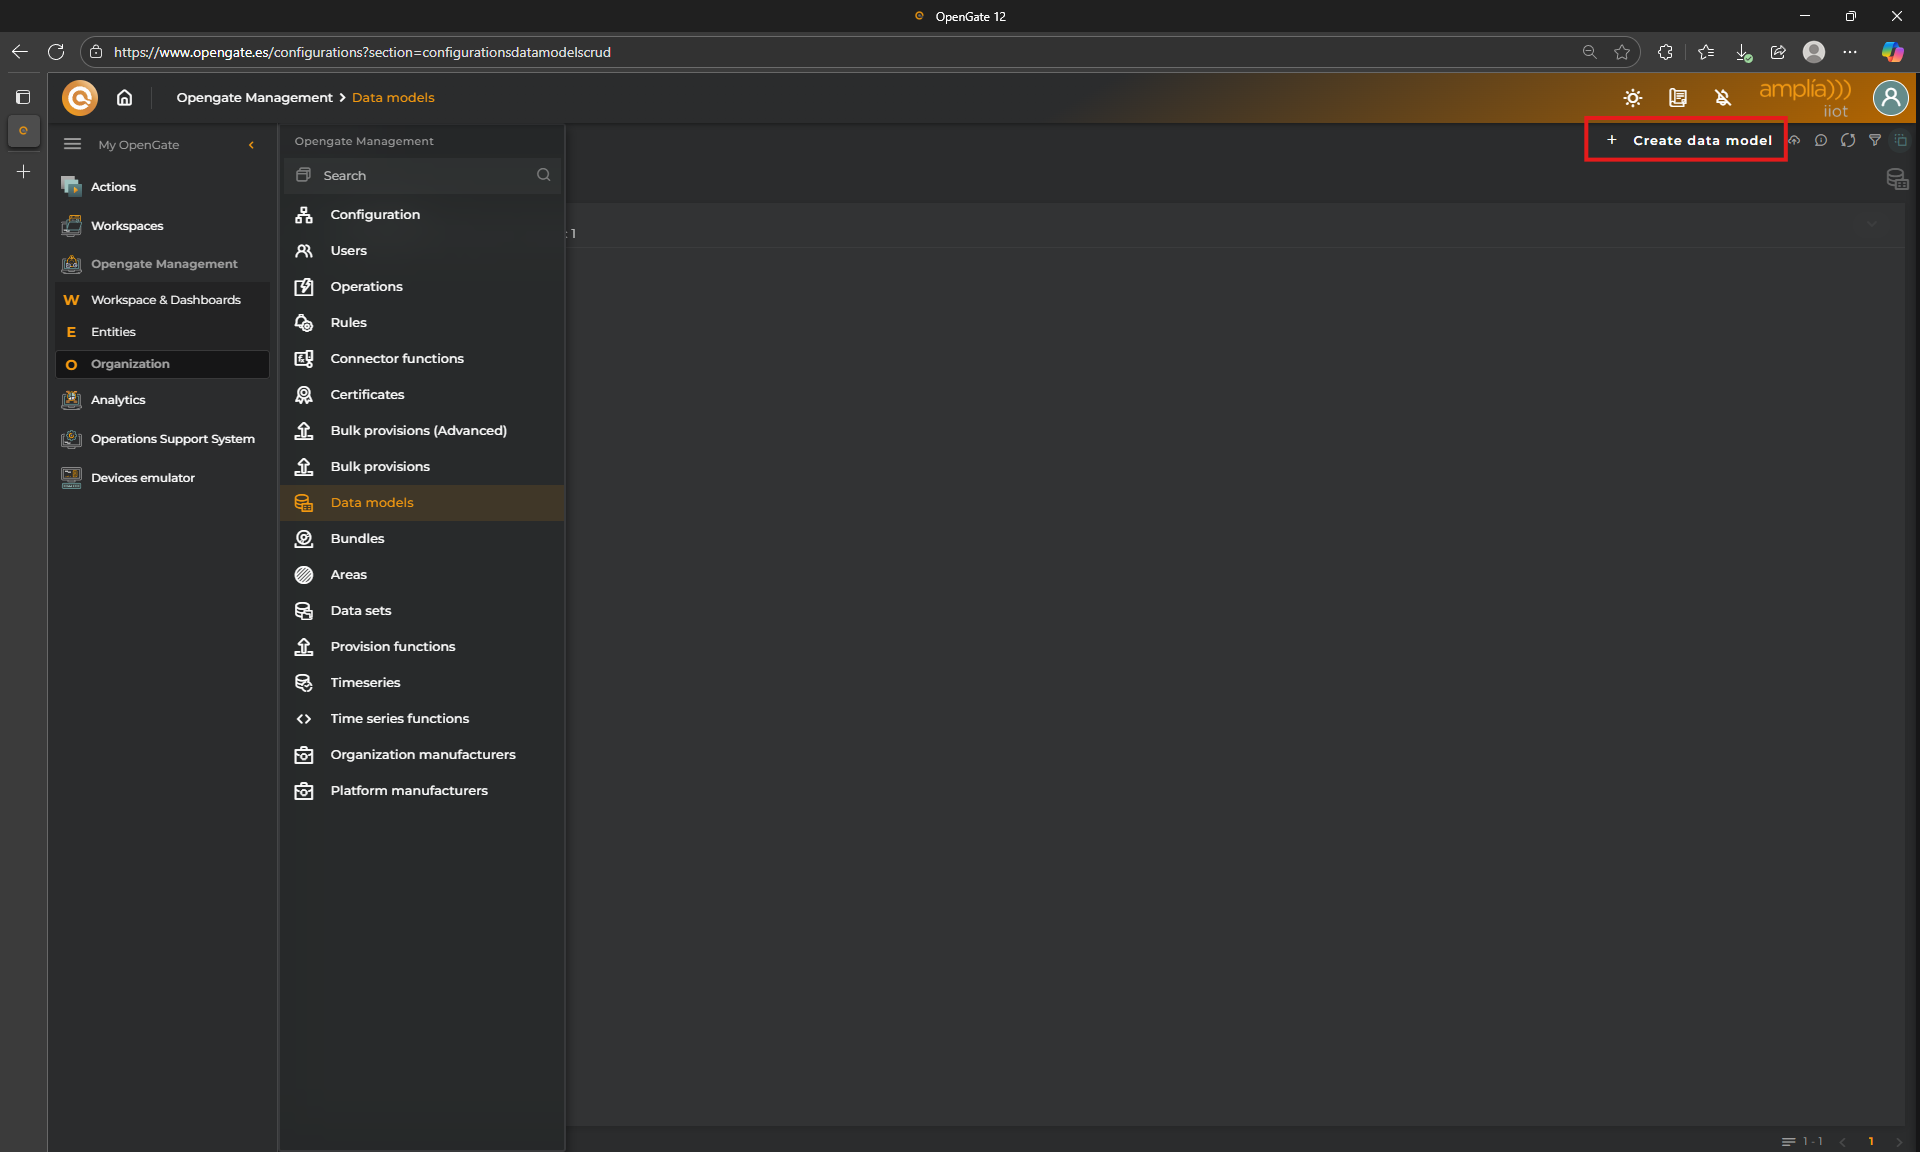
1. Open the Data model wizard
To do that, go to “OpenGate Management > Data Models” and click on “+ Create Datamodel”. This opens the wizard to create your new datamodel.
2. Create the new Data Model
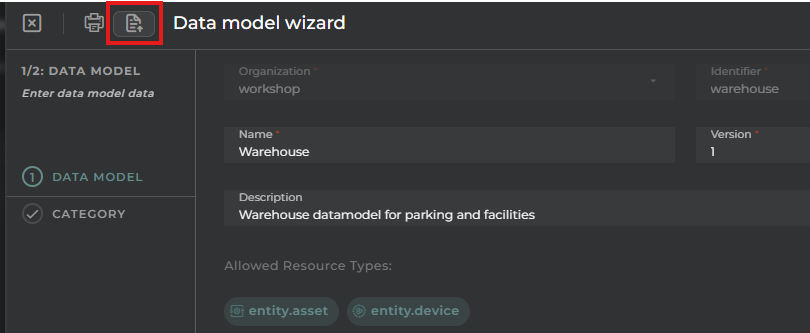
It is possible to import a JSON file to fill the form (this will be provided bellow), or to follow the wizard to fill the data model information. Because is your first datamodel, we recommend you to fill it manually to fully understand each step, so let’s create the data model “warehouse”:
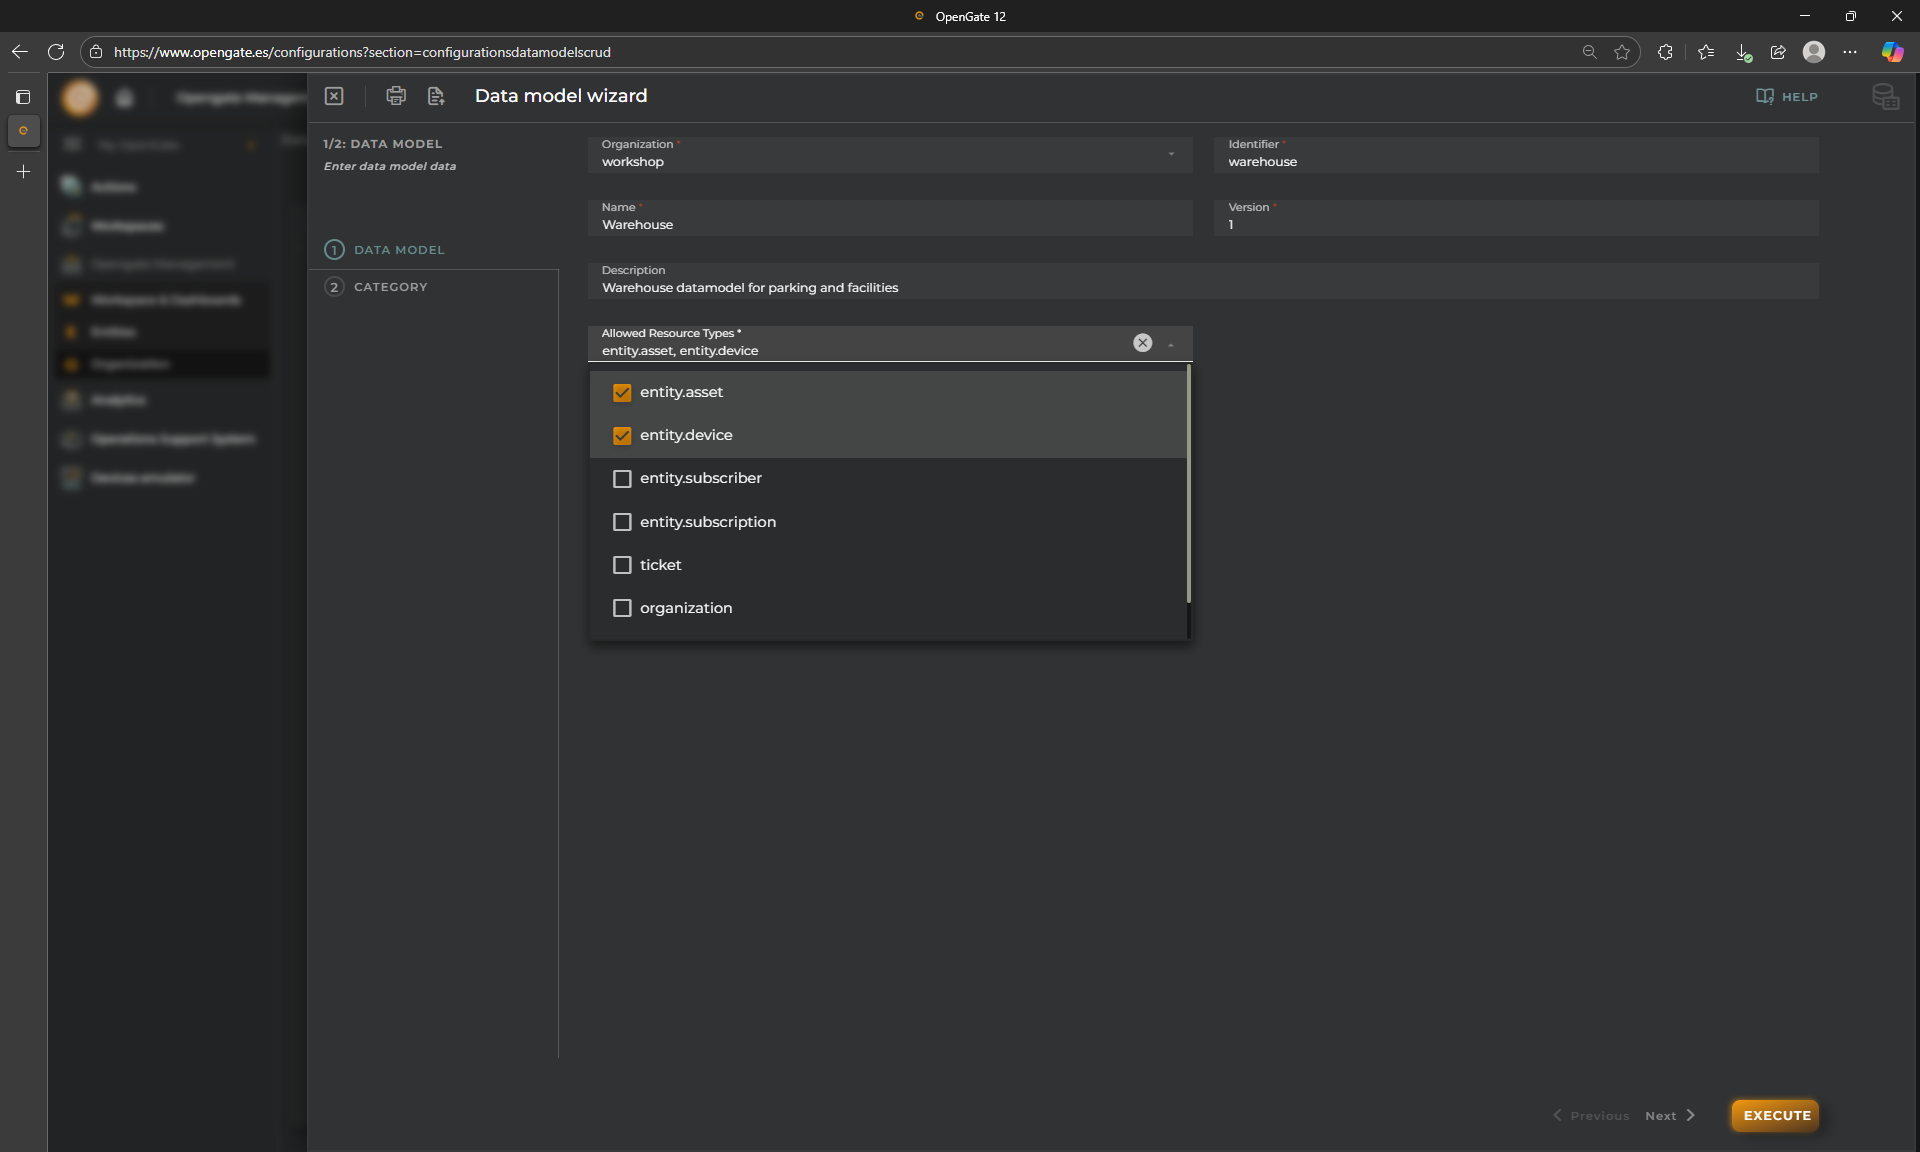
Allowed Resource Types: This field indicates to what type of entities this datamodel applies. For this demo, we will choose device and asset (We detailed the different entity types in the next section: 4-Entity Provisioning). For this tutorial, we will create later the assets to represent parking slots and facility rooms and some devices for the different sensors that each asset has.
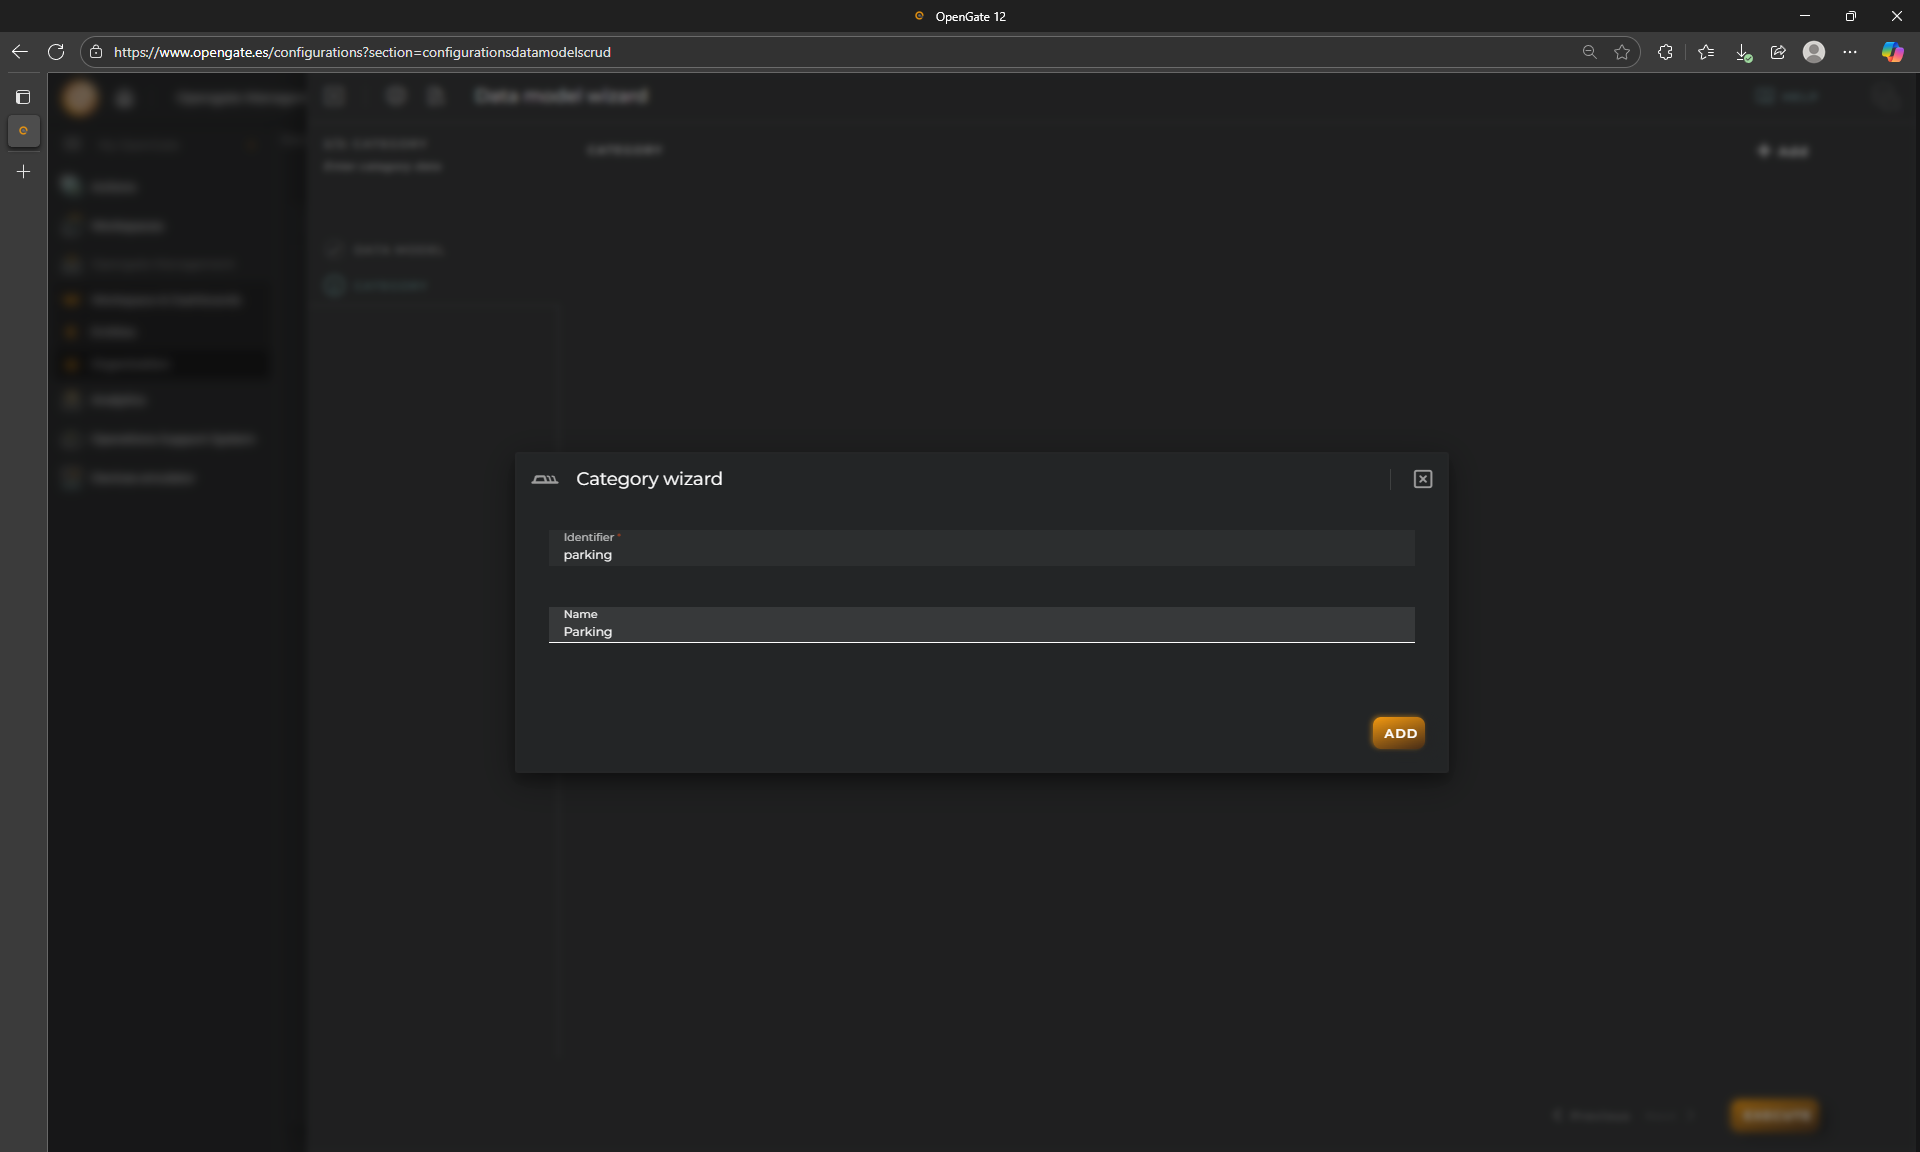
3. Create the first category
So, next step, we are going to create the category “parking”:
4. Create the first data stream
And then, create the datastreams from “+ ADD DATASTREAMS” button

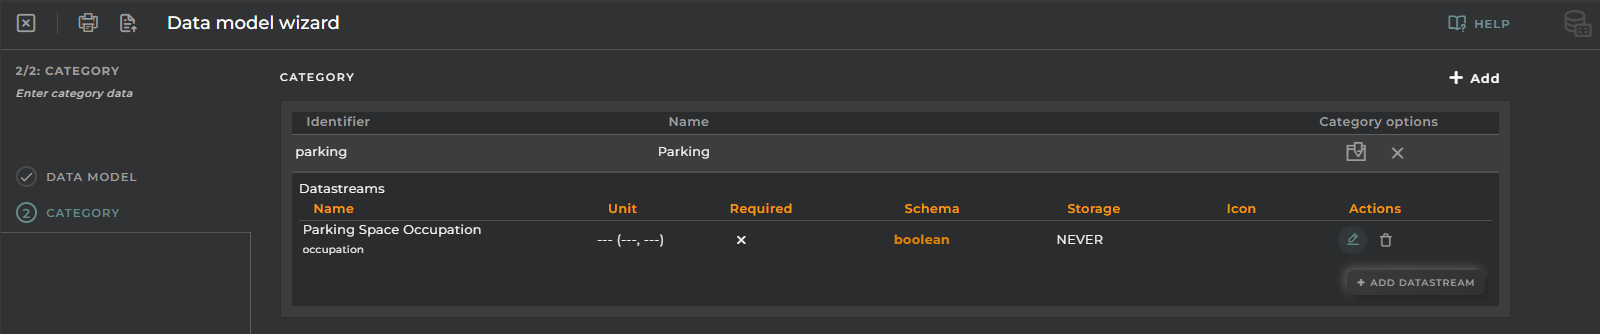
Lets start with the first datastream “occupation”:
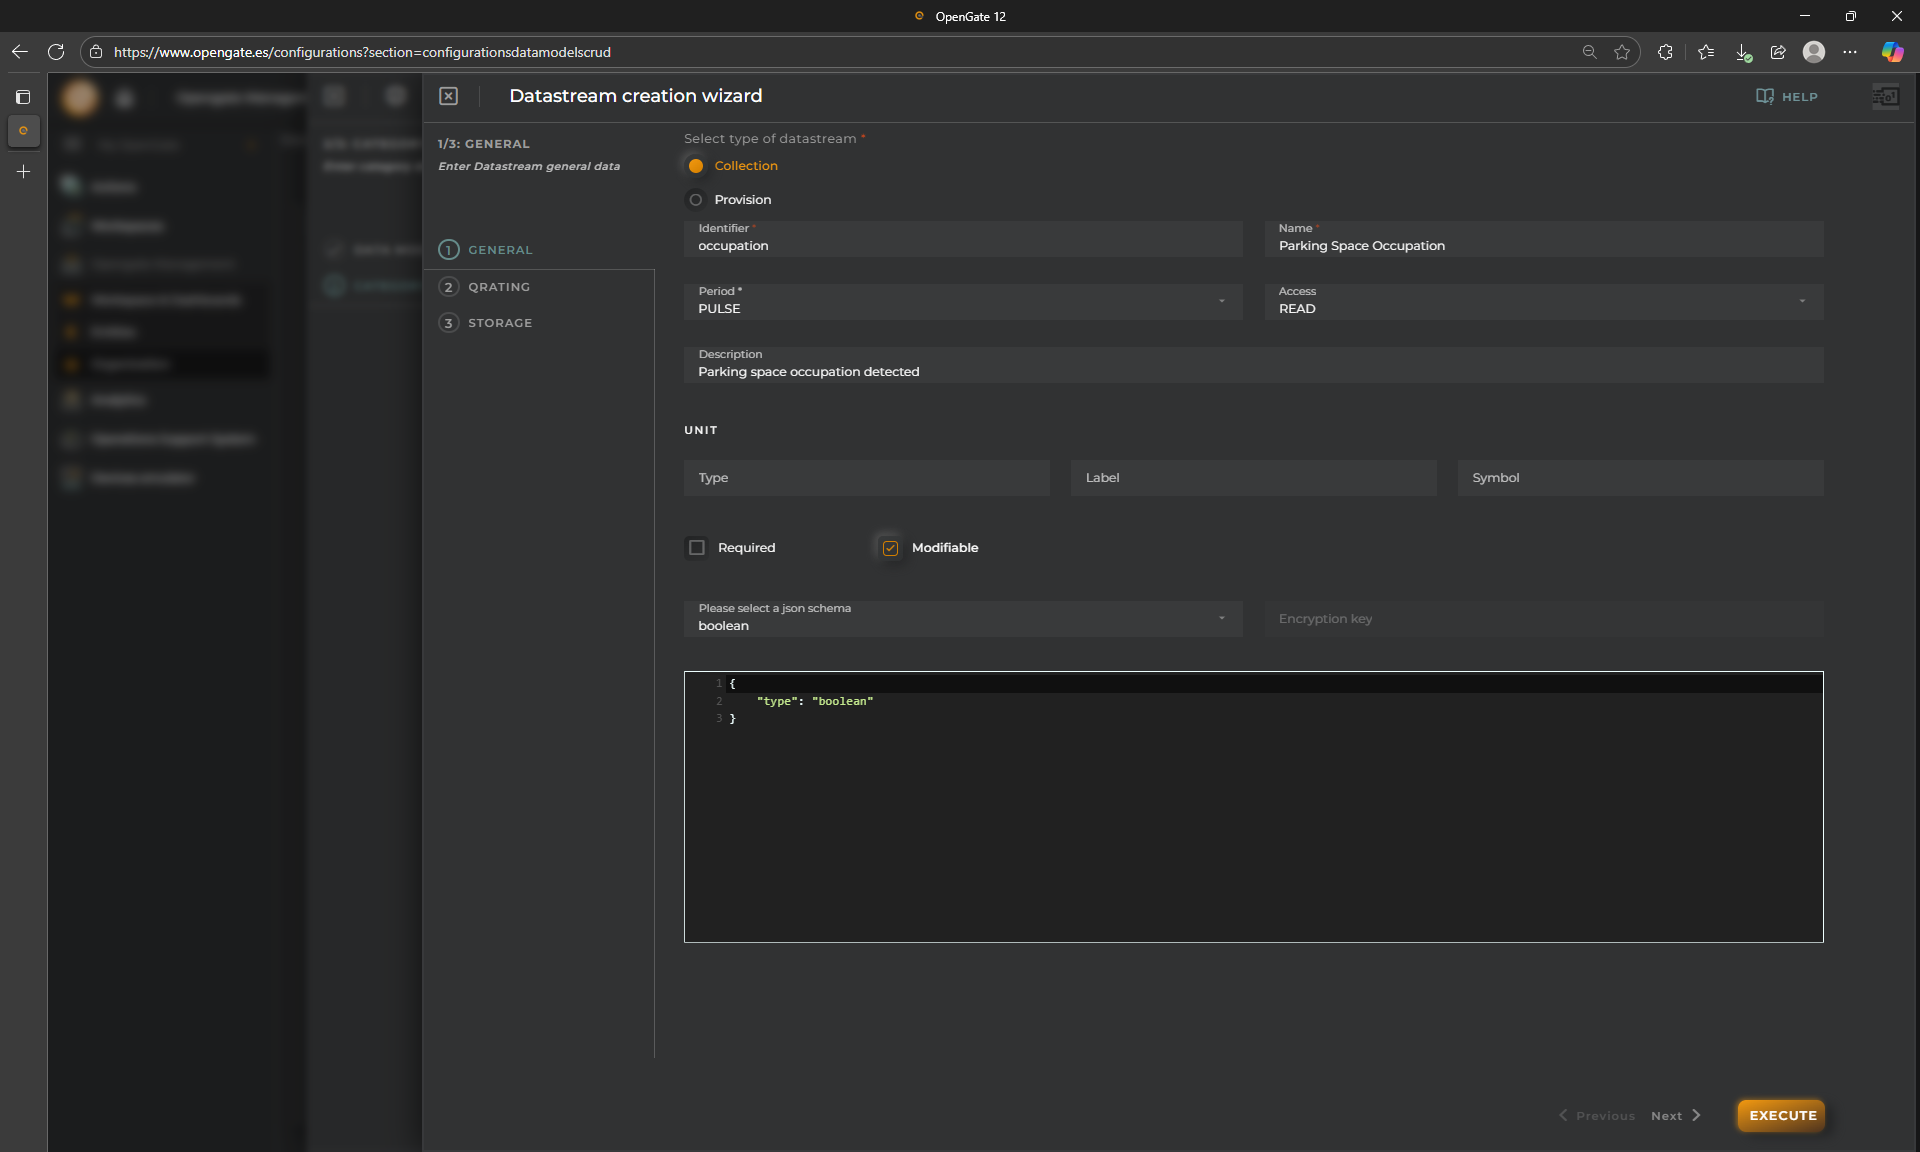
For this demo, just fill the first step and click on “EXECUTE”. Then our new datastream occupation is added to the parking category:
5. Finish your work:
Continue at your own and add the other category and its datastreams. At the end, you should have the following:
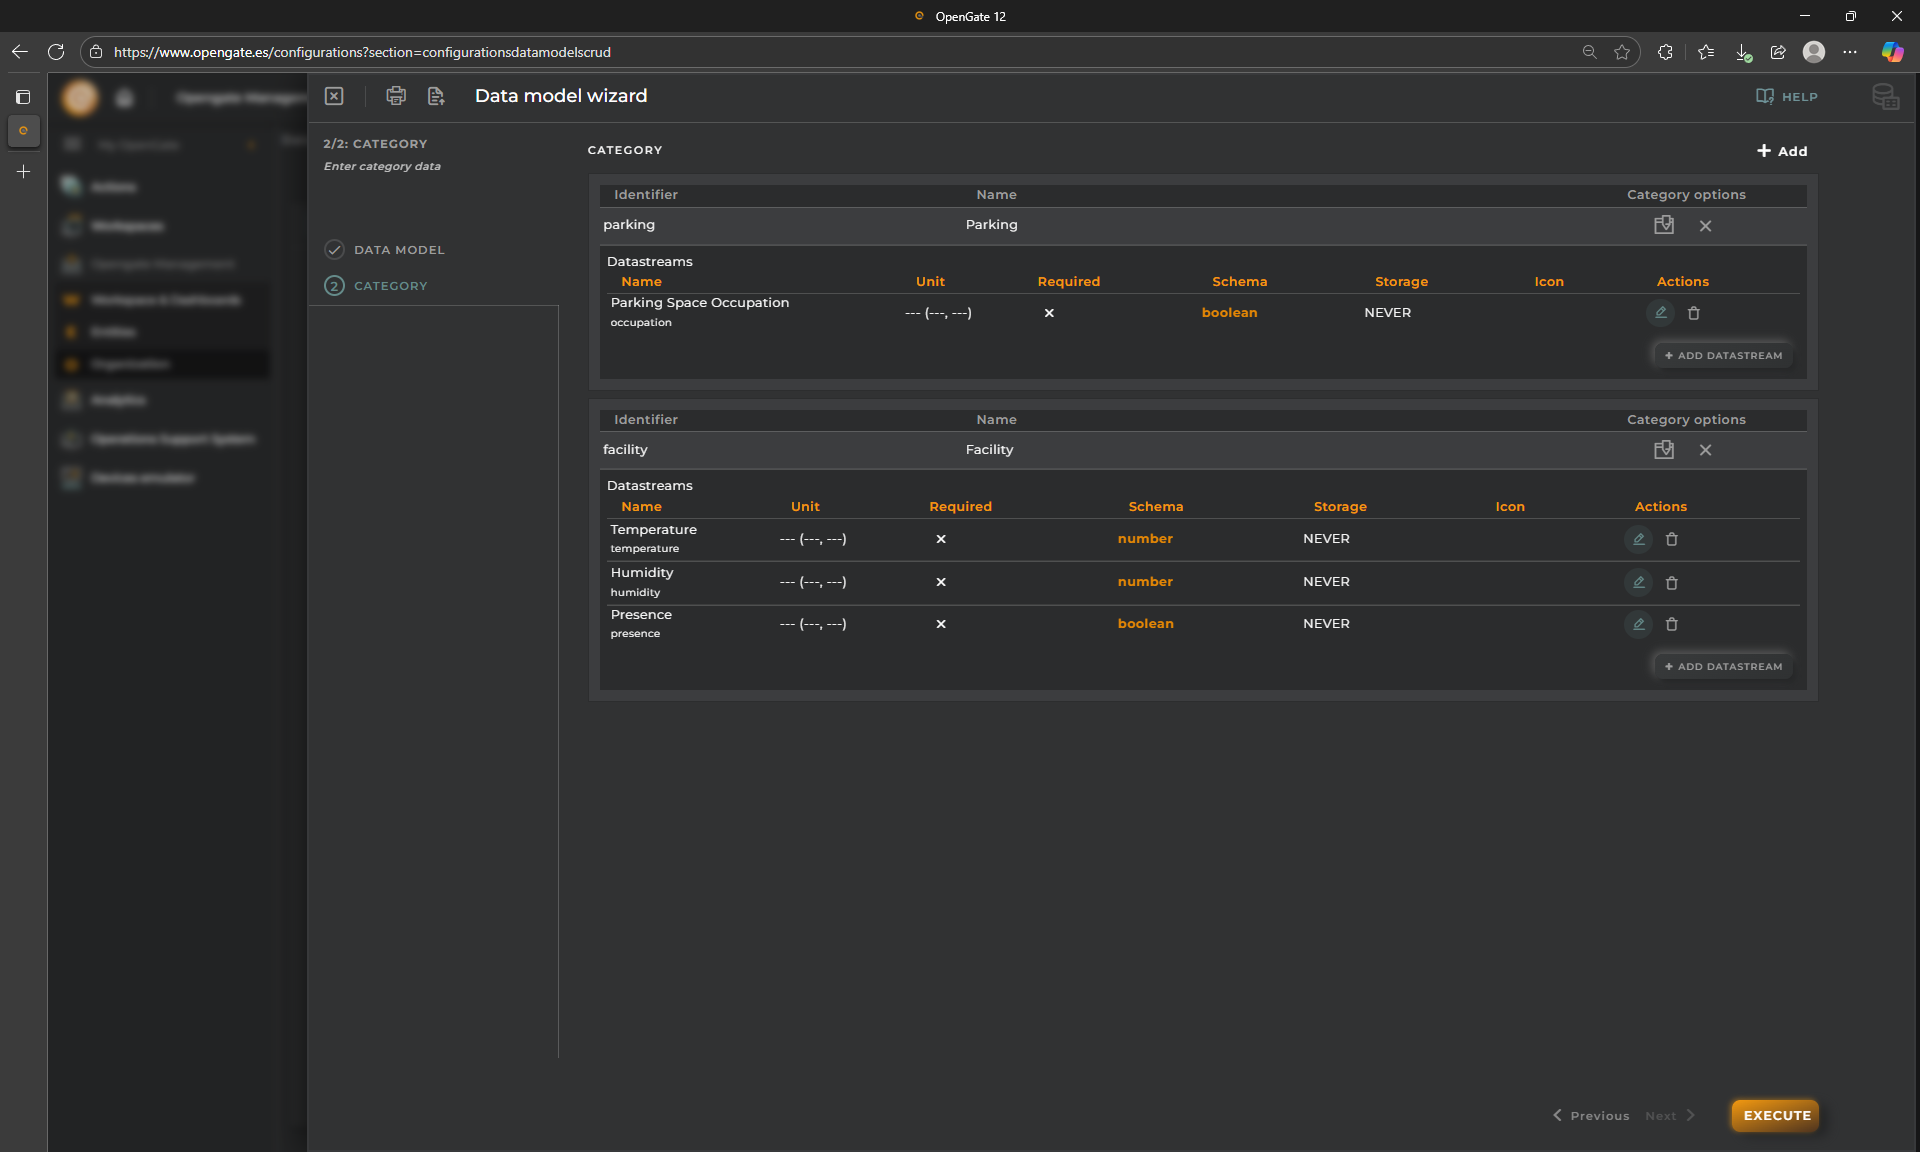
If all the information is correct, click on “EXECUTE” to create the datamodel, you will receive the following message:
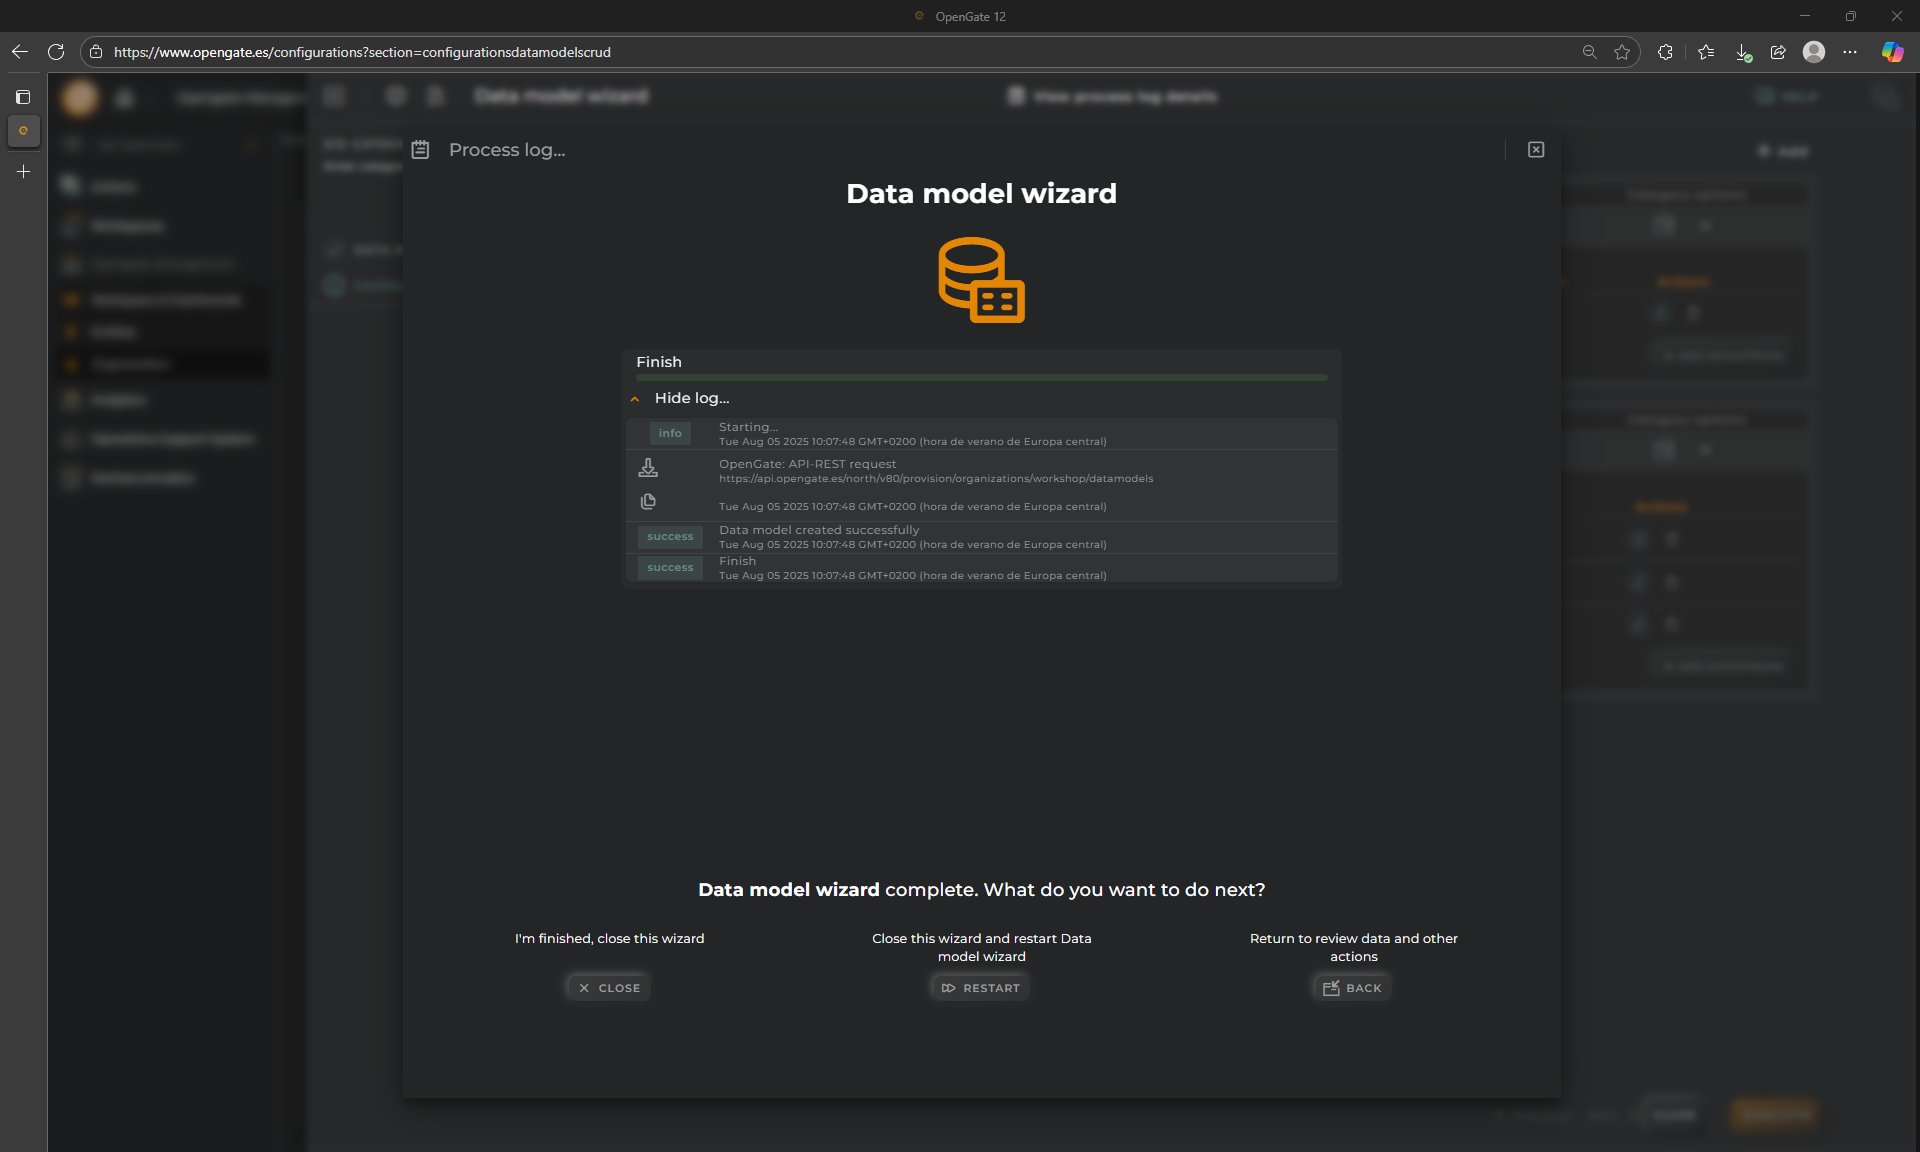
🎉 Congratulations you create your first datamodel successfully.
🗒️ Advanced tips
Here you can download the JSON to be imported in the wizard using the top option “Import/Export configuration”
Copy the following JSON and paste into the code box:
then click on apply in form:
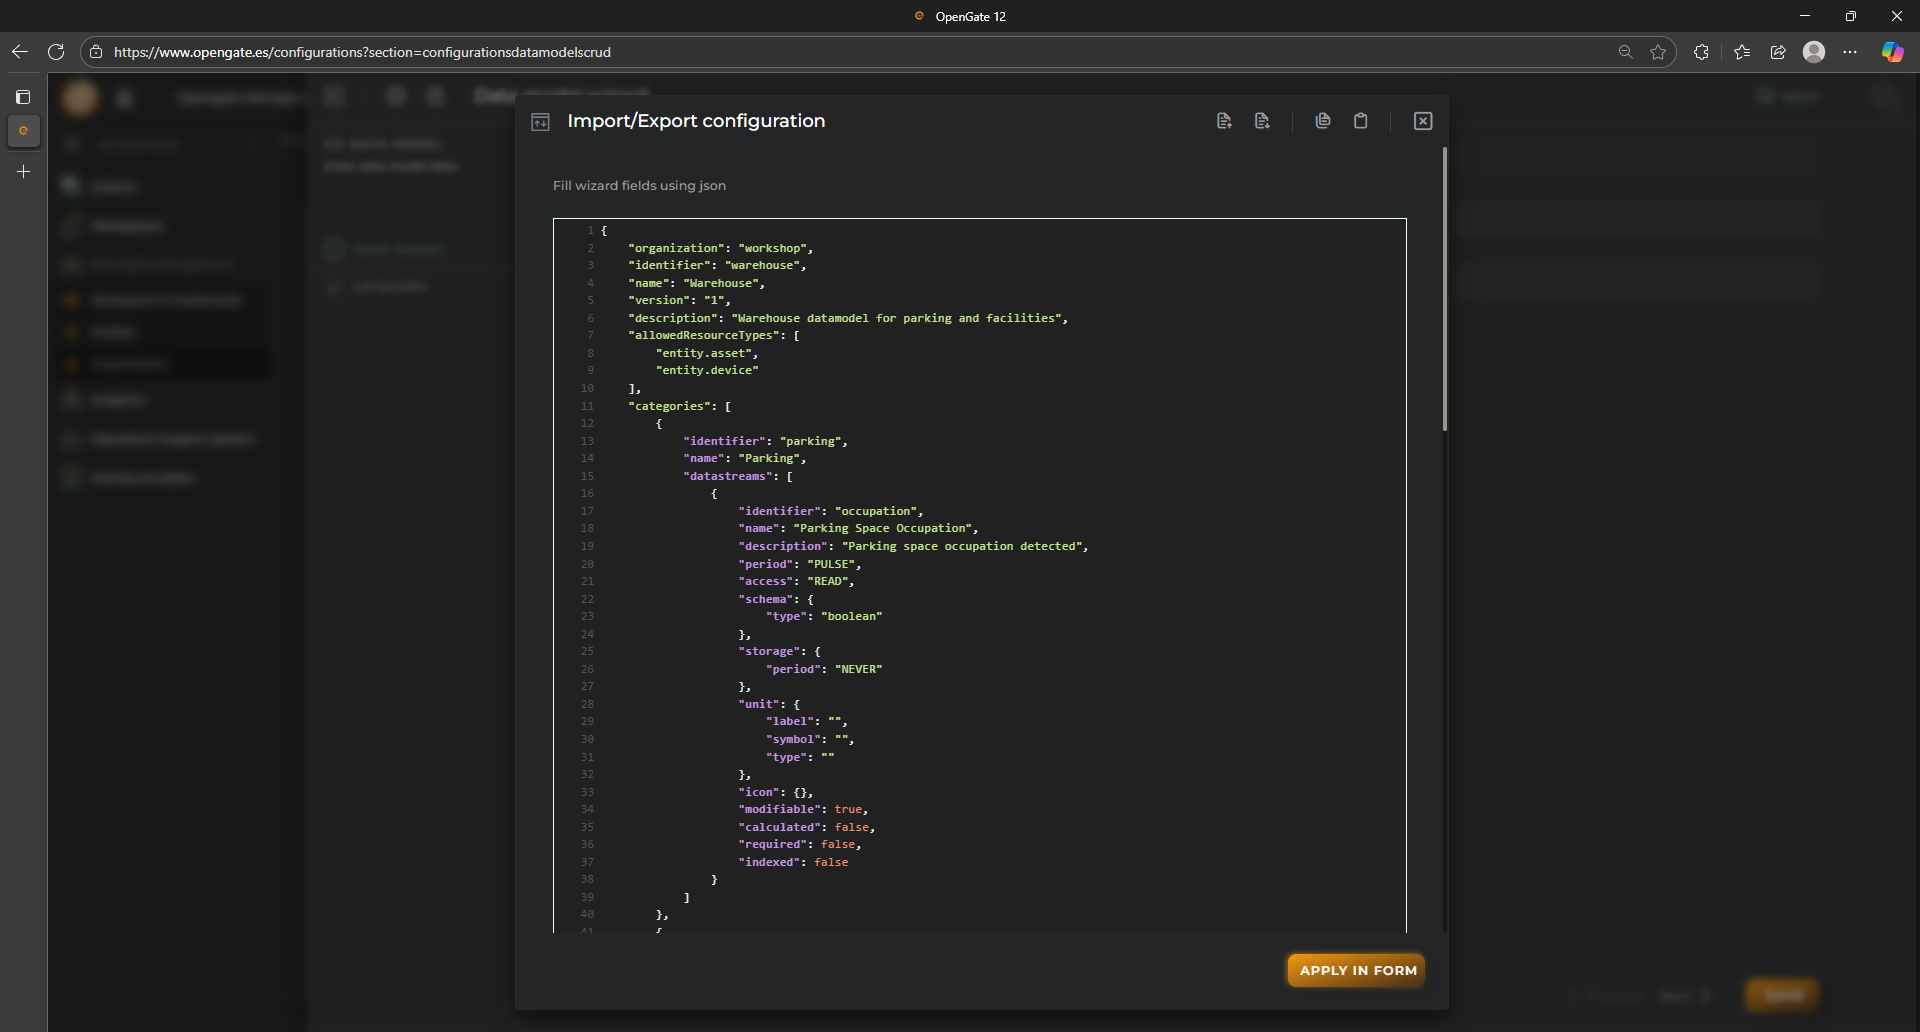
This apply the JSON in the wizard that can be used if desired, directly using the API.