8. Operations
⚙️ Operations in OpenGate
Once your dashboard is set up and filtered, it’s time to take action. OpenGate allows you to send operations to your devices directly from the dashboard using the Operations feature. But first, we need to configure a few operations to make them available.
📚 Understanding the Operations
Before sending any operation, it’s important to understand how operations are defined and managed in OpenGate:
- Operations are predefined actions that can be executed on entities (devices, assets, etc.).
- Each operation includes:
- A name and description and target entity types
- GUI Form definition and STEPS
- Optional parameters
- OpenGate offers a predefined Operations catalog out-of-the-box for: Reboot equipments, power on/off devices, refresh_info, refresh_presence, firmware update through bundles, and more.
- You can create your own custom operations, but we do not deeper in this basic tutorial.
🛠️ Configuring a Sample Operation: REBOOT
Let’s create a simple operation to reboot a device. This Operation already exists on the OpenGate Operations catalog and it is a good approach to learn how operations work.
1. Create the REBOOT Operation
-
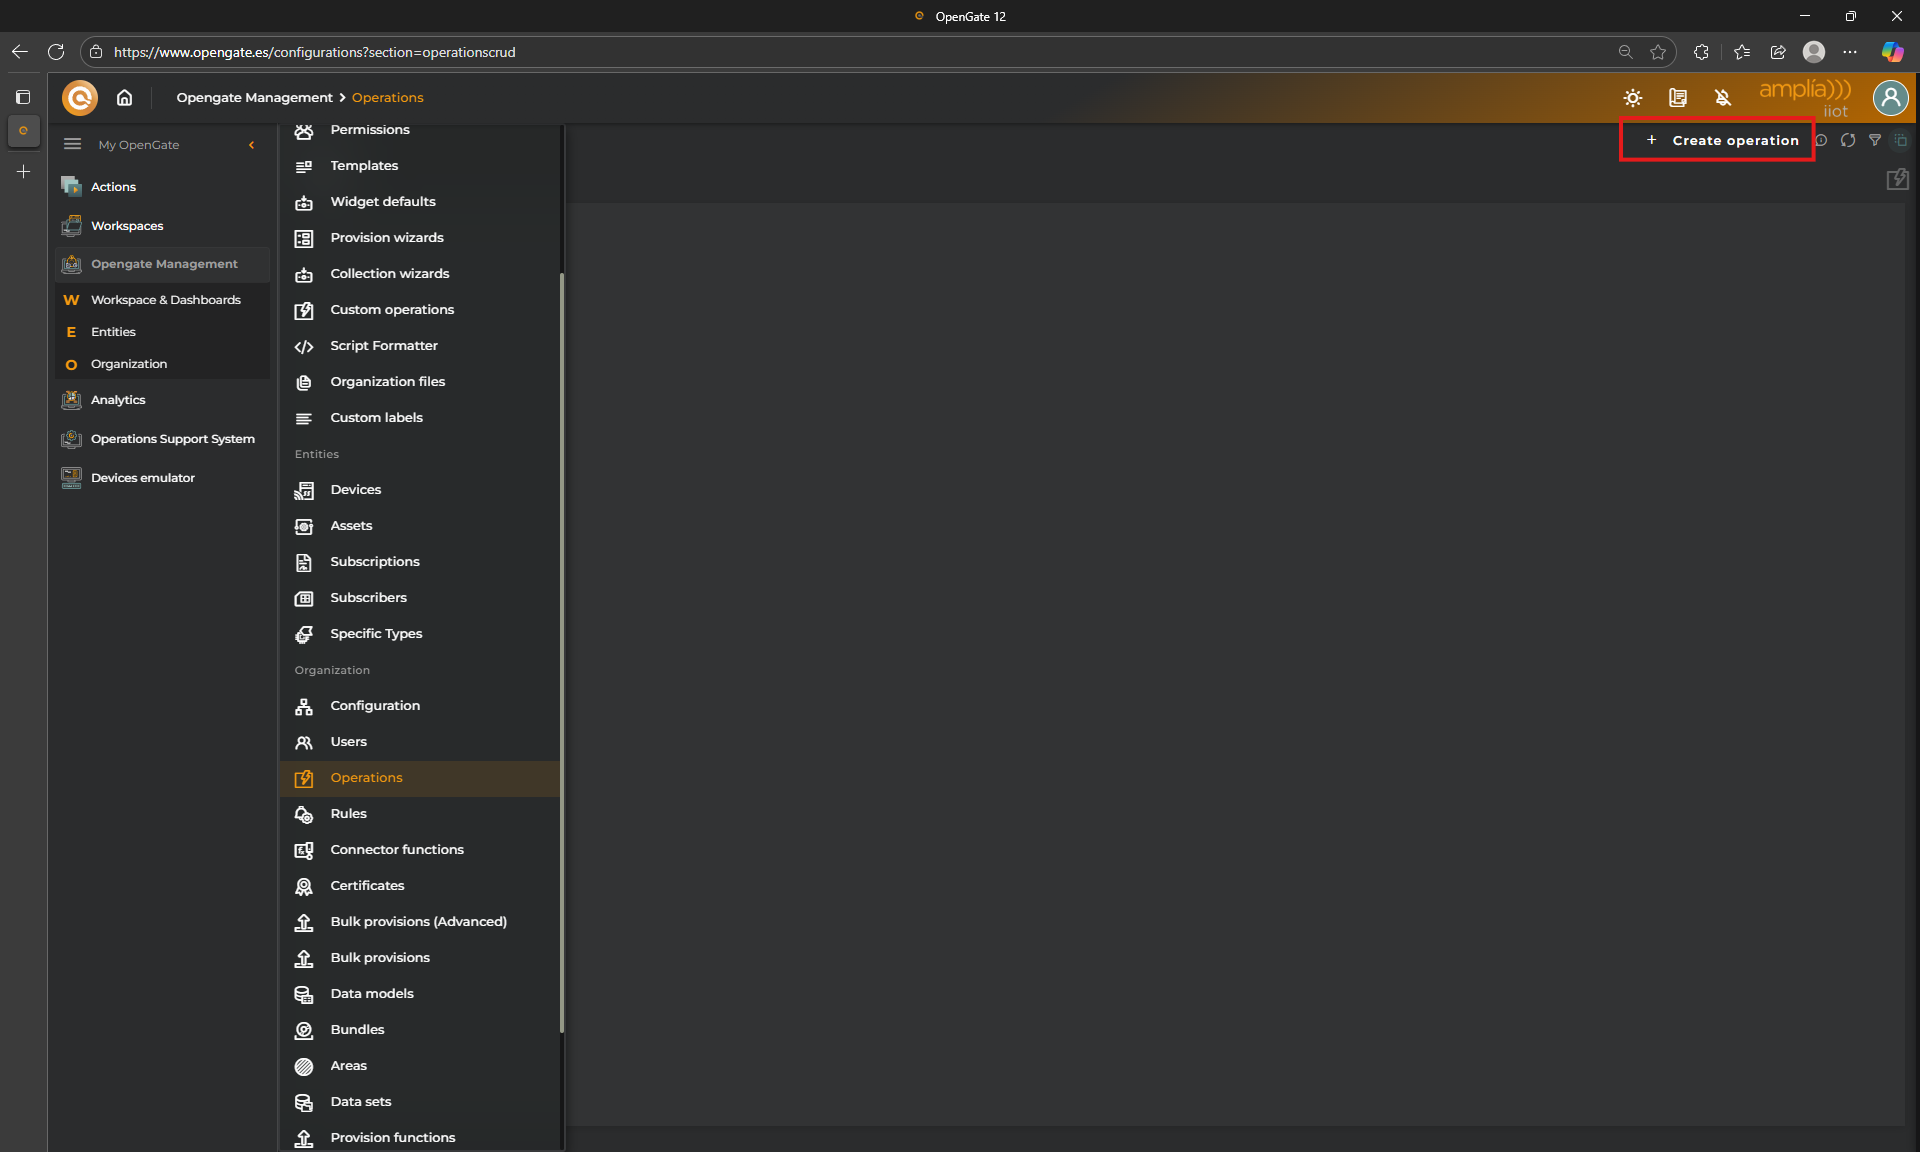
Go to OpenGate Management > Operations and click on “+ Create Operation”.
-
Click Clone from catalog and choose
REBOOT_EQUIPMENT. Keep data as default and click on next- Name:
REBOOT_EQUIPMENT - Title:
Reboot Equipment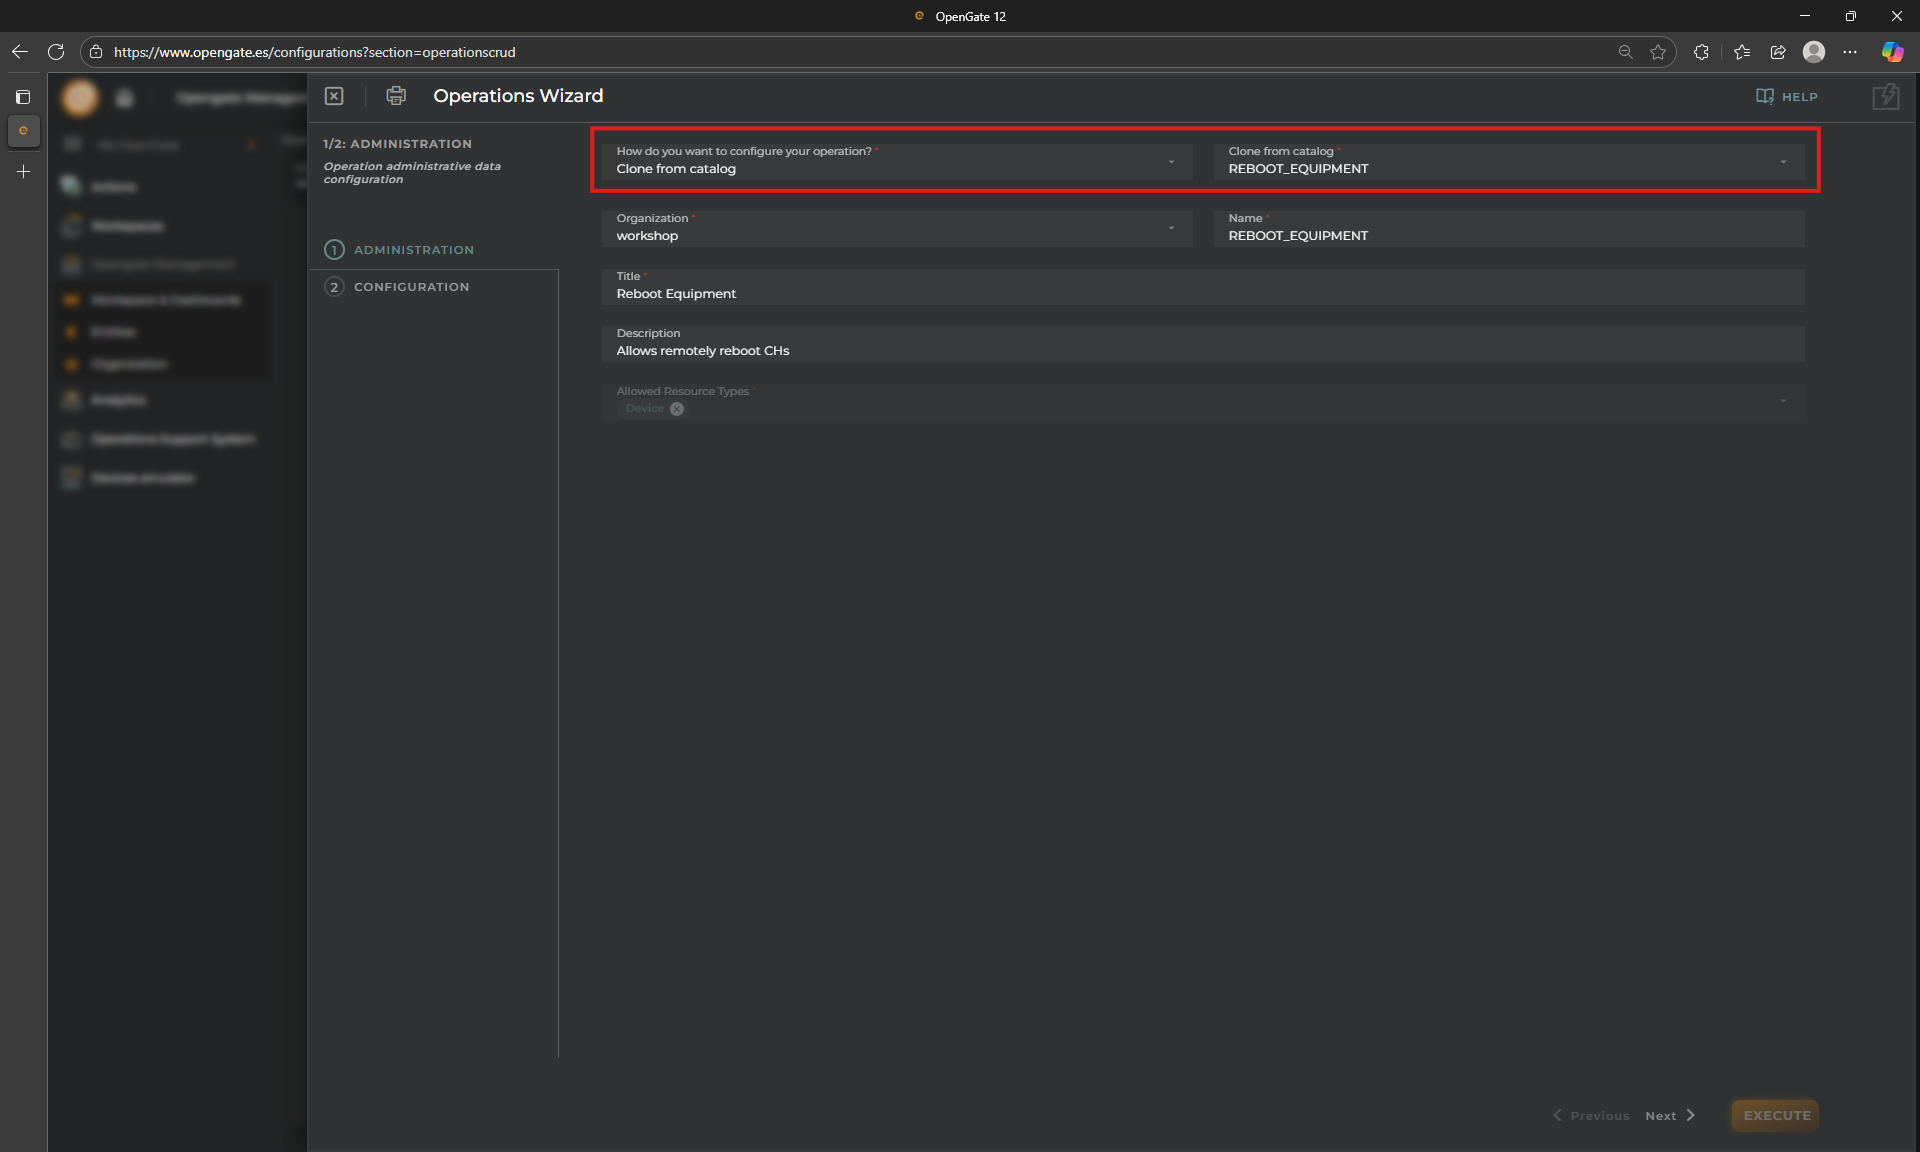
- Name:
-
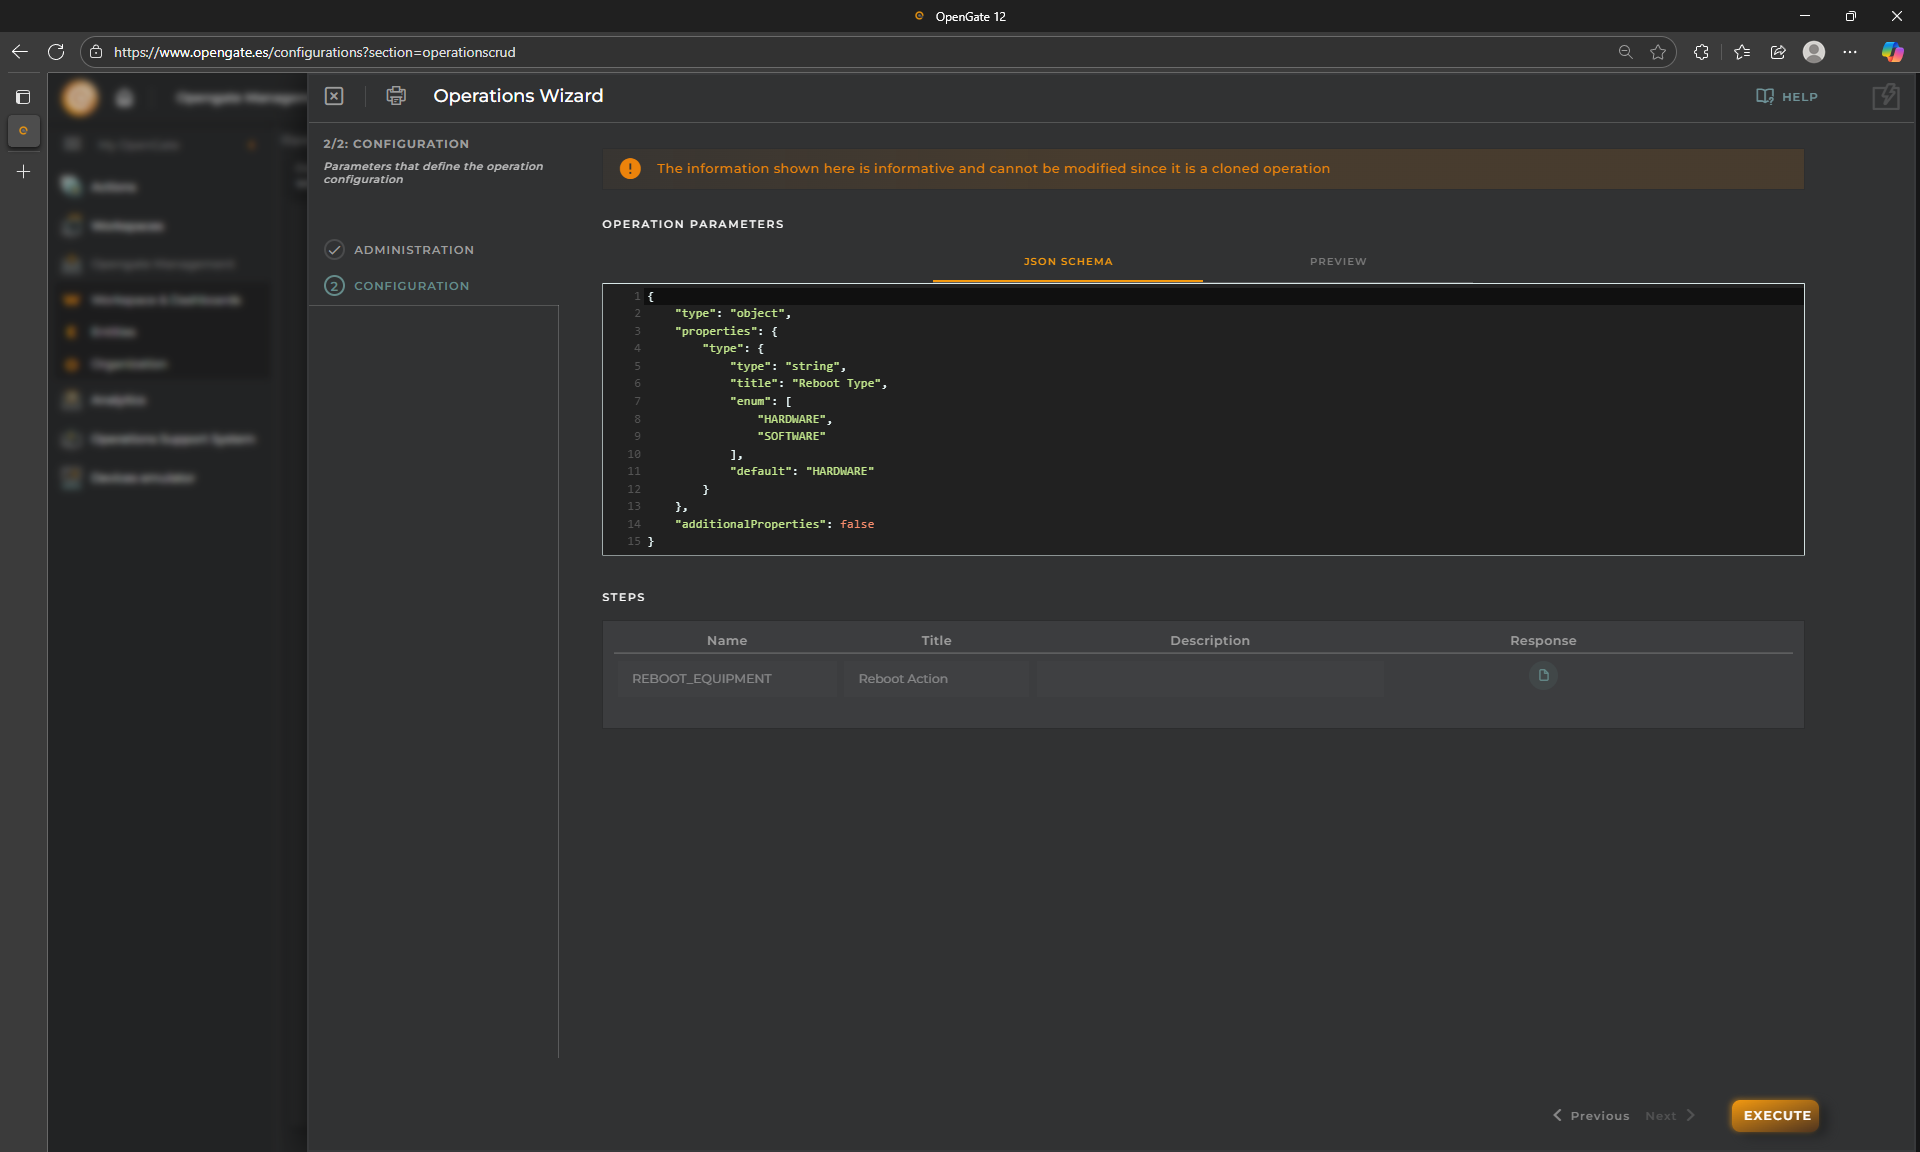
Check Operation configuration.
- JSON Schema, Another powerful tool: OpenGate allows you to define custom Operation Wizards using JSON Schema forms.
- Additionally, the “Operations” allows you to define STEPS. Because some actions may require a complex workflow in your devices, we design this method so you can notify the platform from the device when each step is completed or failed and then register the full operation traceability on the platfom. For this turorial, because we used the “clone the operation” before, this operation has only one step and you cannot modify it.
-
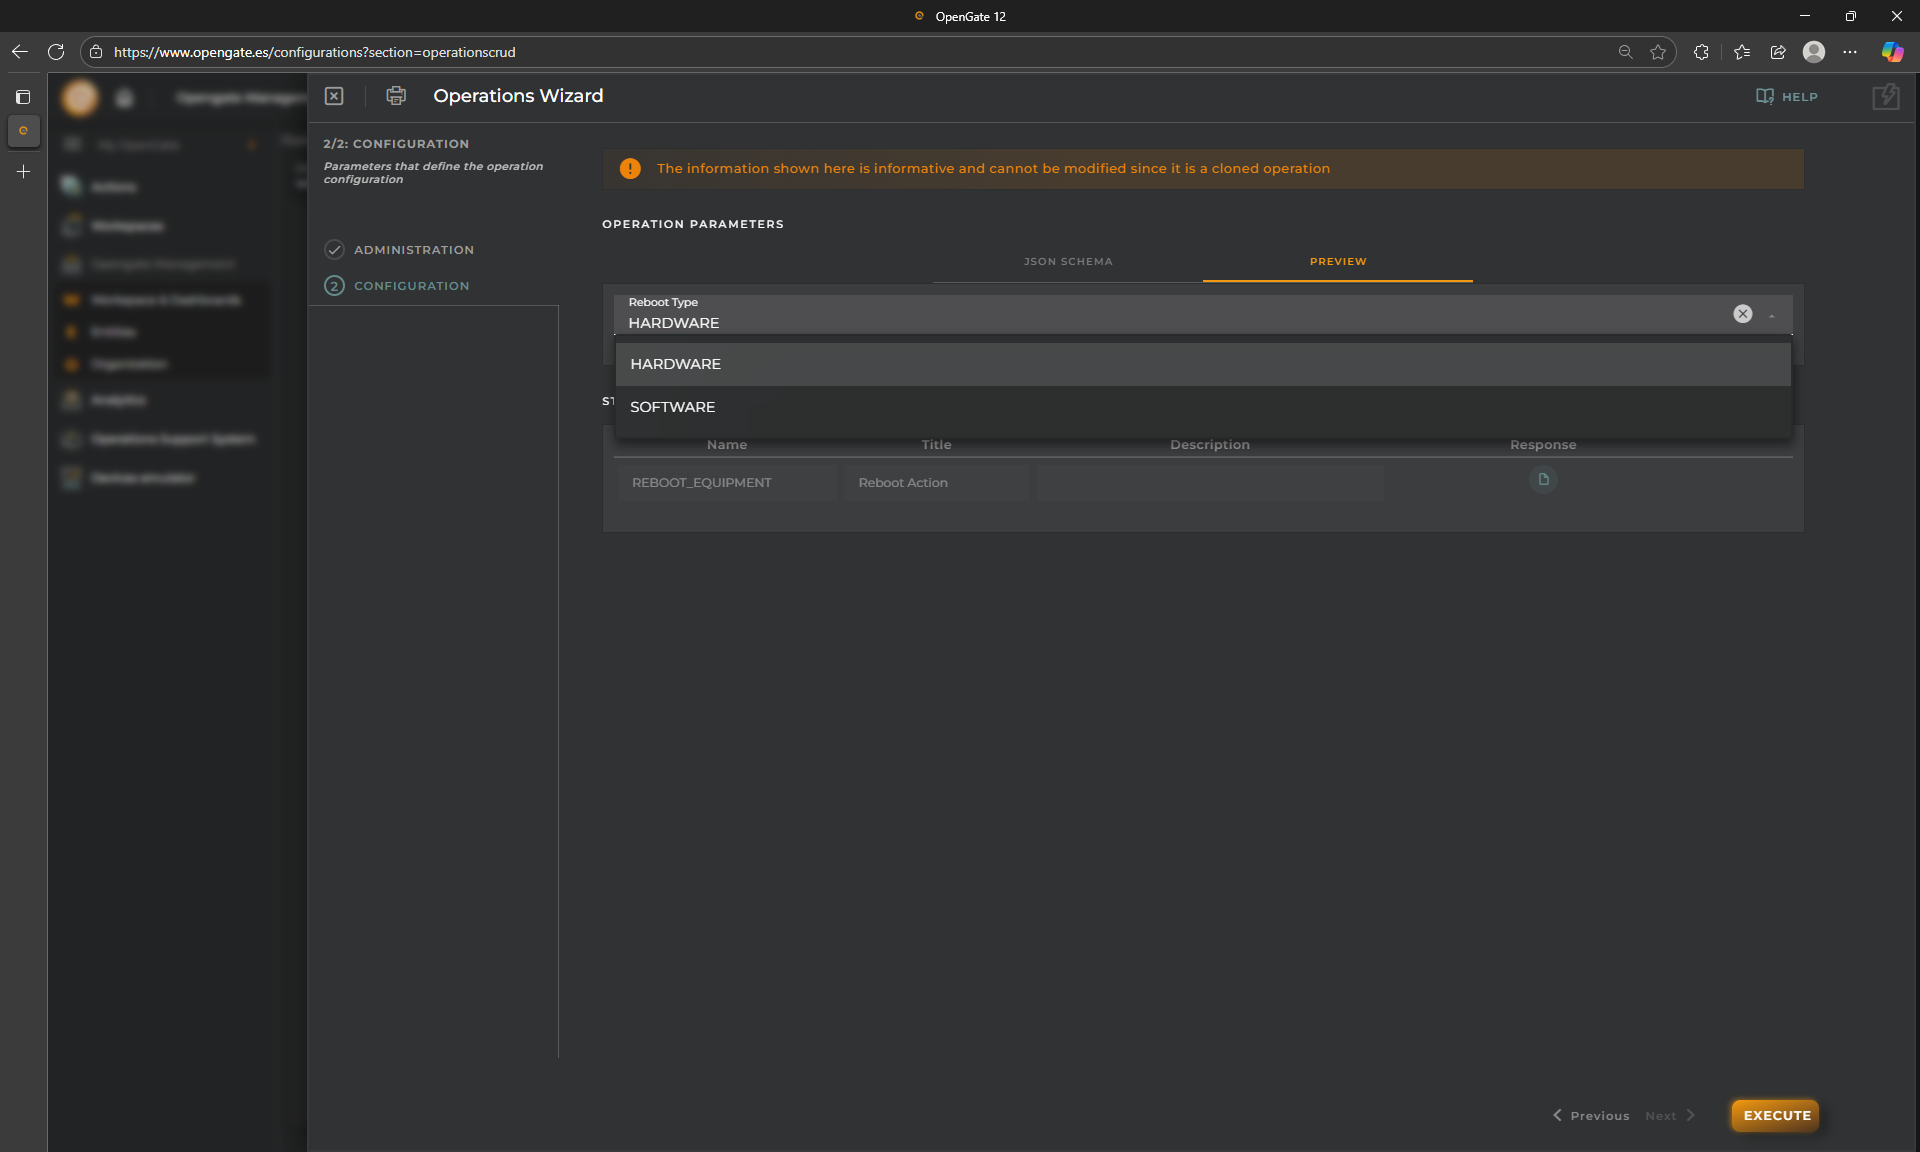
Preview your JSON Schema Operations form:
- You can click on “PREVIEW” tab to check how your form will be displayed and even test it.
Just to let you know, this operation has only an input field component, to choose between “hardware” or “software” reboot type to be send to the device.
- You can click on “PREVIEW” tab to check how your form will be displayed and even test it.
Just to let you know, this operation has only an input field component, to choose between “hardware” or “software” reboot type to be send to the device.
-
Create your operation and check the confirmation message on the summary
Perfect! you have created your first Operation successfully. Let’s launch it, right?
2. Testing with the OpenGate Device Emulator:
Do you remember our OpenGate Device Emulator?? We can use it to emulate also operations responses from devices and test our operations workflow.
- Open the OpenGate Device Emulator in a new window
- Select one of our devices, for example the device
[YourPrefix]-ps-001. and go to the “OPERATIONS” tab
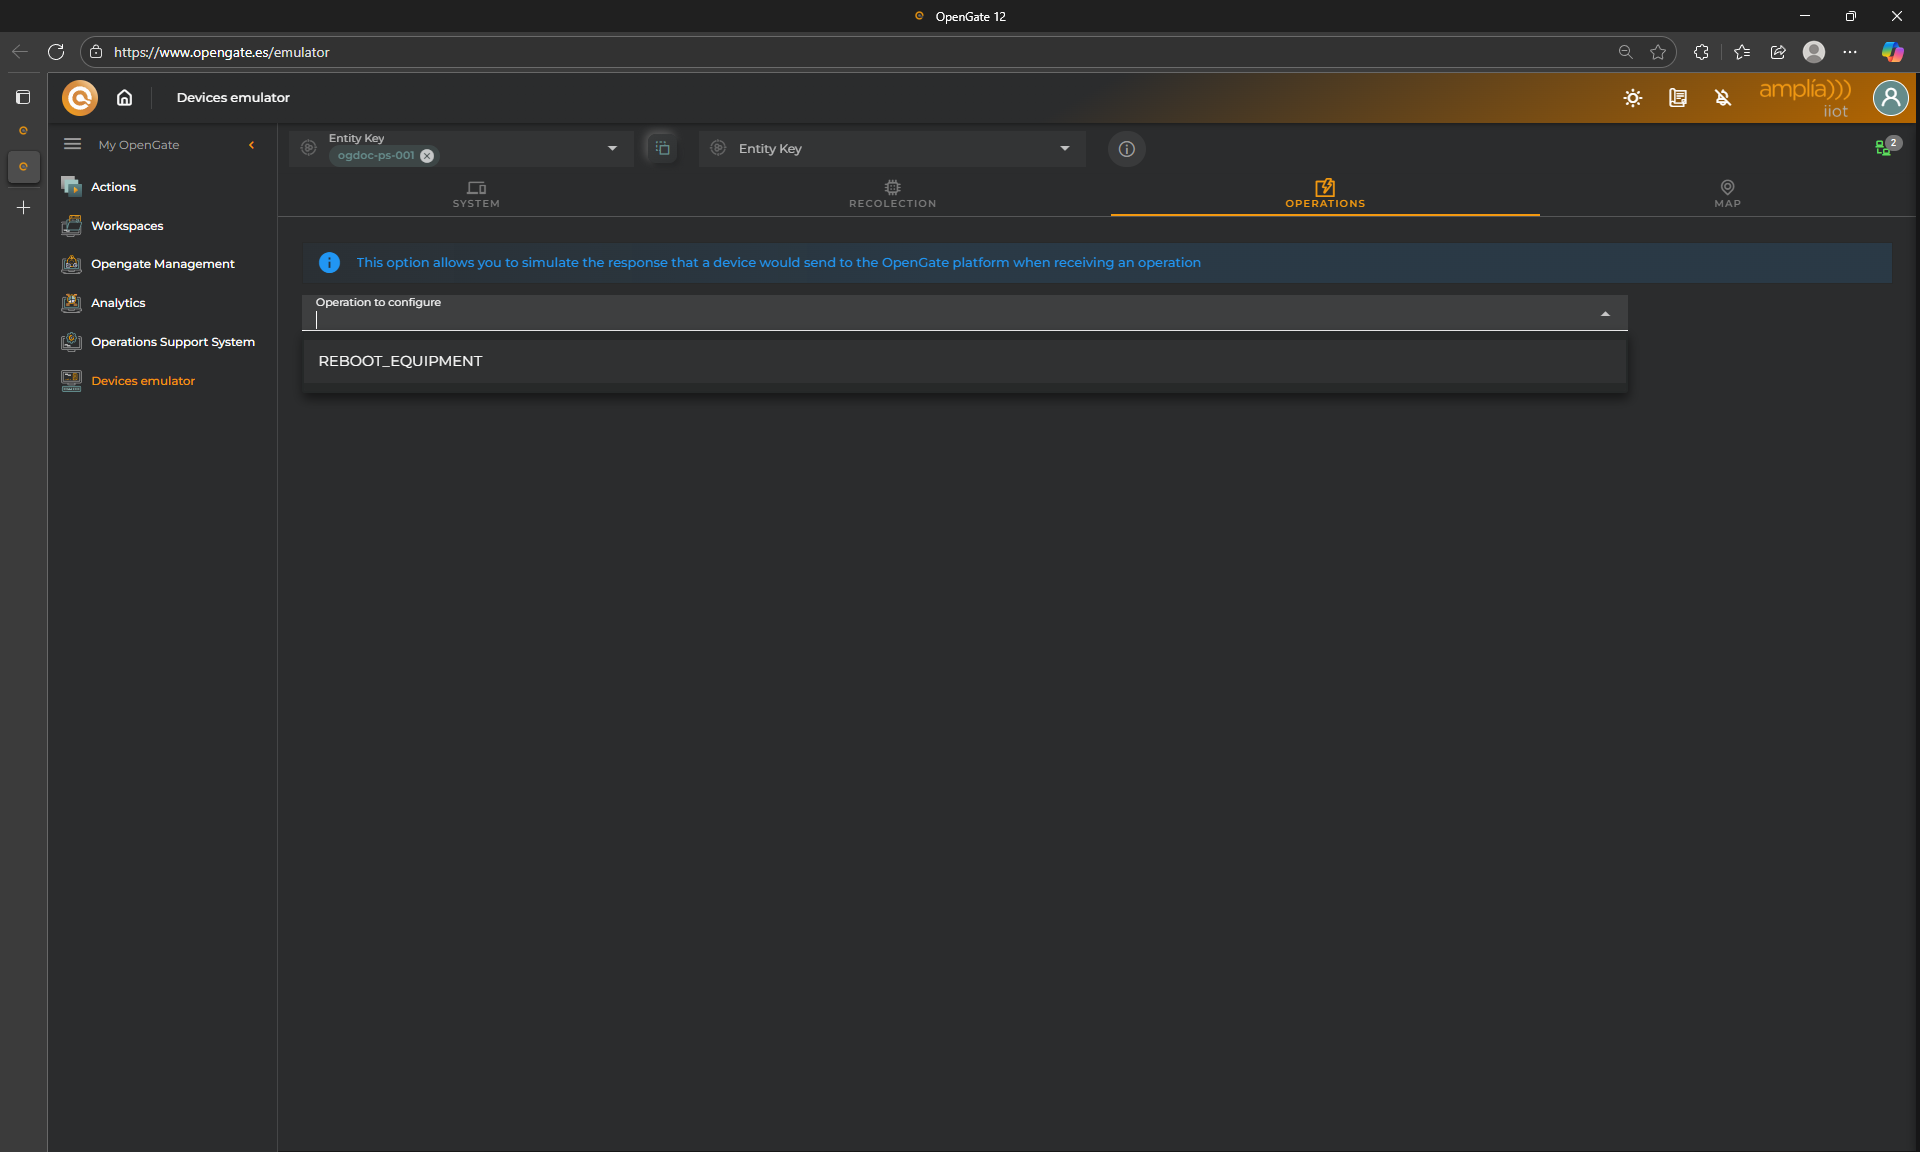
-
Configure the responses. Fill the following information and click on “SAVE”:
- Choose Opertion:
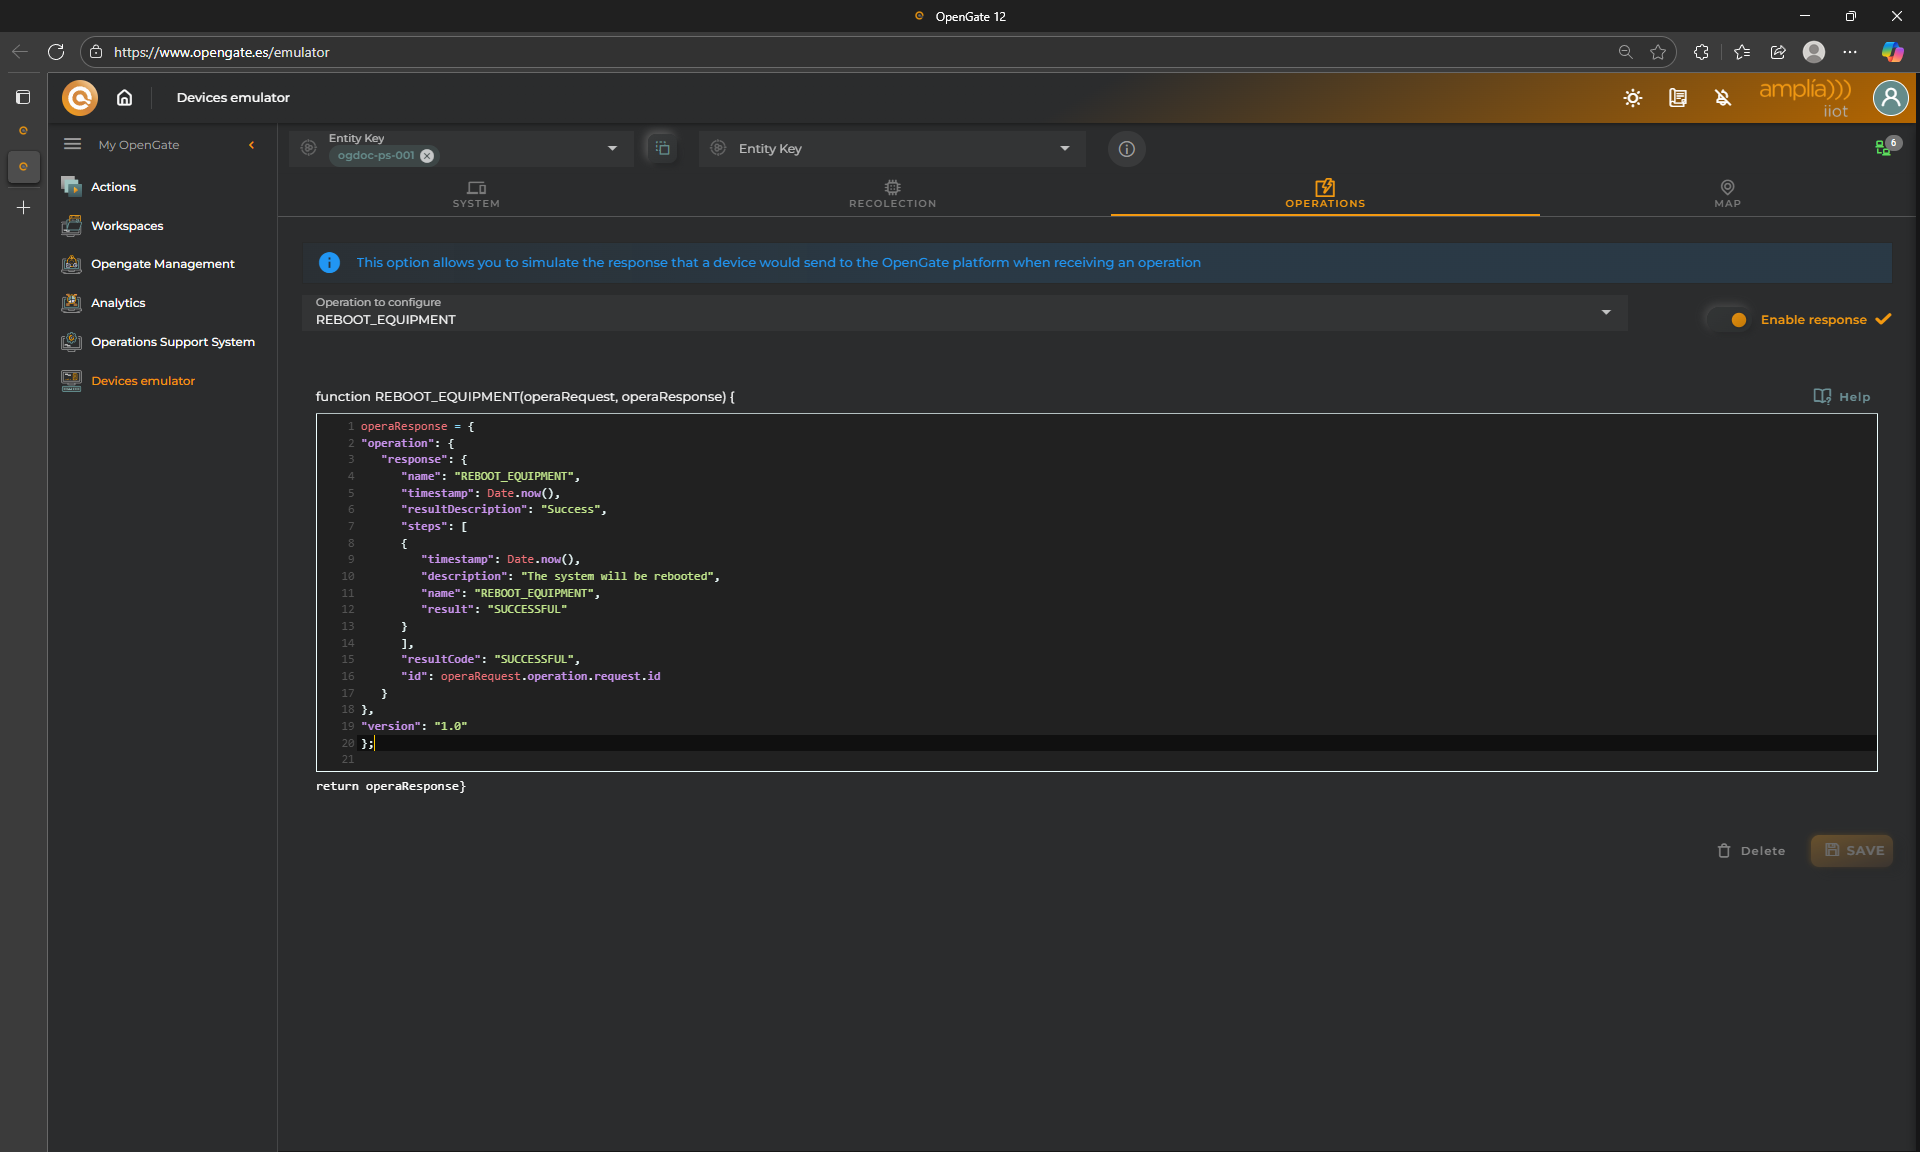
REBOOT_EQUIPMENT - Check the “ENABLE RESPONSE” option. This indicates if Device Emulator must respond or not
- Copy/paste the code bellow to respond the operation request:
operaResponse = { "operation": { "response": { "name": "REBOOT_EQUIPMENT", "timestamp": Date.now(), "resultDescription": "Success", "steps": [ { "timestamp": Date.now(), "description": "The system will be rebooted", "name": "REBOOT_EQUIPMENT", "result": "SUCCESSFUL" } ], "resultCode": "SUCCESSFUL", "id": operaRequest.operation.request.id } }, "version": "1.0" }; - Choose Opertion:
- Now keep open the OpenGate Device Emulator log and return to our dashboard “WAREHOUSE STATUS”
🚀 Sending an Operation from the Dashboard
Now let’s send the operation from your dashboard and validate the result.
-
click on “EXECUTE OPERATION” in the device
[yourPrefix]-ps-001menu. This opens the Operation wizard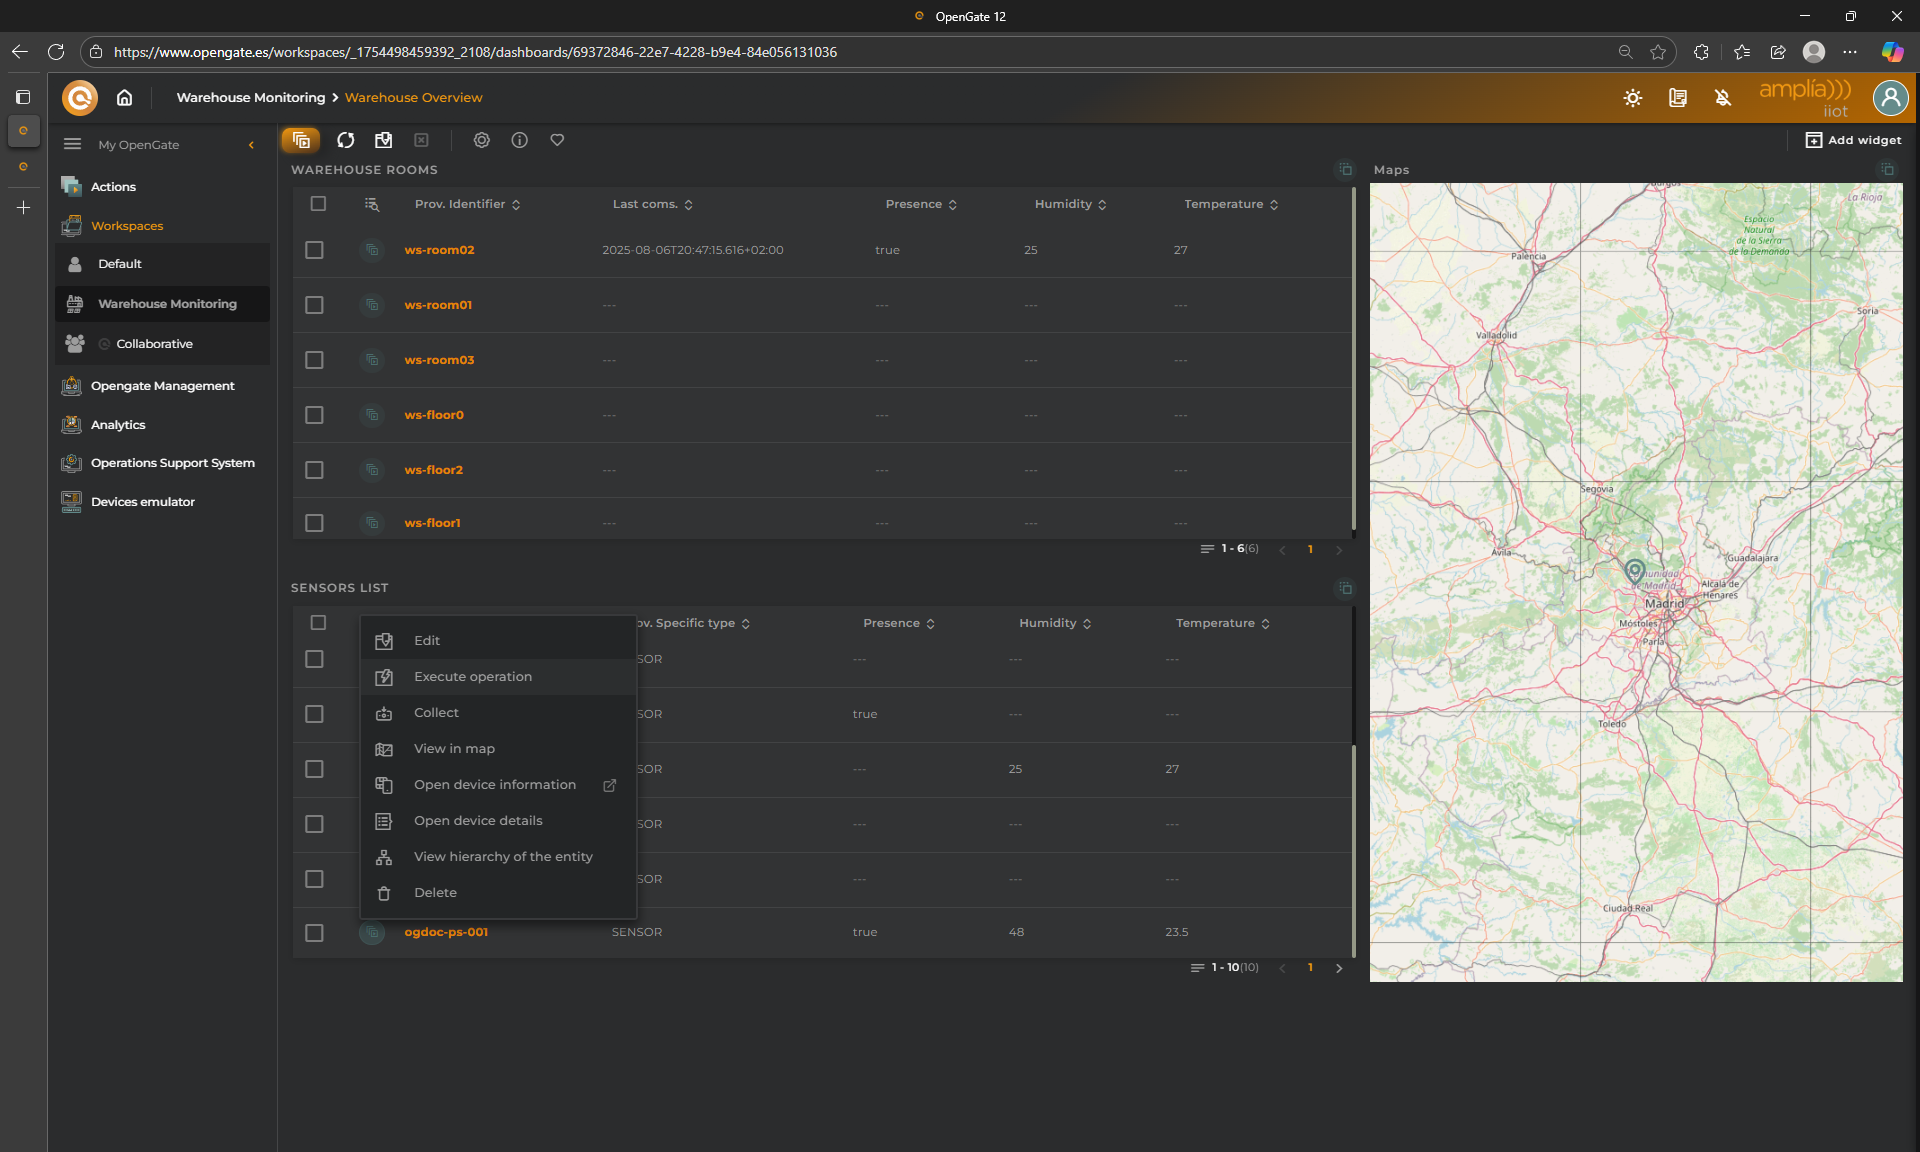
-
Choose our operation
Reboot Equipmentand click on “Next” (You can execute it directly, but then the predefined “HARDWARE” reset is send)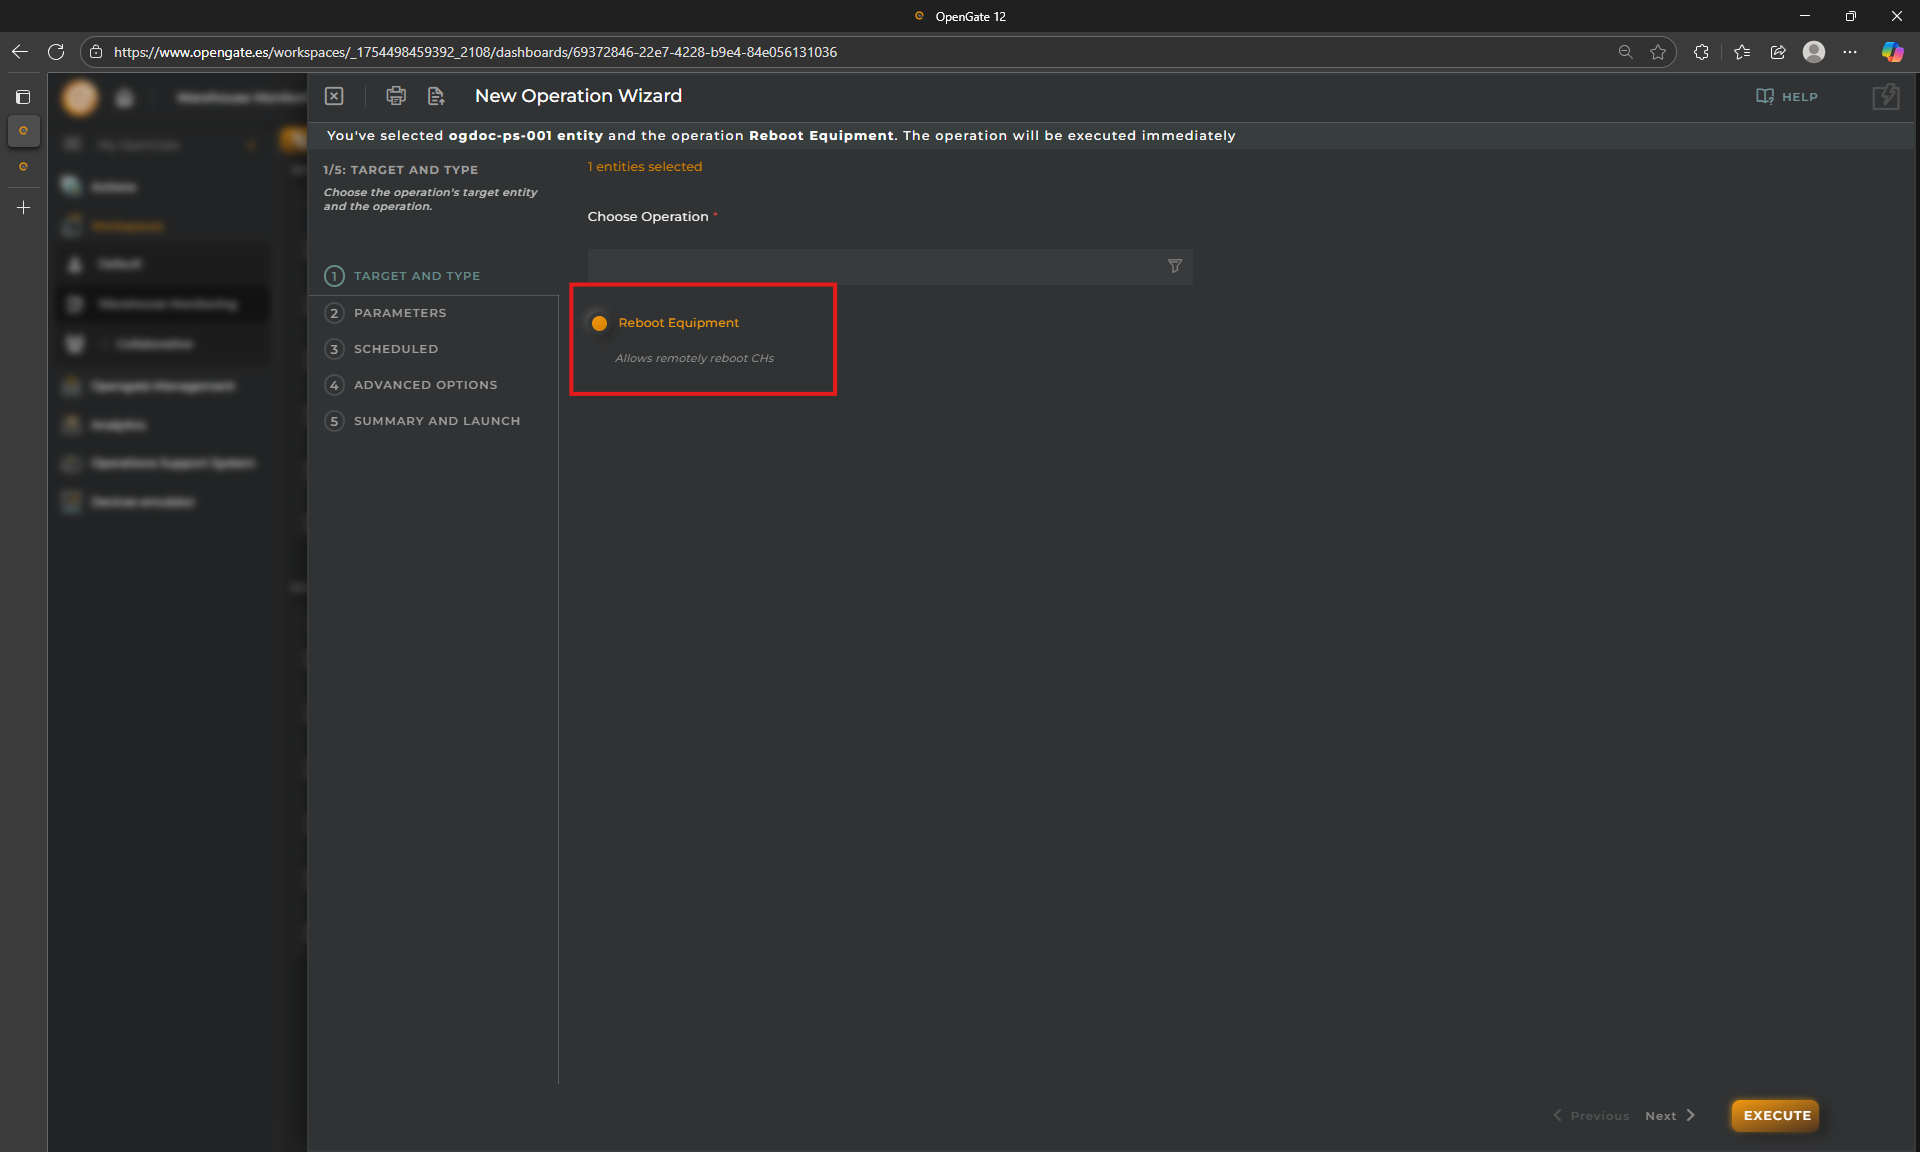
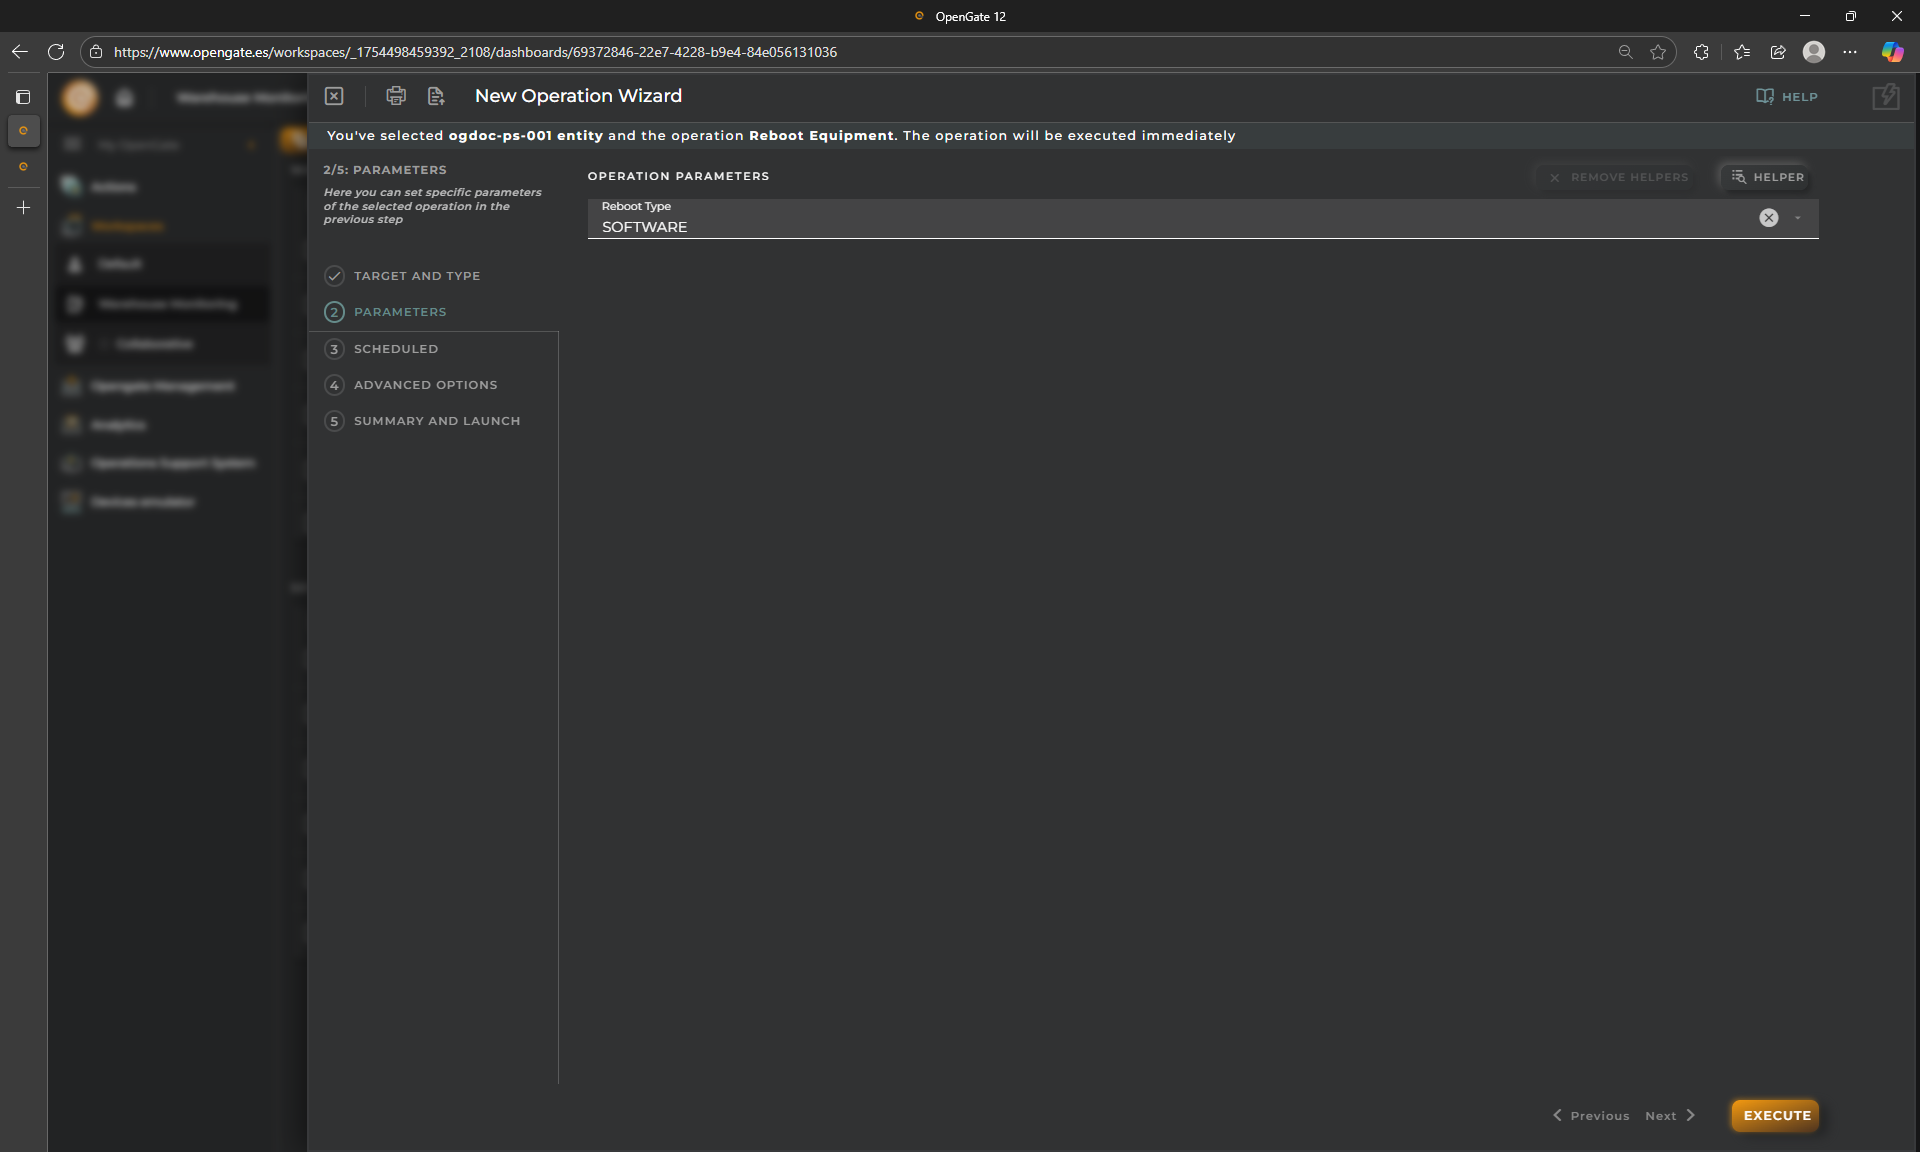
-
Choose SOFTWARE just to play with the component. There are more additional and powerful options in the wizard (you can review them with “next” button):
- SCHEDULED: This allows you to decide when to execute the operation, Now, Later after some minutes or periodically. This last option converts this operation in a “Task” we will not cover this in this tutorial.
- ADVANCED OPTIONS: Here you can configure Operation and Execution timeouts for this operation and even adjuts optional parameters if the operation accept more.
But for this tutorial, we just keep them as default and click on the “EXECUTE”
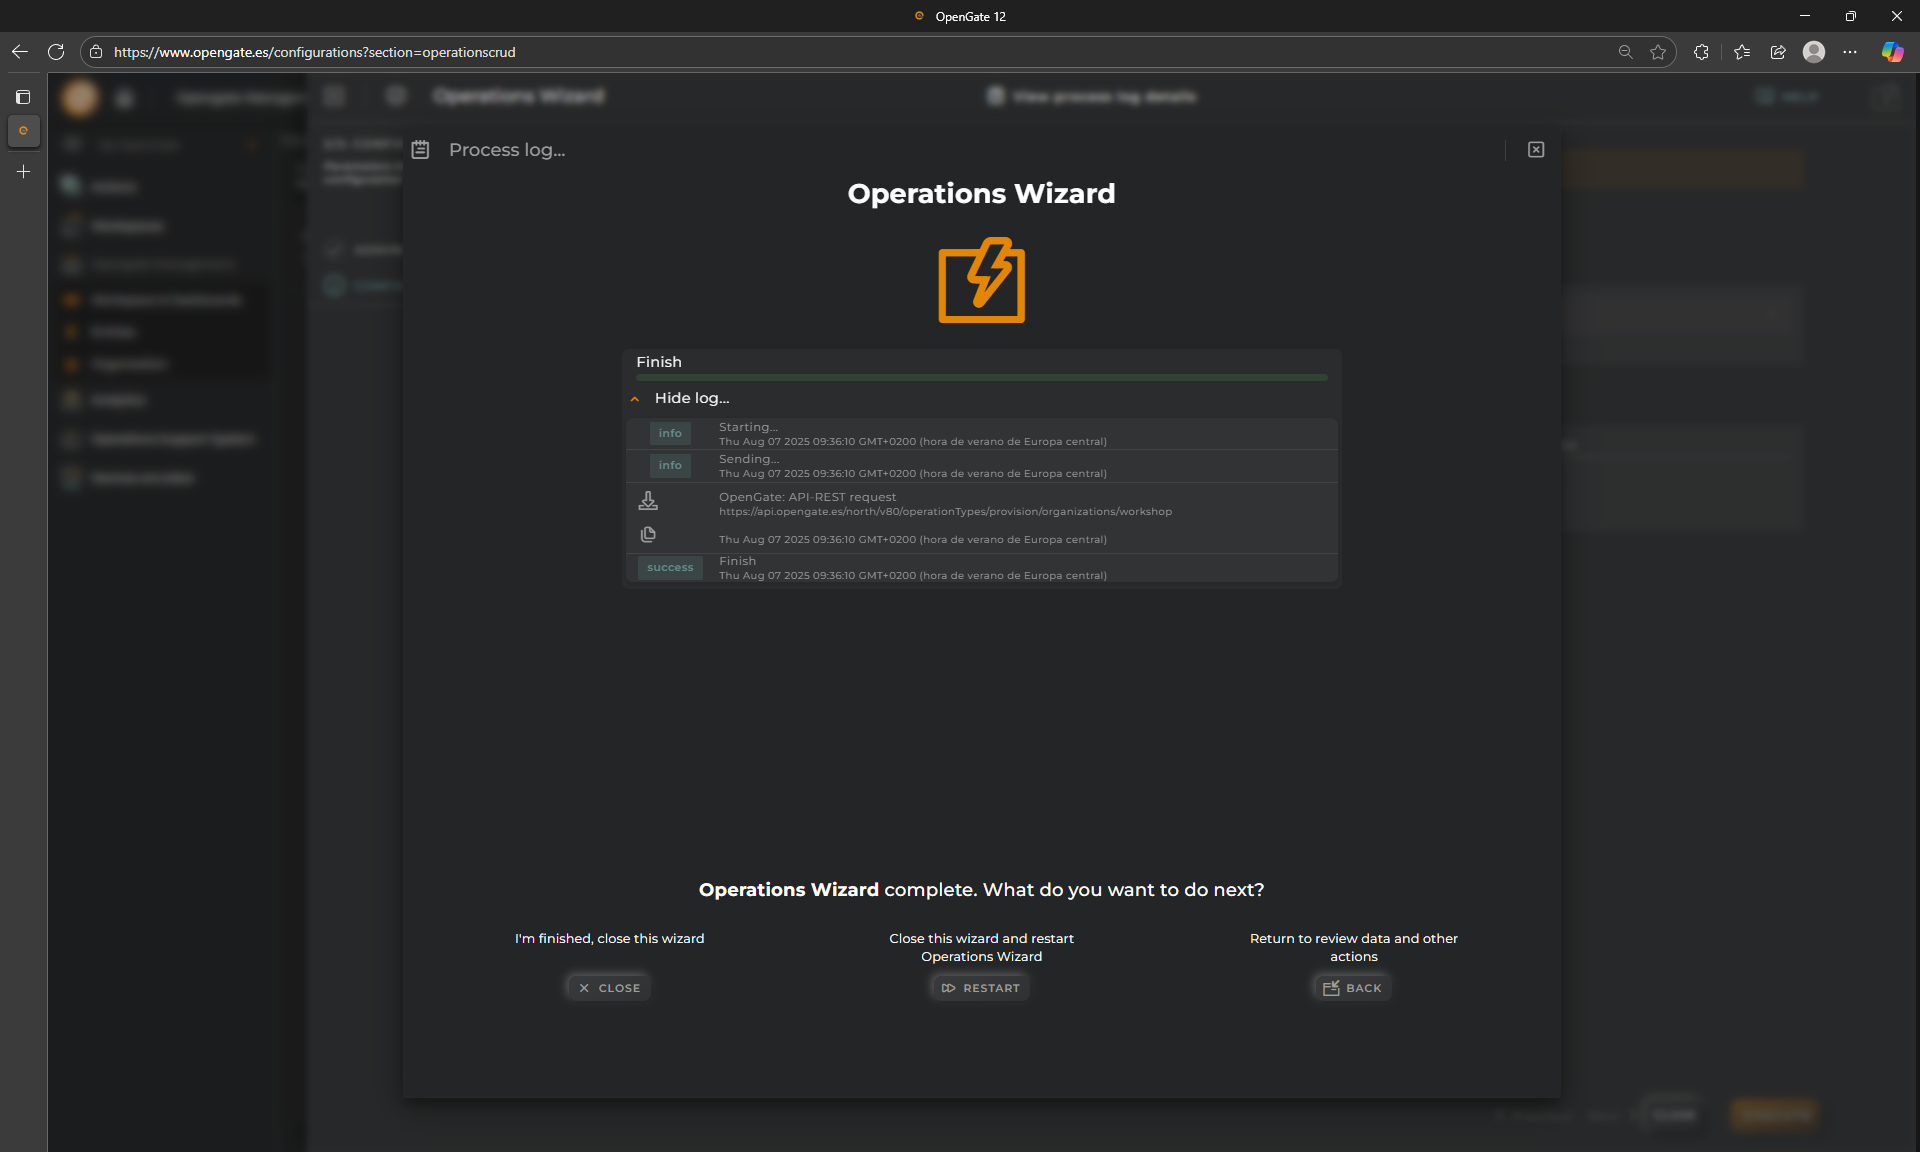
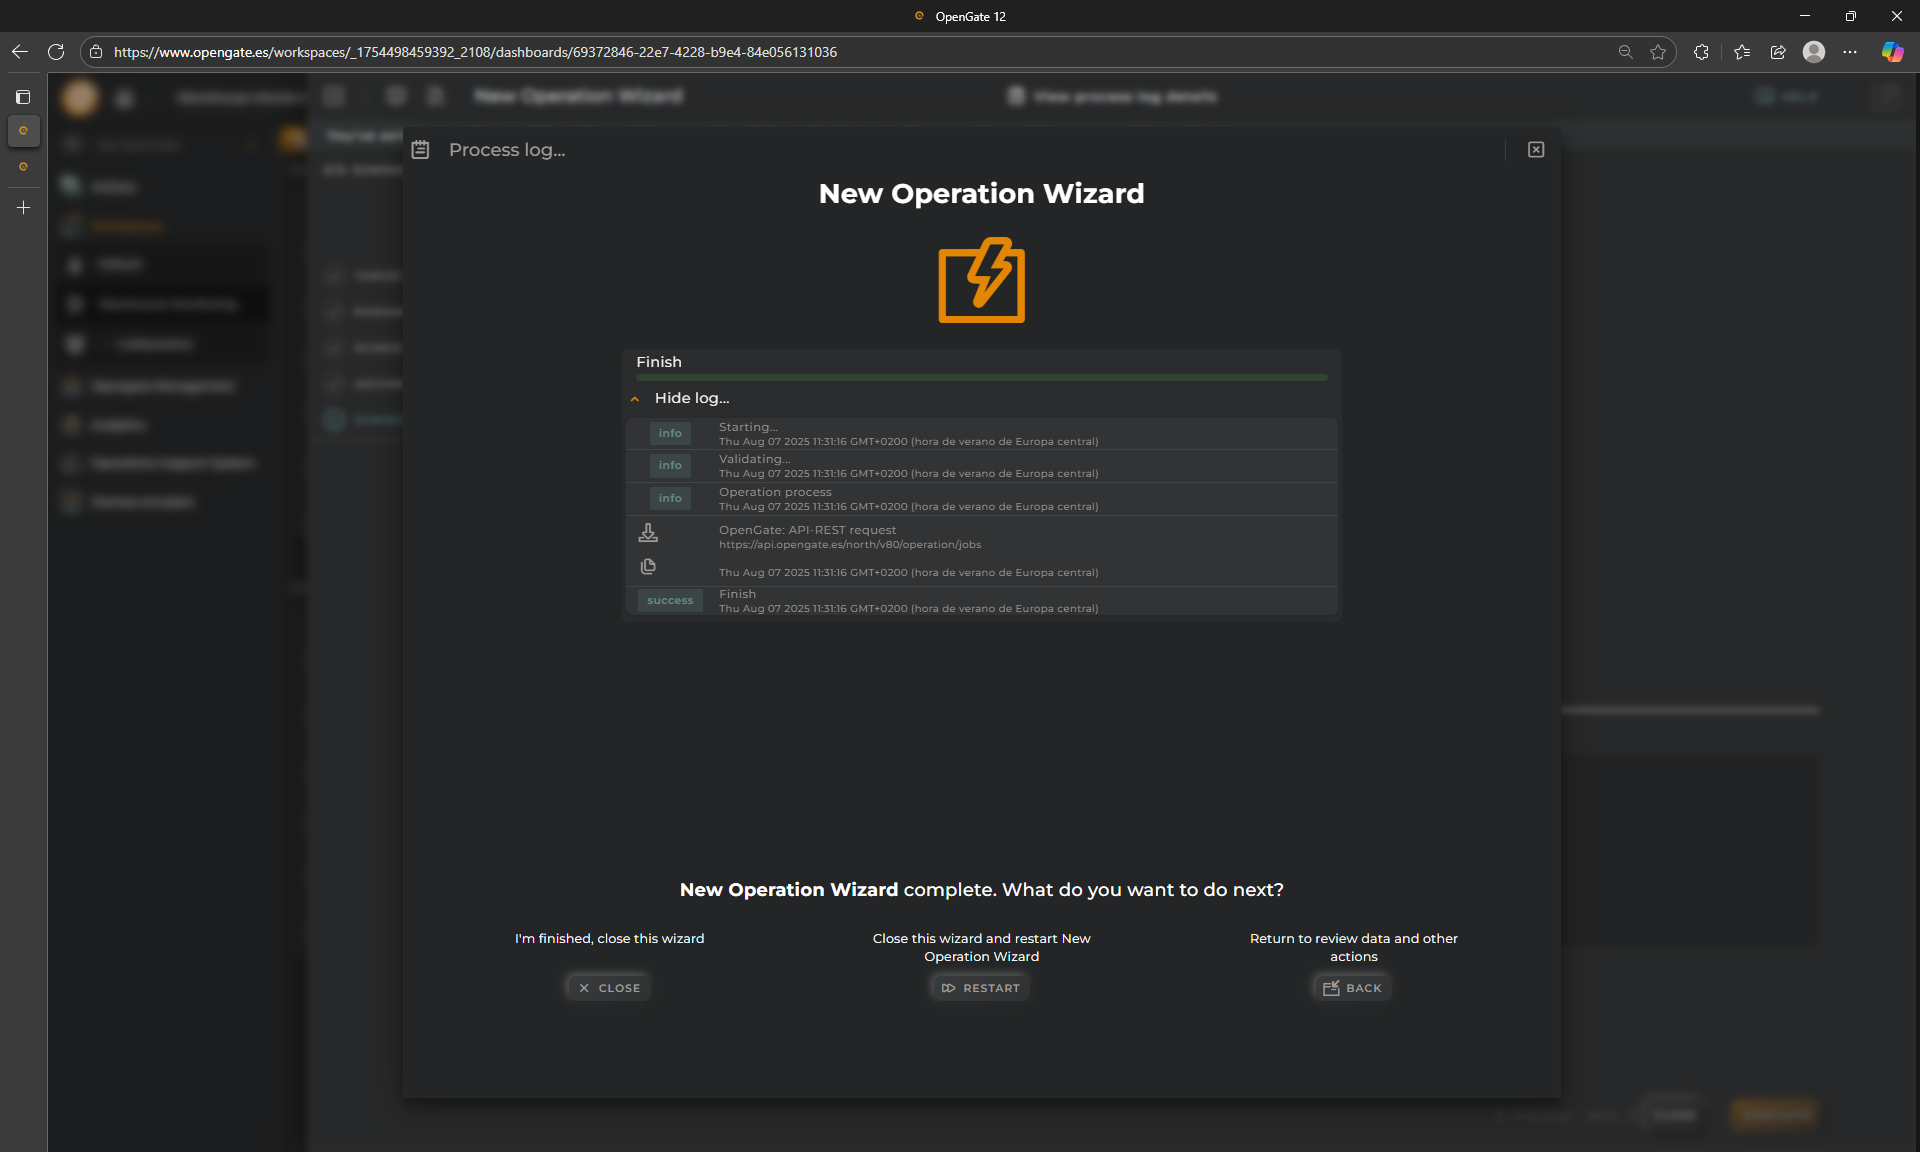
- The summary indicates that the operation has been launched
🧪 Monitoring Operation Results
After sending an operation, you can view its execution status and result.
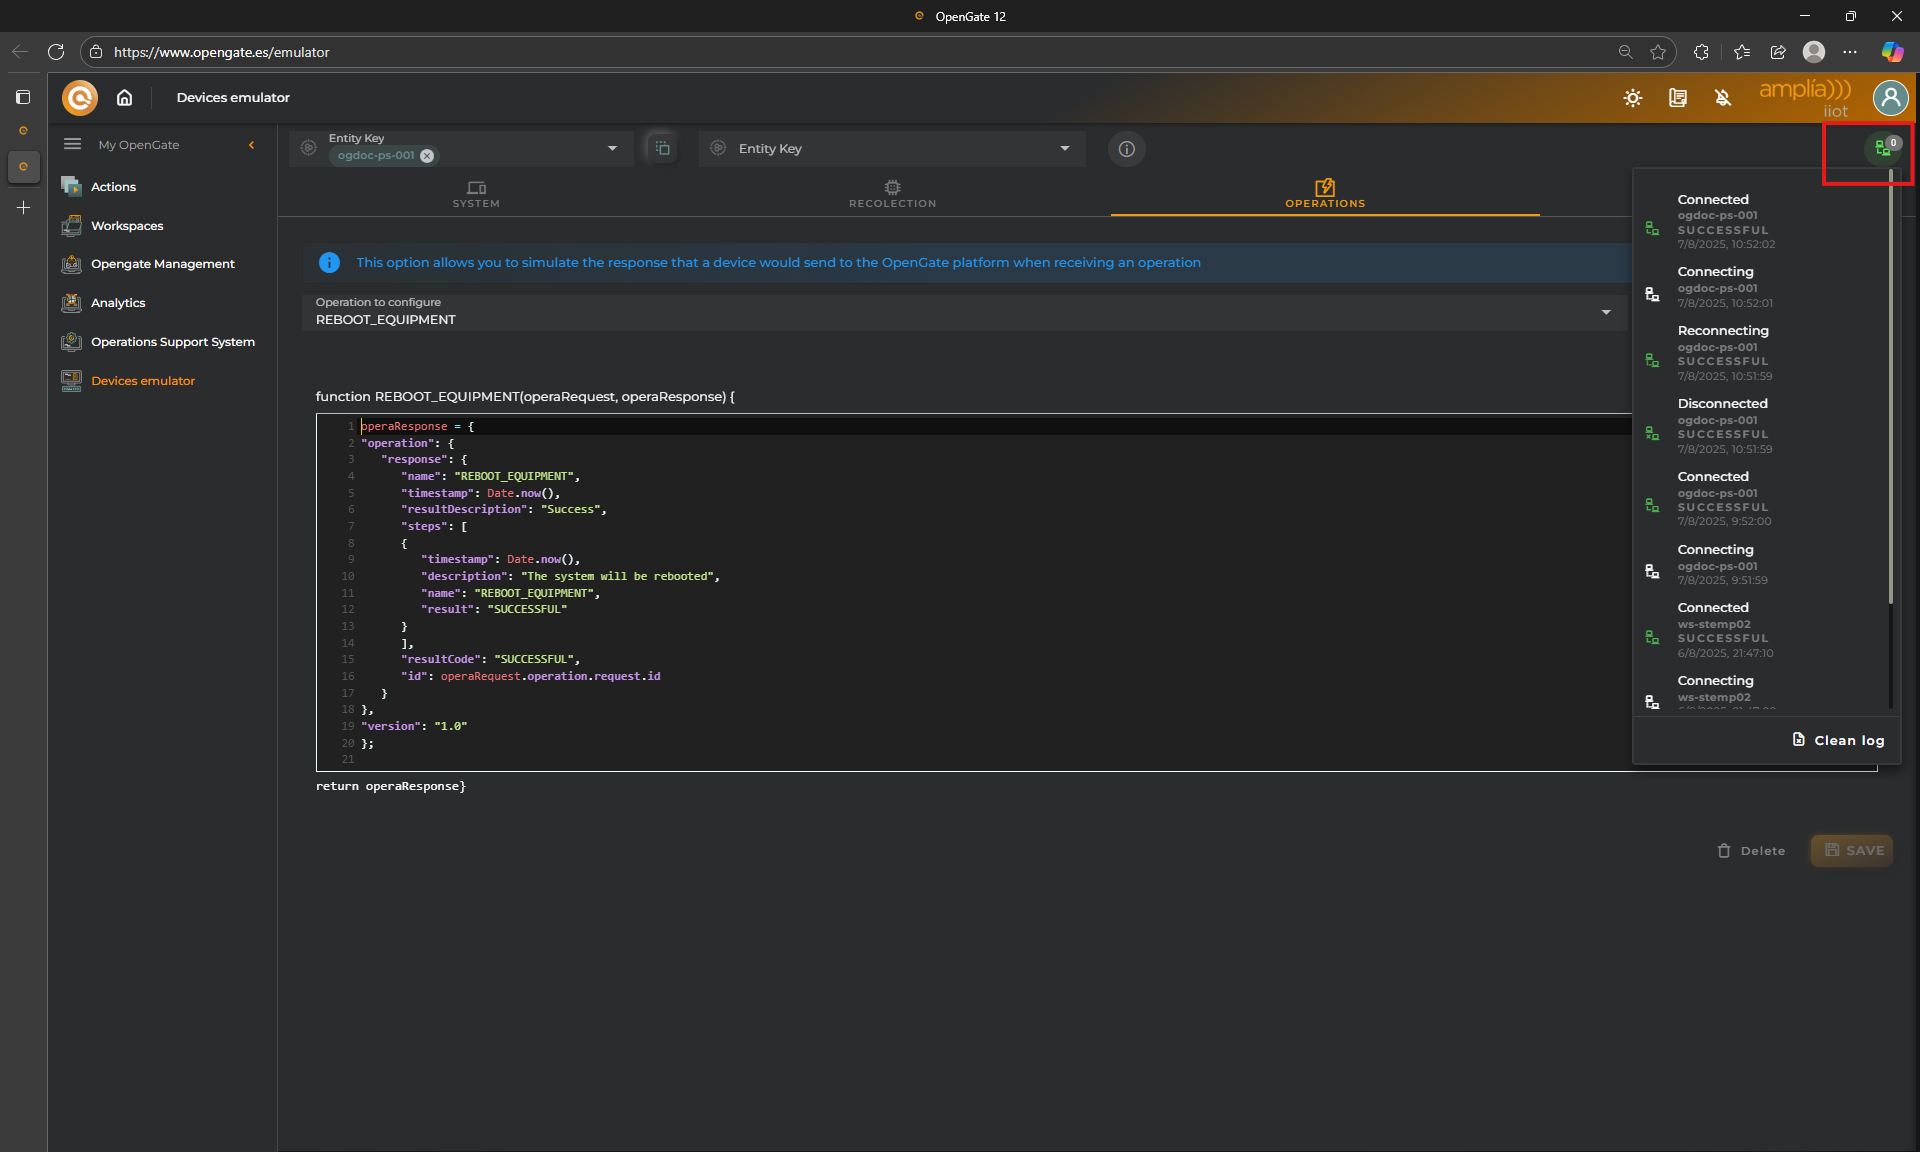
1. Check Opengate Device Emulator log
Here you can see how the operation has been attended and proccessed by our emulator and the response is sent succesfully to OpenGate

This confirms that our operation has been launched from the dashboard and then the device (our Device Emulator) respond to OpenGate.
2. Review in OSS - Operations Support System:
The final step is to check that the response is properly collected in OpenGate, but how?
Well, there is another more tool for you, “OpenGate Support System”, that allows you to check all your Operation executions. Of course, you can build your own dashboard using operations widgets that you will find on the catalog, but we want to offer you an out-of-the-box solution for operations management.
-
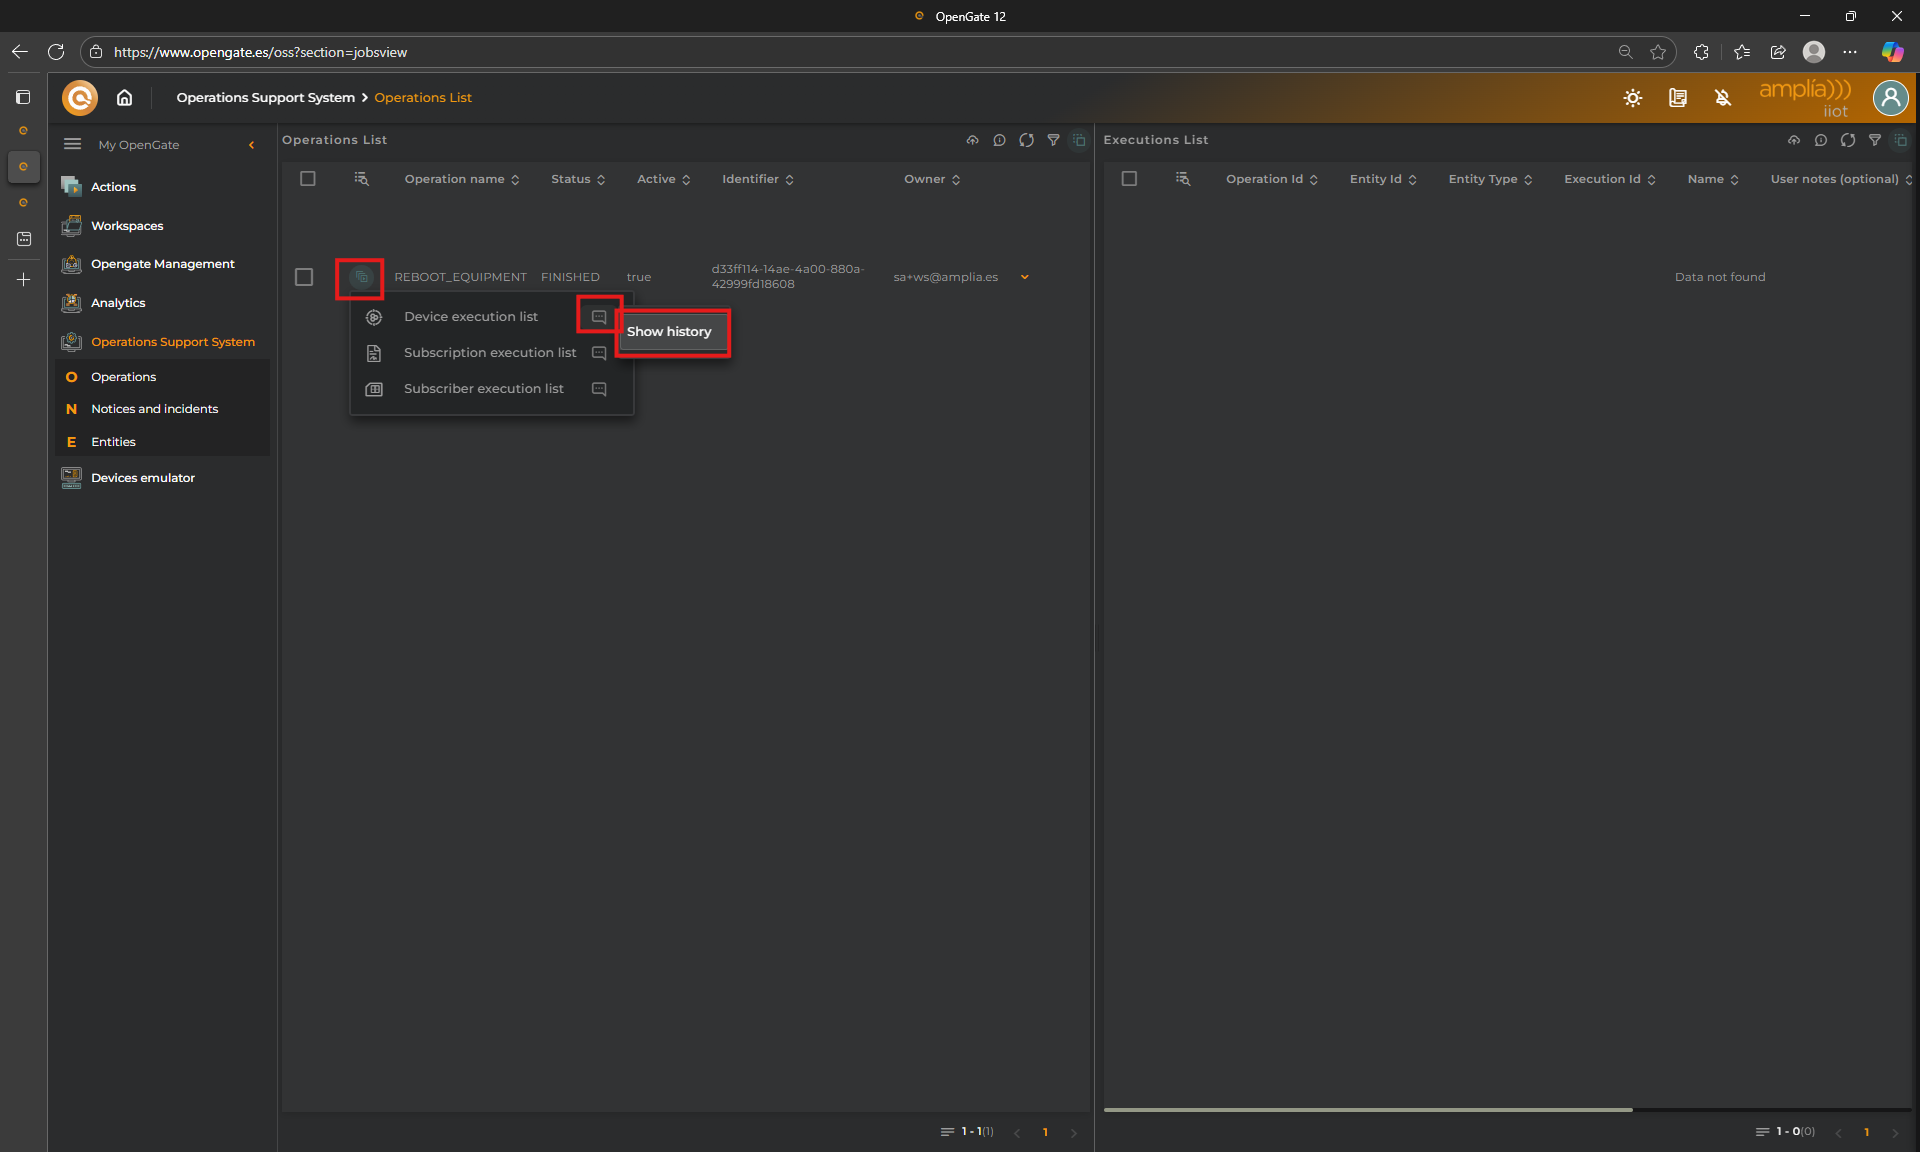
Go to the Operations Support System section of OpenGate, open in new window.
-
Click on “Opertions List” and locate our operation (so easy, you should just have one…). Because the operation is finished, Click on the menu and Device Execution List - Show history.
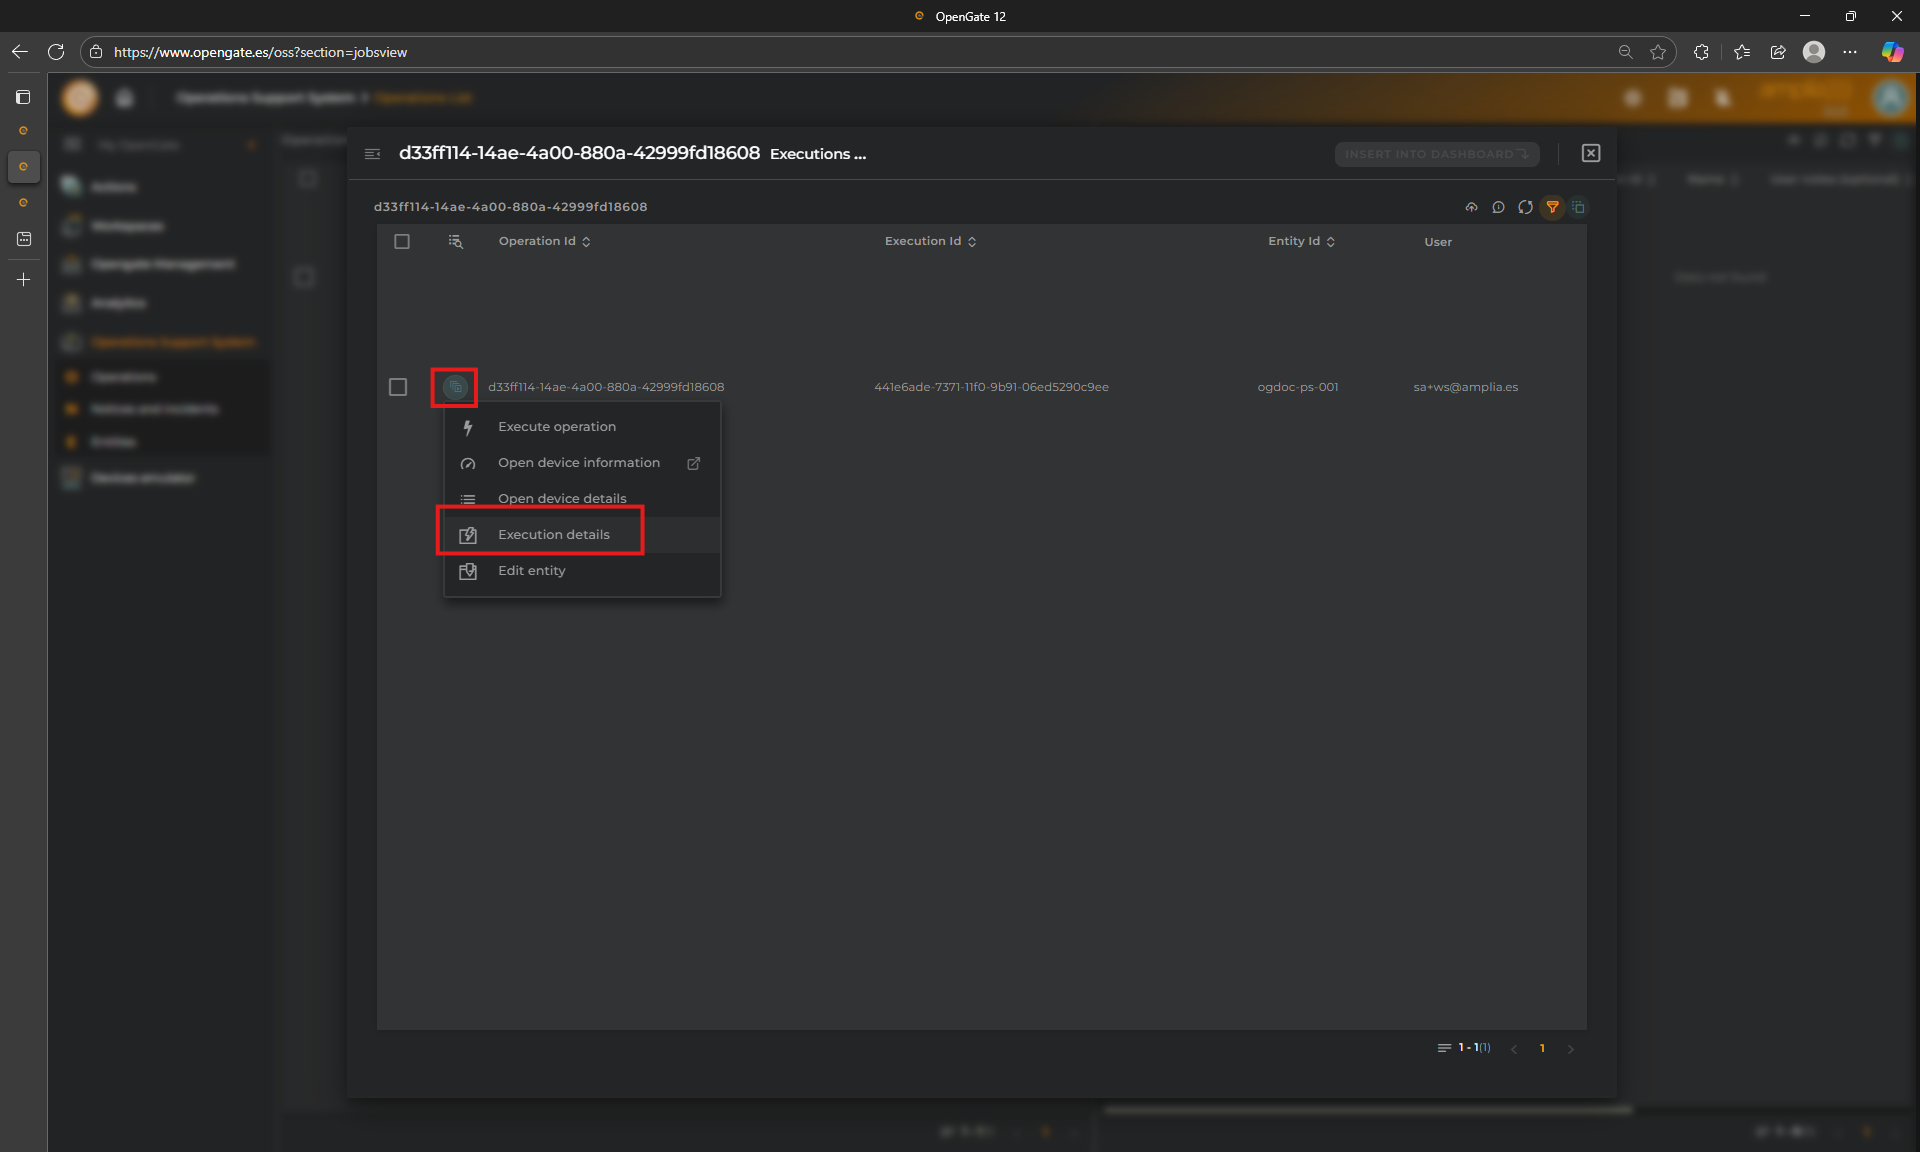
-
Click on Execution Details to inspect the execution traceability and result
-
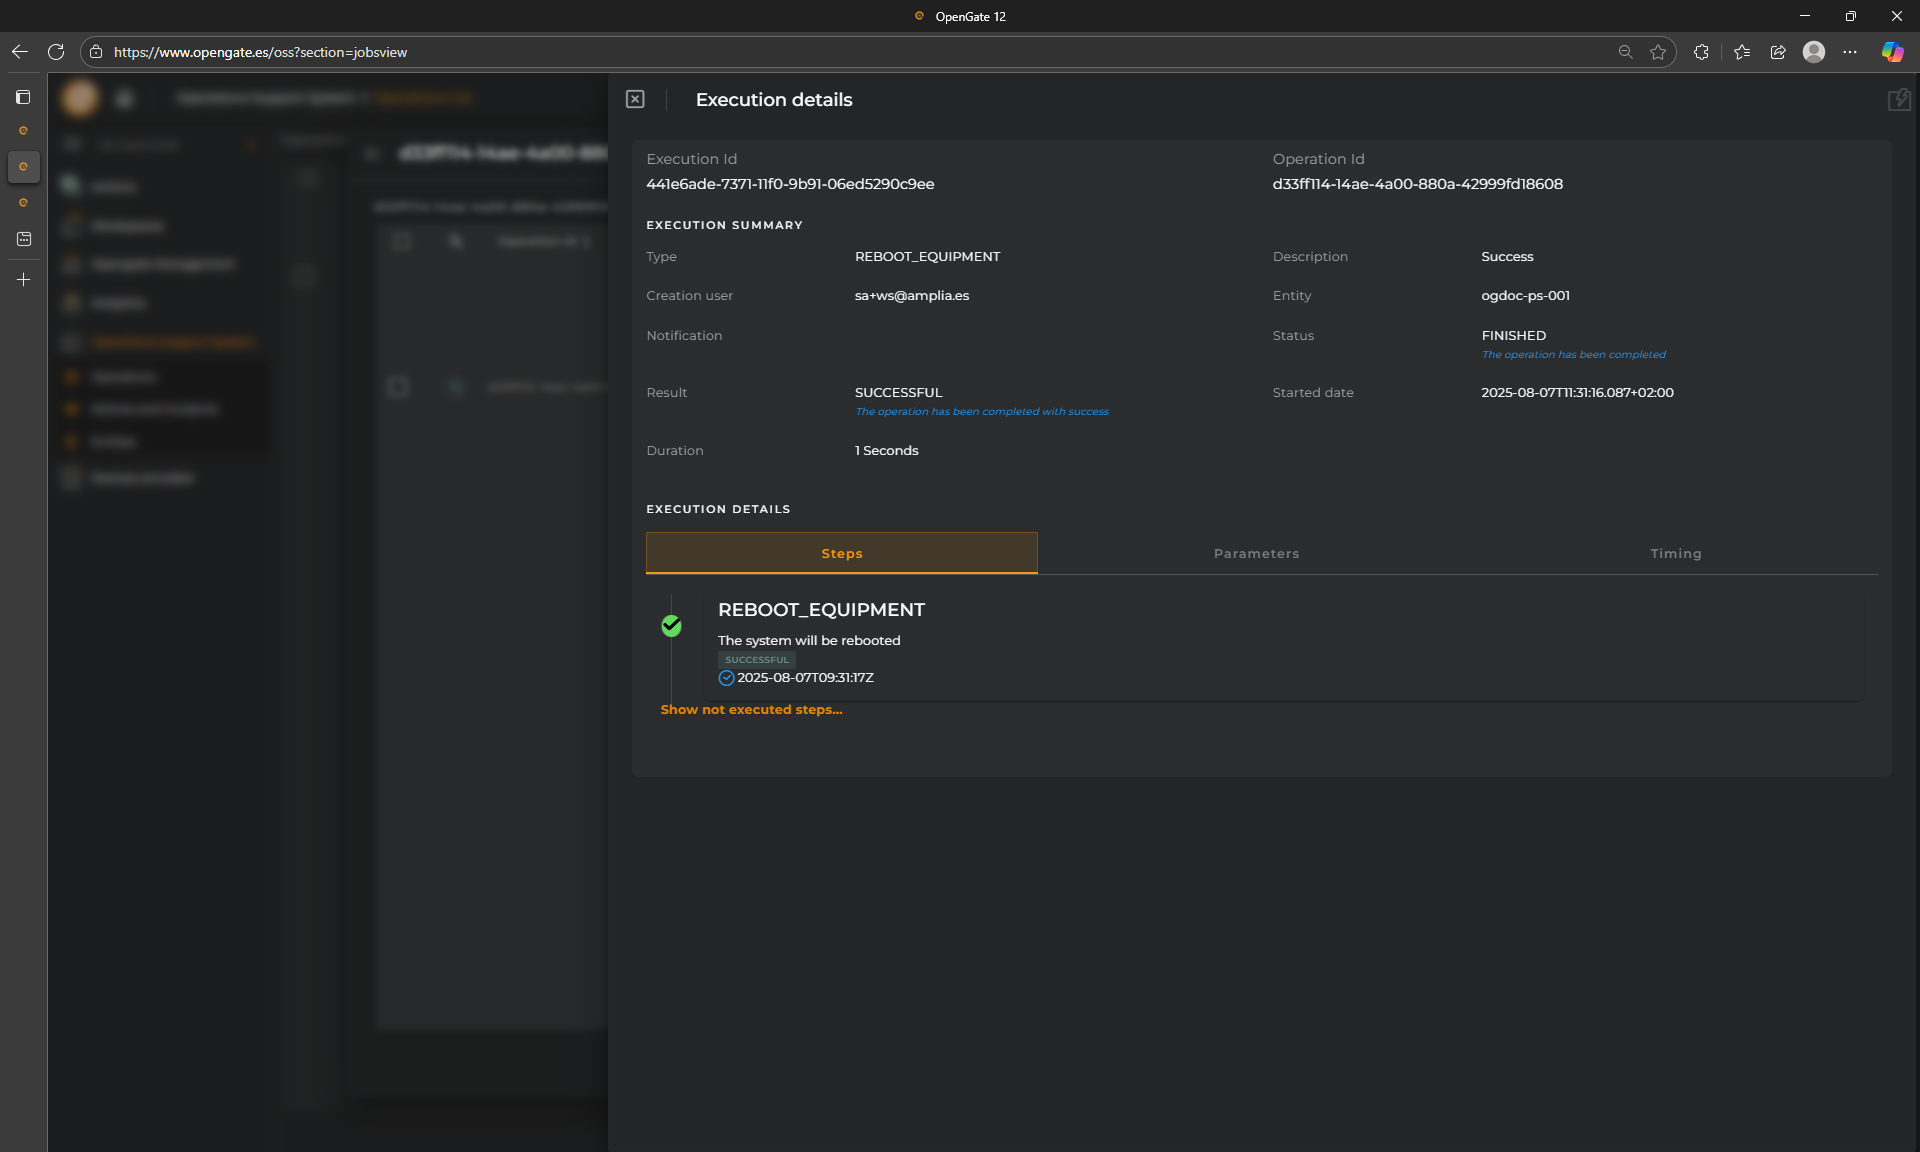
Let’s review the Execution Details panel
- From this panel you can check the summary result of the execution. Look the description “Success” that we coding in our OpenGate Device Emulator
- Additionally, You can review the Steps tab, to check the times and result (remember that this operation only has one step)
- Parameters tab shows what the user send to the device, we selected “software” during the wizard.
- The last tab, Timing, shows a timeline with the execution times
💡 What’s Next?
This was a basic operation and response flow, but OpenGate supports much more. You can:
- Send configuration updates to your devices
- Trigger actuators (e.g., open/close valves)
- Perform FOTA (Firmware Over-The-Air) upgrades
- Or any other action your devices support!
Operations are a powerful way to turn your dashboards into control centers. Ready to build your next one?